An Adventure via Ball Pass, combining all the sights from Sefton Bivvy, Tewaewae Glacier, Hooker Glacier, Mt Cook, Tasman Glacier, Caroline Glacier, Ball Hut and the new(ish) Husky Canyon!
Introduction
Location
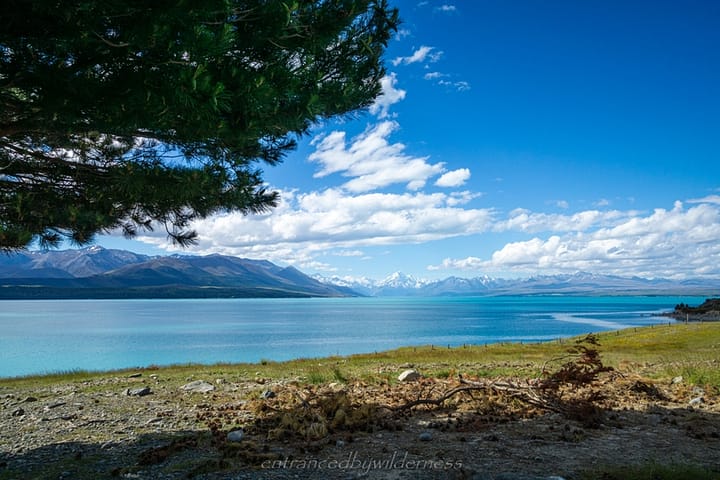
The hike is located in Mt Cook/Aoraki National Park near Mt Cook Village, an hour’s drive from Twizel. The route access is via the Hooker Valley Track, and the Ball Hut Track – on either side of the Mt Cook Range. A bike, second car, or hitch is ideal to return to the starting location, but a long walk is there too.
When to Hike?
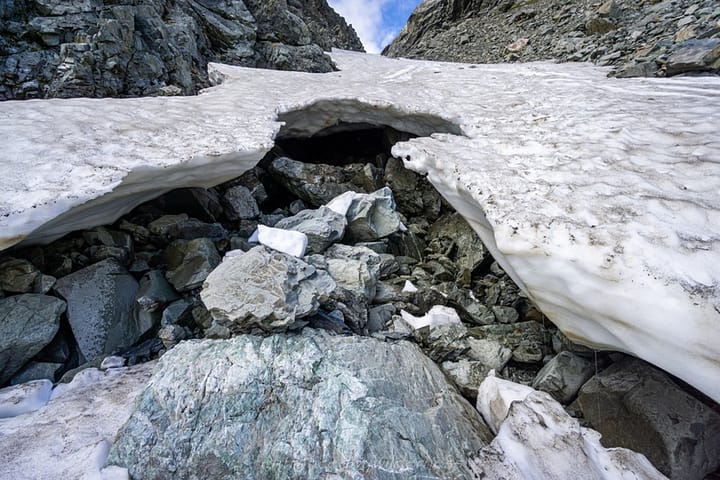
Ball Pass would only be snow-free in late summer and autumn, and that’s only if you avoid glaciated sections. I did this trip in early summer in a fairly low snow year, and there were plenty of snow crossings. I would not attempt this trip without crampons and an ice axe, unless it was autumn. For more experienced Spring snow hikers, just be mindful of how many active avalanche paths are in the area, it’s best to stick to Summer-Autumn. However, in Autumn, there will be limited snow to melt for water – so take extra! In Winter, stick to Mueller or Ball Hut.
Length of Hike
Anywhere between 2-3 days is usual for this trip. The route is exposed and there are only limited camping or bivvy sites. The shifting weather could add a 4th day in dire conditions.
Experience Level
The Ball Pass crossing is aimed at experienced hikers whom have at least one party member with navigation and snow skills. GPS navigation using an offline topo map is ideal, along with backup paper maps / trail notes. Ensure you’ve done recent research for this route, as the terrain changes every year, including forecasts and avalanche risk.
Camping
Aside from the two public huts on the route, Sefton Bivvy (free) and Ball Hut ($5, paid at the Visitor Centre in Mt Cook village), tent camping is the only other option. Caroline Hut is a locked private hut, yet it does have a small emergency shelter attached for the public if weather is dire – but don’t aim to stay here. The best camping sites are: the ‘Playing Field’ (above Hooker Lake), various places around the pass (probably more viable with more snow melt), a couple of small sites below Caroline Hut, and outside of Ball Hut.
Trail Overview
Please note, the below trail suggestions are intended for describing conditions outside winter season
Terrain Type:
- Flat
- Mostly flat with some hills / moderate climbs
- Hilly with moderate climbs
- Hilly with steep climbs
- Consistent steep climbs
Trail Condition:
- Path, marked
- Graded trail, marked
- Rough trail, marked
- Poor or neglected trail / partially marked route
- Unmarked / no trail (backcountry)
Experience Level Required:
- No hiking experience needed
- Some hiking skills recommended
- Hiking experience required (some potentially dangerous terrain)
- Good hiking experience required, with navigational needs and potentially additional safety equipment
- Mild-mountaineering. Strong hiking experience / additional safety equipment required for dangerous terrain
- Technical Climbing. Only experienced professionals should attempt
Important Notes:
- Experienced professionals to attempt in winter only.
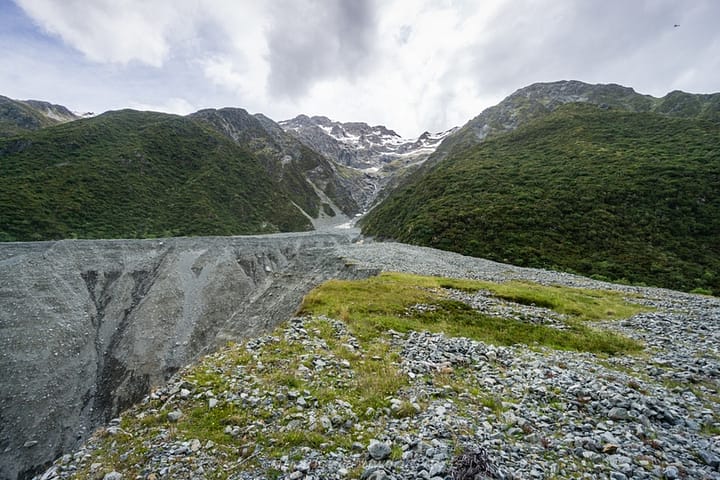
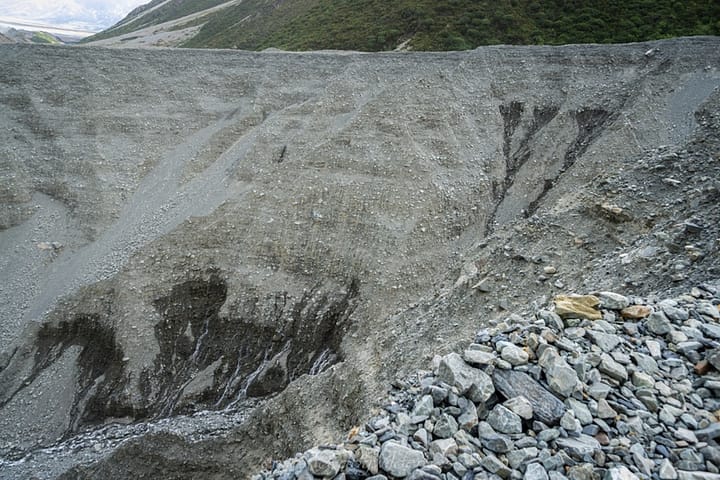
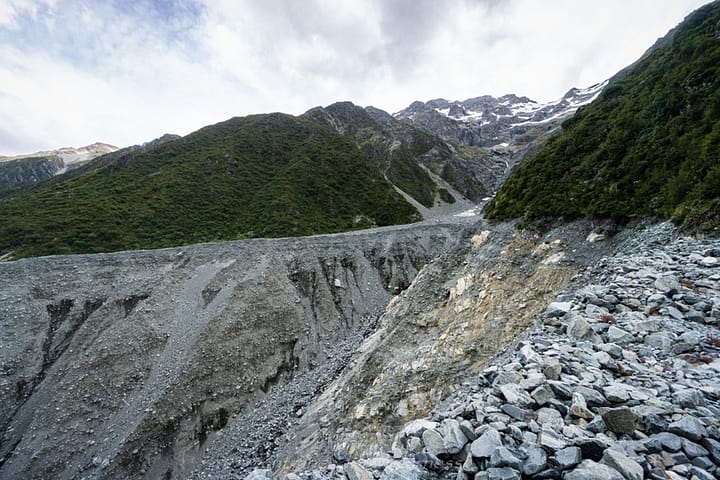
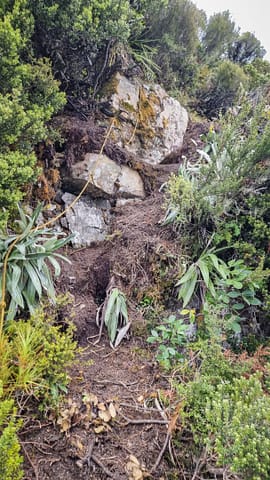
- There is a huge washed out canyon not marked on topo maps at Husky Stream on the Tasman Glacier side. There is an official detour climb through the bush to get around it.
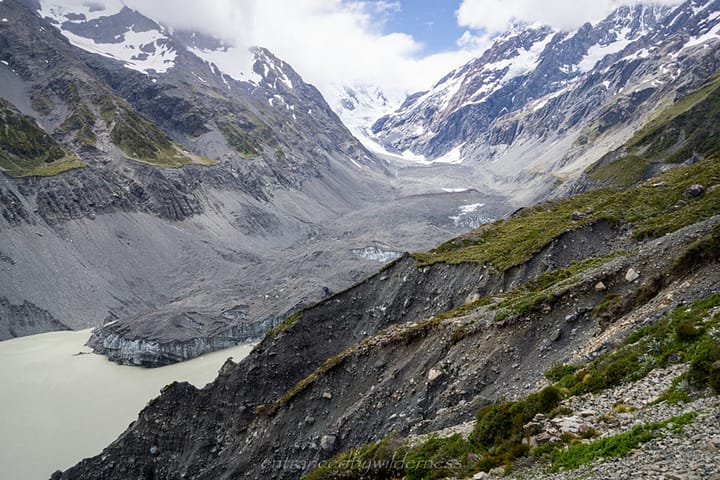
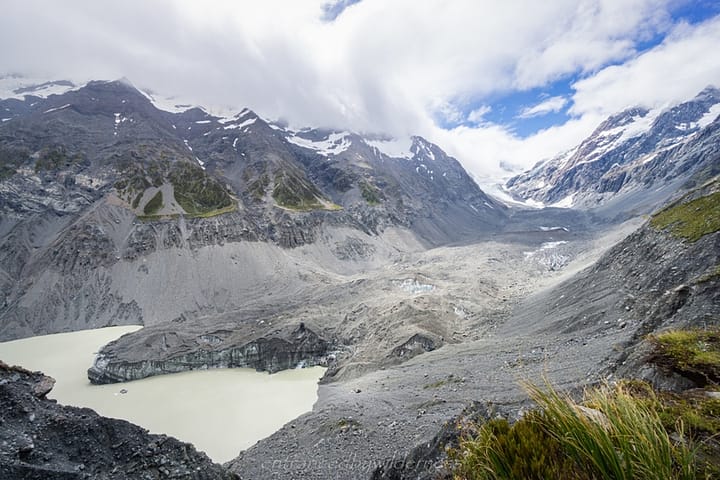
- The Hooker Lake part of the route is not to be underestimated. It involves about 3km of no trail/route, scrub bashing, and traversing around fresh unstable washouts.
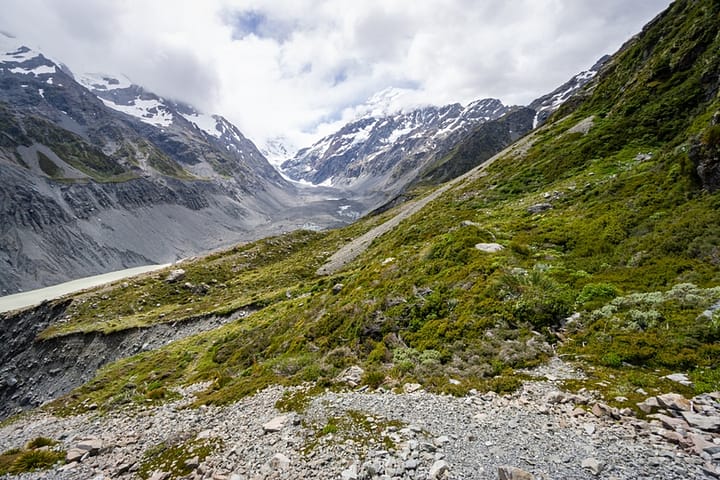
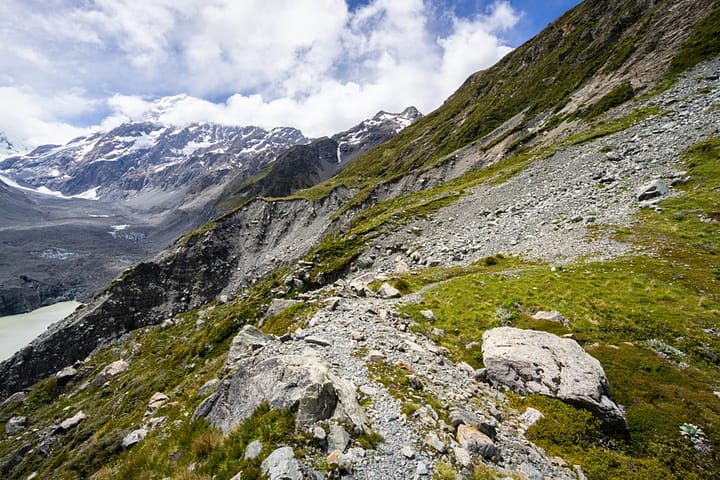
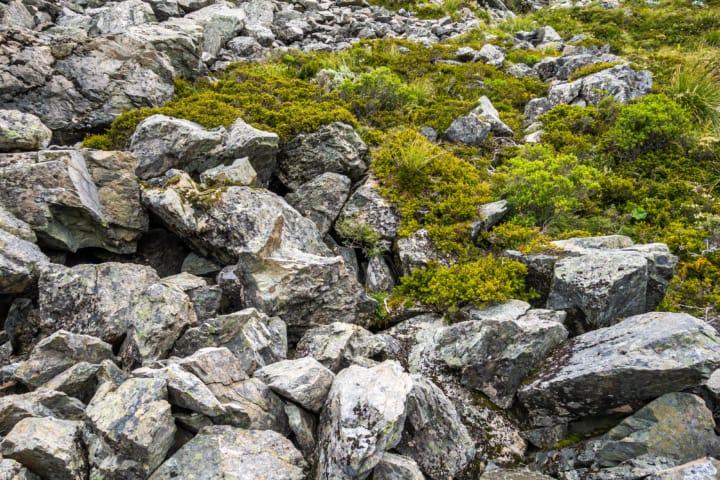
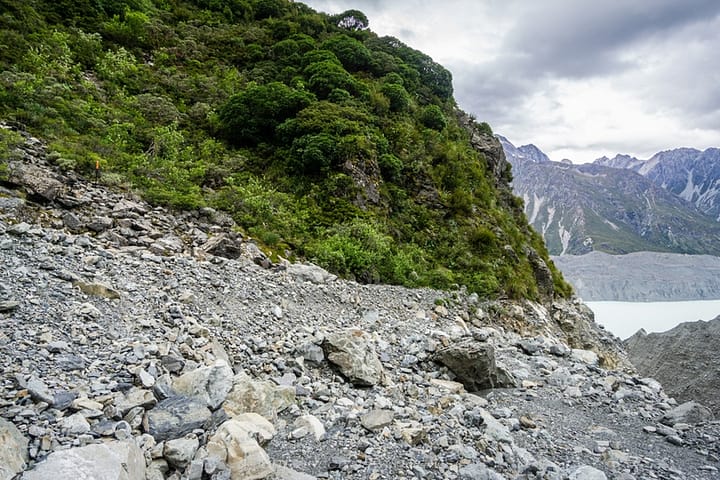
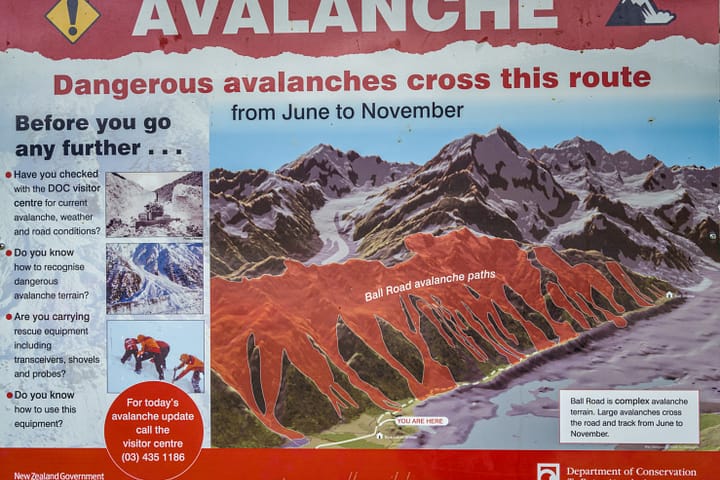
- The Ball Hut crossing is almost all avalanche debris path, so confidence on rocky terrain is required. It’s not as easy as it looks on the map.
- In Spring/Summer, safety equipment is likely to be required (ice axe, crampons/microspikes).
- At least one group member should be carrying a Personal Locator Beacon or Garmin InReach.
- There are no river crossings under non-rainy conditions.
- Water availability varies along the whole route. Due to avalanche terrain, water flows below a lot of the time. Take extra water (2-3L min).
The Hike
28/12/2022 – 31/12/2022
Day 1 – Hooker Valley Track to Sefton Bivvy
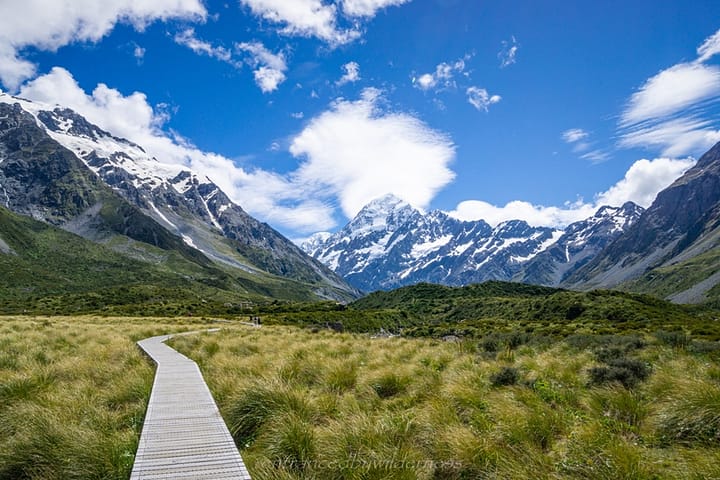
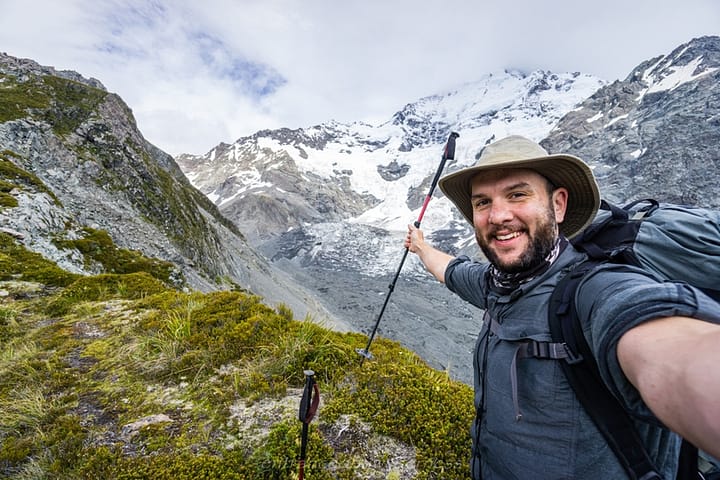
I found myself amidst the day hikers on the Hooker Valley Track, encumbered with heavy pack. The goal was to turn off between the first two main bridges, towards Stocking Stream. However, I ended up daydreaming with the views around me and ended up at the second bridge. I chose to scrub-bash my way from there for some adventure (stupid decision!). The first 300m were awful! Definitely just stick to finding Hooker Hut (not currently on many topo maps), and proceeding from there.
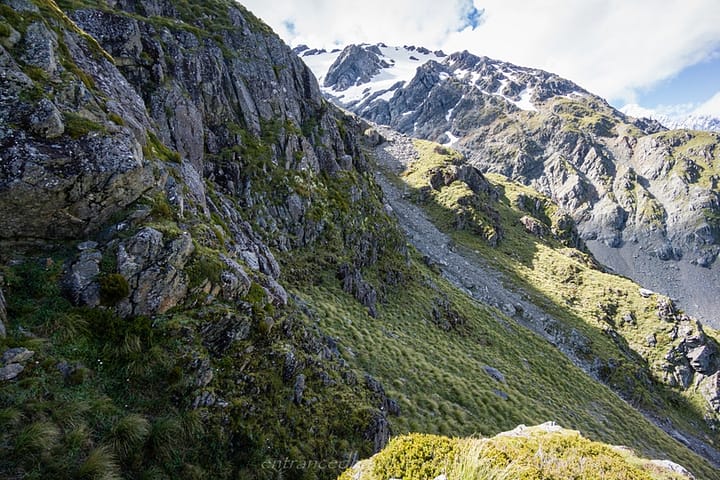
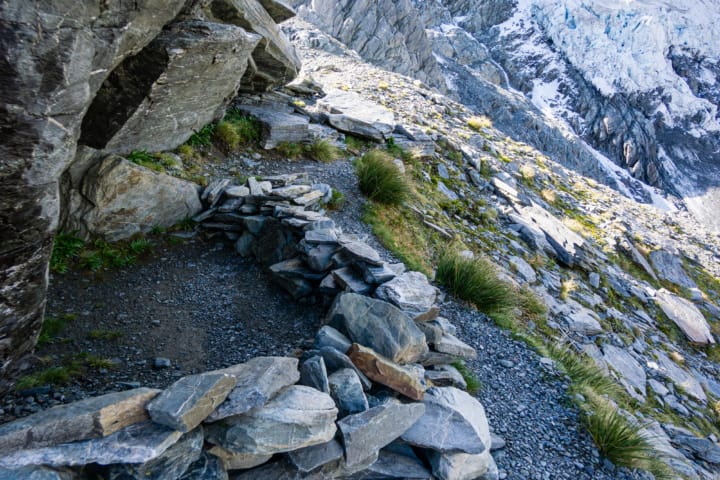
Finding the way up the lower Stocking Stream is fairly open, and obvious. Generally, stick to the left side as you ascend (river right). When reaching 1100m elevation, look out for rock cairns on the left that allow an easier navigation up the rocky bluffs for the next 3-400m of elevation gain.
It was a slow climb, but highly rewarding with the views as you have some breathers!
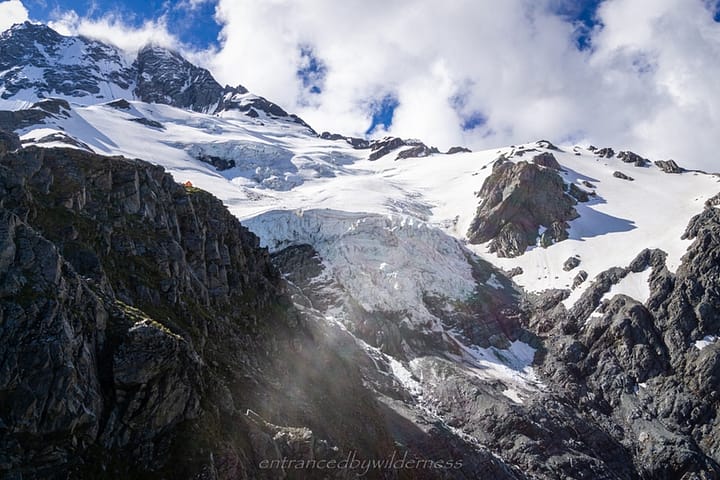
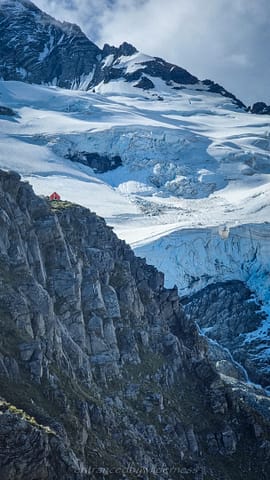
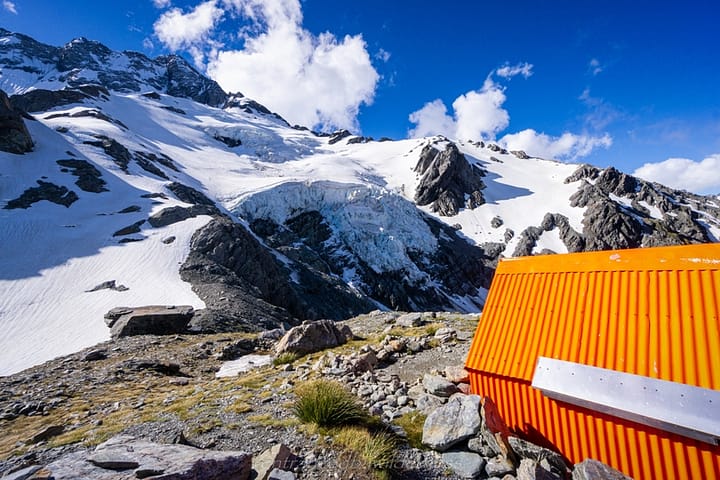
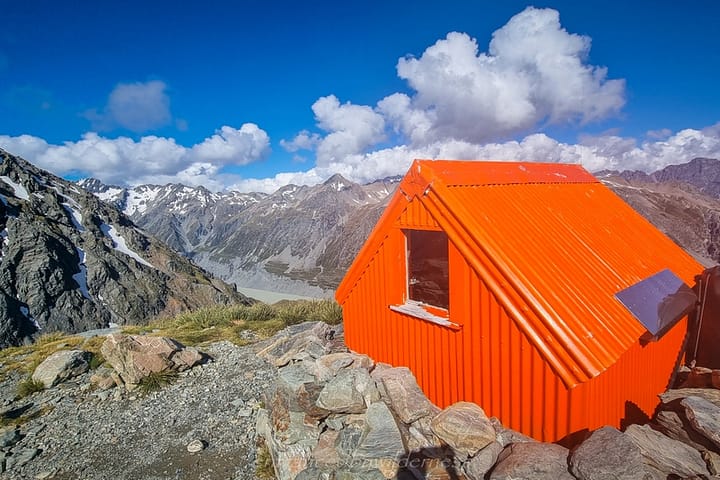
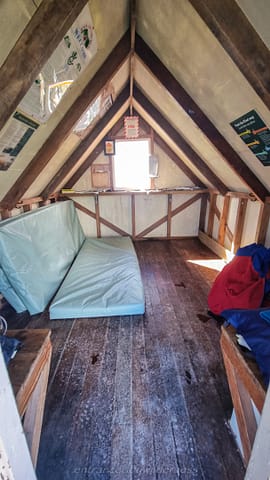
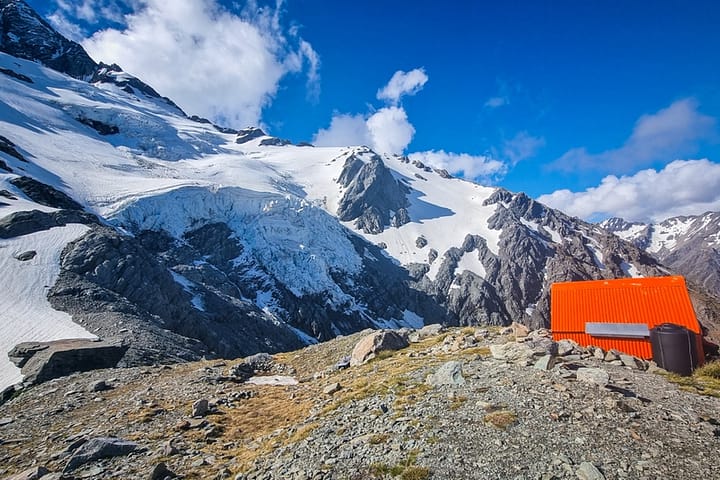
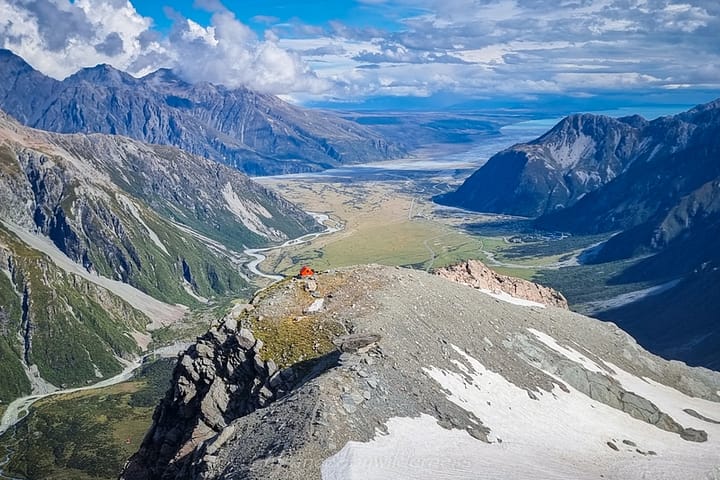
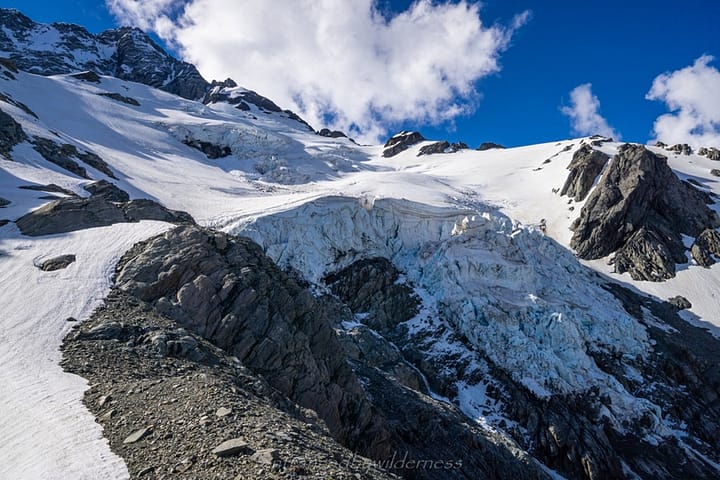
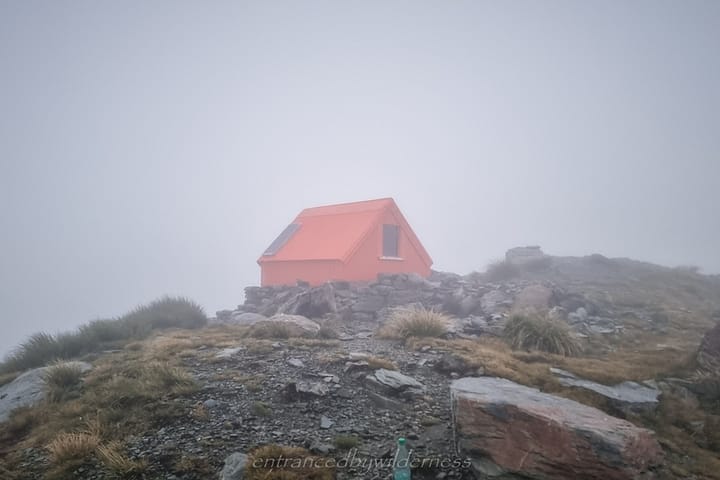
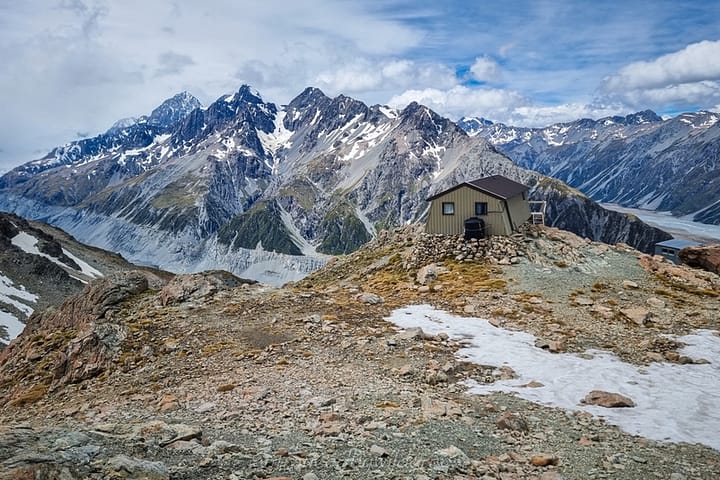
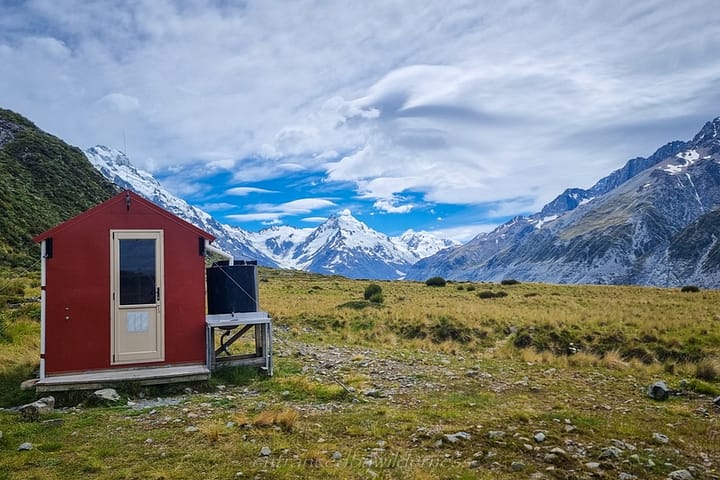
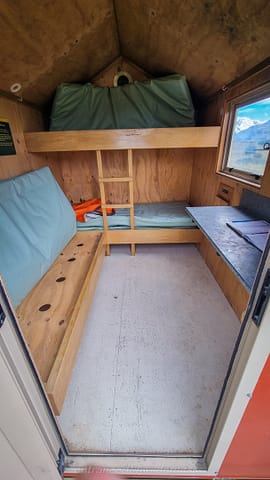
The final ascent provided some amazing first views of Sefton Bivvy, with Tewaewae Glacier in the rear. There was an easy snow slope to ascend right before the hut. The little bivvy was in pretty amazing condition, considering it’s one of the oldest huts still in the area in its original location.
Besides Sefton Bivvy, there is a small amount of room for tent sleeping, including a small rock bivvy site.
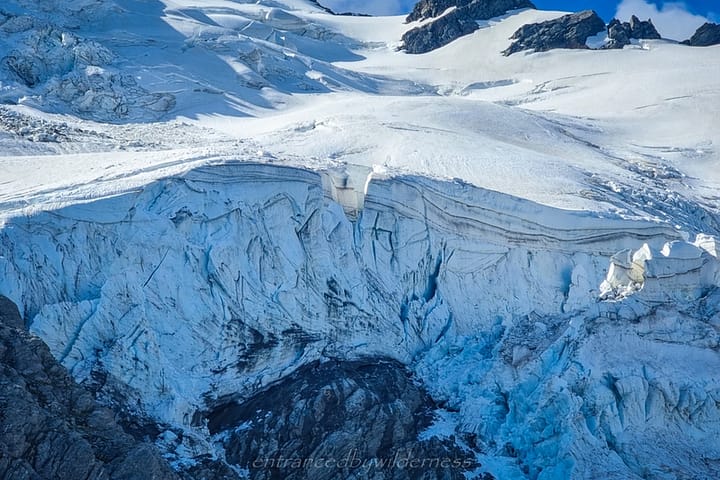
I decided to wander up closer to the glacier for some better views. It was spectacular to watch several small avalanches and just the epicness of the views around.
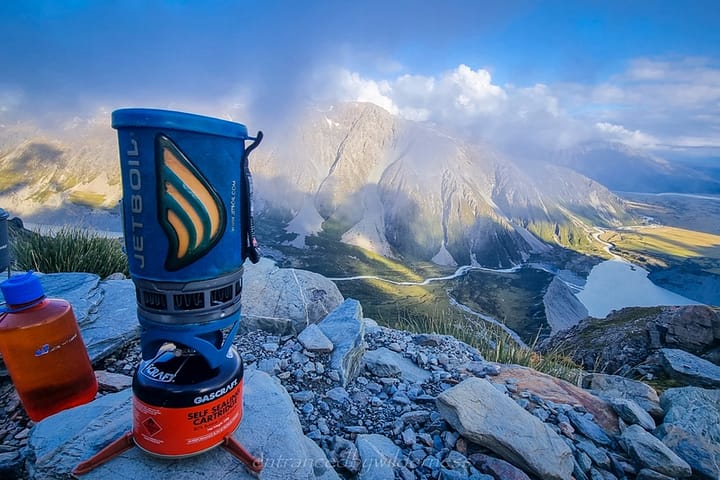
Along with another British guy who was already there, we shared the bivvy for the evening. Having dinner with the spectacular views before us was amazing. “If only it had been a cute girl instead to share the moment with” I was dreaming internally haha.
Day 2 – Sefton Bivvy to the ‘Playing Field’
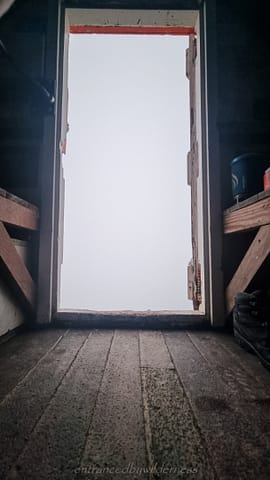
A misty morning was quite the eerie experience! I remember opening the door to the bivvy and seeing…. nothing! It felt like we were floating in the clouds.
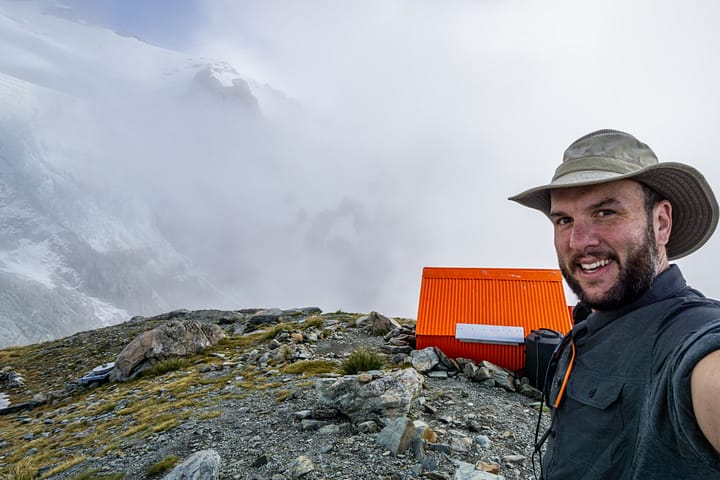
Shortly after, the mist dissipated, and I began my descent via the same route I had come up. Going down was pretty straightforward, yet jarring on the old knees!
After the climb down, I rejoined with the Hooker Valley Track via a much more direct and… sensible route.
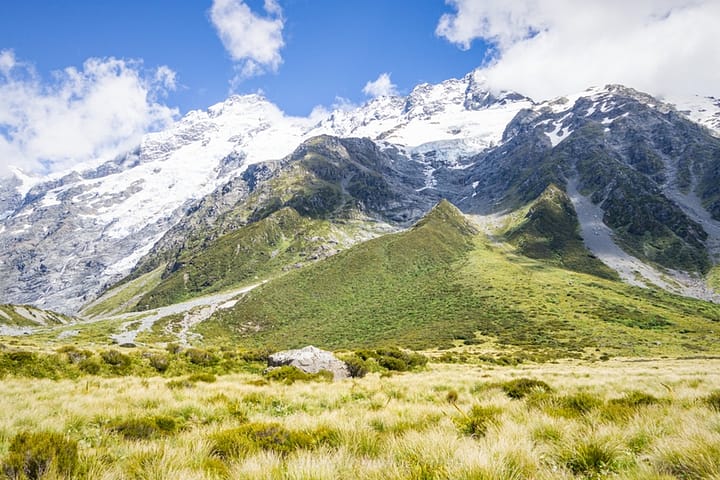
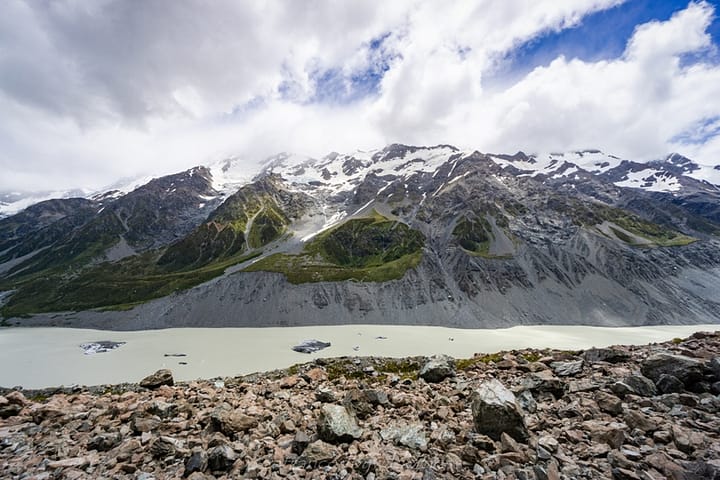
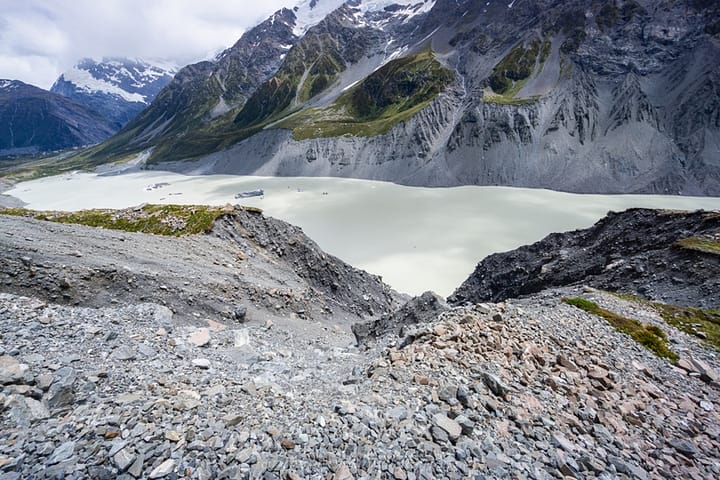
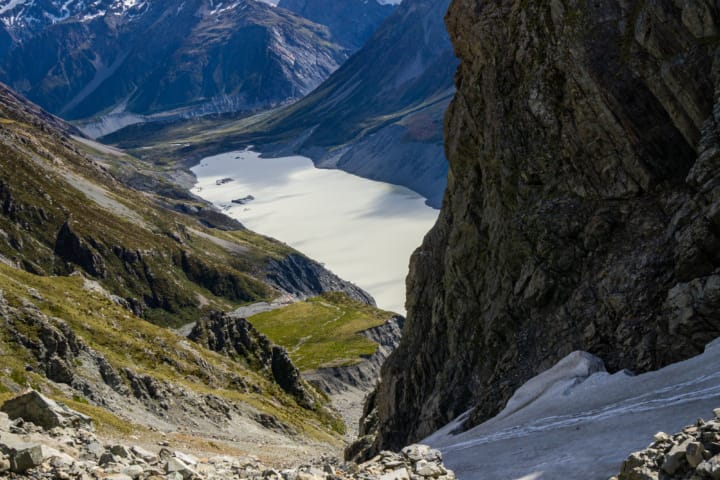
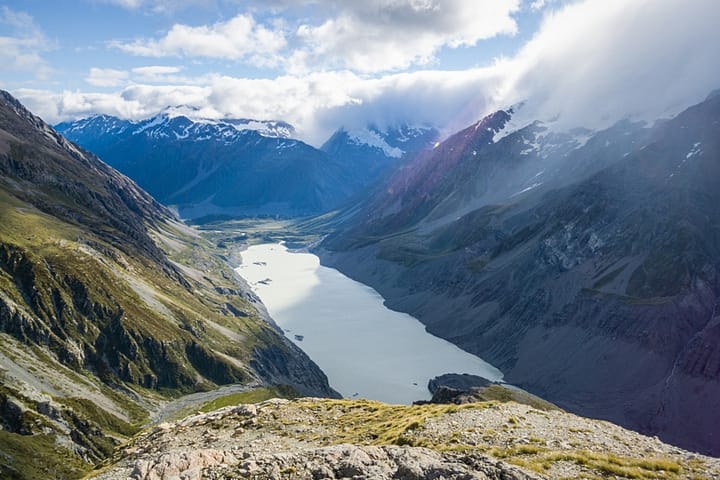
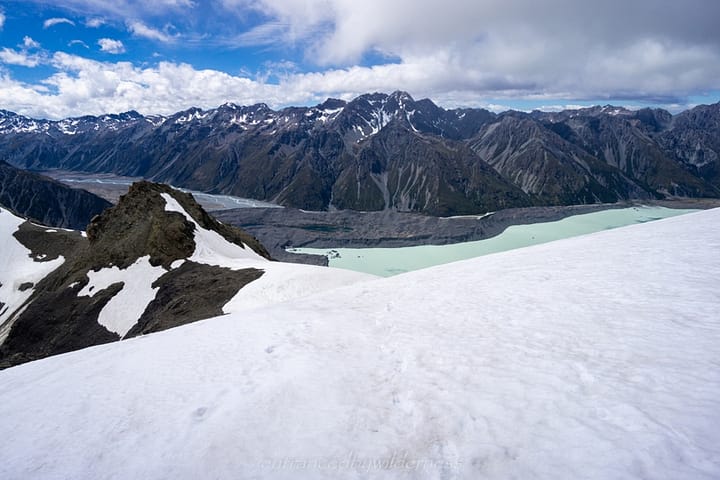
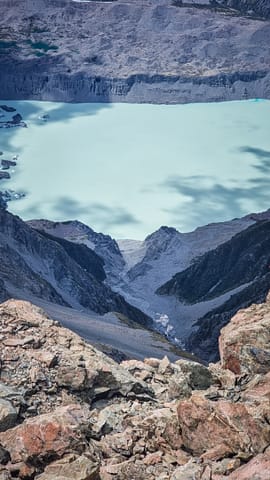
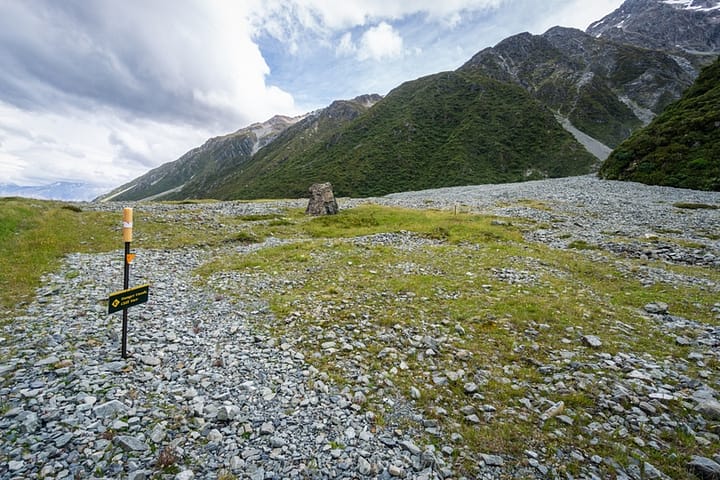
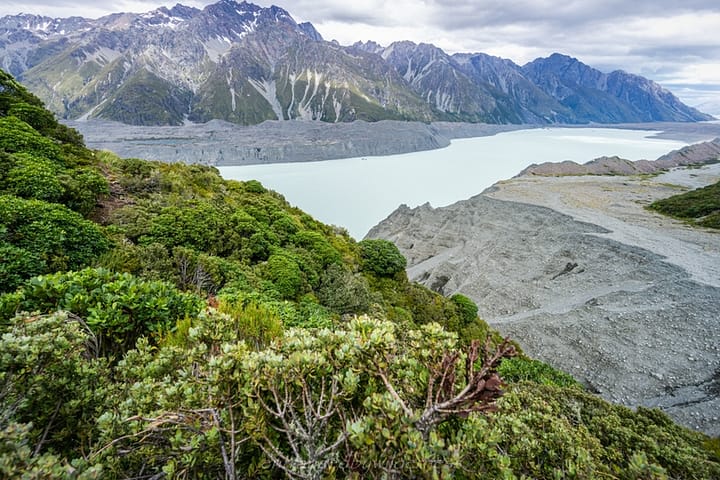
There was a Ball Pass crossing turn-off sign before the end of the Hooker Valley Track, however, don’t go this way – it’s either overgrown or in a state of neglect (or both). Upon reaching the end of the Hooker Valley Track, just continue along the moraine following the lake edge until around 900m elevation, where you need to start the climb to 1000m to get above the Mt Wakefield stream washout.
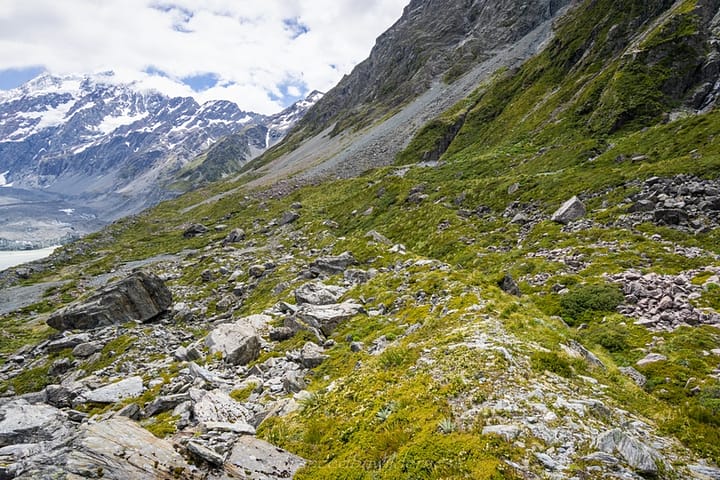
The initial part of the traverse along the lake is not too bad, but eventually, you are forced to climb higher. Here, the challenges get harder.
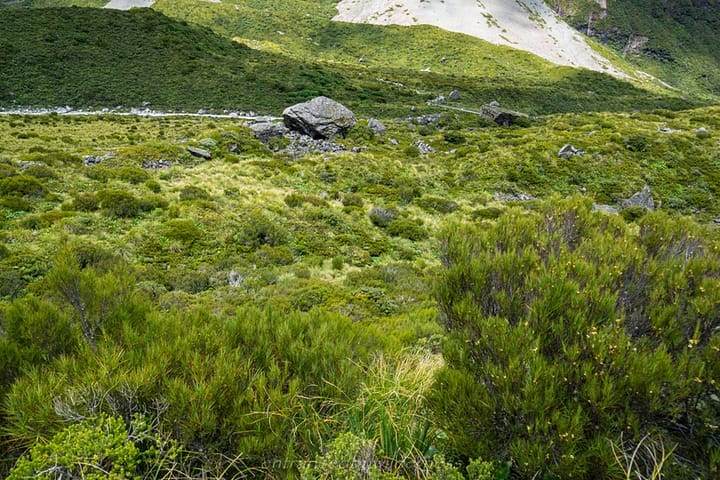
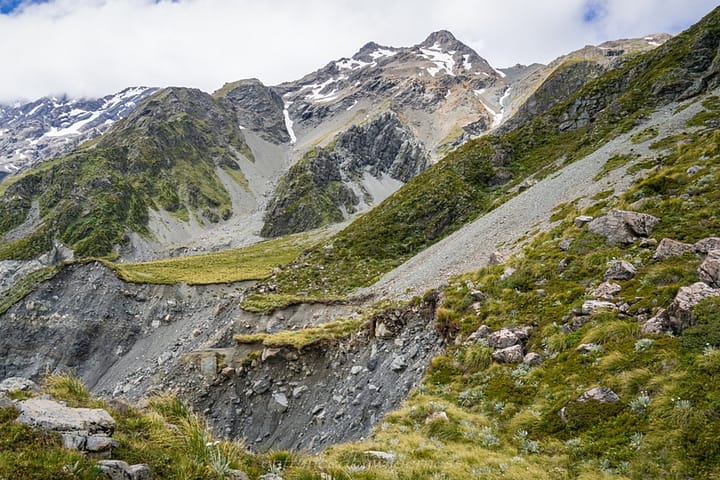
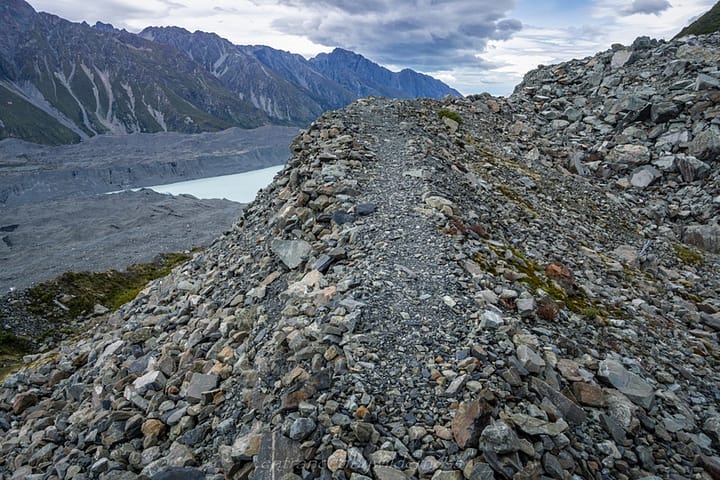
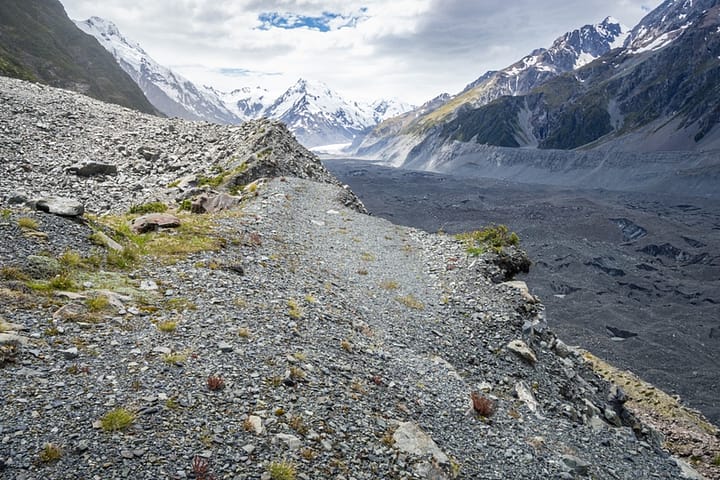
You are restricted, and need to traverse more rugged terrain because the moraine is unstable, with huge washouts from past heavy rain events. The terrain provides limited width to pass at some points, and scrub bashing becomes some of the only options to pass.
It should be noted, the only (easy) access to running water on the lower section, is the middle of the triple stream fork on the topo map. Most water flows under the moraine aside from here.
Eventually, the challenging section gives way to a snow grass flatter area, before the climb up the gully begins.
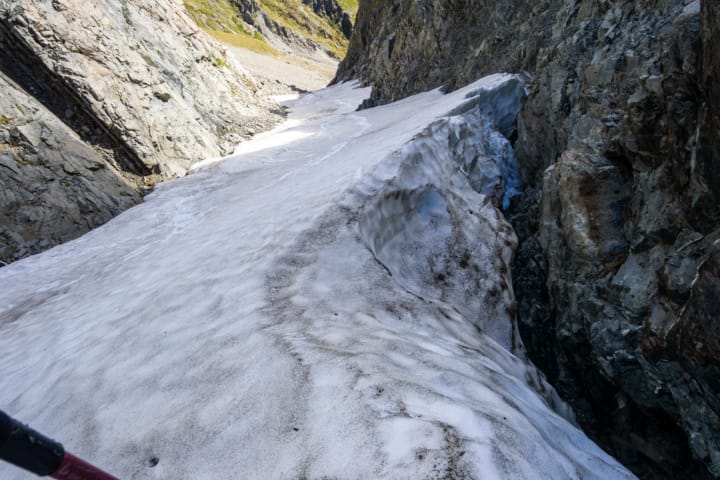
The gully was mixed climbing on scree and snow. There was a snow section in the middle that required some carefully kicked in steps to climb over (alternatively, a difficult rock scramble on the side), but otherwise, a generally easy climb.
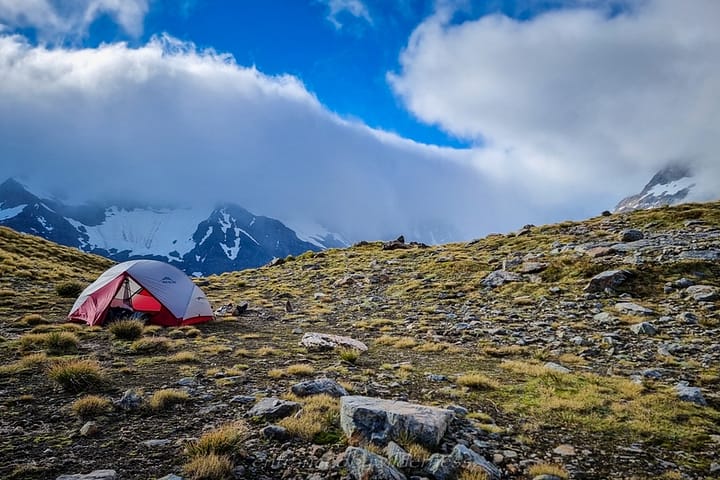
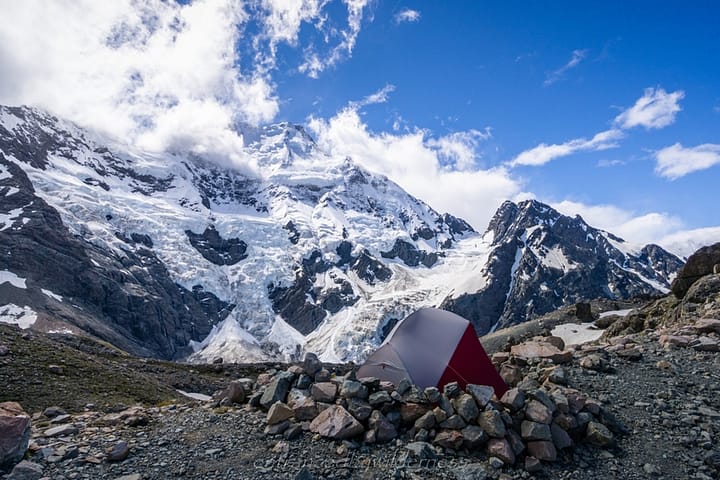
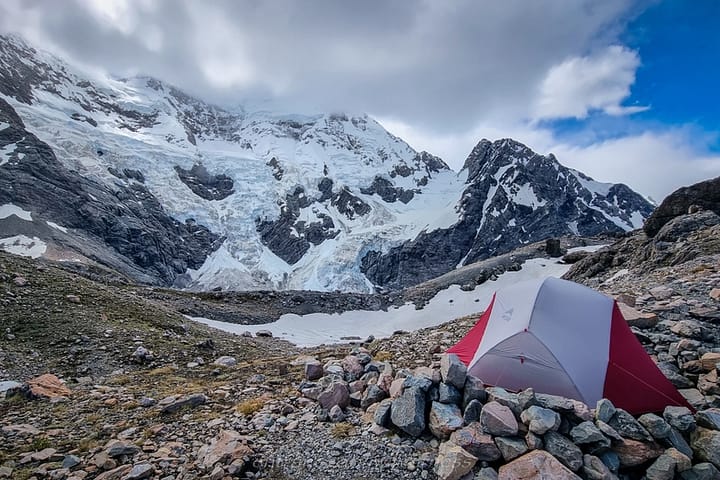
It had been a solid day’s hike to reach the Playing Field – much tougher than anticipated, but I was feeling good! Make sure to grab some water at the small stream at the end of the climb! I ended up finding a tent site in the middle of the Playing Field. There wasn’t anywhere super flat right on the edge, sadly.
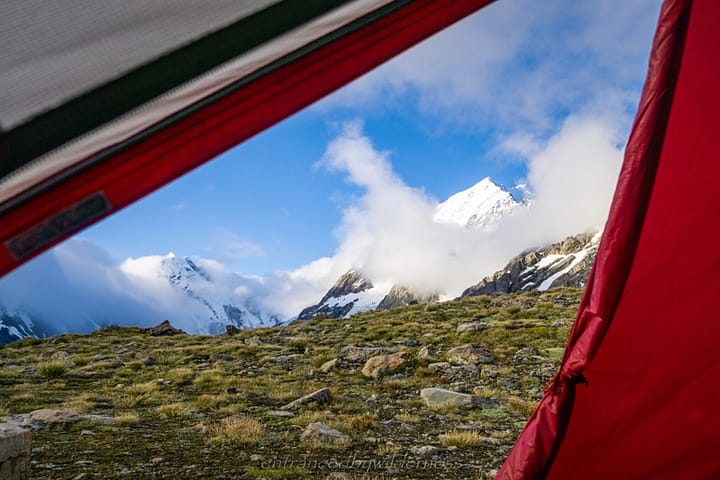
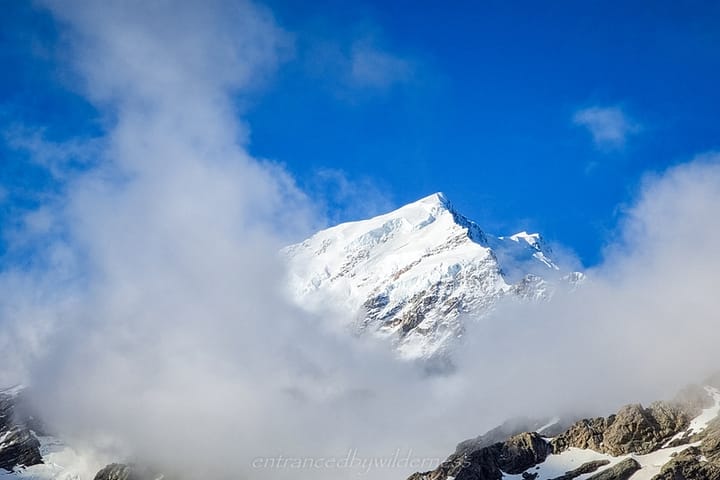
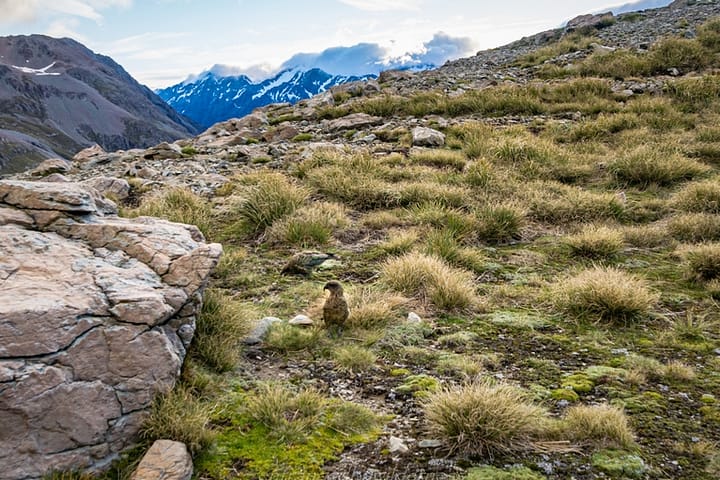
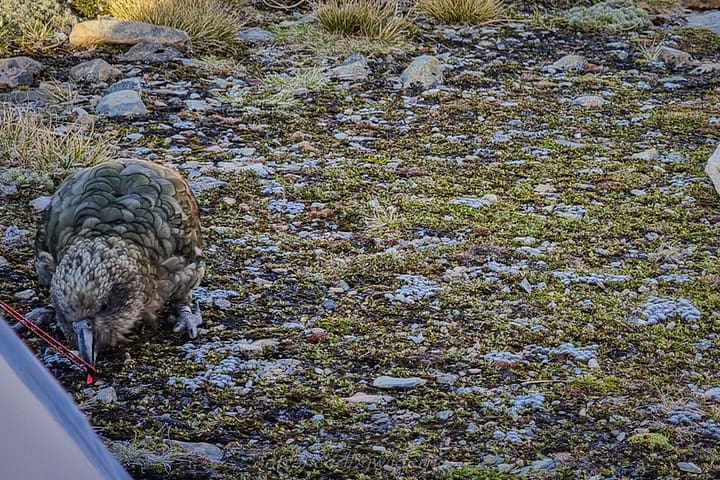
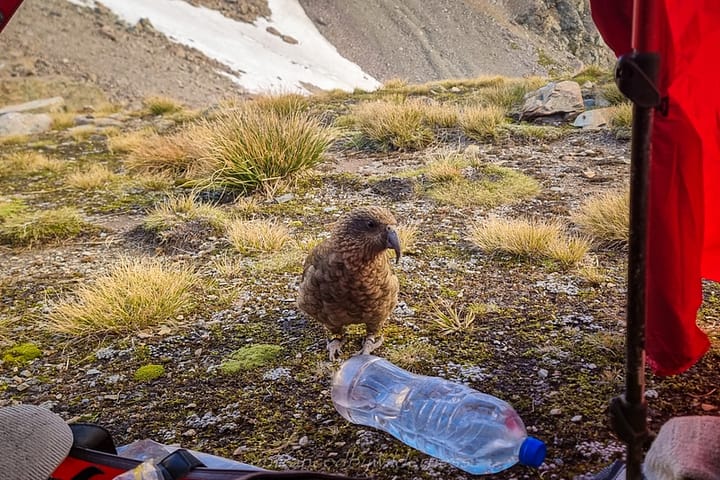
I shared some company with the local Kea, who used my tent as their play toy. Admiring the peak of Mt Cook looming before me, some hard-earned dinner was cooked.
Day 3 – The Playing Field to Caroline Glacier Overwatch
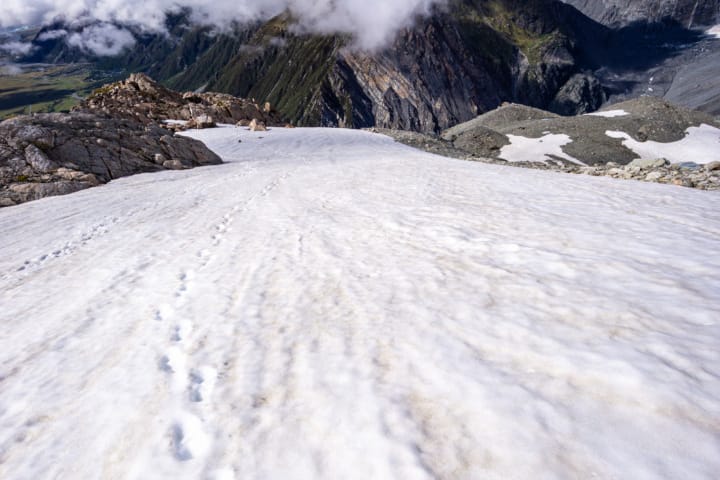
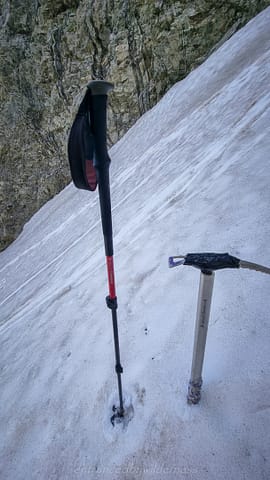
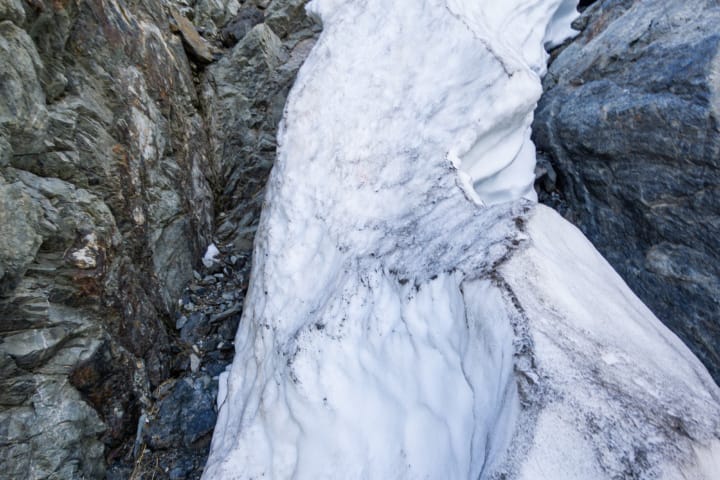
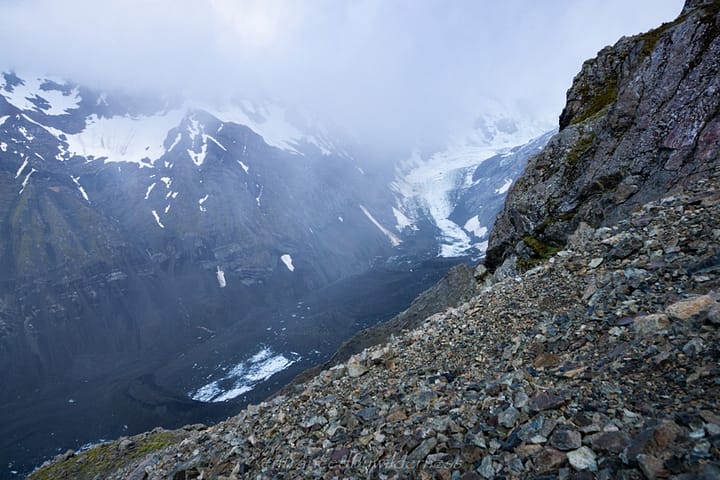
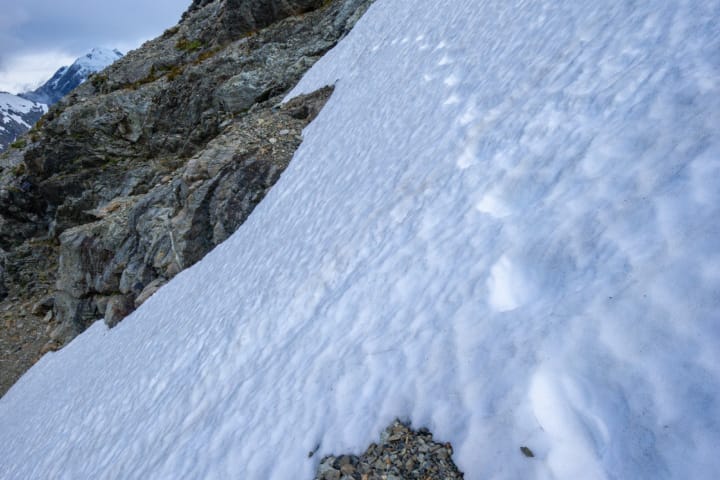
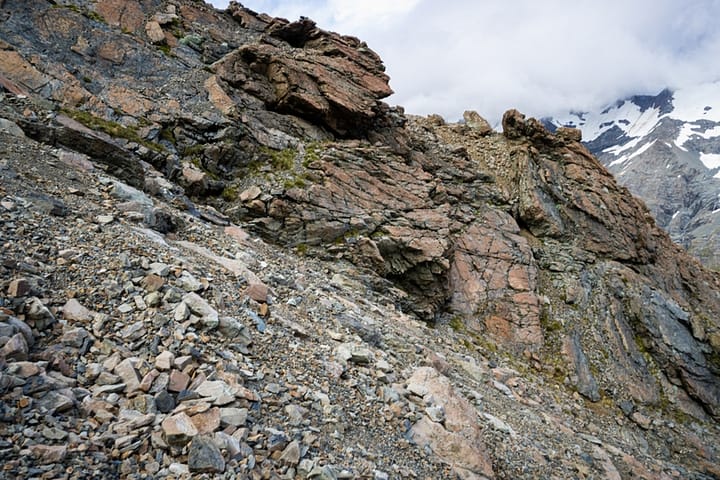
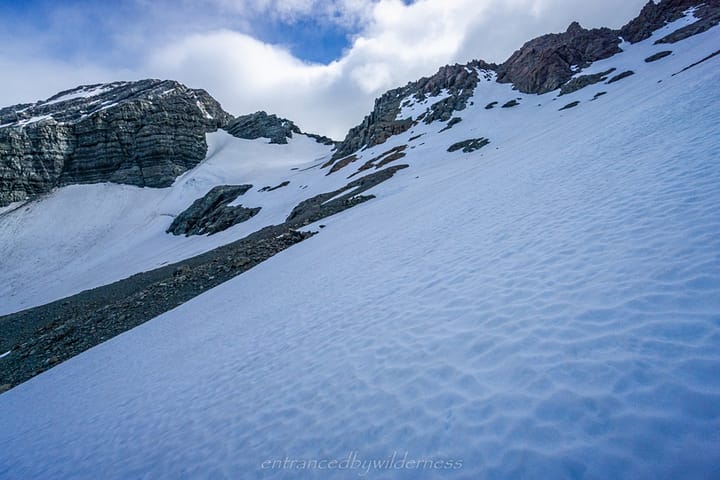
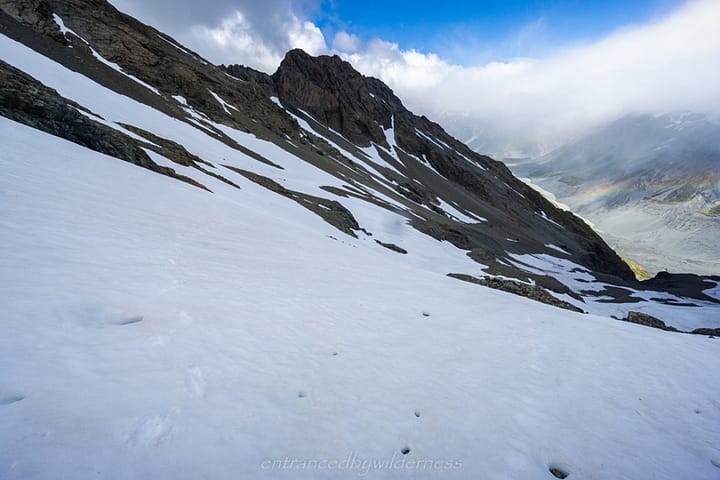
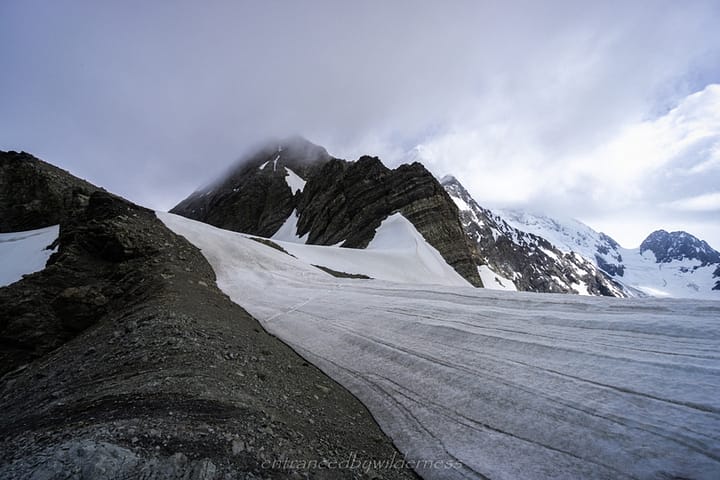
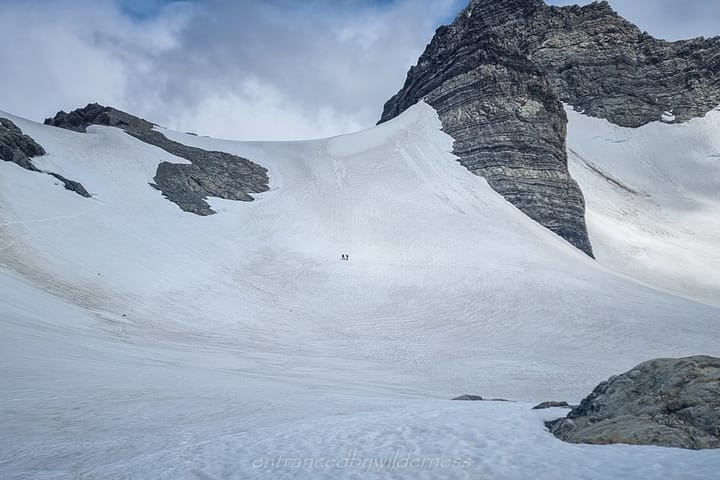
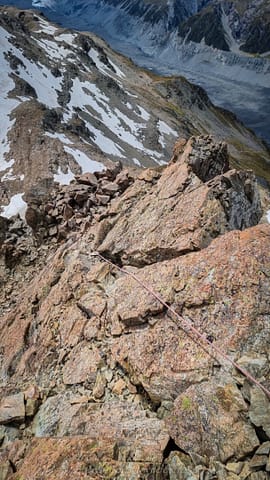
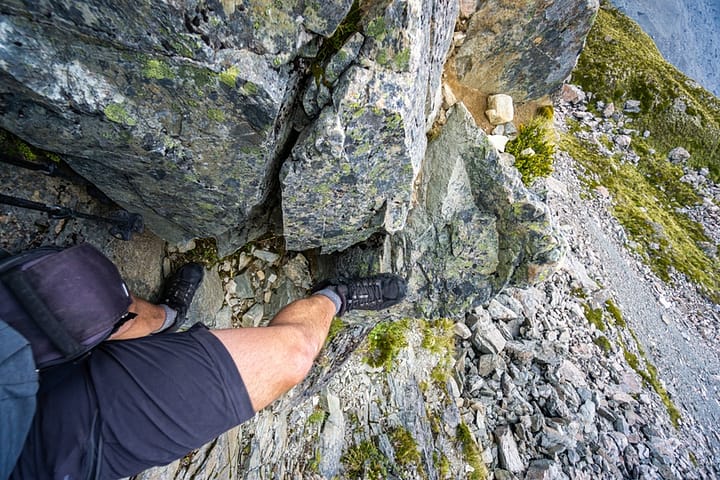
Thankfully, the mist wasn’t as thick as the previous morning at Sefton Bivvy. I ended up leaving leisurely without rush, and made my way towards the next climb – the ‘Z’ on the lower ridge from Mt Rosa. The ‘Z’ is a feature named due to it being the only easy pass through a set of bluffs, that requires a zigzag manoeuvre to get around. In my case, there was a snow patch right on the steep crux of the section, which required careful kicked in steps to cross (see photo).
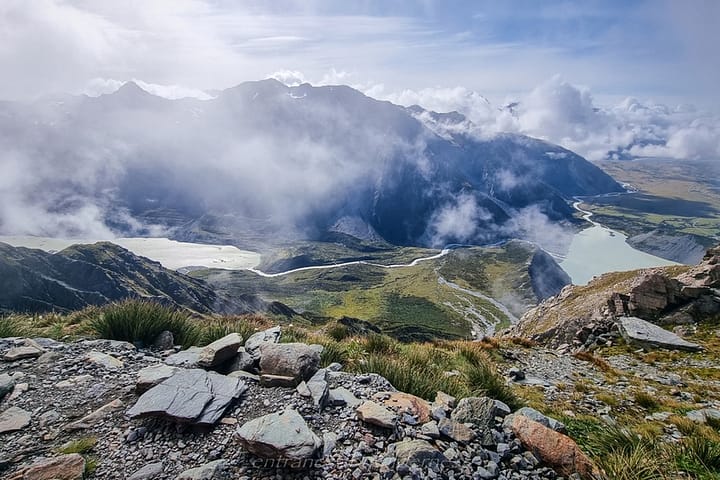
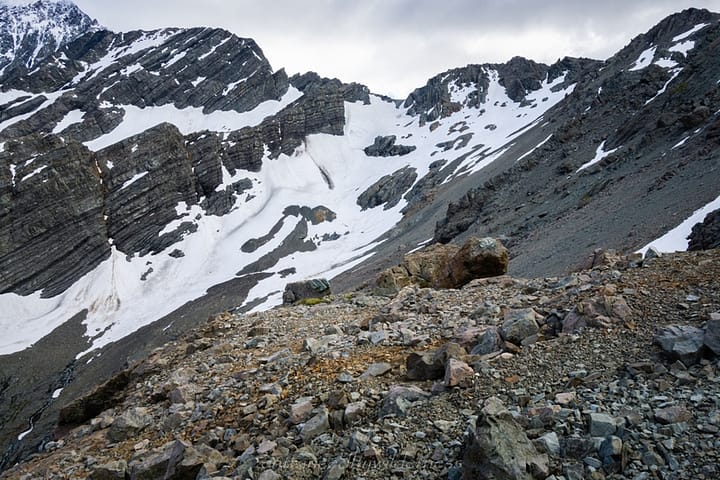
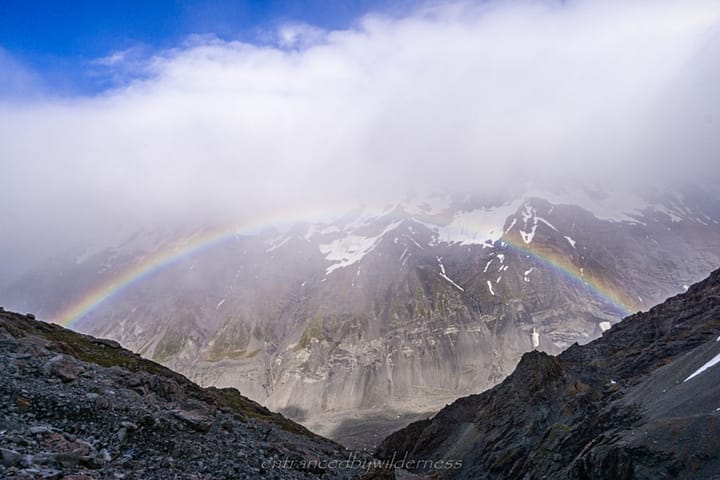
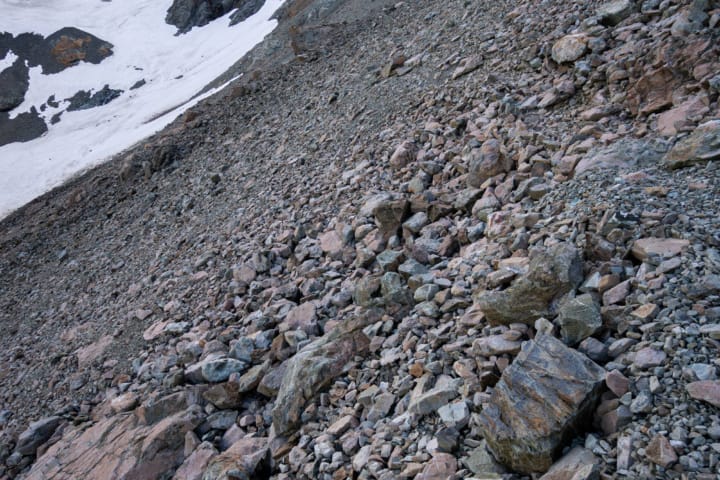
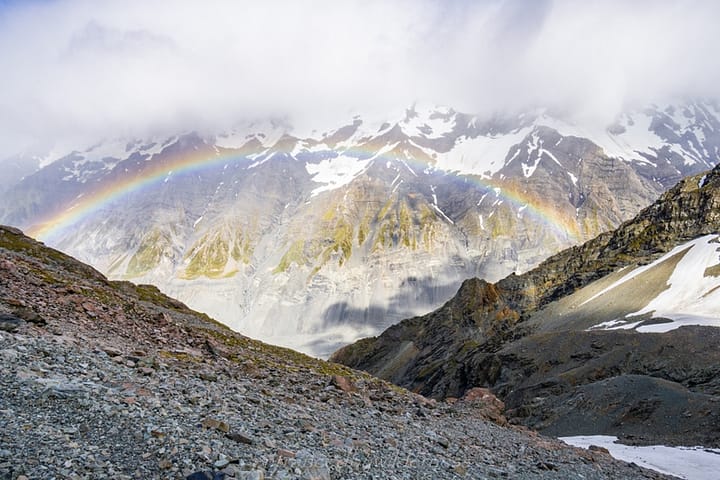
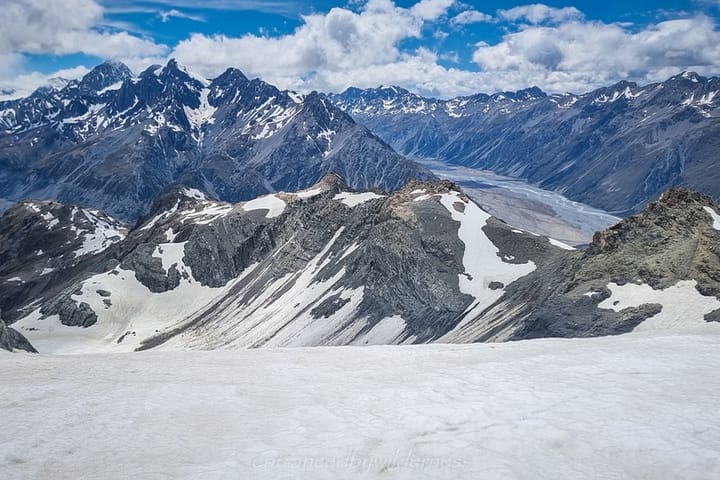
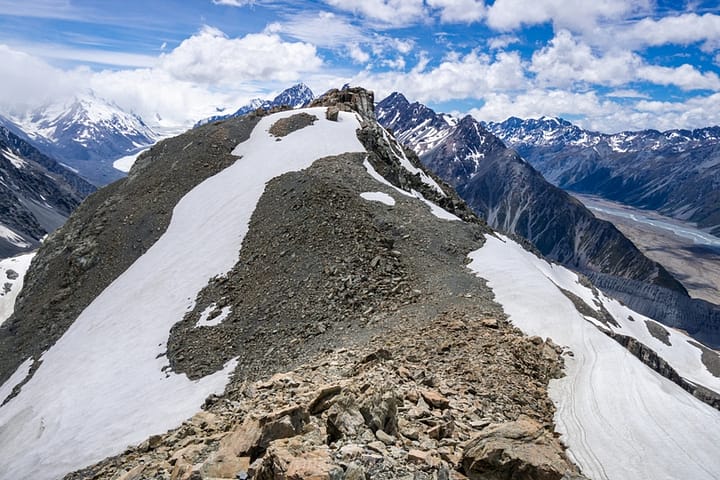
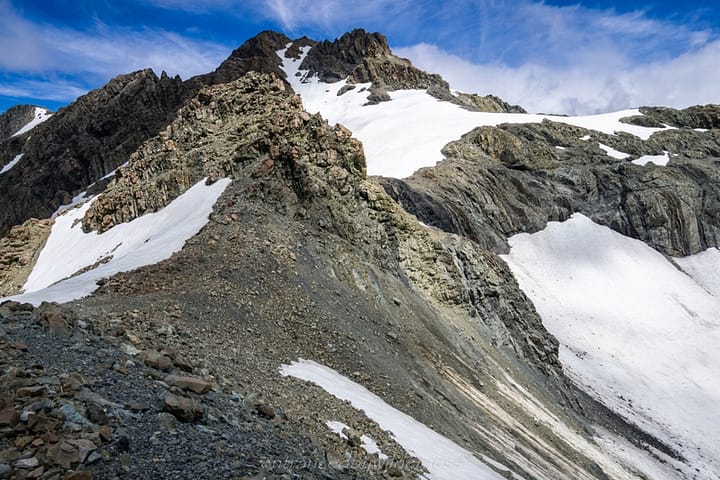
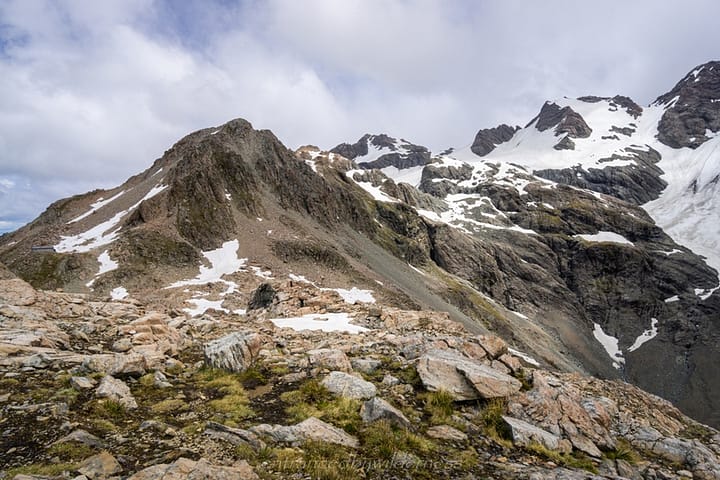
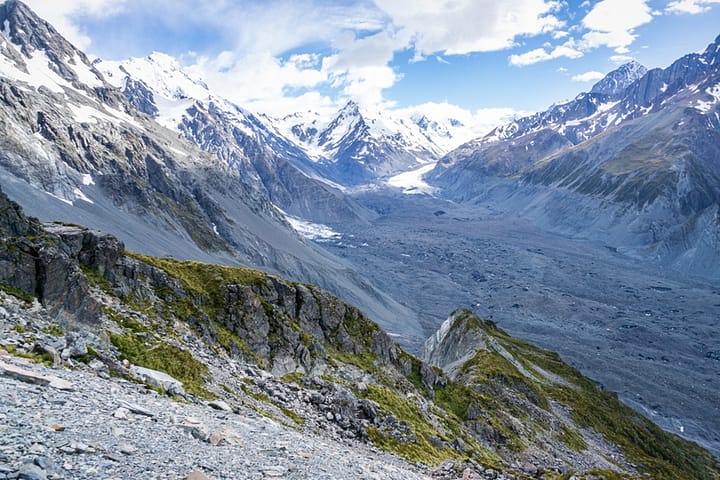
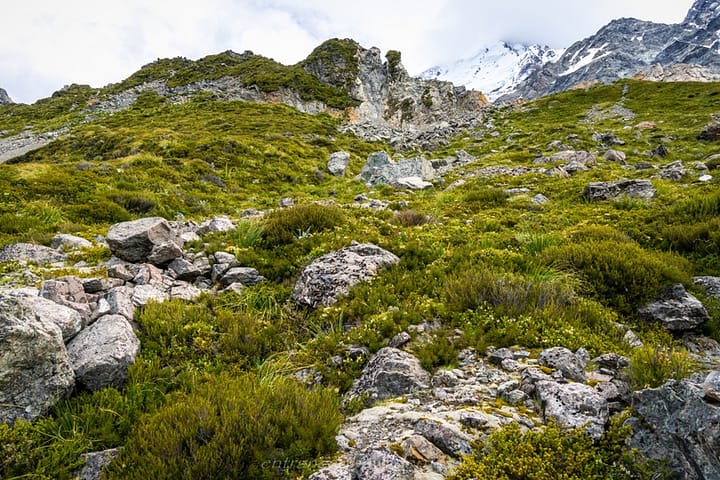
After the ‘Z’ section, a large screen slope lies between you and Ball Pass. It looks like you can stay high, but going low under the small ridge bluffs is ideal (try to aim for around the 1760m elevation). In this section, I got to witness a spectacular rainbow in the Hooker Valley, which lasted for ages!
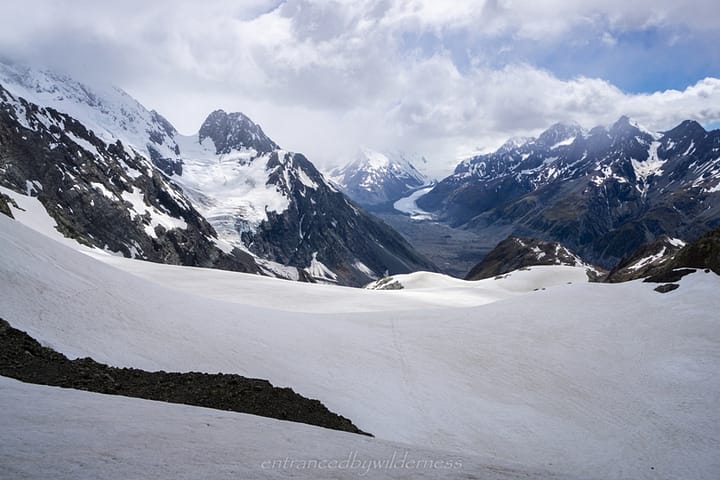
Once around the bluffs, the pass is easy to access. I put my crampons on for this section, which made it easy. The pass itself was mostly covered by a snow drift, and offered limited exposed camping options (but possible). However, the section of the pass to the north-west may have had some viable sites.
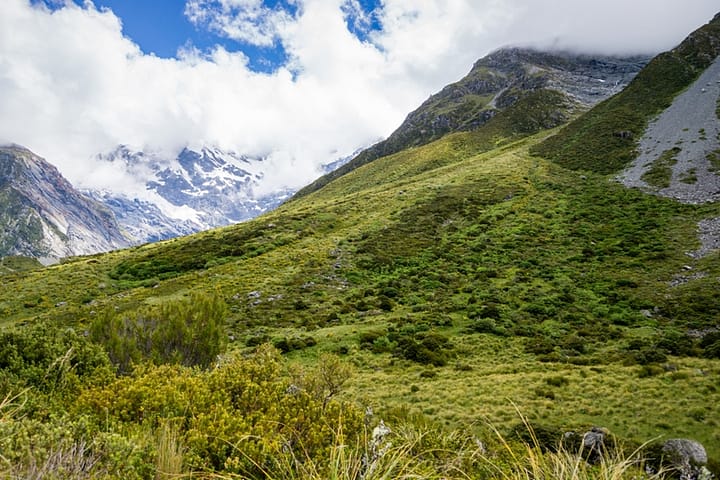
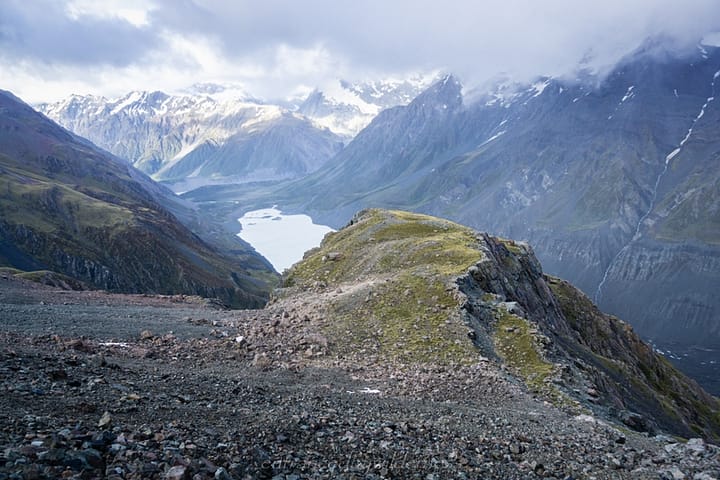
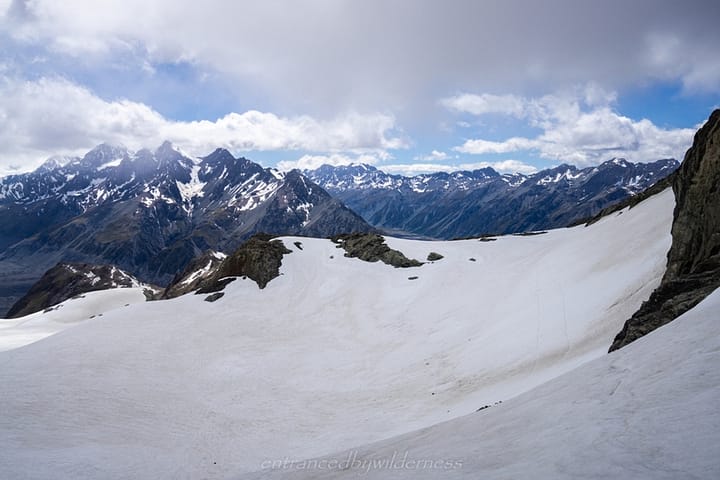
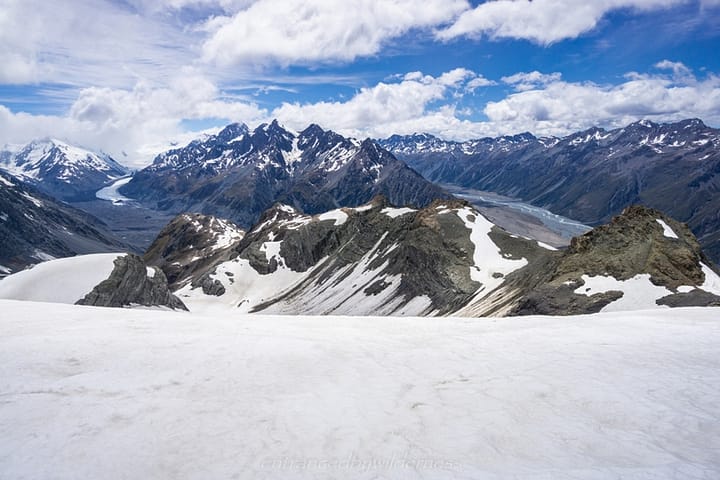
I had lunch on Ball Pass, and then made my way around the snowdrift into the basin, sidling across to ‘Caroline Ridge’ – the ridge that has Caroline Hut on it. The terrain was pretty forgiving on the eastern side of the pass. There’s more snow, but the slopes are gentler.
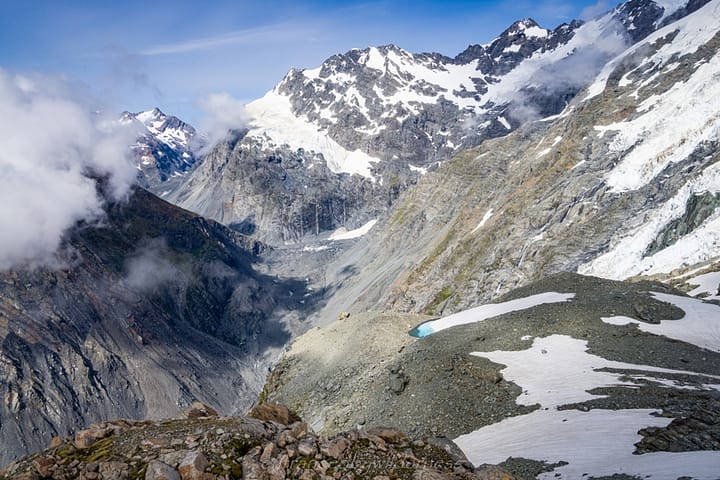
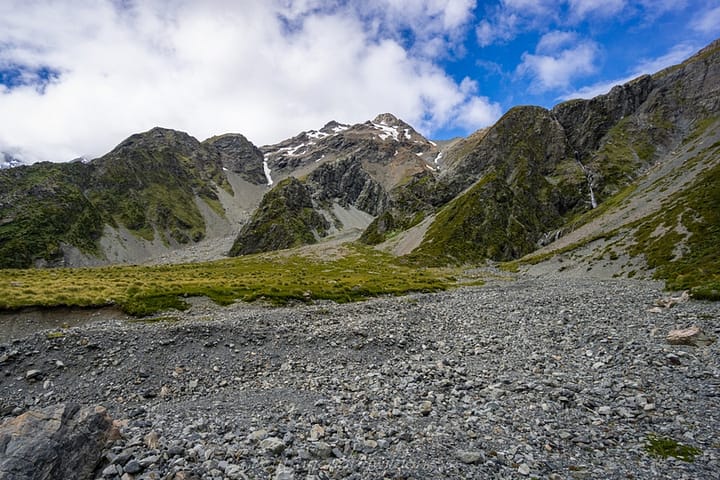
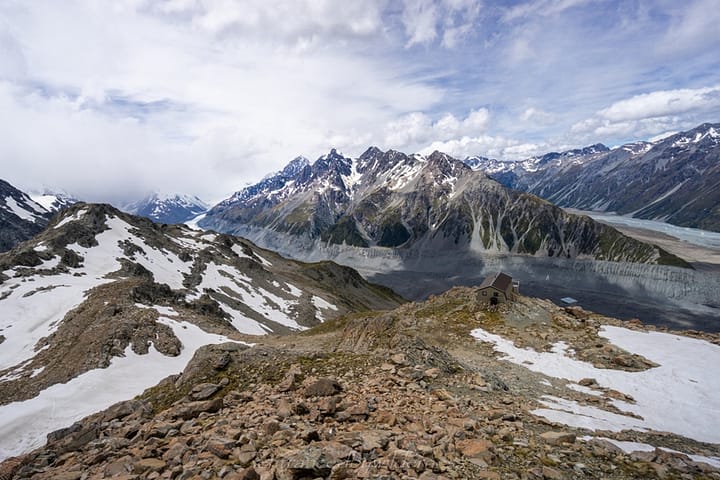
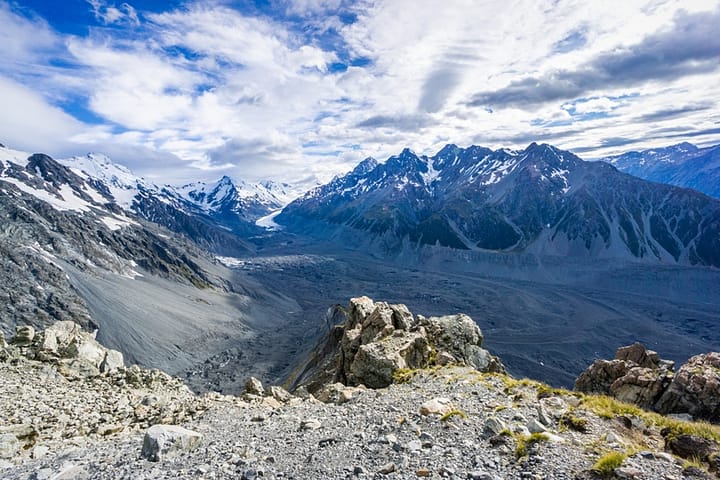
The only tricky part was a small rocky hill at around the 1940m contour (seen in the photo captioned as ‘Malte Brun…’). You can see on the topo map where I attempted to skirt around the side, but ended up going over the top of it.
The ridge was all exposed from here, and easygoing. However, the drop to Caroline Hut was a little steep in places.
Upon reaching Caroline Hut (locked for private use), I discovered they actually have an attached emergency shelter on the back of the hut. That was handy to know for the future.
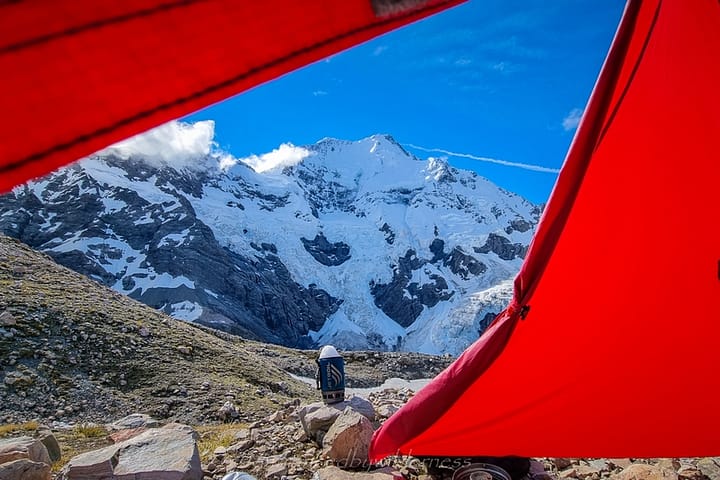
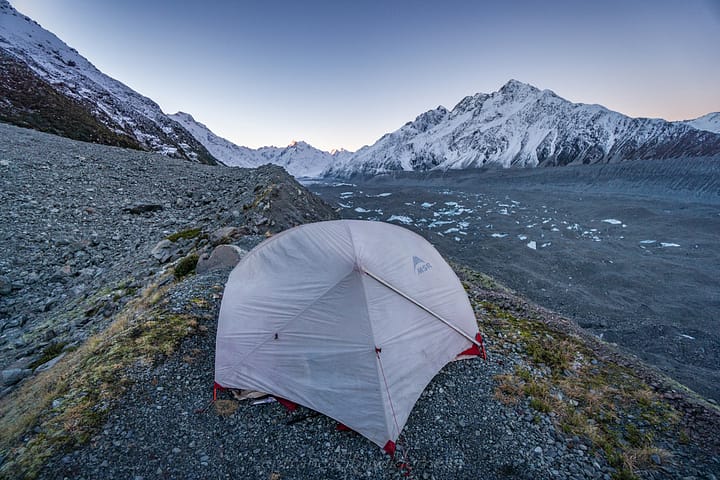
The views the entire way down were stunning, and I really wanted to spend a night on the ridge. So my plan was to find a tent site for the evening. On the topo map, the terrain looked ideal to find a site, but it was fairly limited for a flat area. The best site was around 1750m elevation in between peak 1824m and the preceding hill on the ridge.
It was only about 3pm, but the scenery was too amazing to pass up. This was where I’d camp!
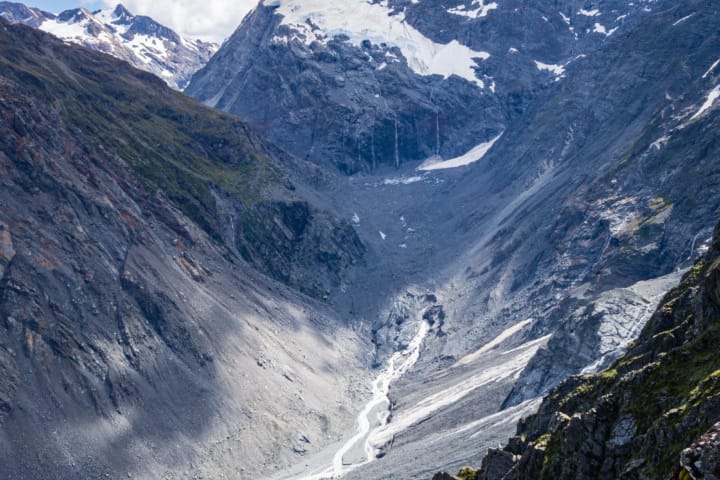
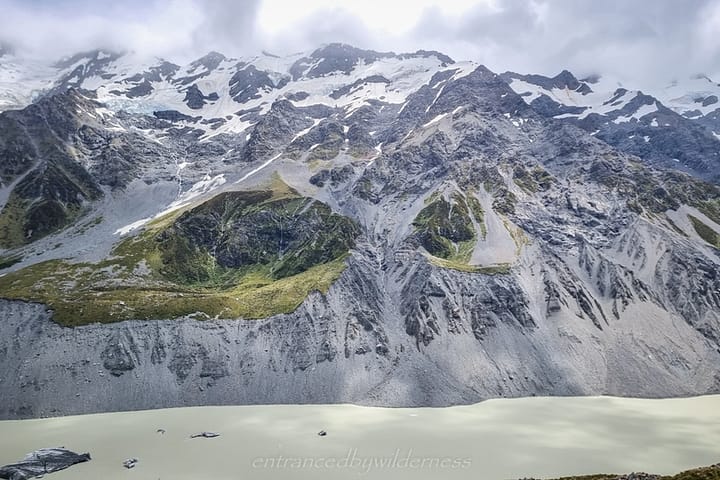
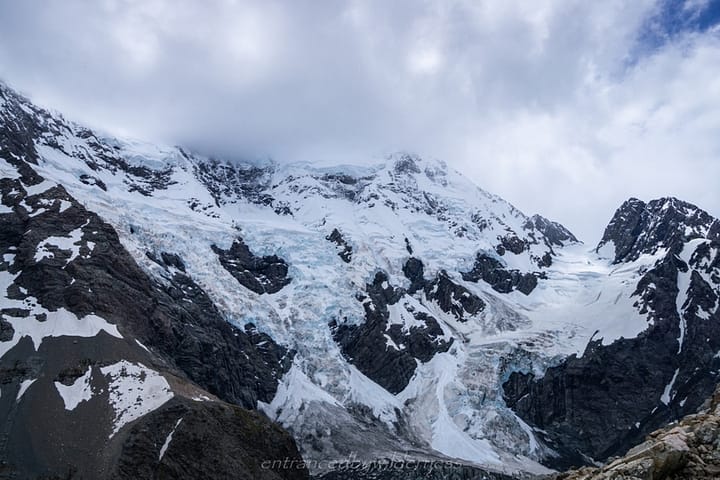
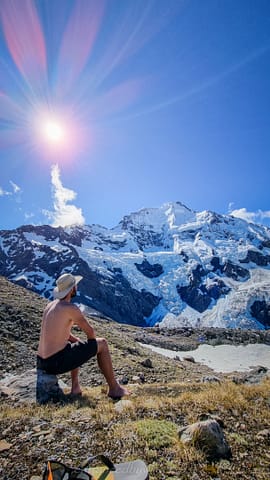
All afternoon, I stared in awe at the majestical Mt Cook and Caroline Glacier. The entire panorama of Nazomi, Hillary Ridge, Low Peak (Mt Cook), Middle Peak (Mt Cook), East Ridge and Anzac Peaks was before me.
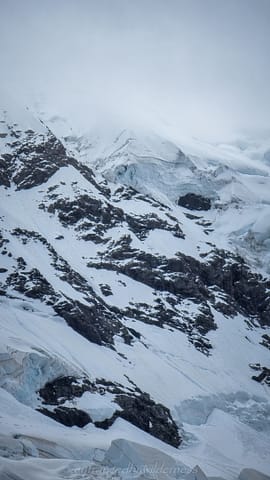
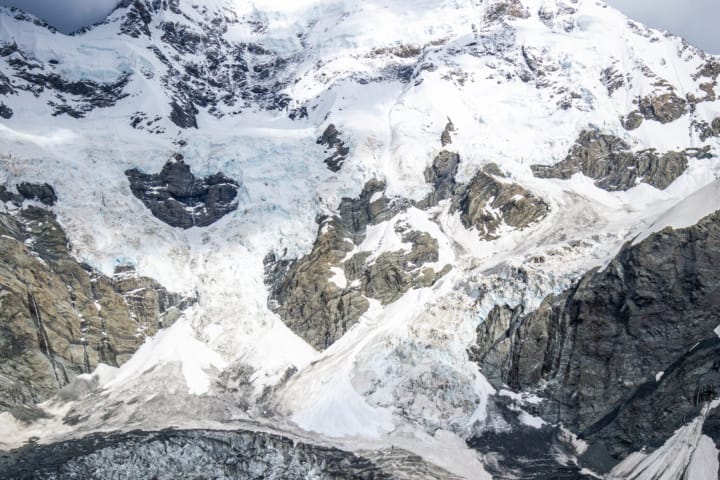
It was like watching natures’ TV, with avalanches continually bombarding the slopes below. It was both amazing, yet, saddening to see all the ice falling away. The glacier was particularly active around when I had dinner.
Day 4 – Caroline Ridge to Tasman Glacier Carpark
The memories all came back from my 2018 winter trip to Ball Hut – though it was far less snowy this time around!
I had some lunch on the grass and imagined living here – with all the adventures that could be had on a weekly basis… “ahhhh, but a dream”, I thought.
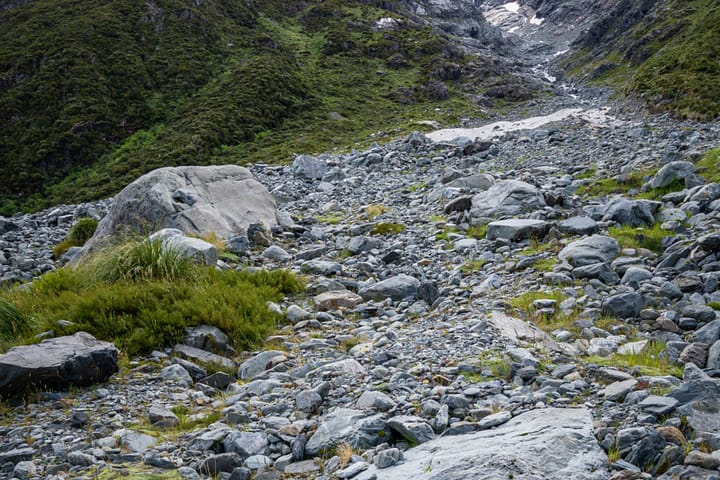
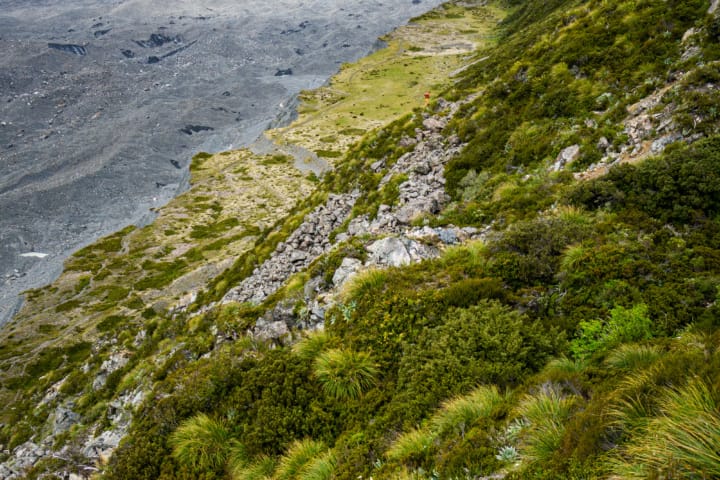
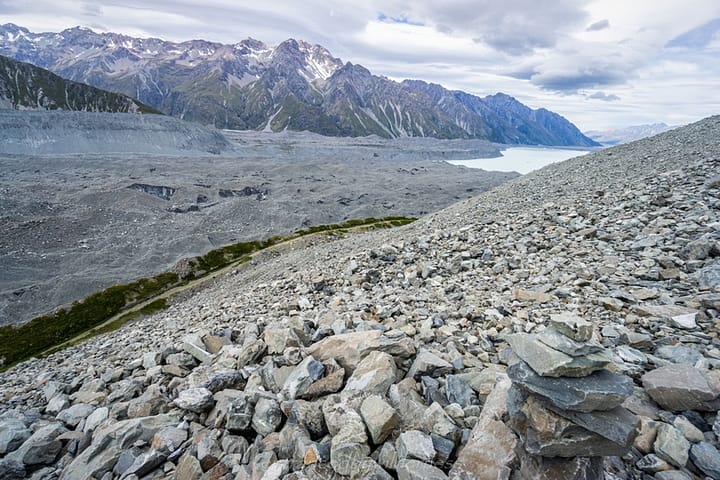
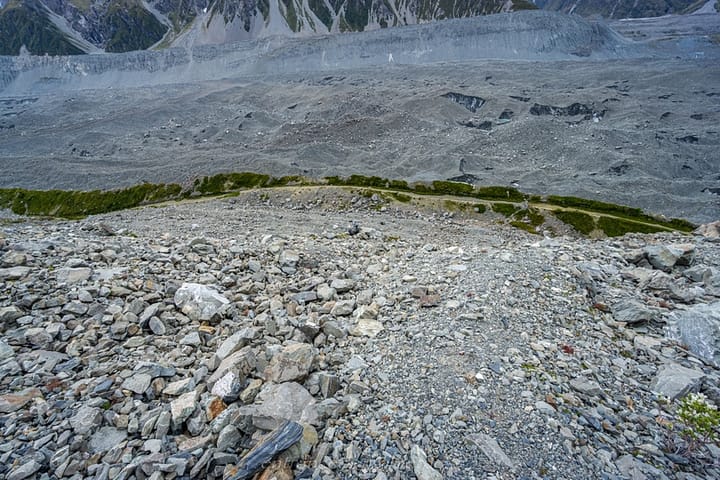
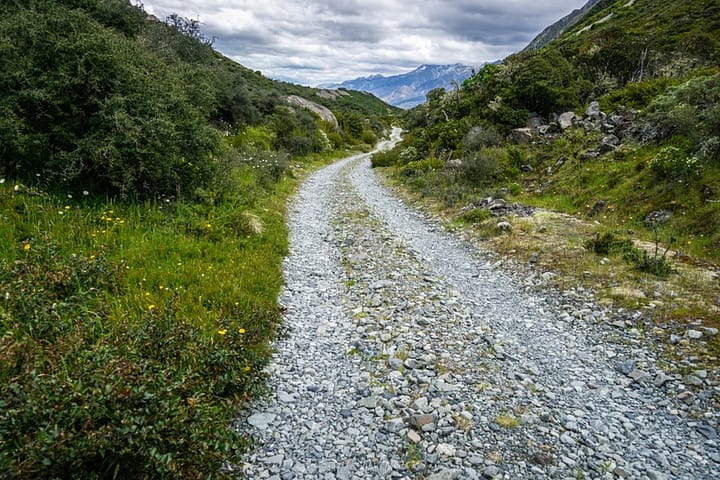
It was amazing hiking back along the avalanche rockfall paths – it was a completely different route to what I had hiked 4 years earlier. You are forced higher along the rocks, and never set foot on the old road, now completely cut off by rockfall in several sections (or fallen away). There are cairns here, and it’s easy to follow if you scan the distance at regular intervals.
I did find the site where I had camped in 2018 – not exactly the same!
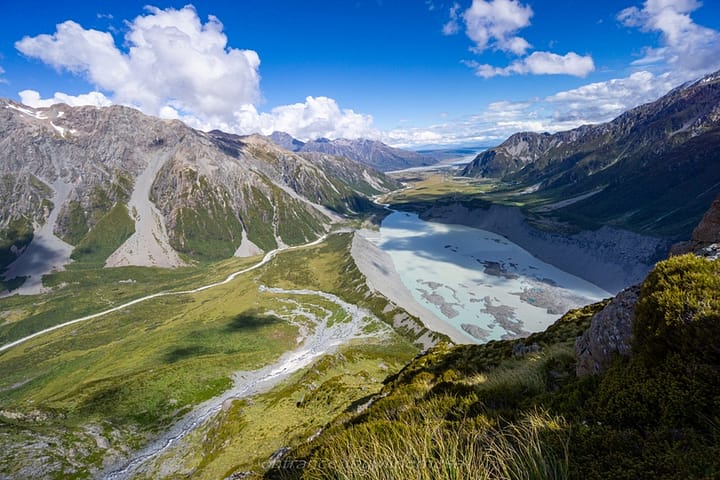
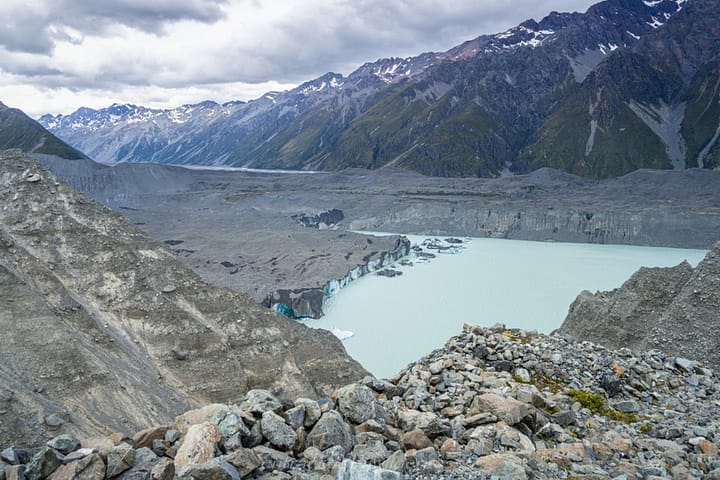
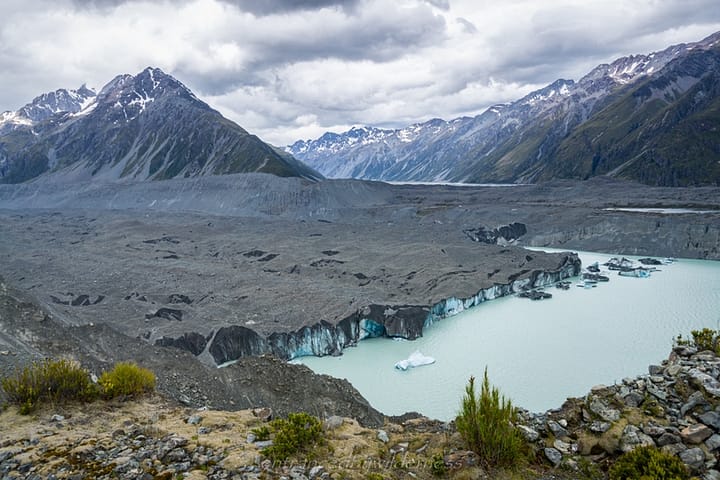
As I approached the terminal face of Tasman Glacier, it meant that I was nearing Husky Flat. Husky Stream comes off the mountain (below where I was the day before, coming off Ball Pass), and used to flow underground alongside the high moraine wall alongside Tasman Lake.
I had previously hiked along this flat section in 2018. However, in December 2019, a huge rainfall event created enough pressure from excess water to burst through the moraine wall, and created a massive 300m-wide canyon.
Below, are two videos showing Husky Flat currently, and 1.5 years before the washout occurred on a previous trip I did. Also, notice the glacial retreat!
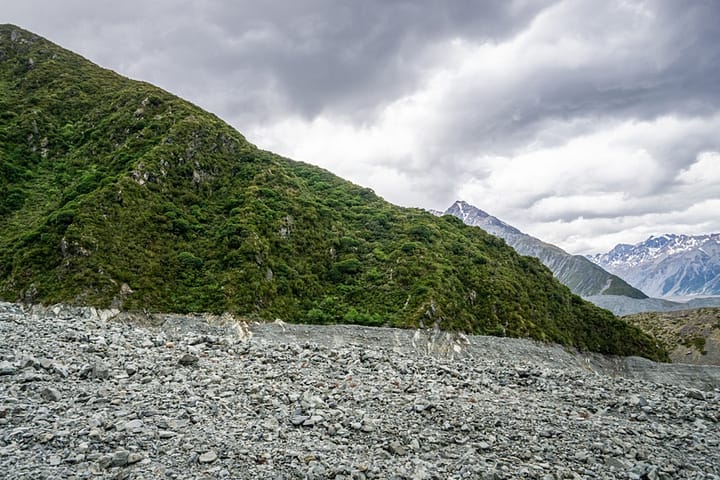
Where a simple flat hike was before, now requires a 1km detour, up and over a vegetated ridge above the canyon, and around the rear side of it. DoC had slashed out a route here, and it’s fairly accessible, with a few rope additions for some extra safety surrounding some tricky maneovers.
I dared some close views from the edge, but I don’t recommend this, as it will make you poo your pants, and may result in a fall to death. The views were mind-blowing though – how powerful nature can be! I had wondered then if the retreating Tasman Glacier (under the water) was one of the reasons that allowed the moraine to burst.
After Husky Flat, the walk out is via the old road, and is all straight-forward.
The avalanche map at the start of the trailhead accurately portrays the area!
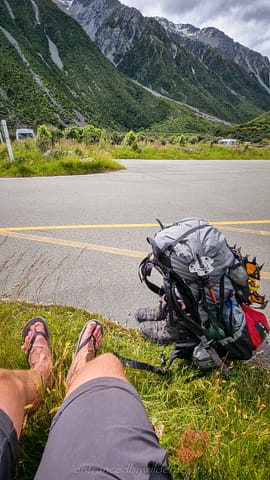
Once I reached the carpark, I was able to taken off my shoes and relax. It had been a few big days of hiking, with a lot of elevation gain and loss, and I could definitely feel it in my feet!
It wasn’t easy to get a hitch, but eventually, after about half an hour, a girl drove me back to my van back at the campsite.
Summary
Pros:
- Seeing many of New Zealand’s finest glaciers (including the dramatic Tewaewae and Caroline Glaciers)
- Hiking past day hikers on the Hooker Valley Track, knowing your adventure is going to be so much more epic!
- A well known route, yet still feels like a backcountry mission due to the roughness
- A great way to get fit!
- Kea visits (until the attack your tent)
- Stunning, stunning, stunning with every view!
Cons:
- The Hooker Lake section is pretty rough and a slog… that’s the only con I can think of!
Your Donation Really Helps!
In order to support the travelling and hiking community, I spend many hours per week or month to adequately document all information and advice for prospective visitors, accompanied by a (hopefully) entertaining insight into my personal experiences. This service is, and will remain, free. However, running a non-profit website and spending time creating content comes with financial and personal costs.
Did you like this article? Share it now:
- Click to share on Twitter (Opens in new window)
- Click to share on Facebook (Opens in new window)
- Click to share on Reddit (Opens in new window)
- Click to share on Tumblr (Opens in new window)
- Click to share on Pinterest (Opens in new window)
- Click to email a link to a friend (Opens in new window)
- Click to print (Opens in new window)


Another excellent write-up for a trip I definitely wouldn’t attempt myself! 😉 Appreciate the time and effort you put into your posts, the detail is great and love the pic galleries. Thanks! Jules (Tinytramper)
Thank you for the kind words Jules, I really appreciate the feedback! 😊
Ohhh you should definitely give it a go 😉
The only reason I end up going solo on most of these trips is because no one ever wants to do the same trips as me, and I suck at organising people 😂
Very informative write up Matt’ and terrific views. Love that “Natures TV”.
Thanks Eddy! 😊