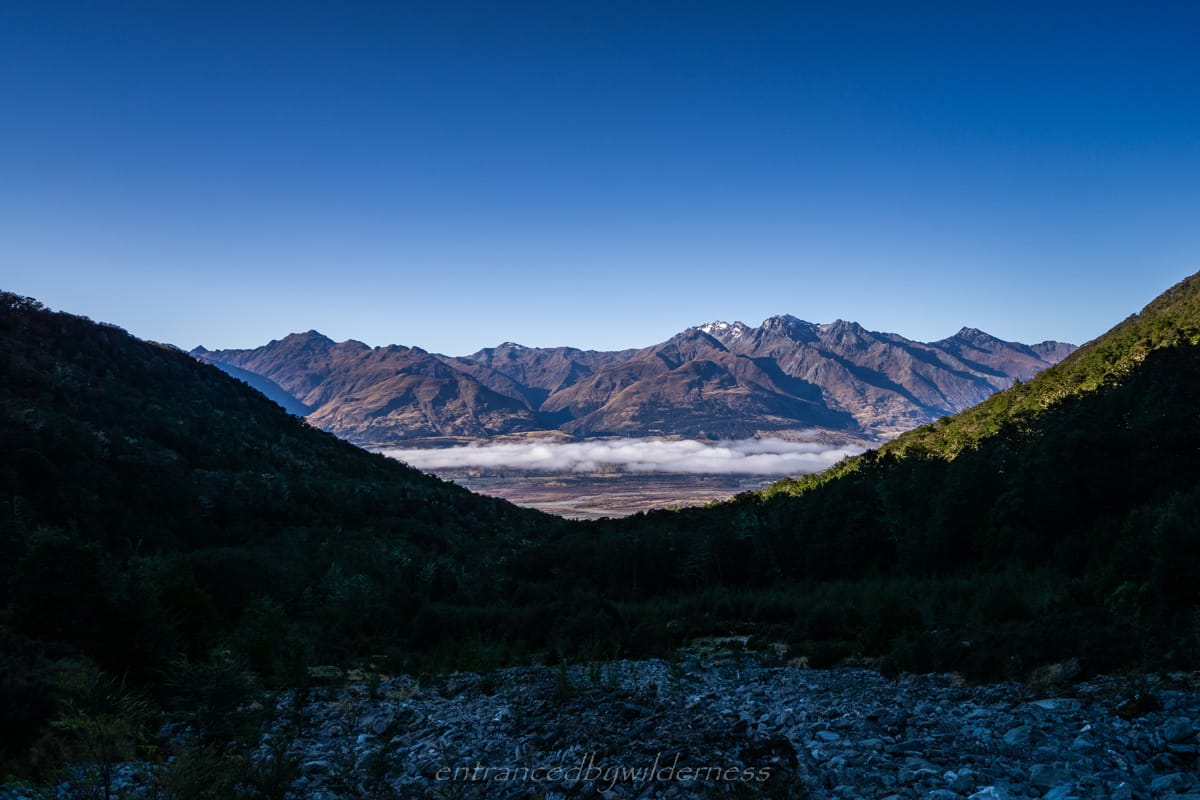
Near Glenorchy in Otago, New Zealand – above the small township of Kinloch. Access is via the Glacier Burn Track.
Difficulty:
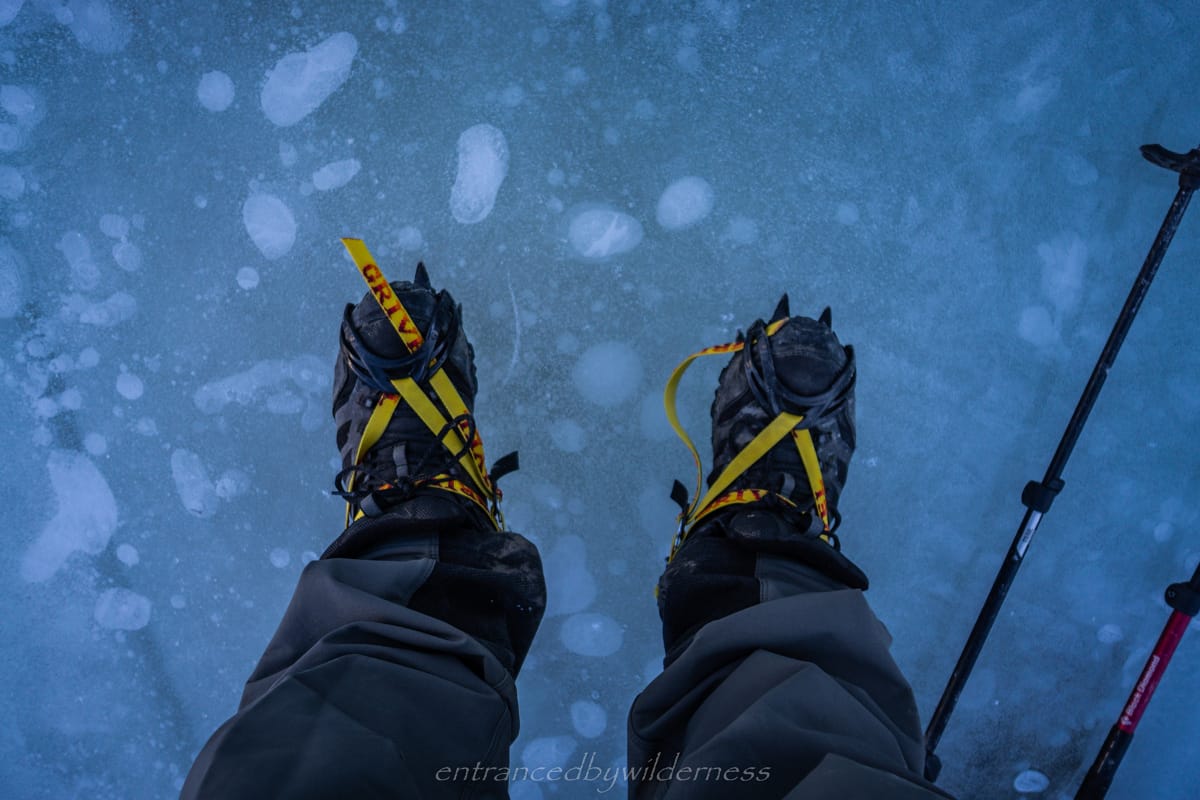
Advanced – crampons essential, and ability to hold footing on loose unstable glacial moraines. Navigation via topo map is ideal, as the route is unmarked above the tree line. However, it is fairly obvious where to go. It is a roughly 1350m climb to the terminal face of the glacier.
Camping:
Camping for 2-3 tents at the end of the tree line, or several flat gravel/snow tent sites up at Bryant Glacier, around and above the glacial lake.
Time:
3-5 hours to the glacier, 3-4 hours return (don’t underestimate the upper descent).
My Trip
30/05/20 – 31/05/20
Introduction
The Idea
I was super keen on a long weekend hike, and I had my eyes set on Sleepy Hollow – a lake on the southern ridge of the Humboldt Range, aside the Caples Valley. However, I really wanted to also see Bryant Glacier, above the Glacier Burn Track. I had thoughts of possibly connecting the two and making a three-day trip. The daylight hours made this too risky to consider, and I decided to just do one or the other for now. Bryant Glacier was the pick.
Day 1 – Glacier Burn Carpark to Bryant Glacier
At 10am, I started the Glacier Burn Track. That’s not bad, considering it’s an hour and a half drive around to Kinloch. Straight away, an easy crossing of the Glacier Burn itself was required. With a careful choice of steps, this can be done dry-footed with some rock hopping.
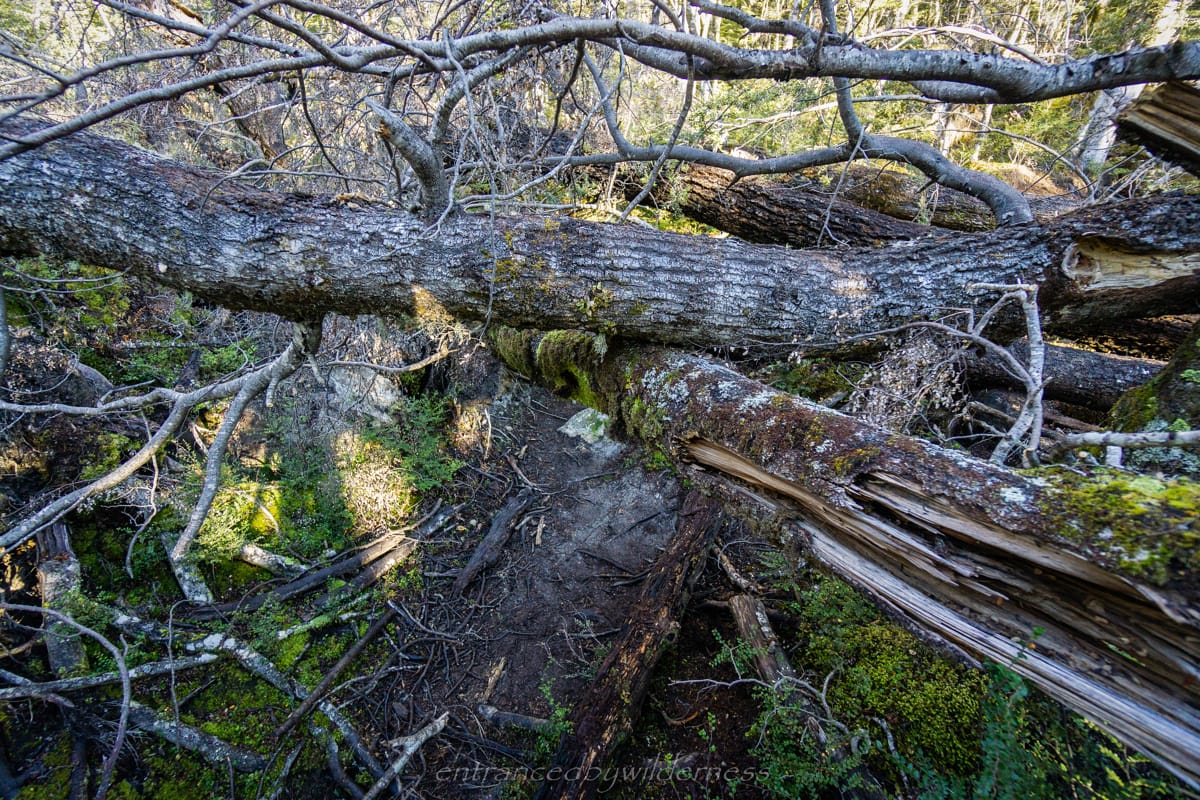
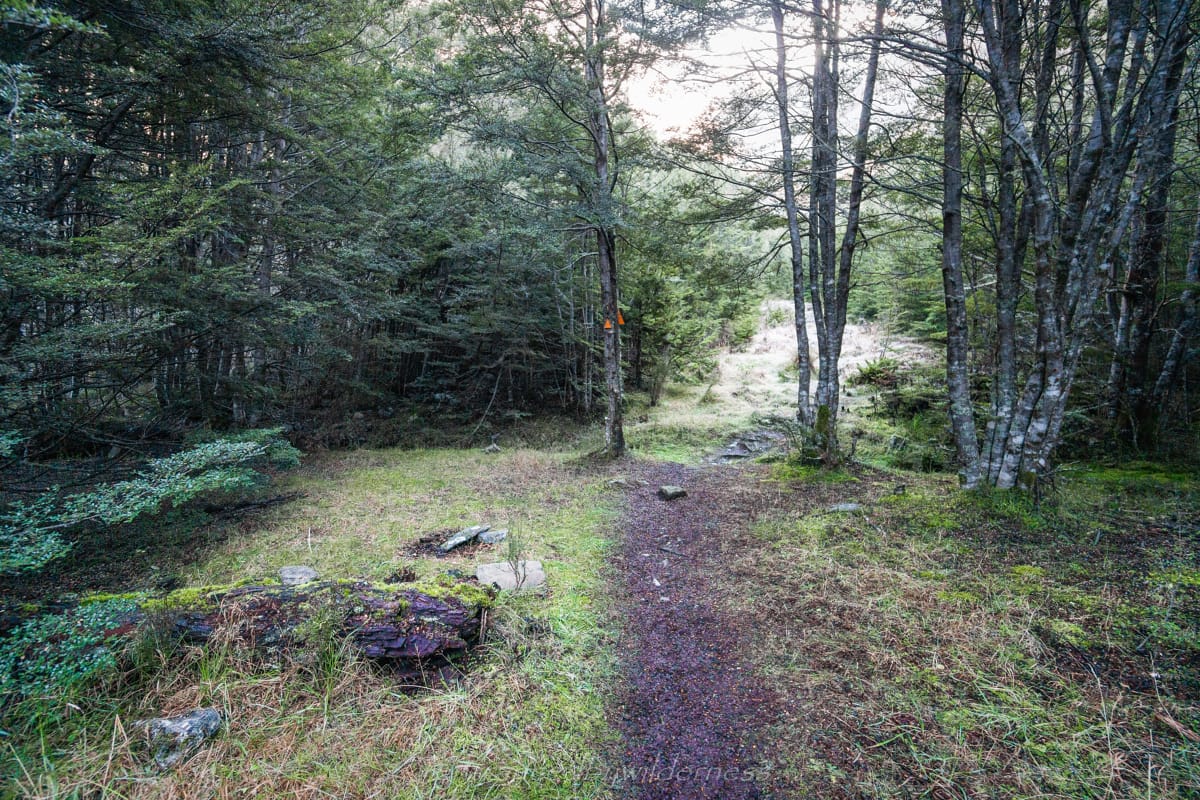
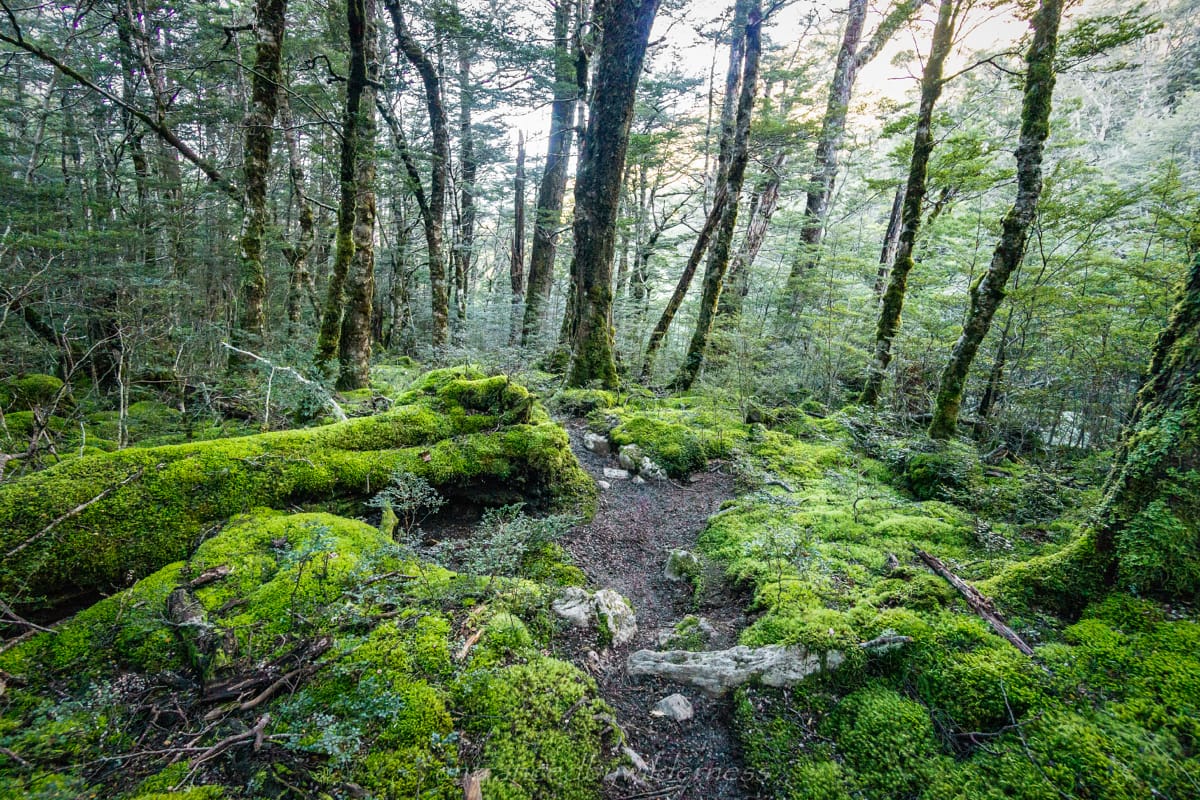
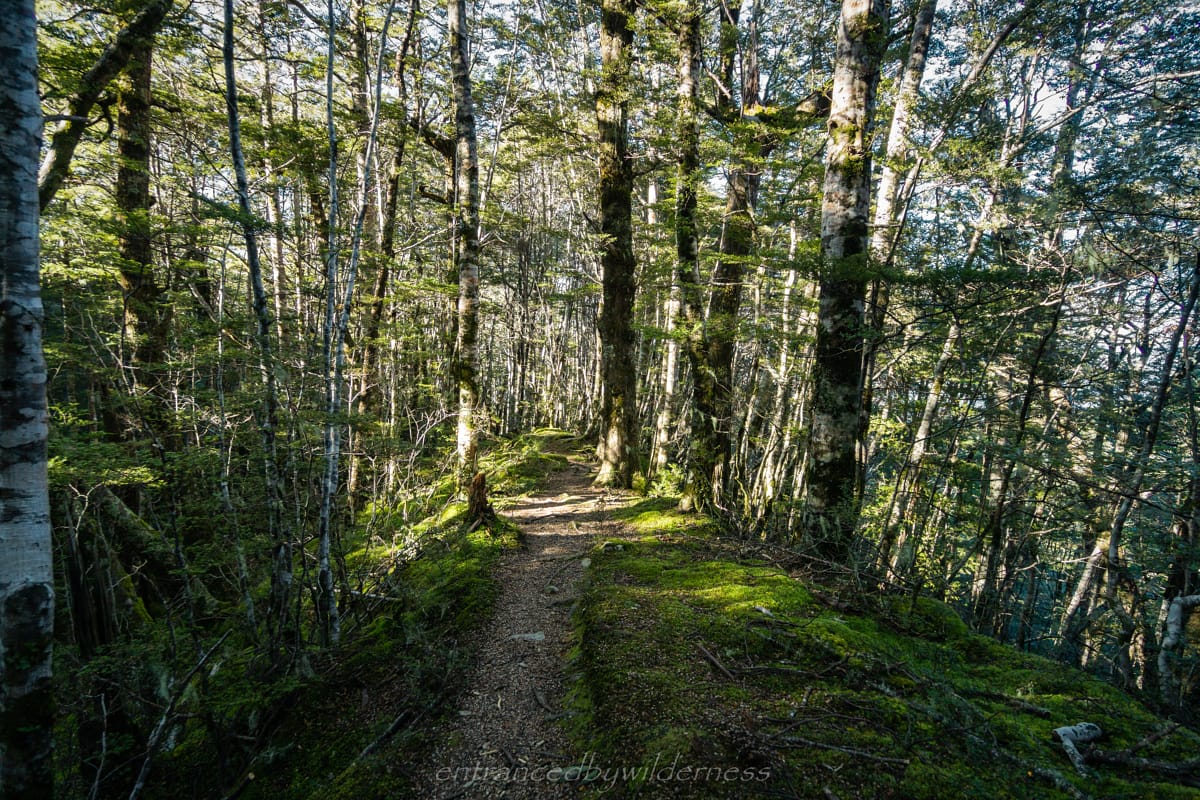
The forest section of the hike is pretty easy-going. It’s rated as difficult on DoC, but I found it extremely easy (and I’m currently unfit), with no real obstacles aside from a few tree-falls to navigate around or through. There are some lovely sections of mossy Beech forest here, and one section containing crown ferns.
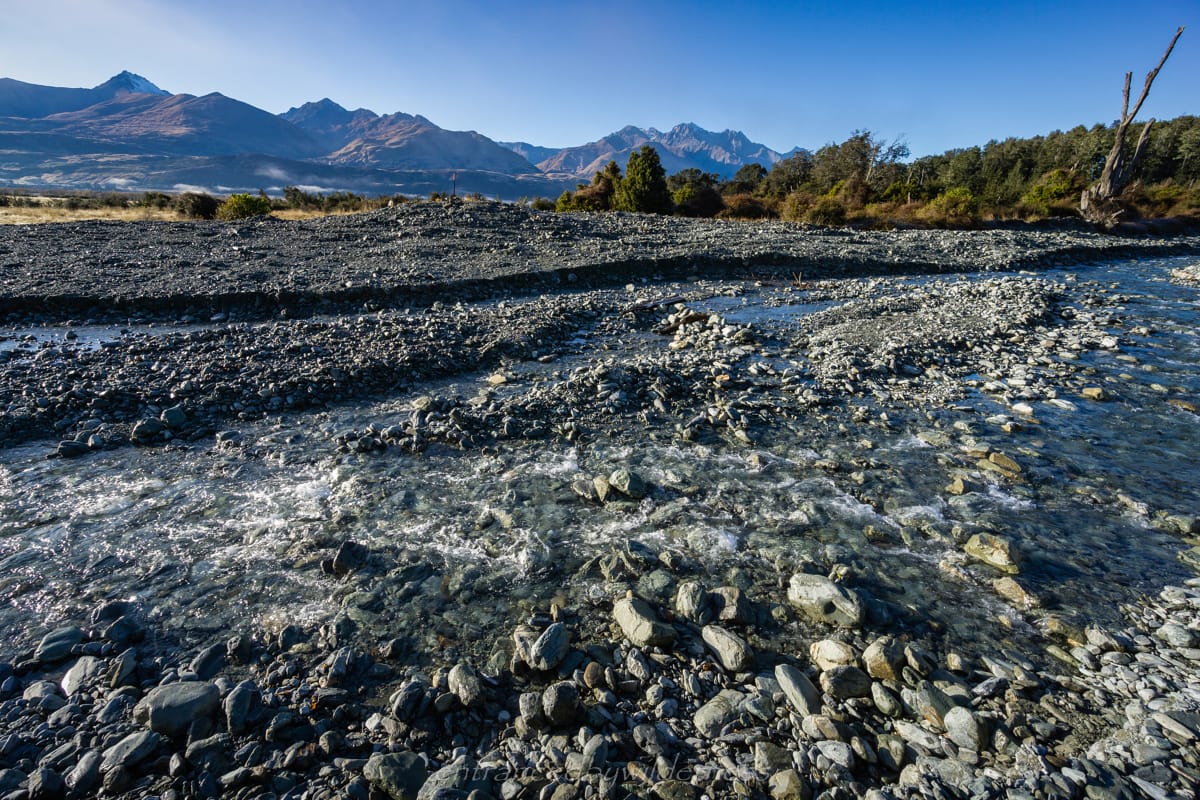
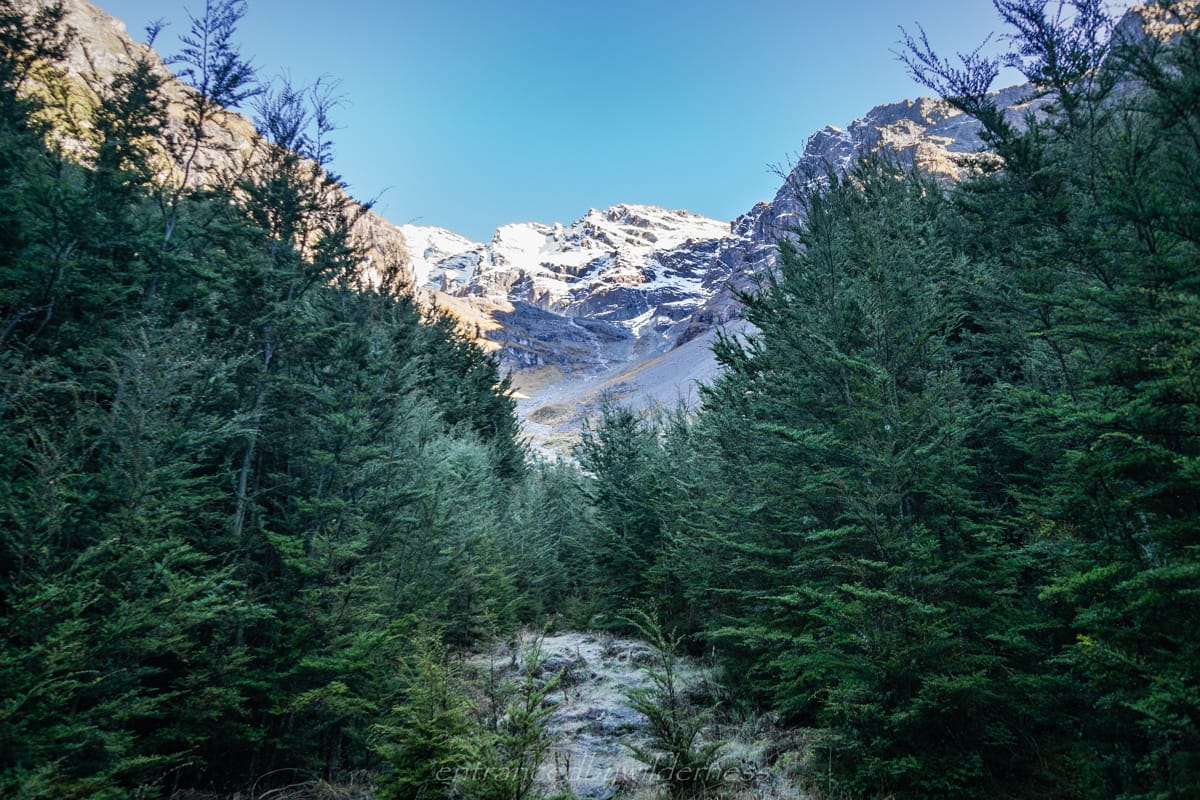
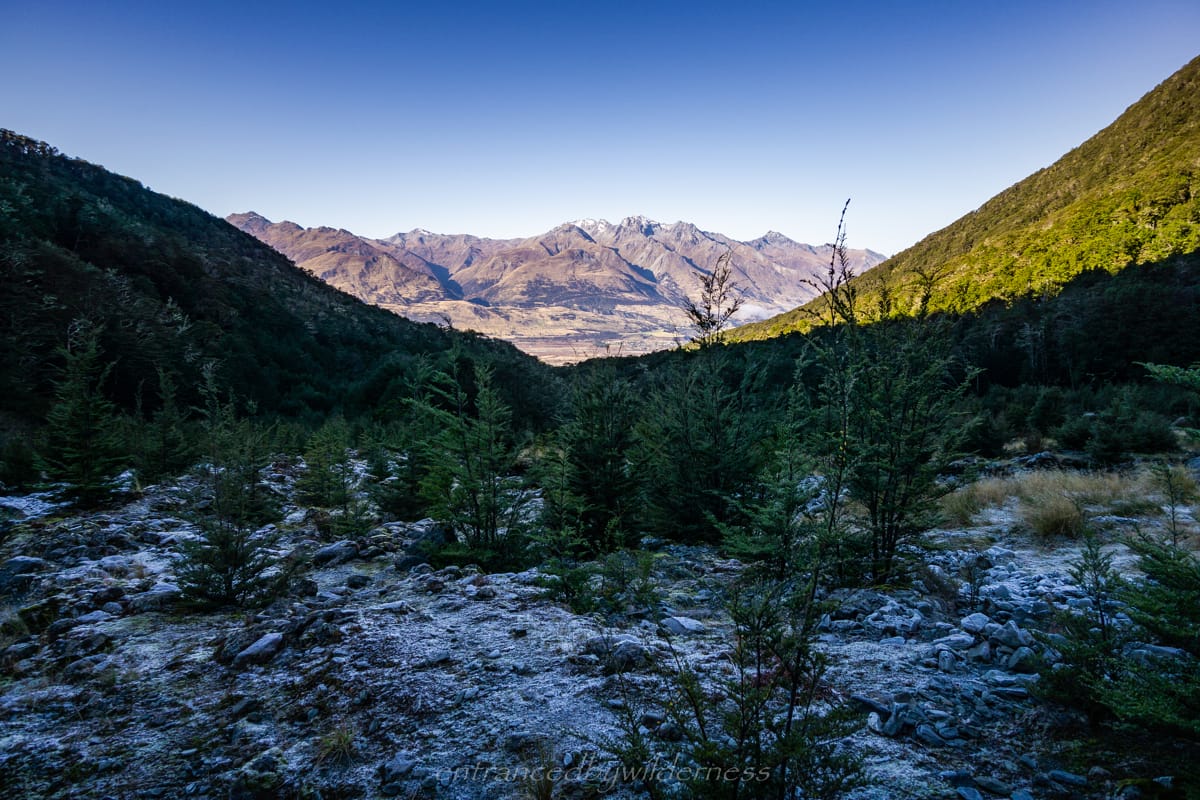
Toward the end of the tree-line, there are some good flat grassy spots for several tents. A possible idea if you want to ascend to the glacier, but wish to camp further down. The first glimpses of the peaks to the right of Mt Bonpland are seen one out into the open.
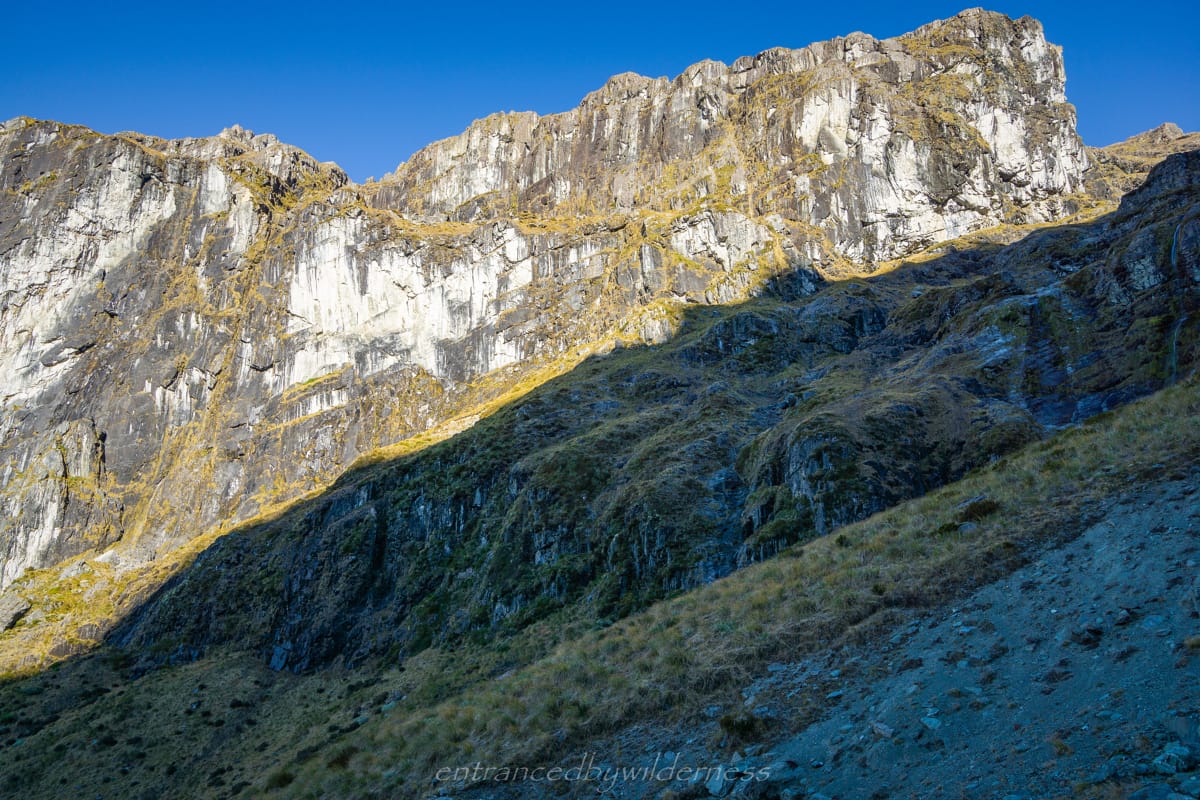
From now onwards, it was an unmarked route up to the top. I decided to just stick to the main section of the Glacier Burn creek to ascend and adjust as I went. Most of the initial way up was rock-hopping with some snowgrass in between.
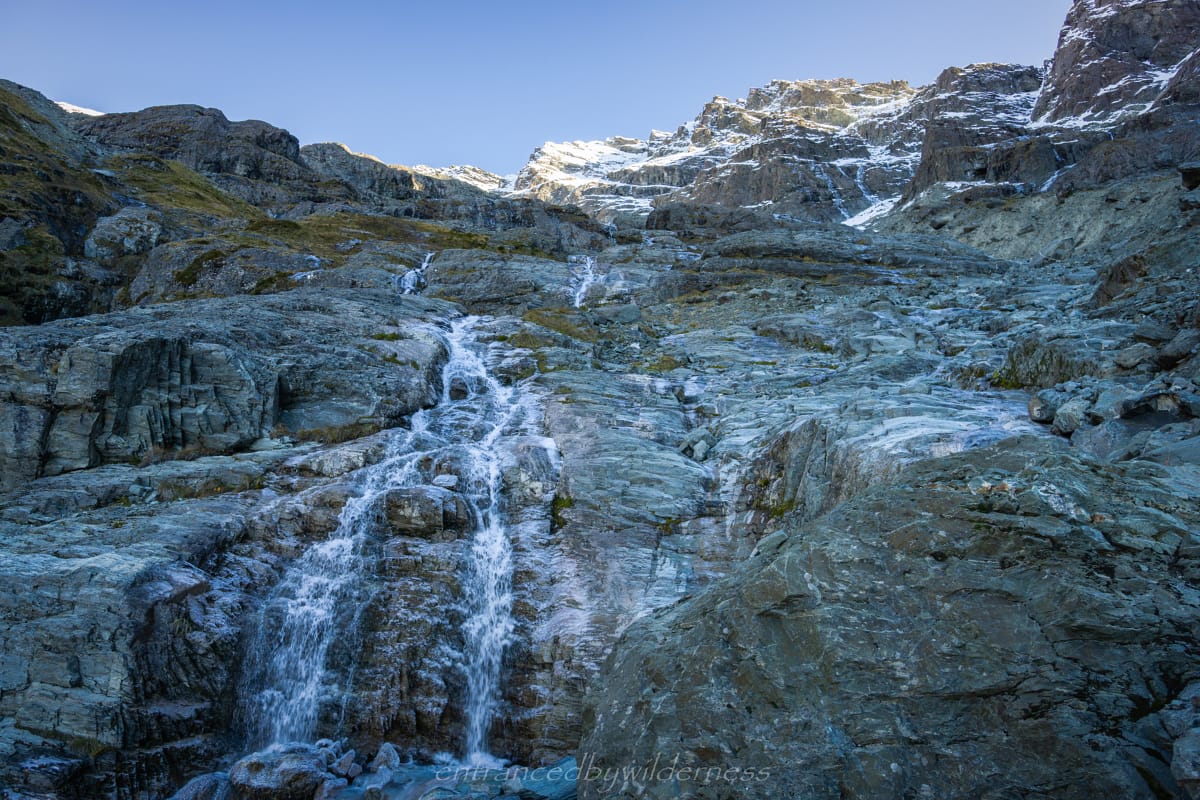
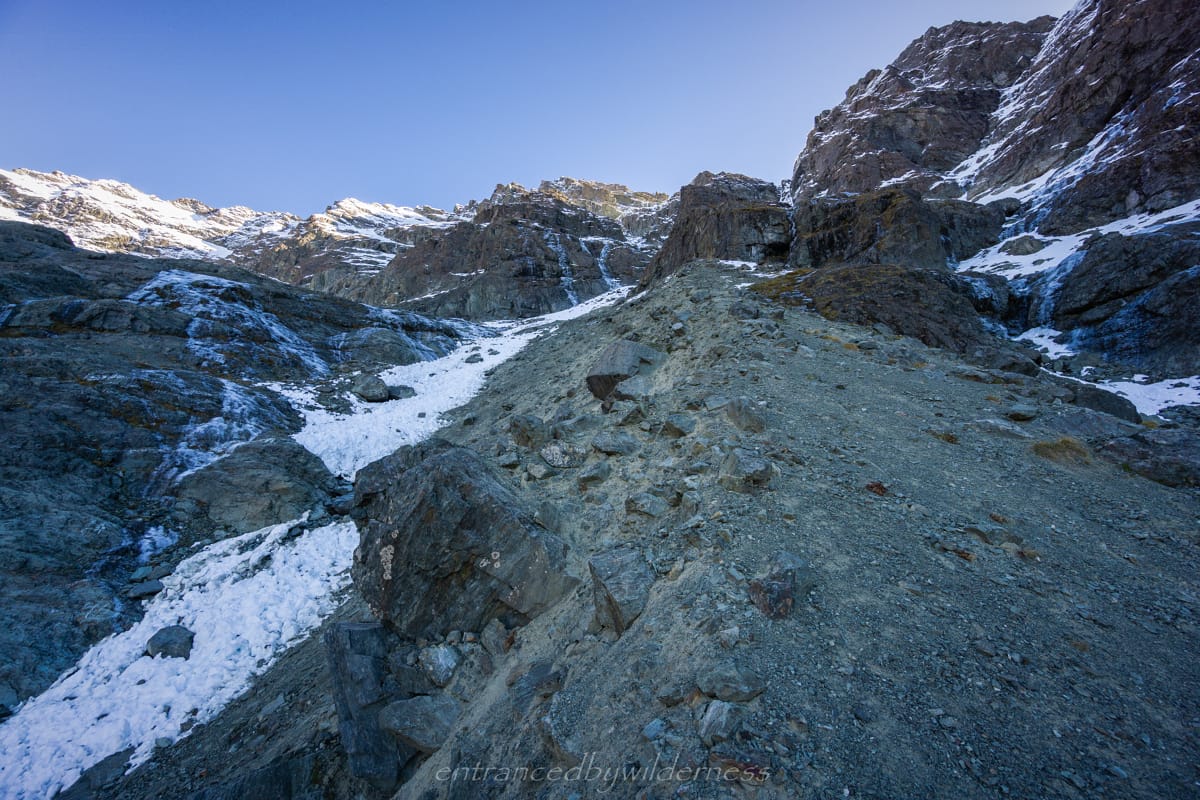
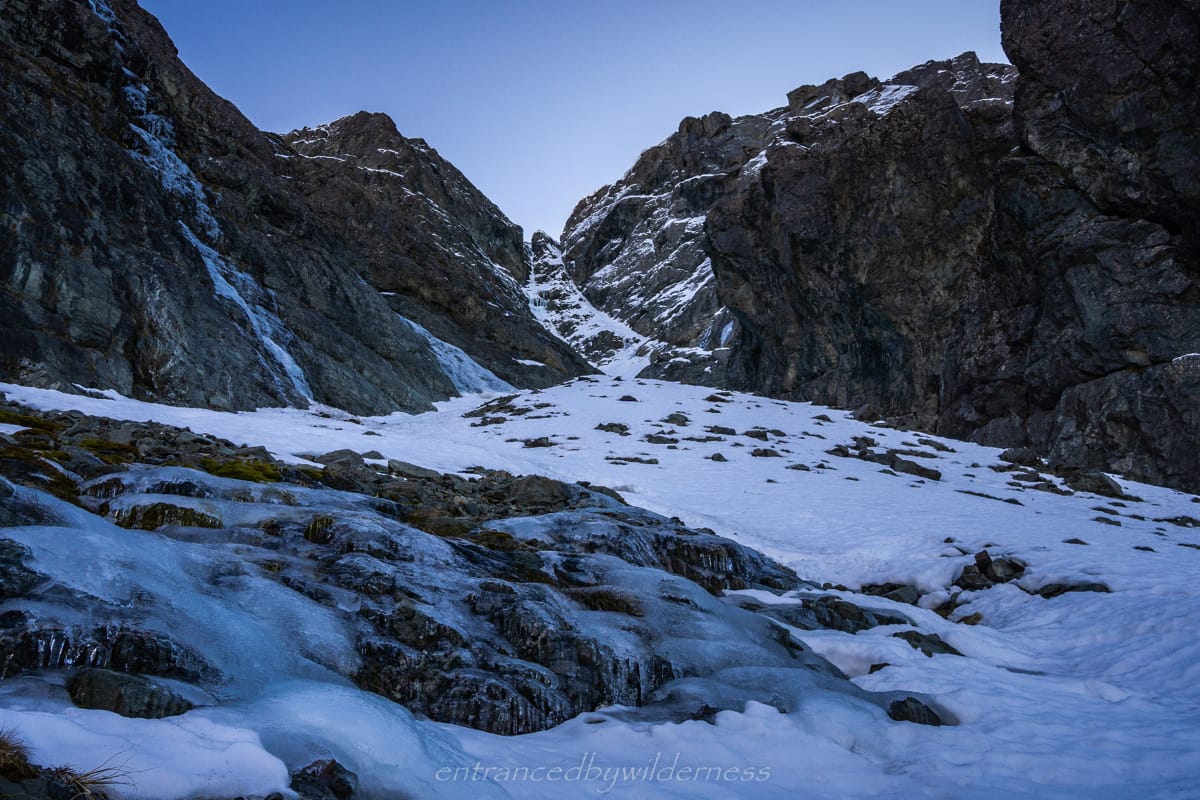
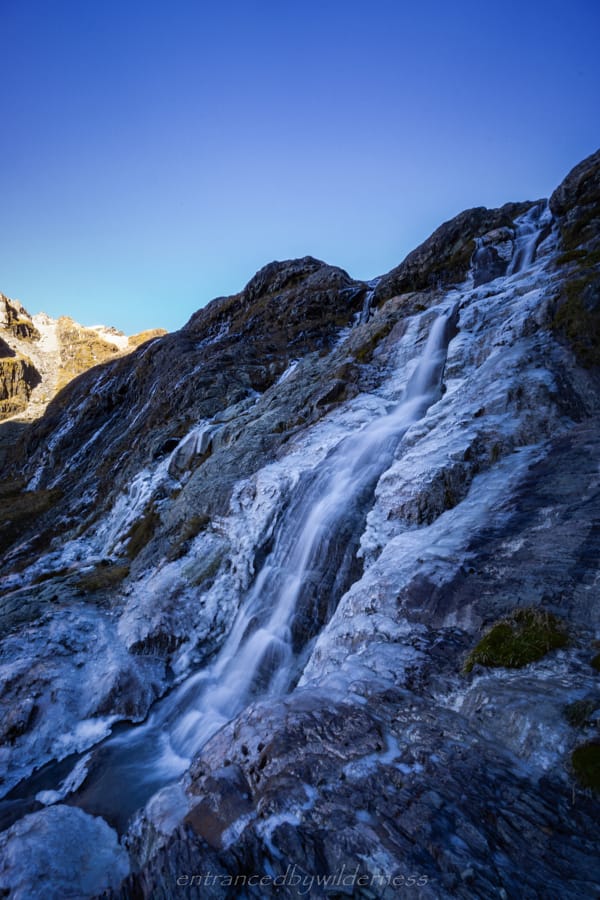
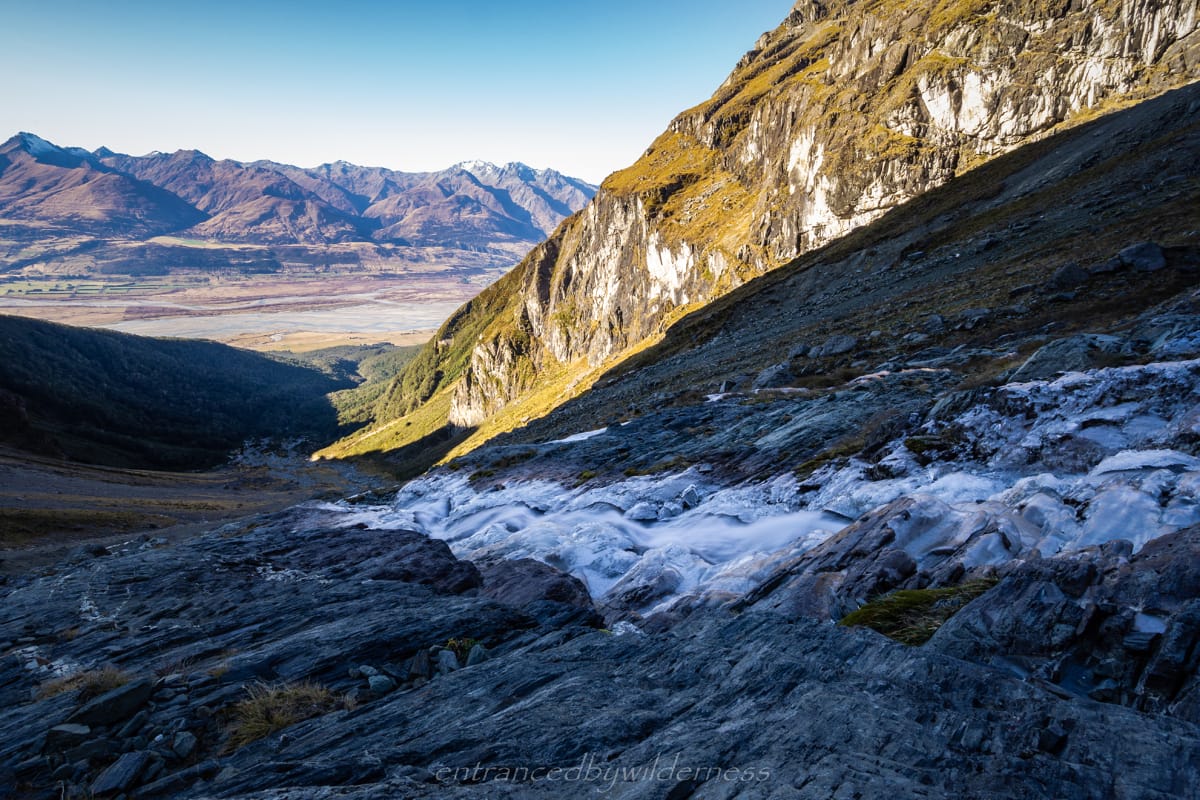
Eventually though, the snowgrass ended, and there was a notable increase in the gradient of the terrain. The surface began to look more like glacial moraines, with loose clay and pebble being the predominant material. I had tried to stick to the river, but when I neared the ‘twin cascades’, I realised I needed to swing to the right side, to avoid being bluffed.
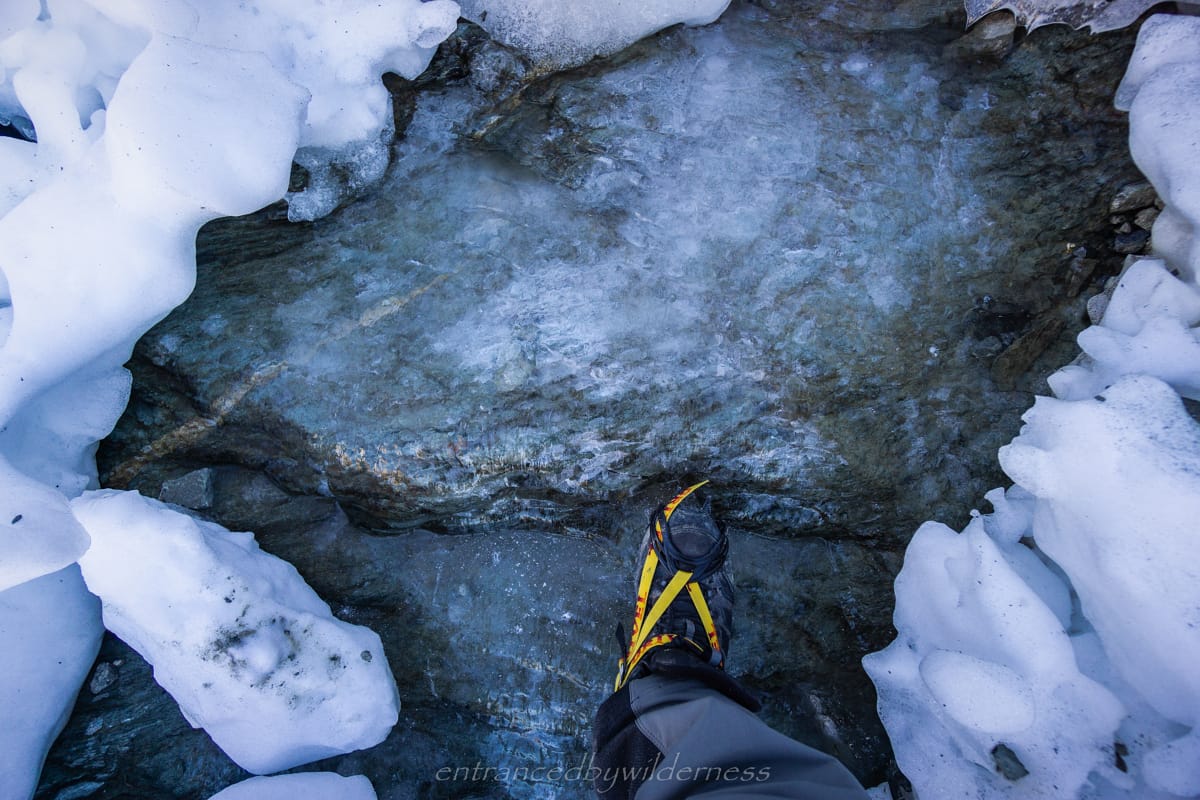
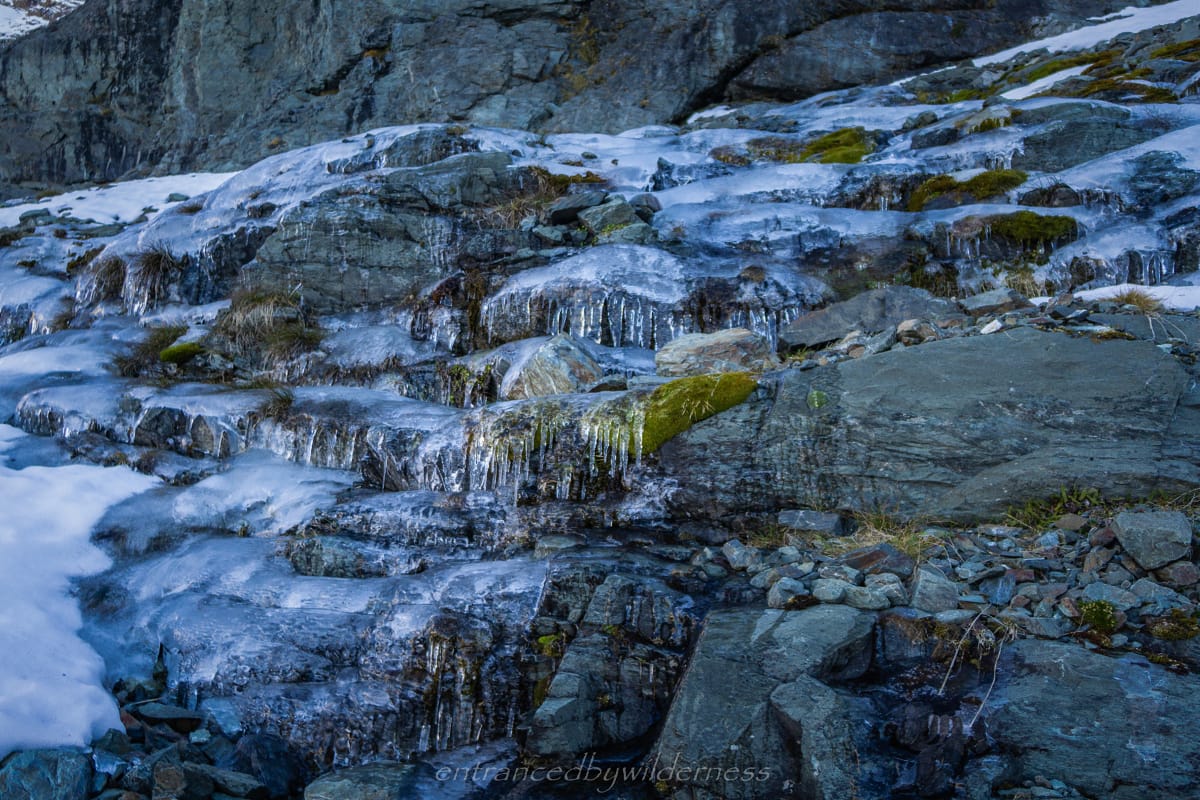
The bluffy waterfall-laden sections here were completely iced over, and even sections of the creek were near impossible to find footing. I had to smash some ice on rocks before crossing. When looking south, I almost wondered if taking the grassy route on the far south side of the valley might actually be a viable way up, but it did appear slightly steeper, and if it was wet, it would be slippery.
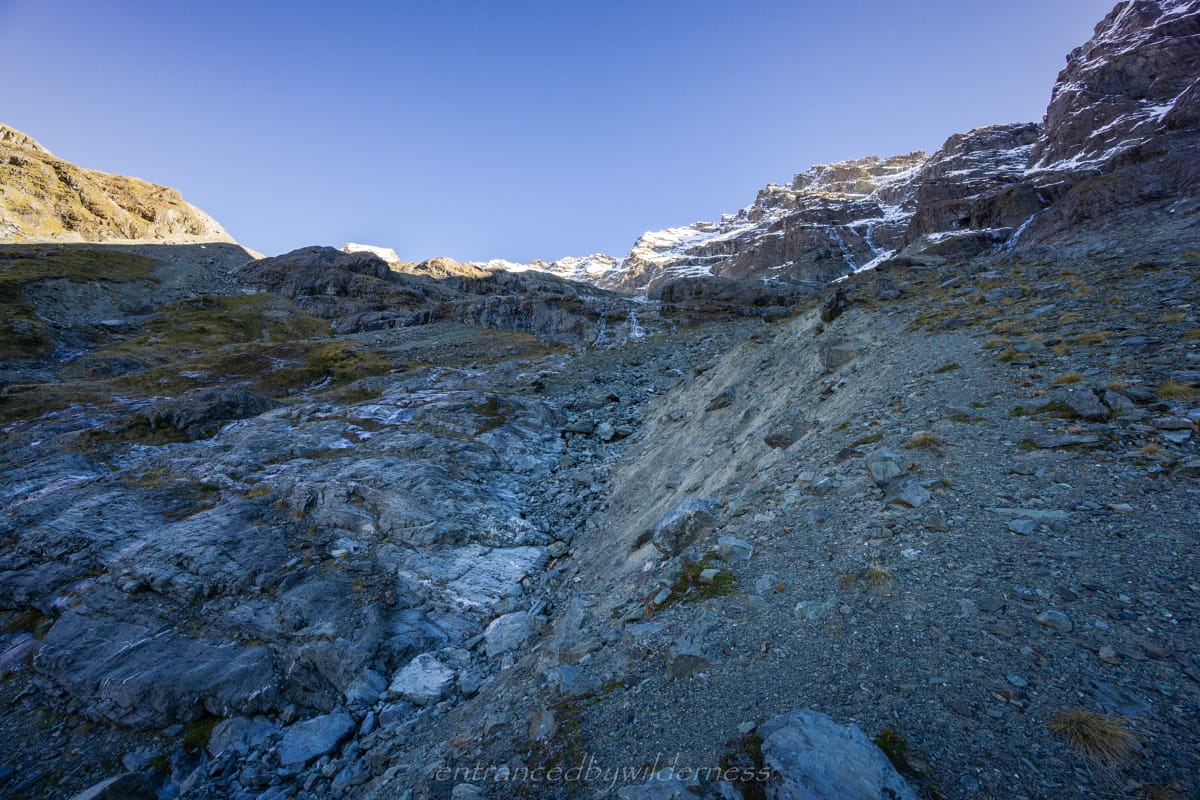
I was following a lateral moraine (not distinguishable on the topo map) up once I crossed to the right side of the stream. Initially, it was easy, but it got more difficult as it steepened after around the 1300-1400m elevation level.
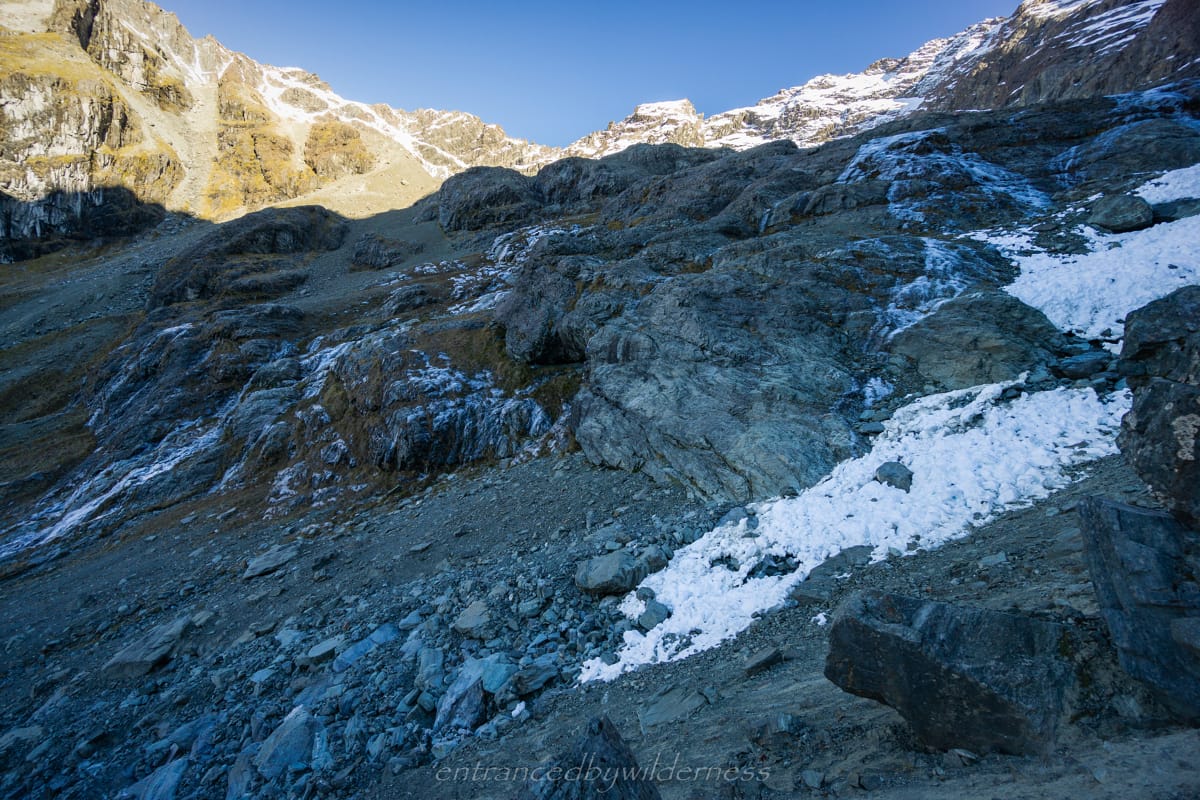
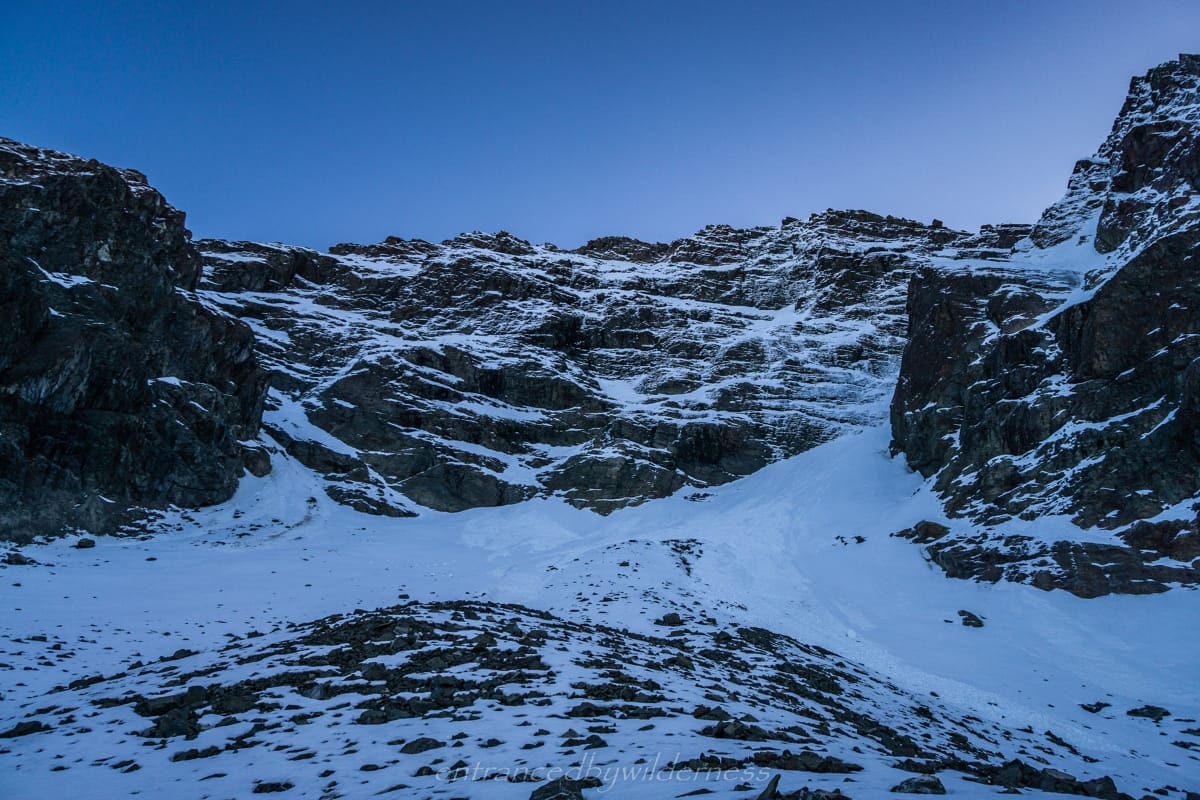
Deceivingly, the moraine does steer you towards the base of Peak 2016m, and I felt like I should have gotten off it earlier to more easily get down to the avalanche snow fall section, which would be easier and more sturdy to climb. I kind of had to commit to heading up it most of the way in the end, unless I was going to slide down the moraine (there was no real grip or footholds).
Eventually, I awkwardly put my crampons on the slope to get down to the snow and head up that way. Once I hit the lumpy snow, it was easy.
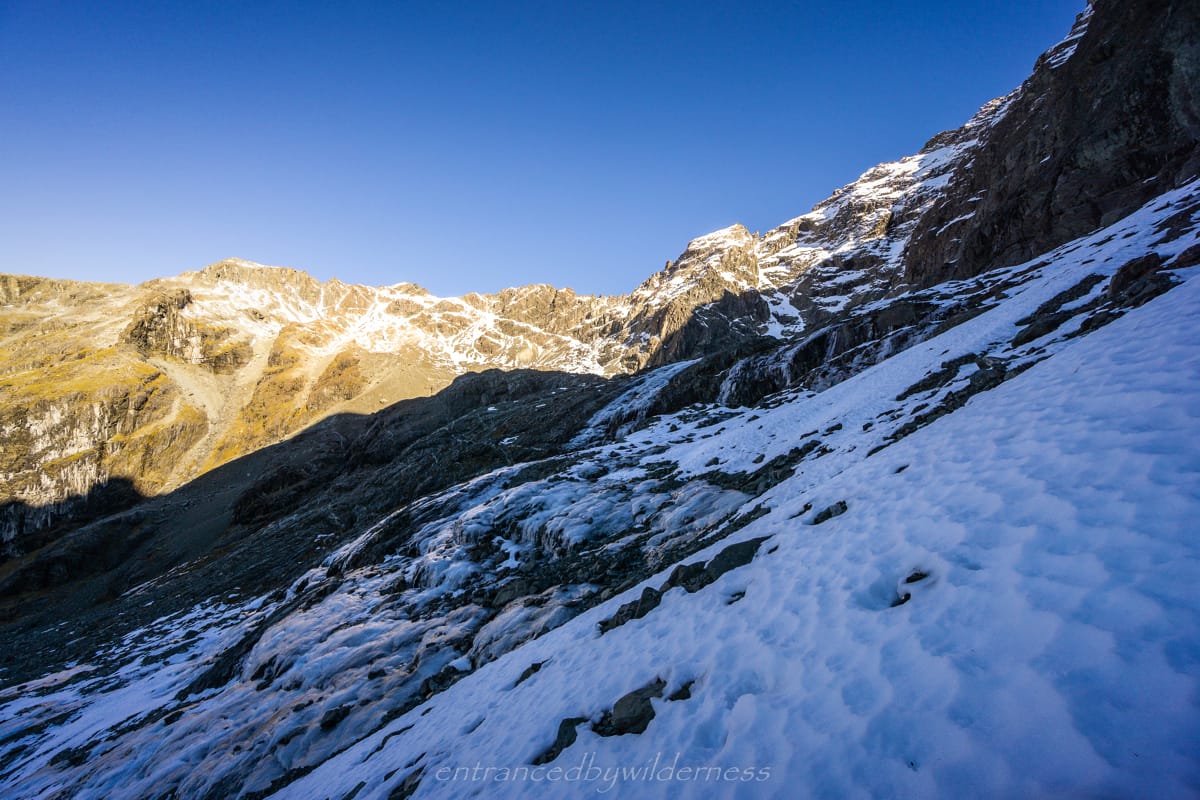
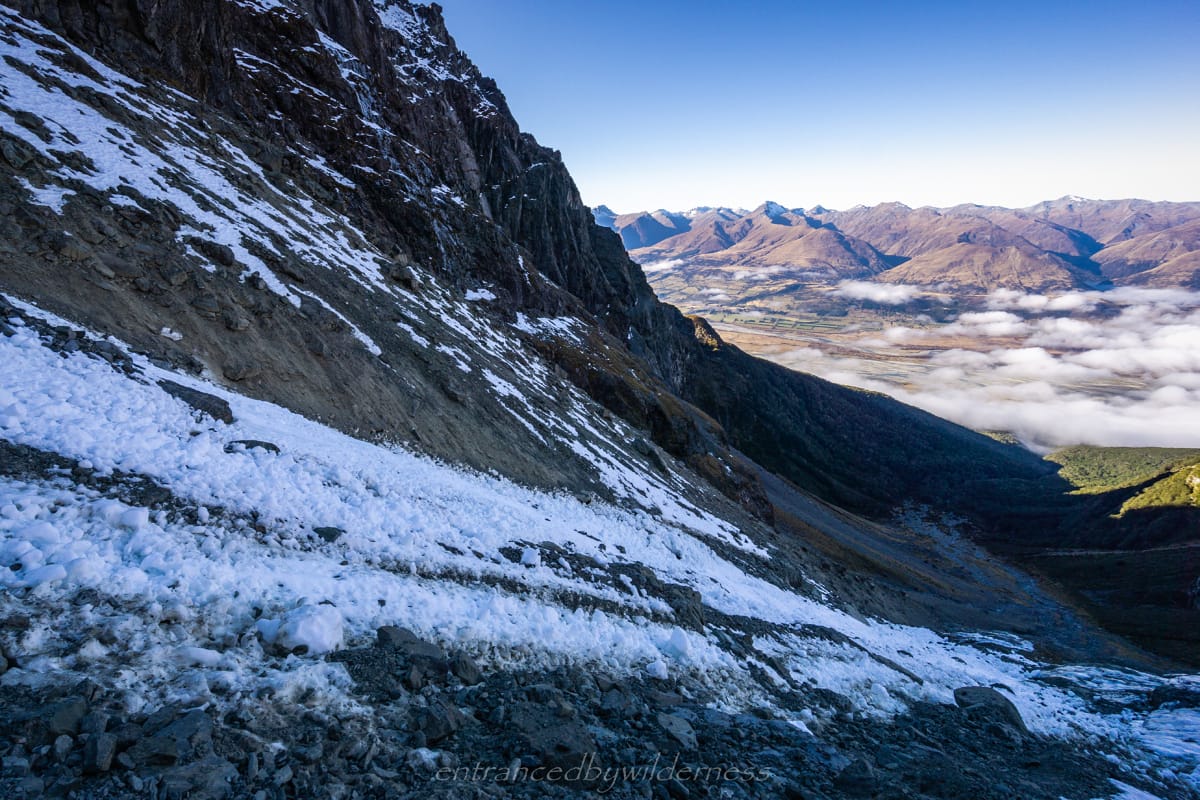
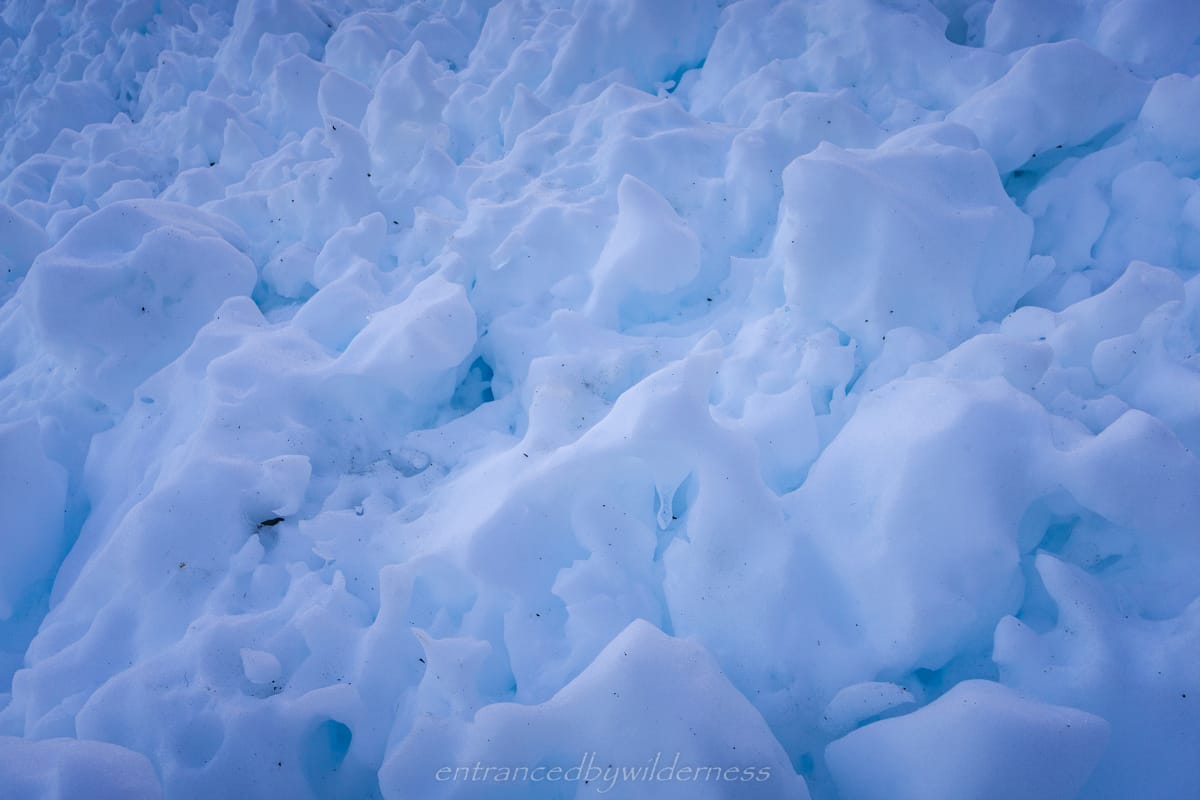
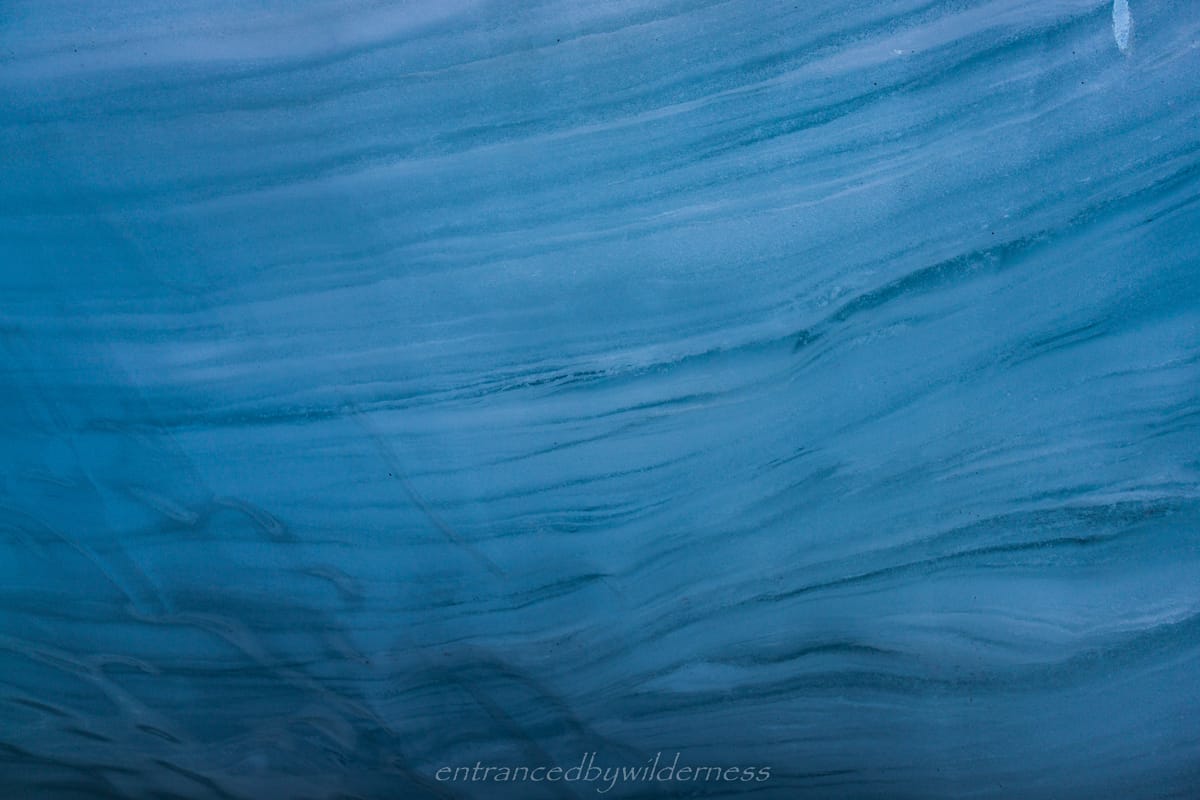
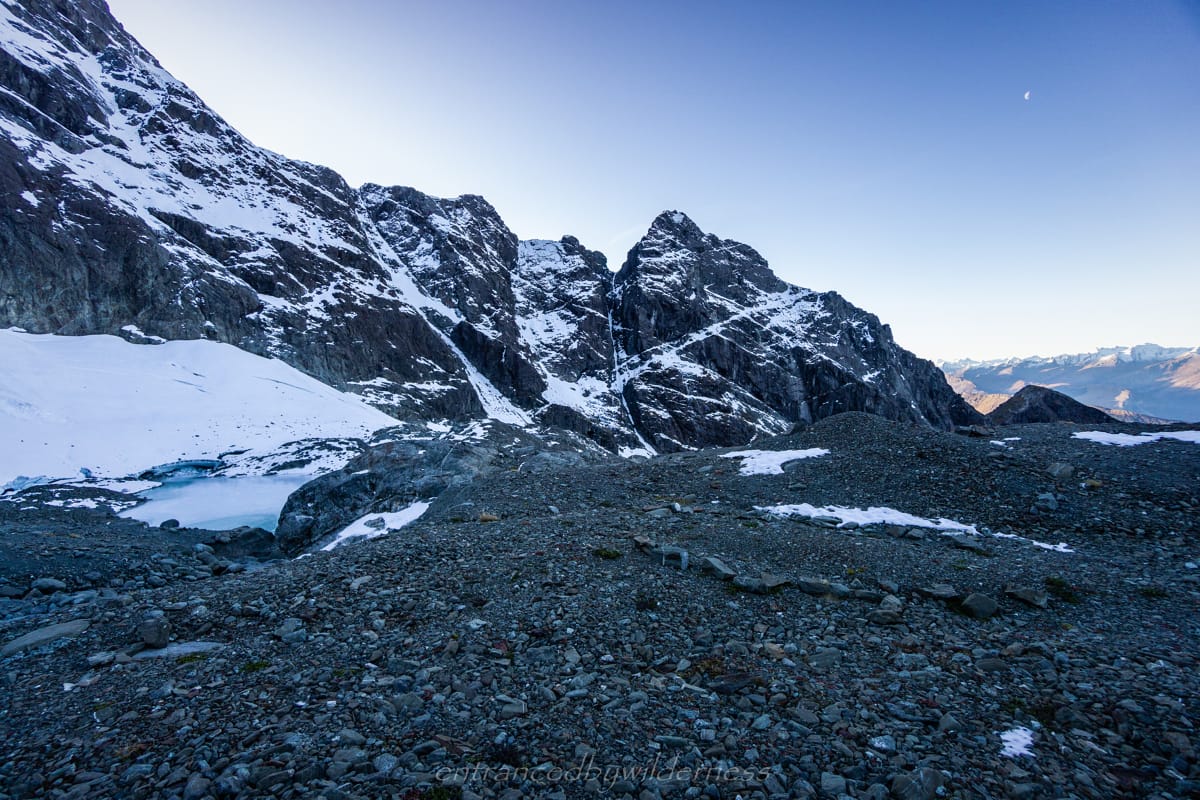
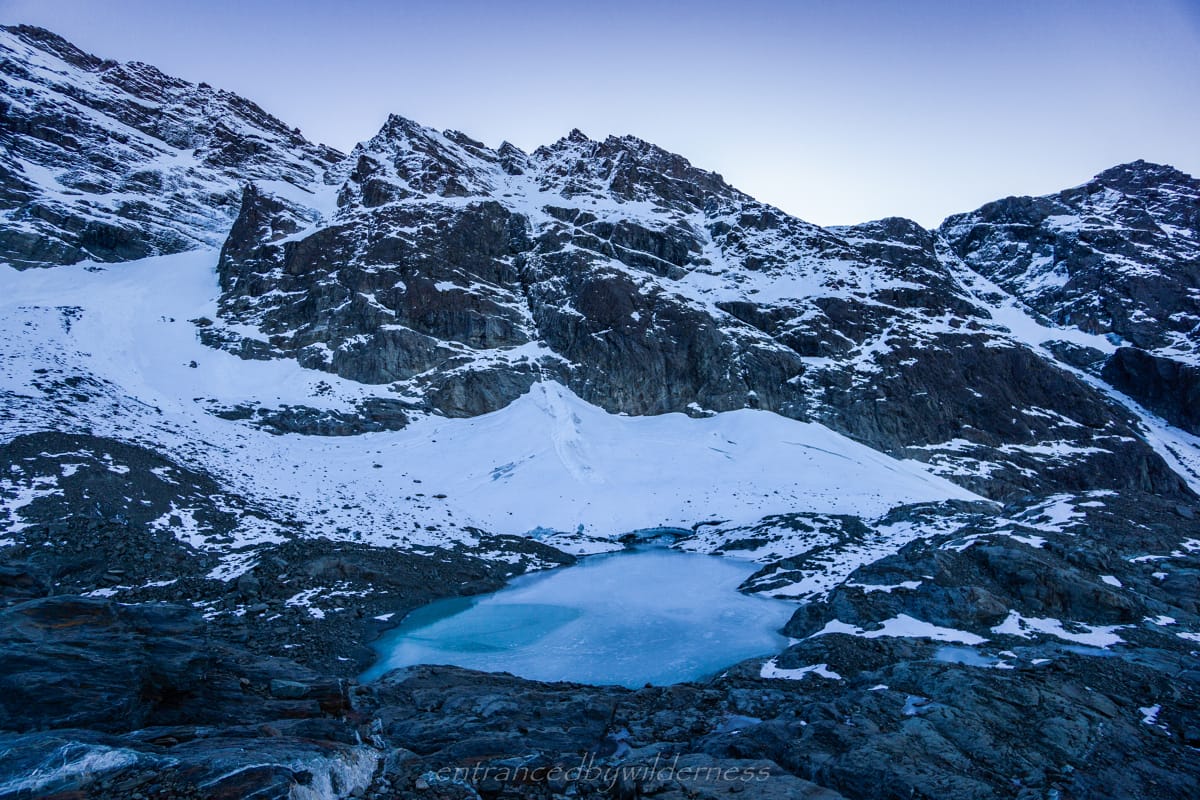
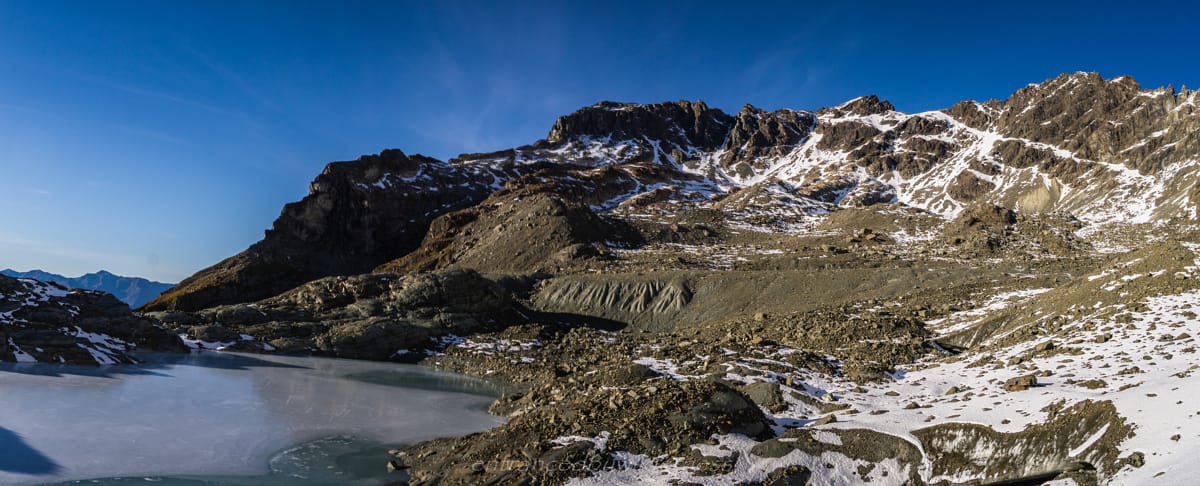
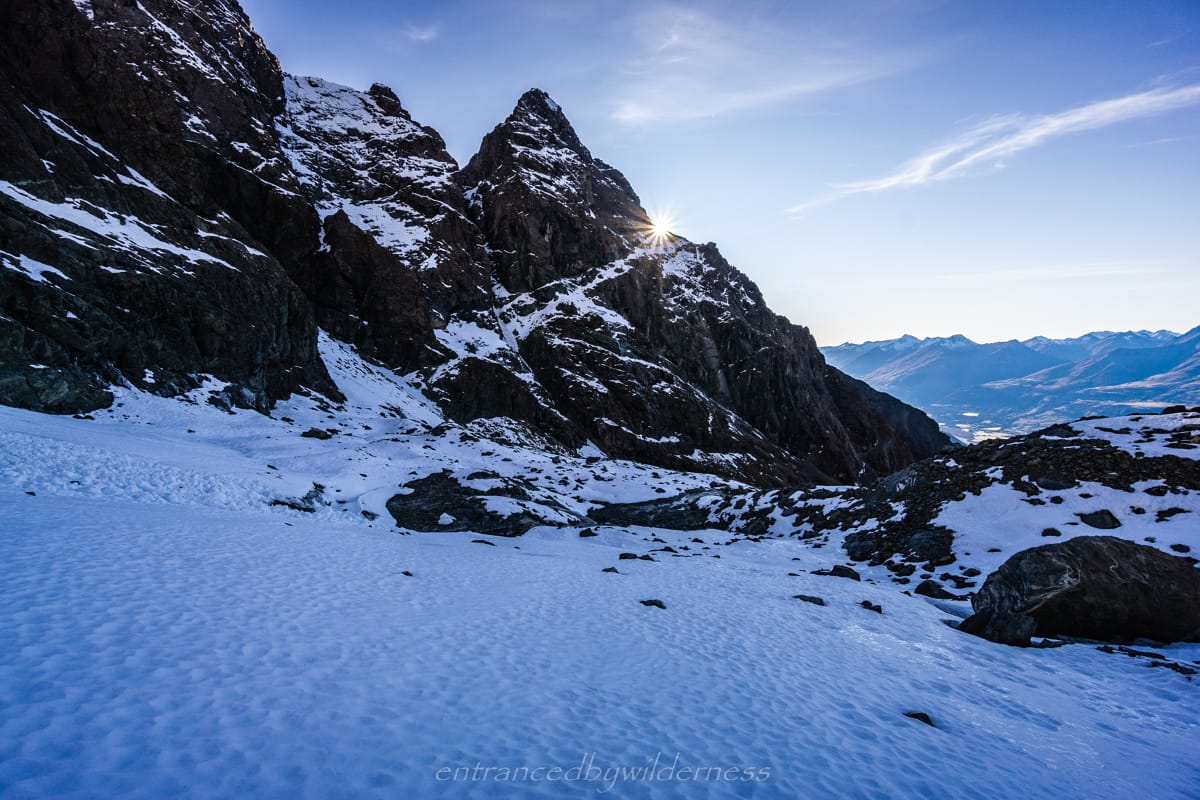
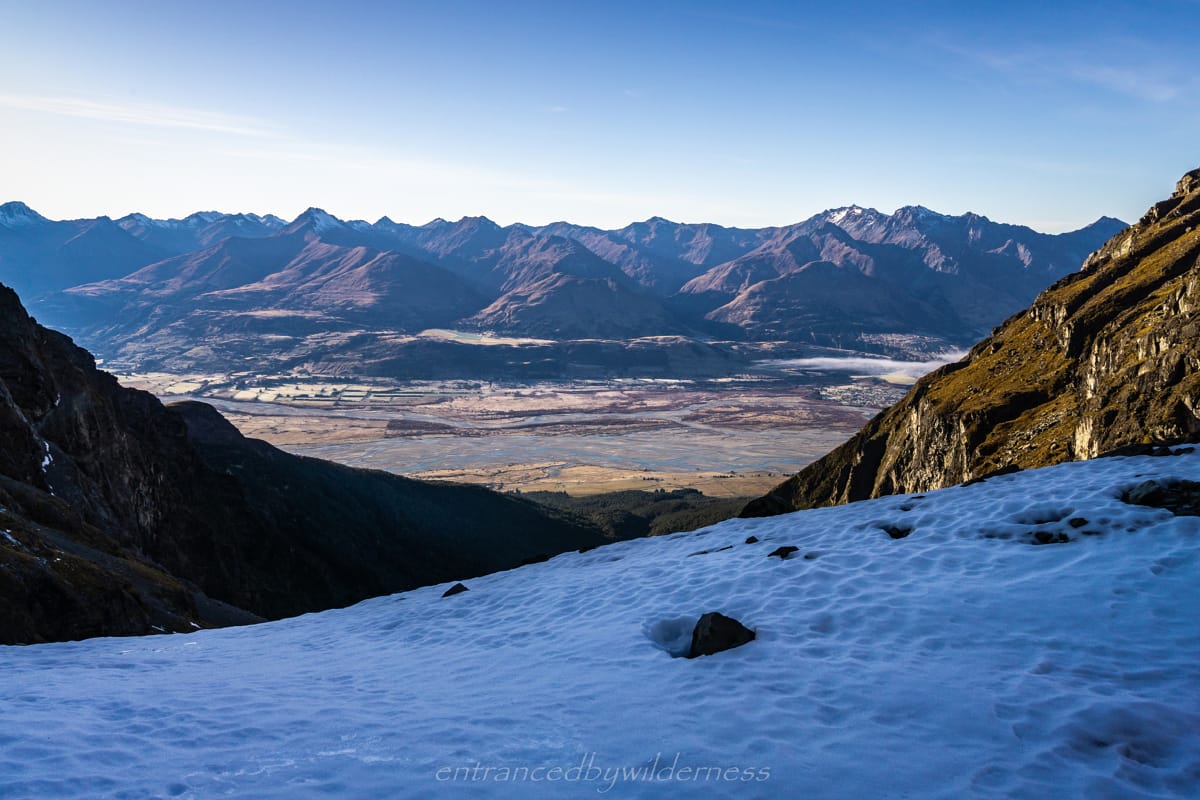
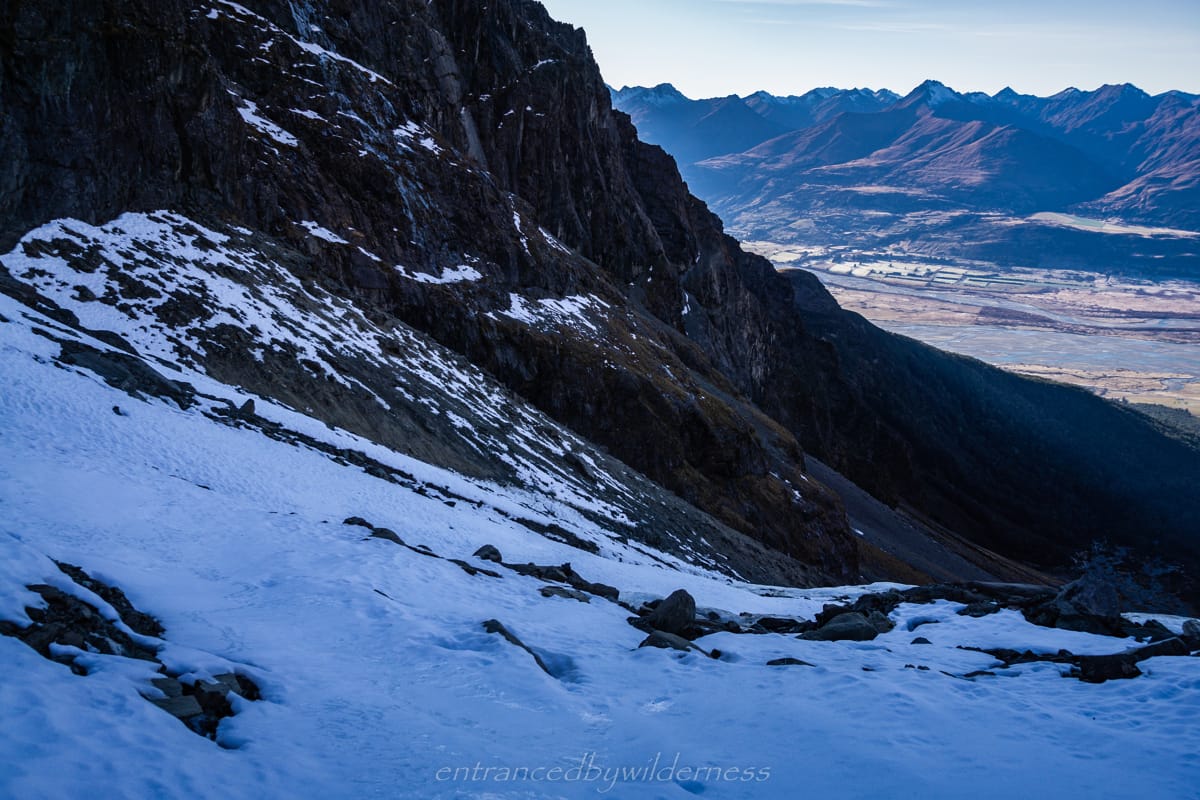
As I neared the plateau at the top, where the glacier is marked (it doesn’t come that far), I found awesome frozen waterfalls of ice, and was rewarded with great views looking back into the valley. It was time to get closer to the terminal face of the glacier!
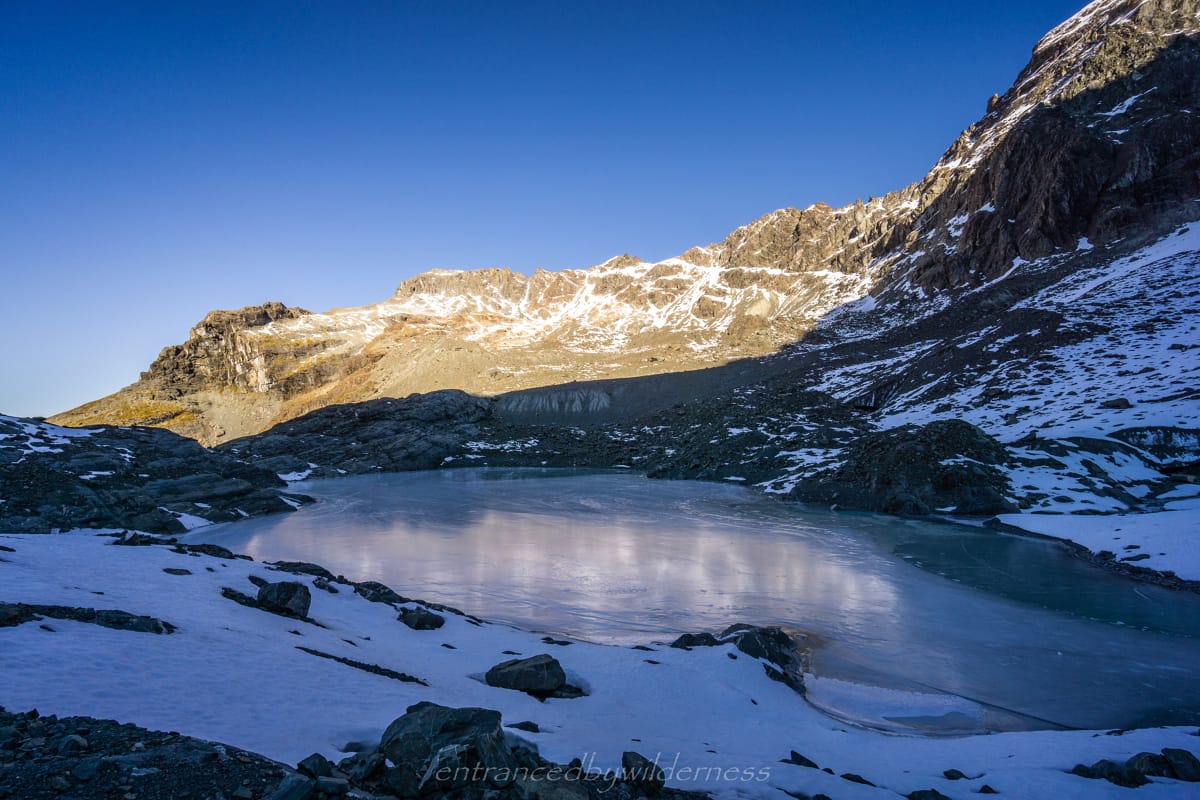
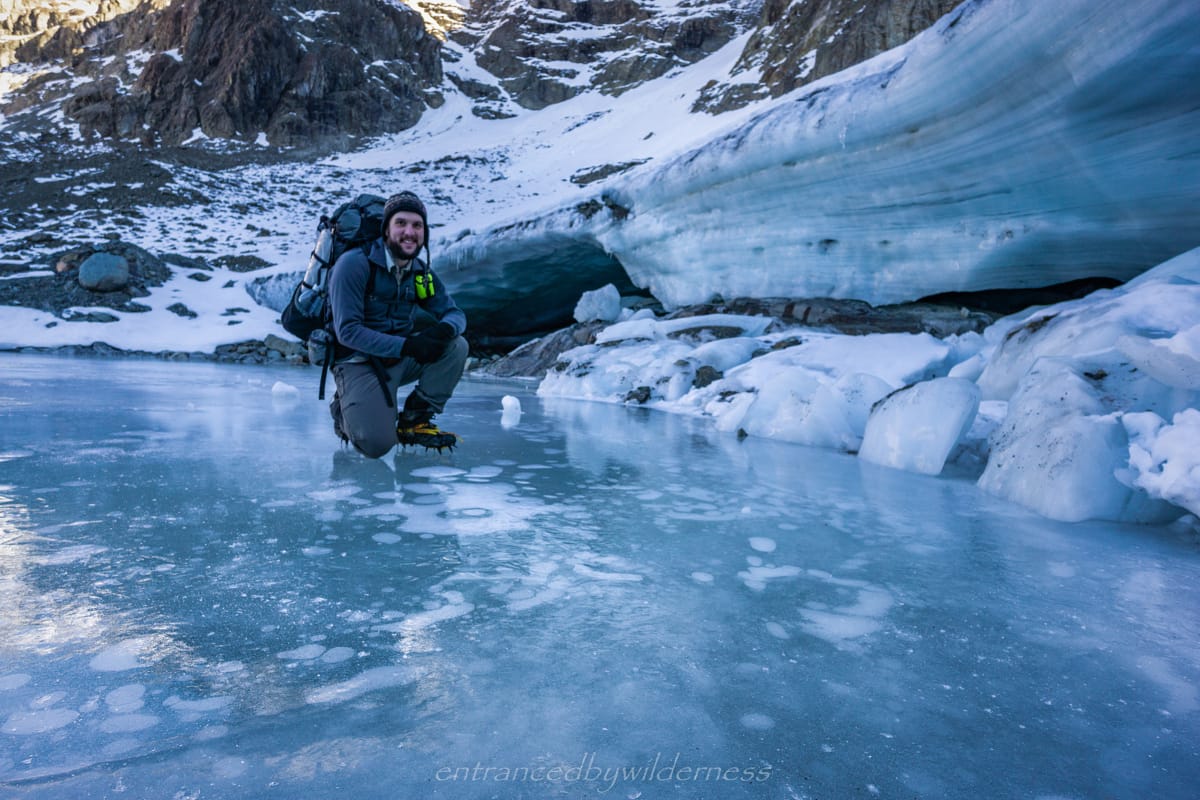
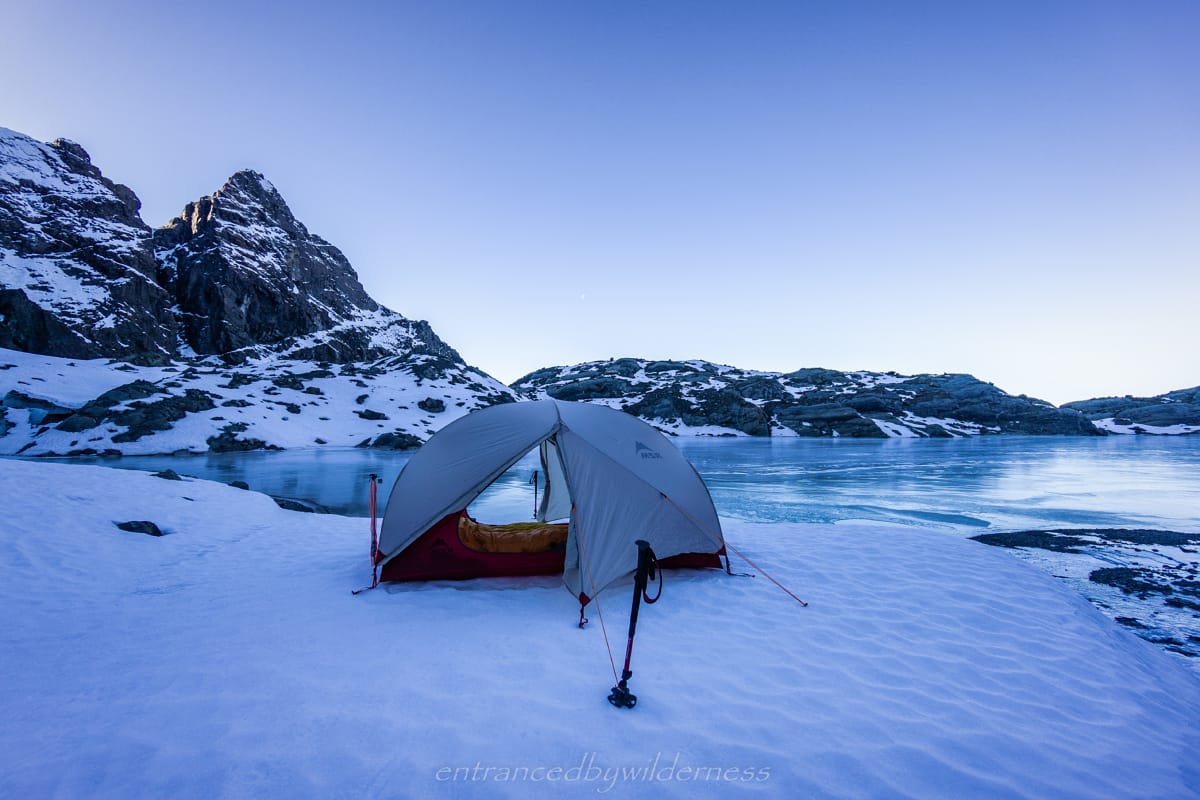
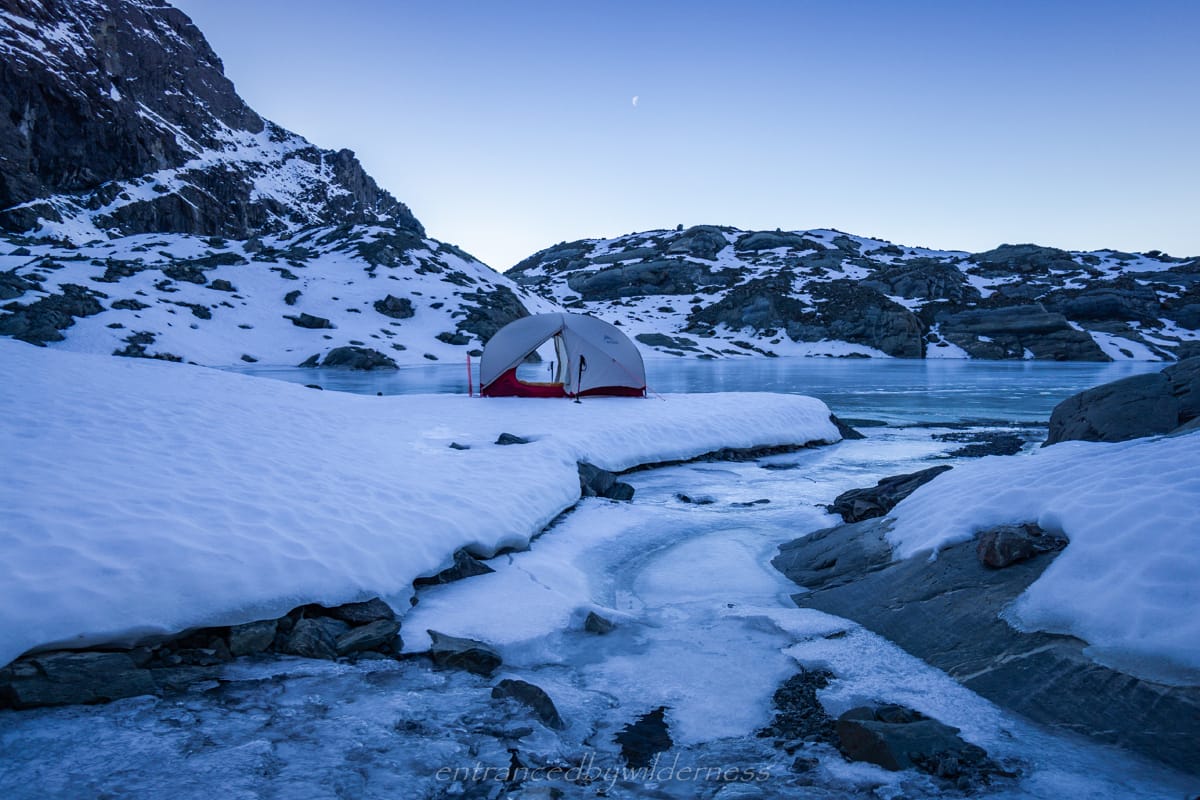
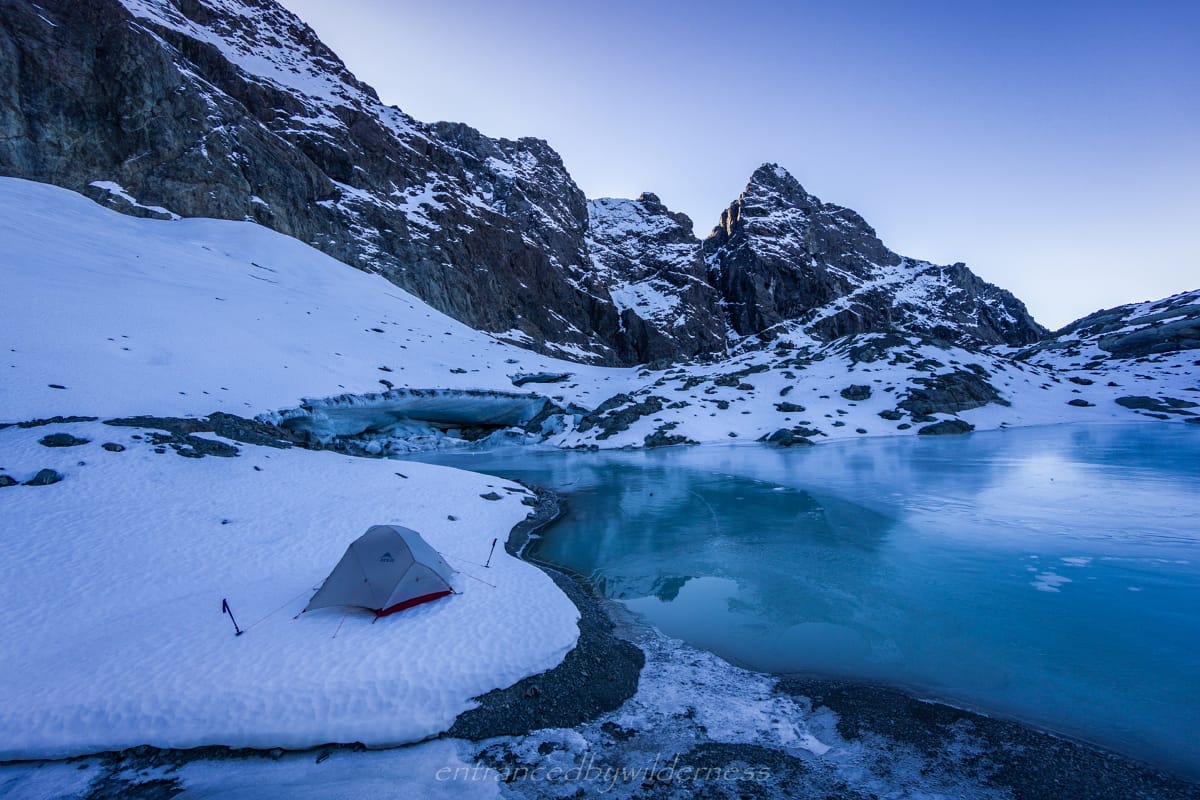
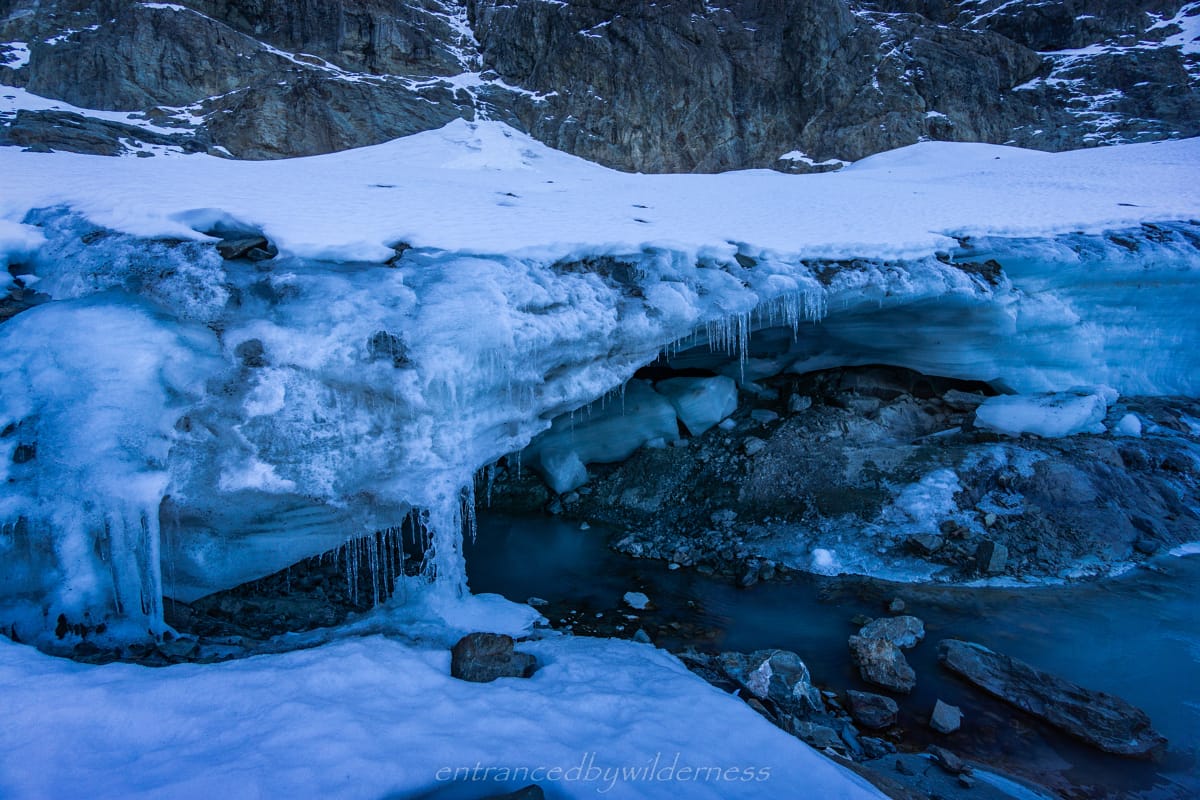
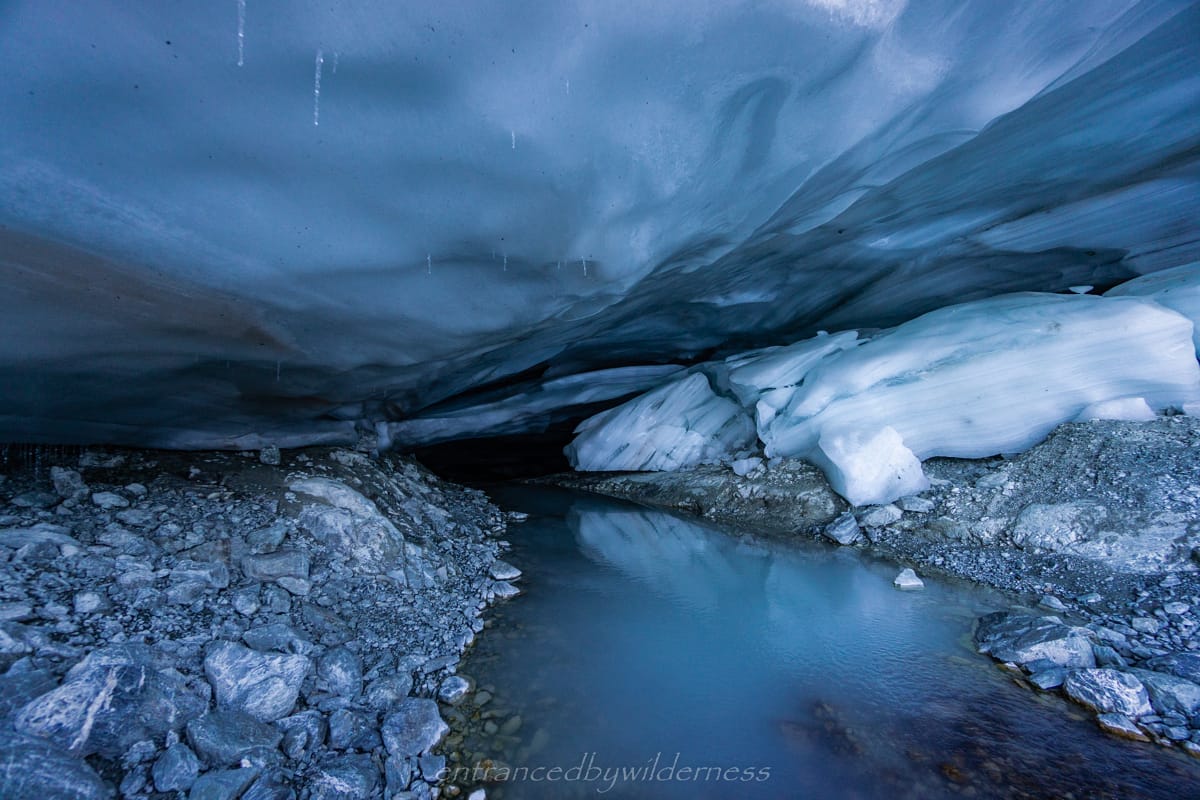
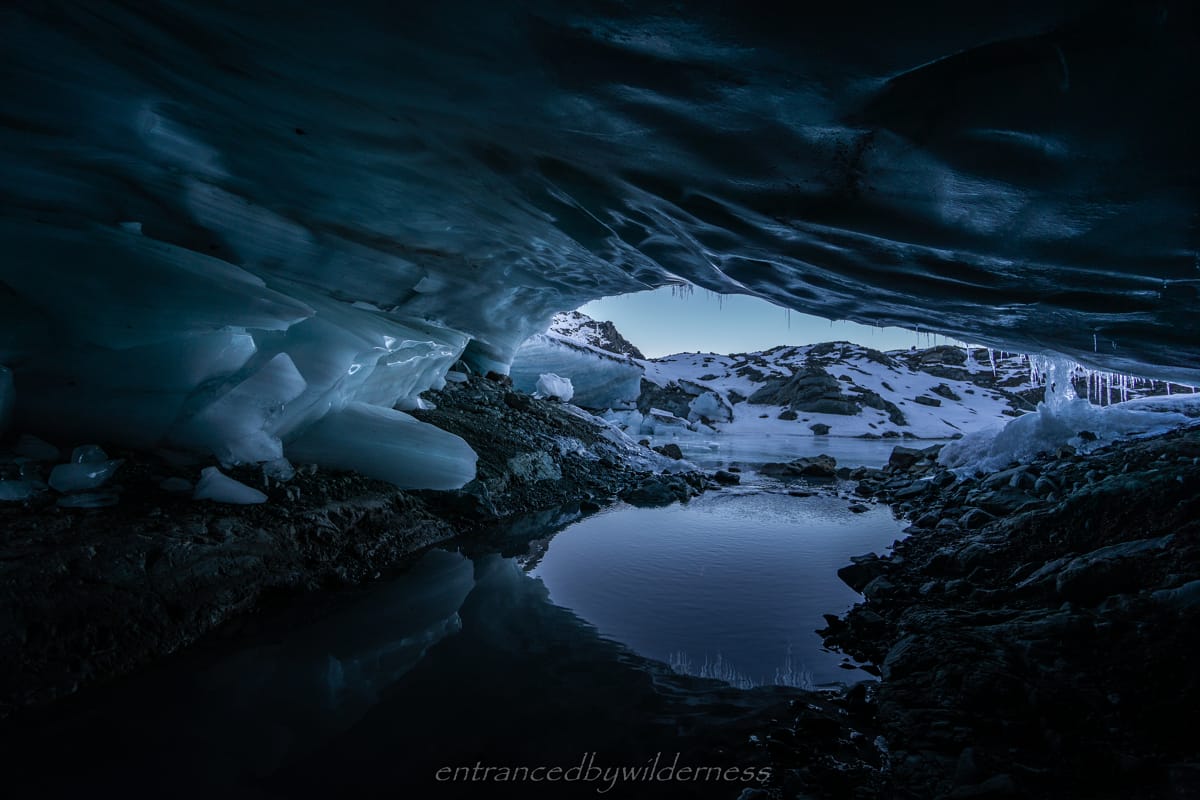
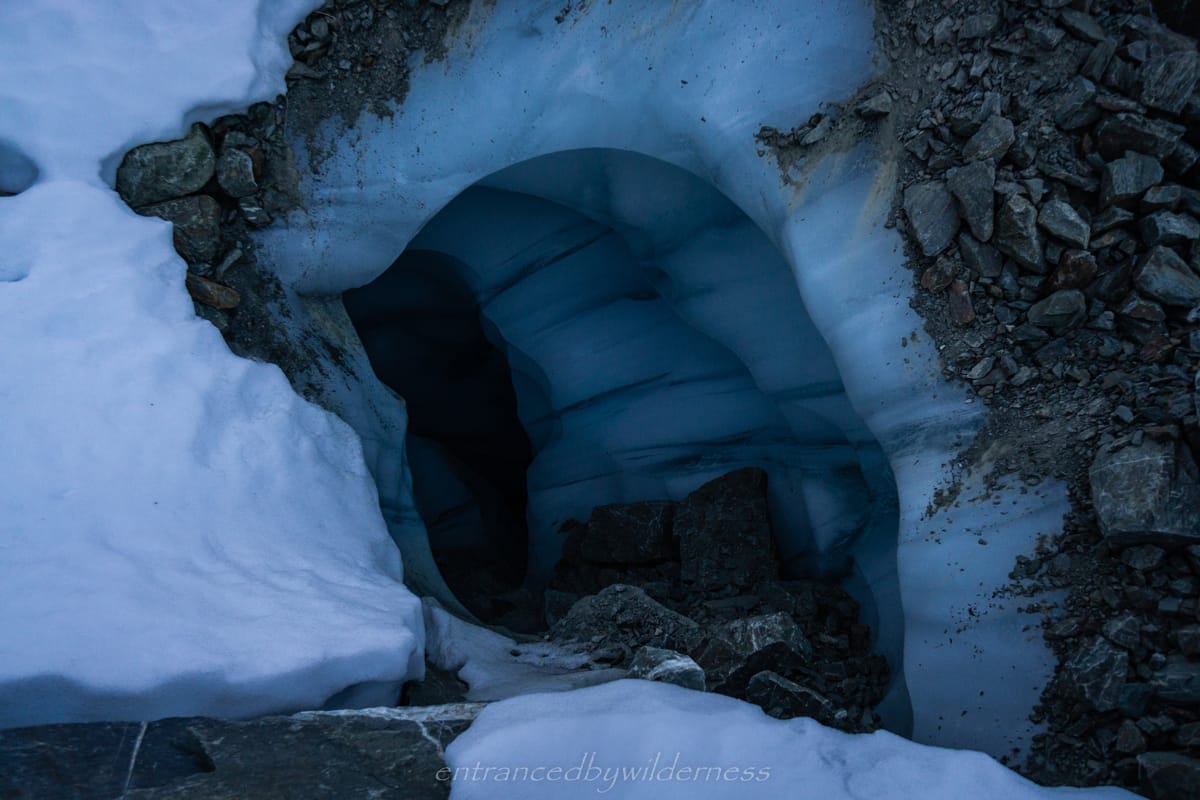
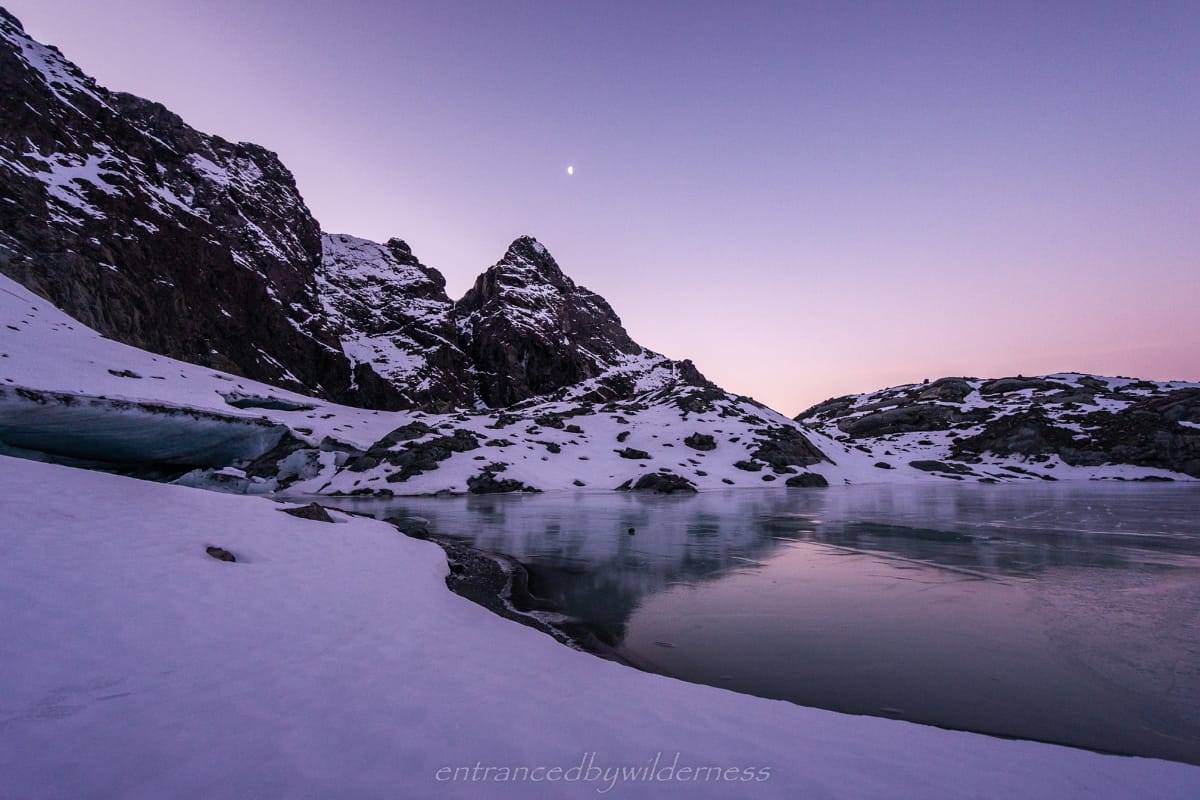
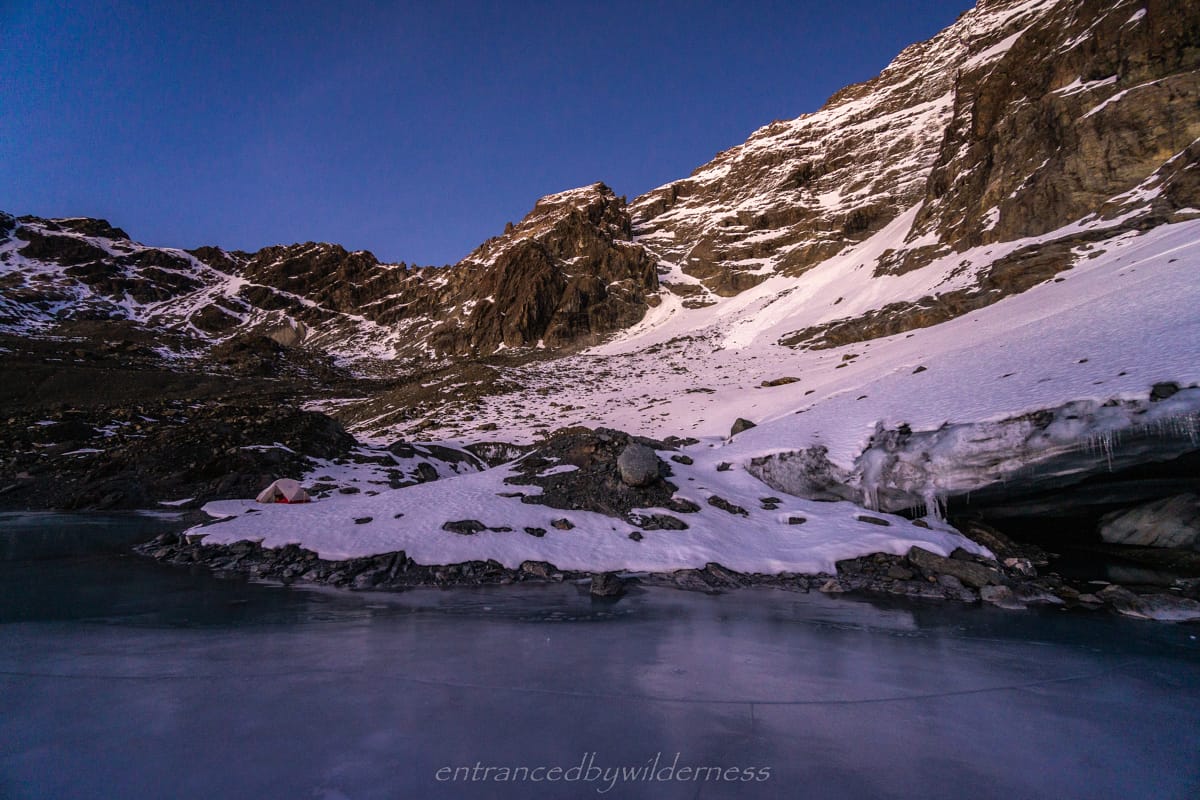
I totally did not expect the lake! This just goes to show how much melt has occurred. It was also a frozen lake, making it more epic! The most prominent feature, was the snow cave at the terminal face of the glacier. This was created from the outflow of the lake, that wraps back around from the direction I had come from.
It had taken me about 4 hours to reach this section and it was around 2pm. I had the inspiration to push on further and have a go at getting around to Sleepy Hollow, but looking at the terrain and daylight hours left, I decided to save it for another trip in summer with less risk. It was so awesome here anyway, and I decided to camp by the glacier.
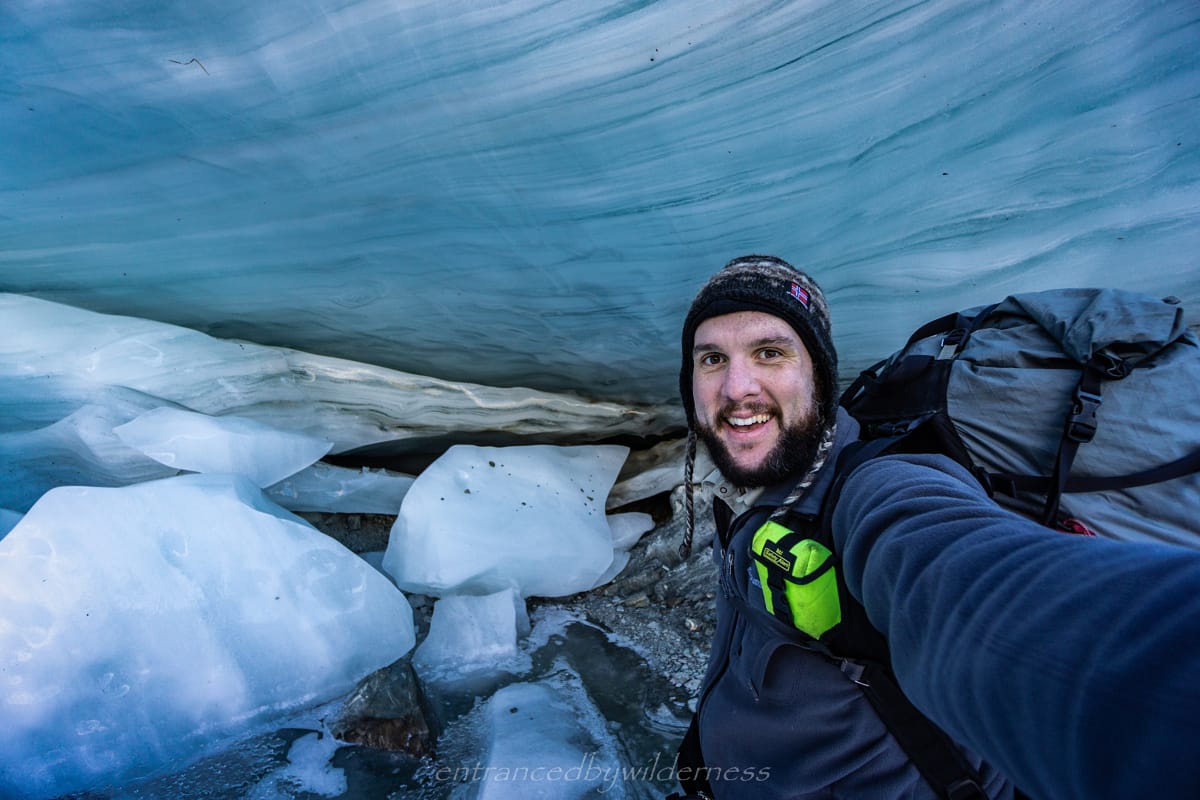
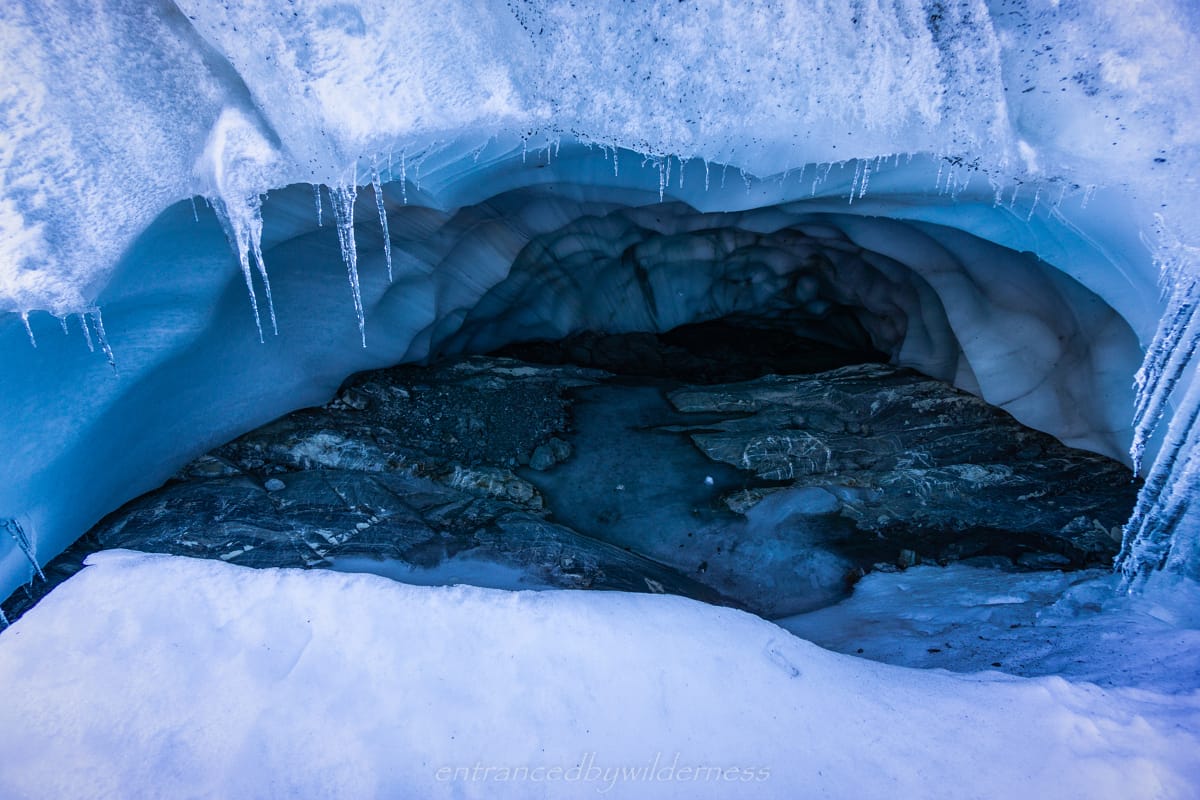
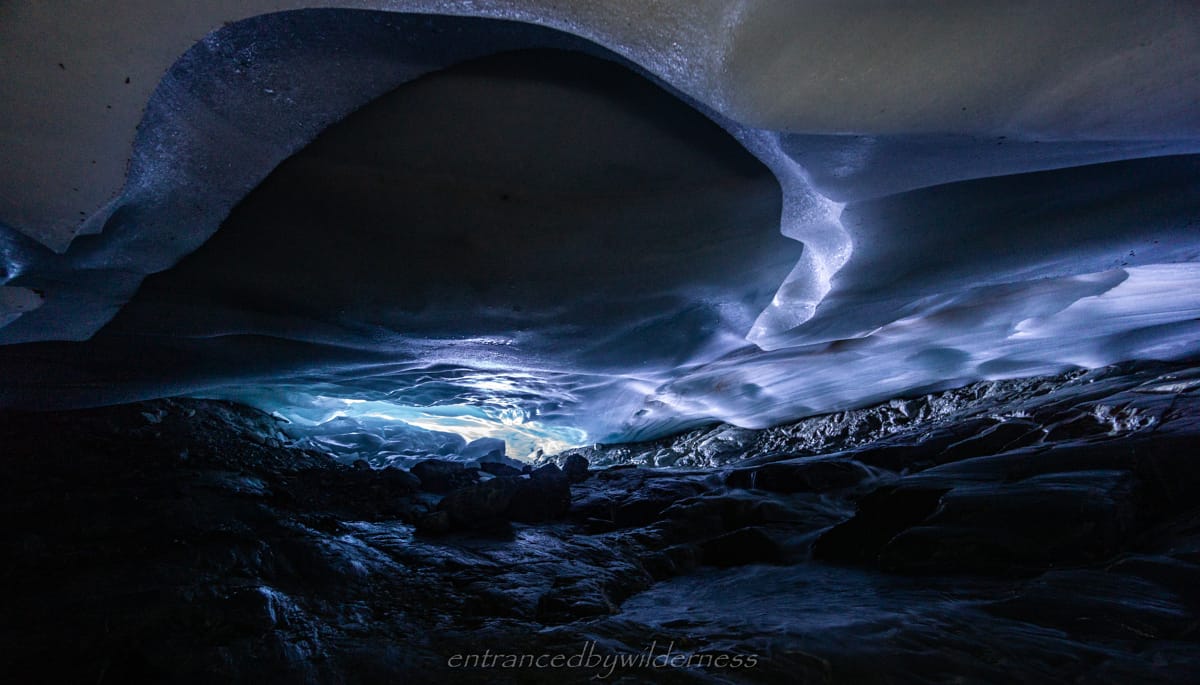
Whilst I still had daylight, I decided to do a mini-tour of the area. My first stop was the cave. I managed to get inside quite far, until there was a drop-off at the back. It was super awesome inside! There’s something extremely cool about being in a glacial cave (no pun intended!).
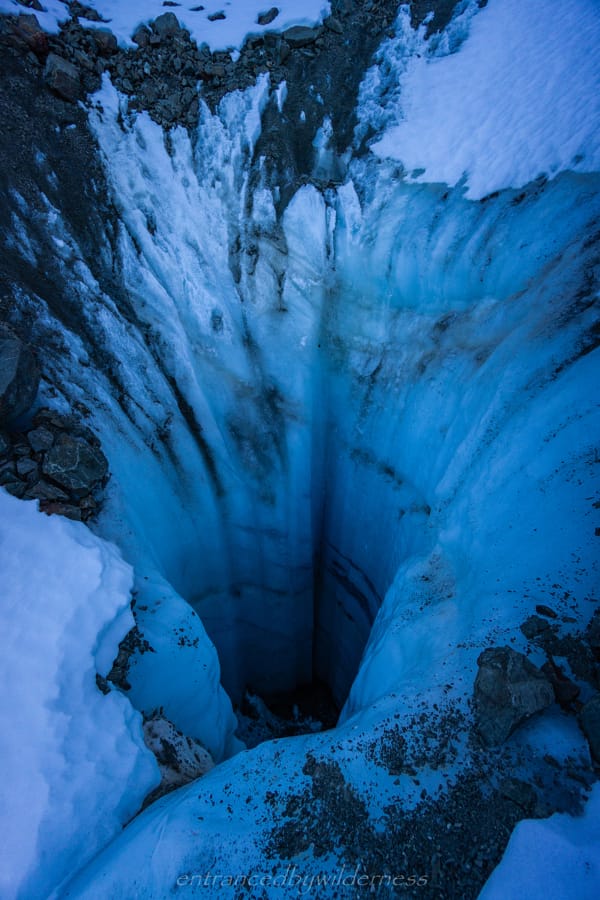
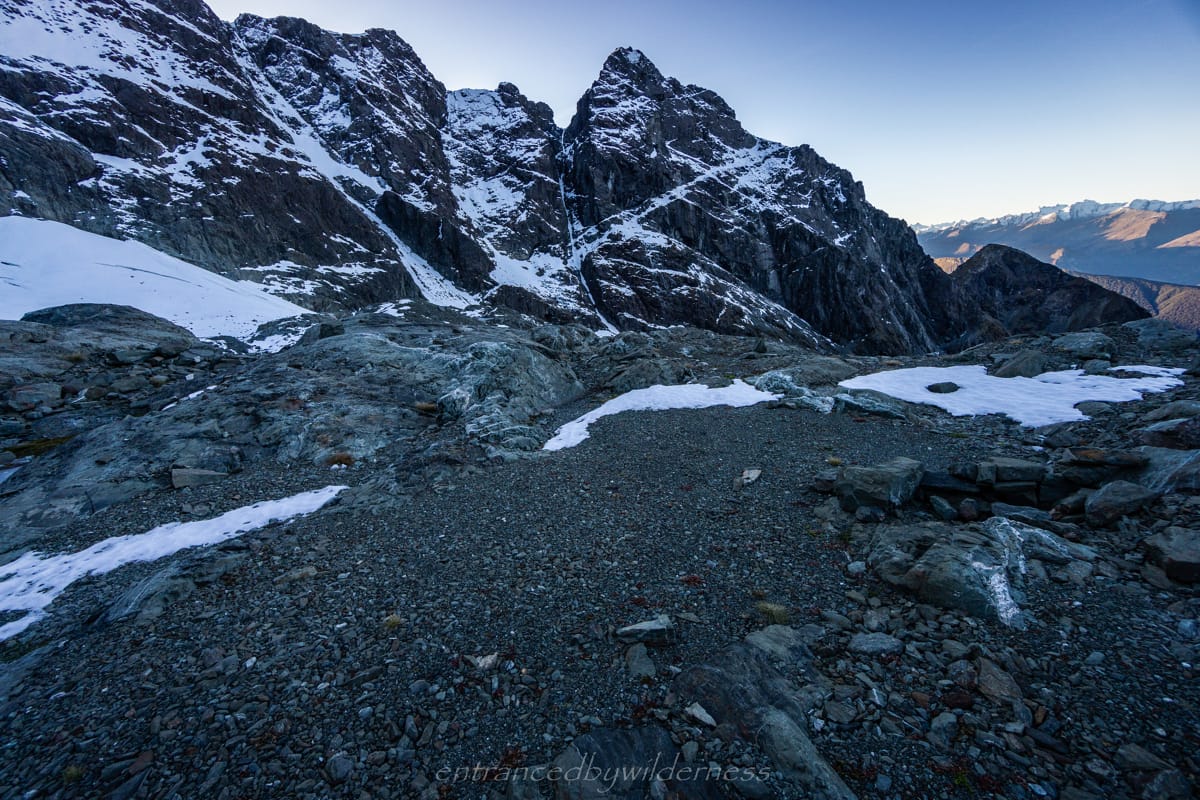
As I wandered around the area, I received good views of Mt Bonpland, and a deep hole in the glacier that look like something out of a sci-fi movie! It was so interesting!
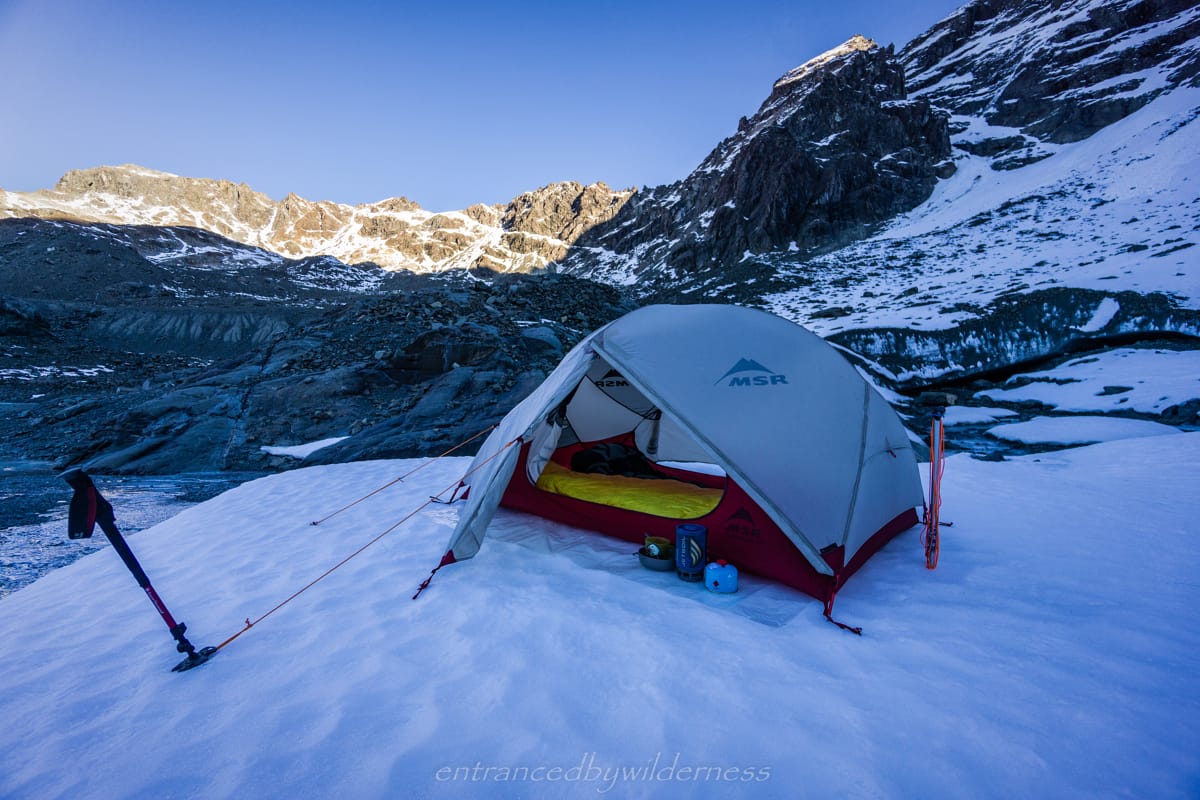
There were some potential tent sites above the bluff section higher up. A small trickle of a stream was close enough for water too. I was happy enough where I was camped though, and it was a good trial to test out my new sleeping bag and pad for snow camping.
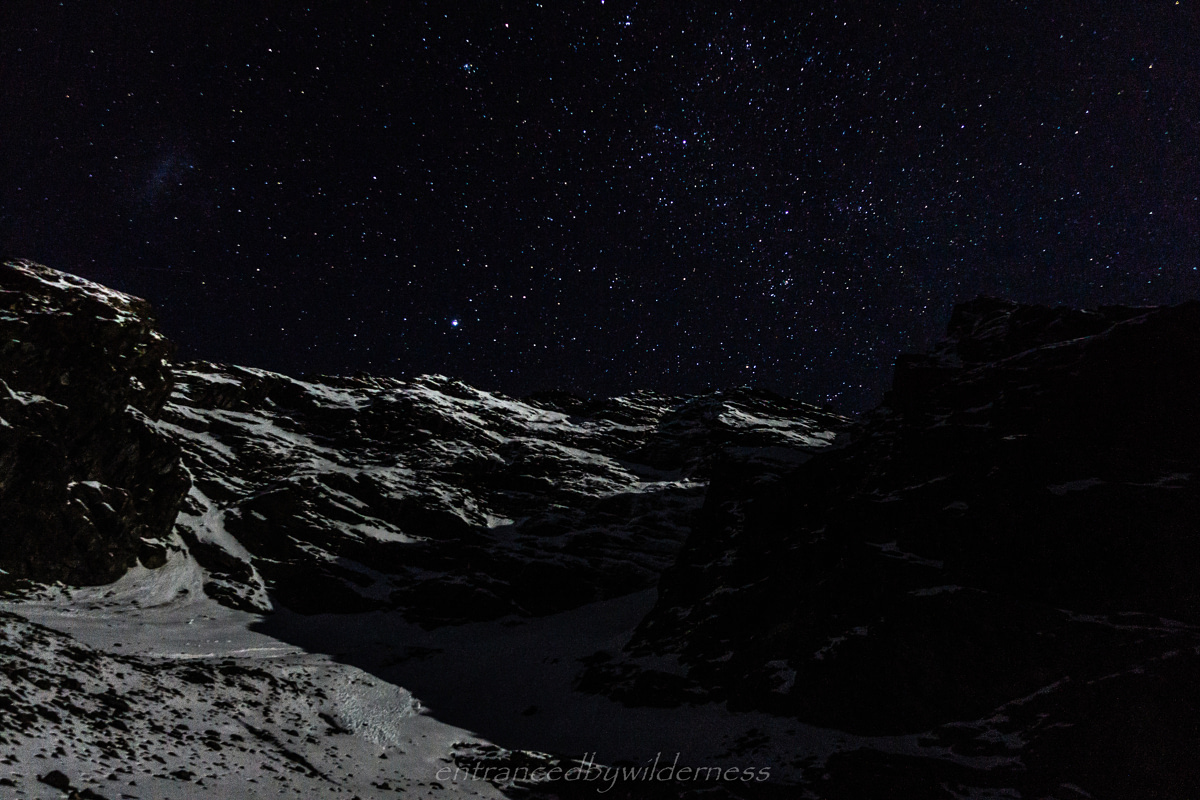
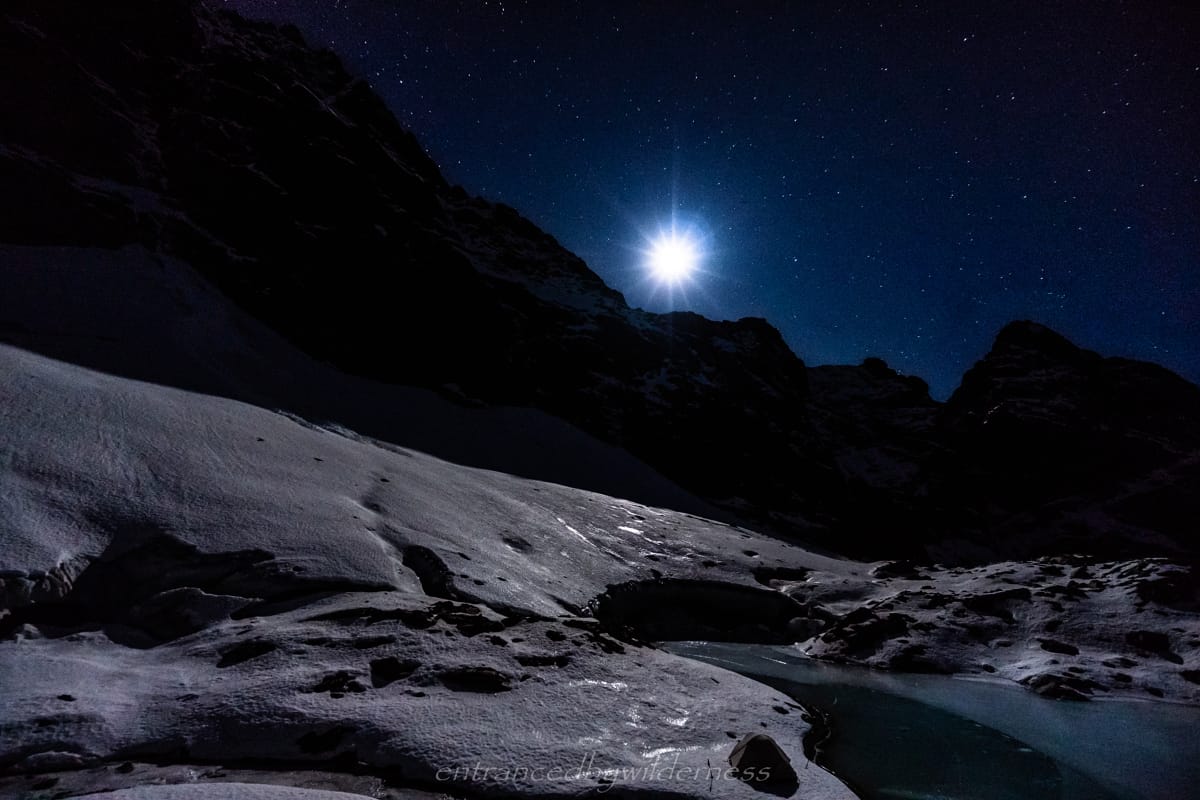
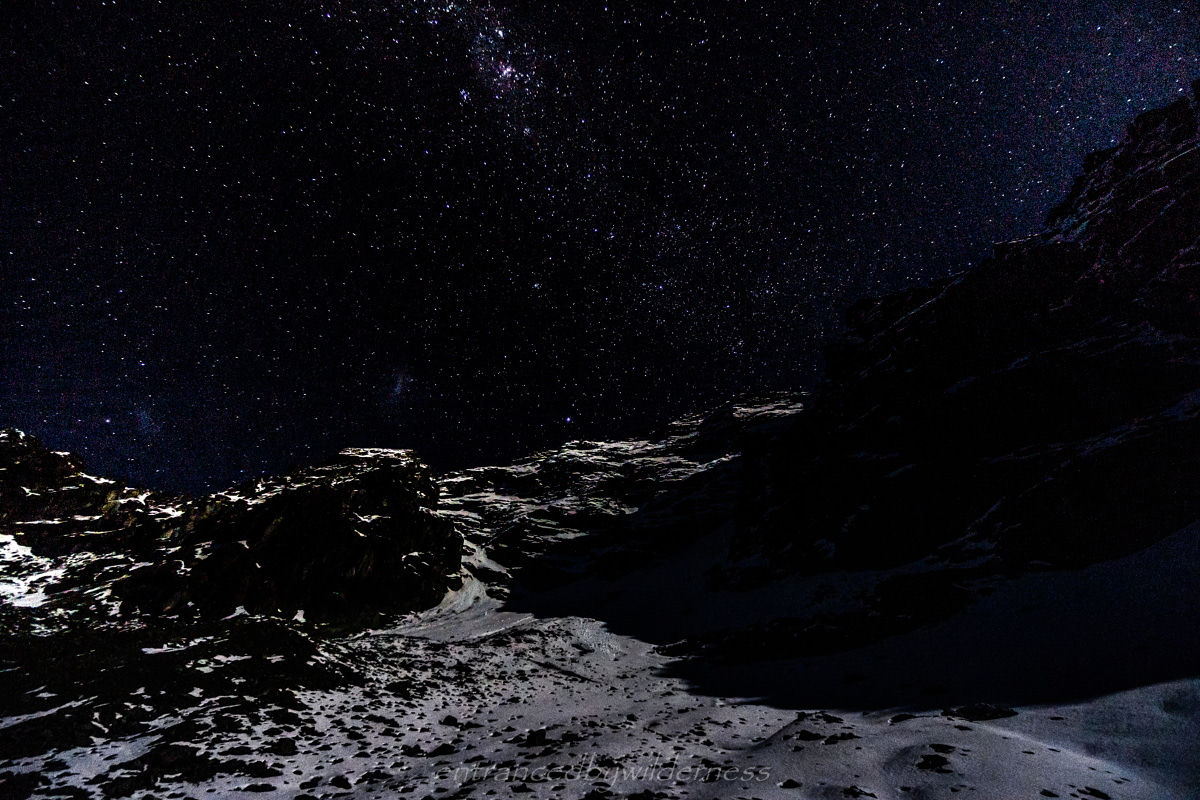
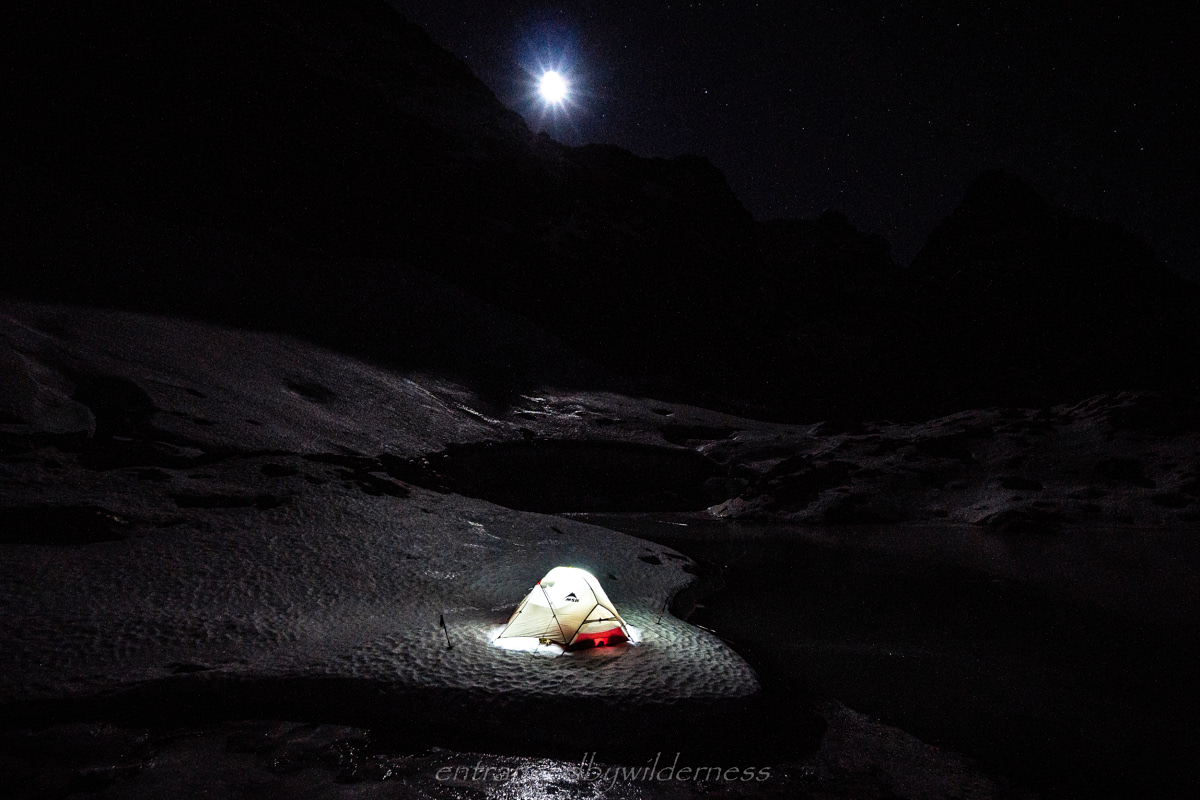
It’s been awhile since I tried to get some good astro photography shots. Around 10pm I decided to leave my coccoon of warmth, and suffer in the elements for some photos. A better astro lens is definitely something I want to get, as this one is limiting, but with some playing around, sometimes the shot works out!
The night was cold, but nothing out of what I expected. I guessed it was about -2C to -5C as my water was rapidly freezing. I needed to sleep with my water bottles in my bag! My gear worked well though, and I could barely feel the coldness of the snow beneath me. It was much more comfortable than my previous setup was camping on snow earlier in the year on the Serpentine High Lakes Traverse.
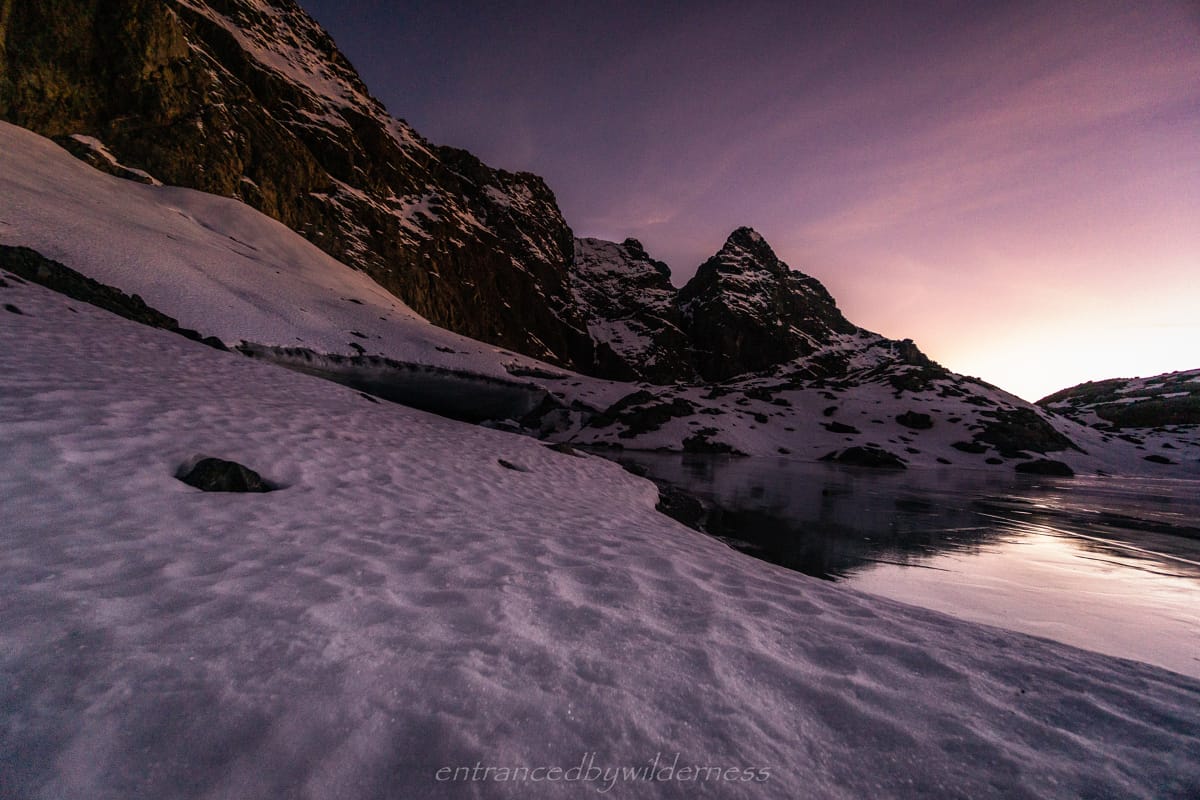
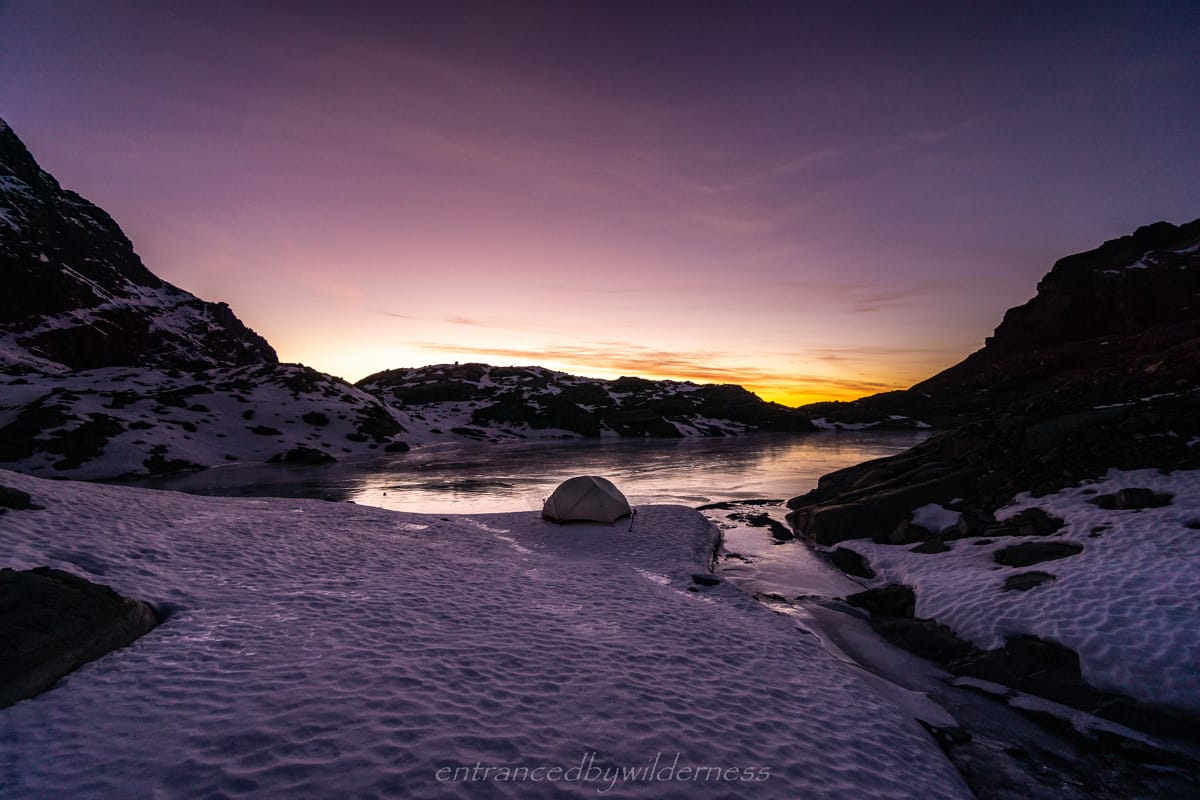
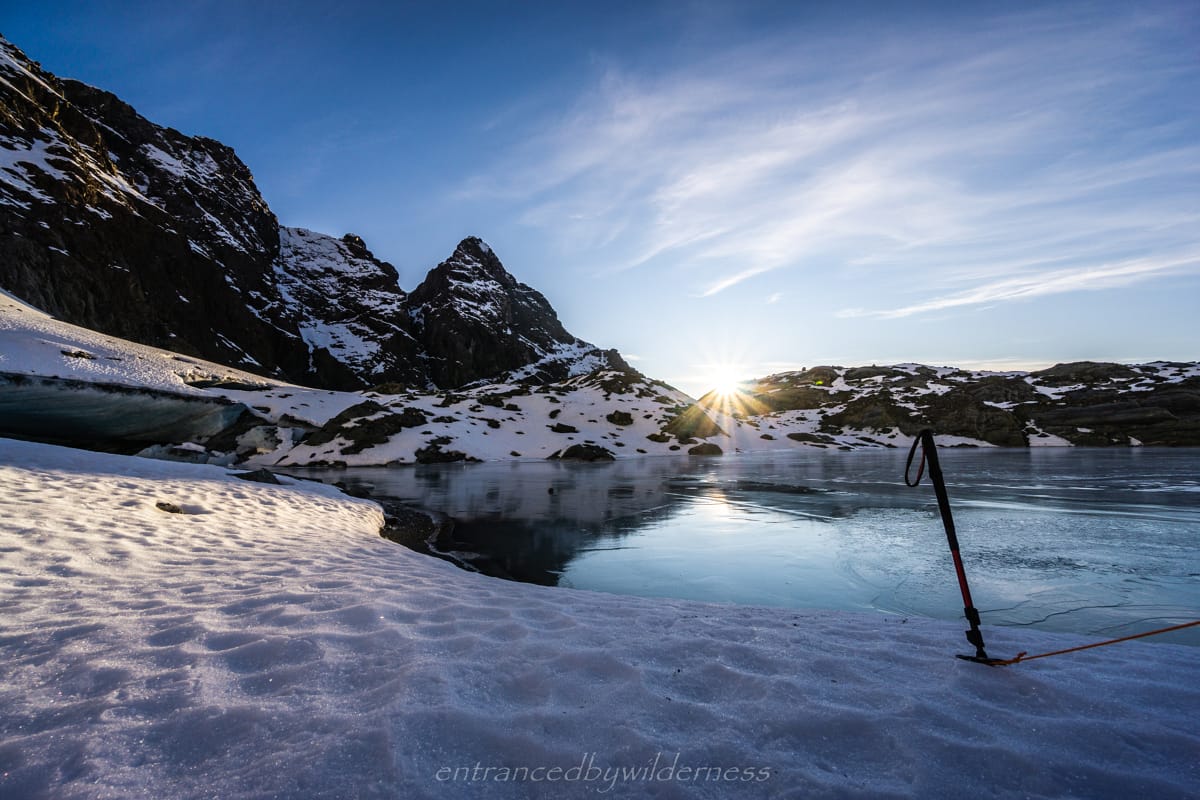
As sunrise set in, I was rewarded with amazing views of the warm colours creeping in. I had breakfast, but choose to linger until the sun hit me, which turned out to be about 9:30am.
Once in the sunlight, I began to pack up my camp. I was surprised to see zero melt or flattening beneath my tent – the Sea to Summit ‘Comfort Plus‘ sleeping pad was just amazing with its dual air layers, preventing any warmth being pulled into the snow.
It was time to head back down. As I made my way back across to the descent section, the sun departed behind the mountains. I think it was up for about an hour and a half only!
The descent was notably harder than the ascent, yet not bad when taking it slow. The snow was icy and firm, and didn’t allow any give to kick in steps, so every step needed to be firmly planted for the spikes to grasp.
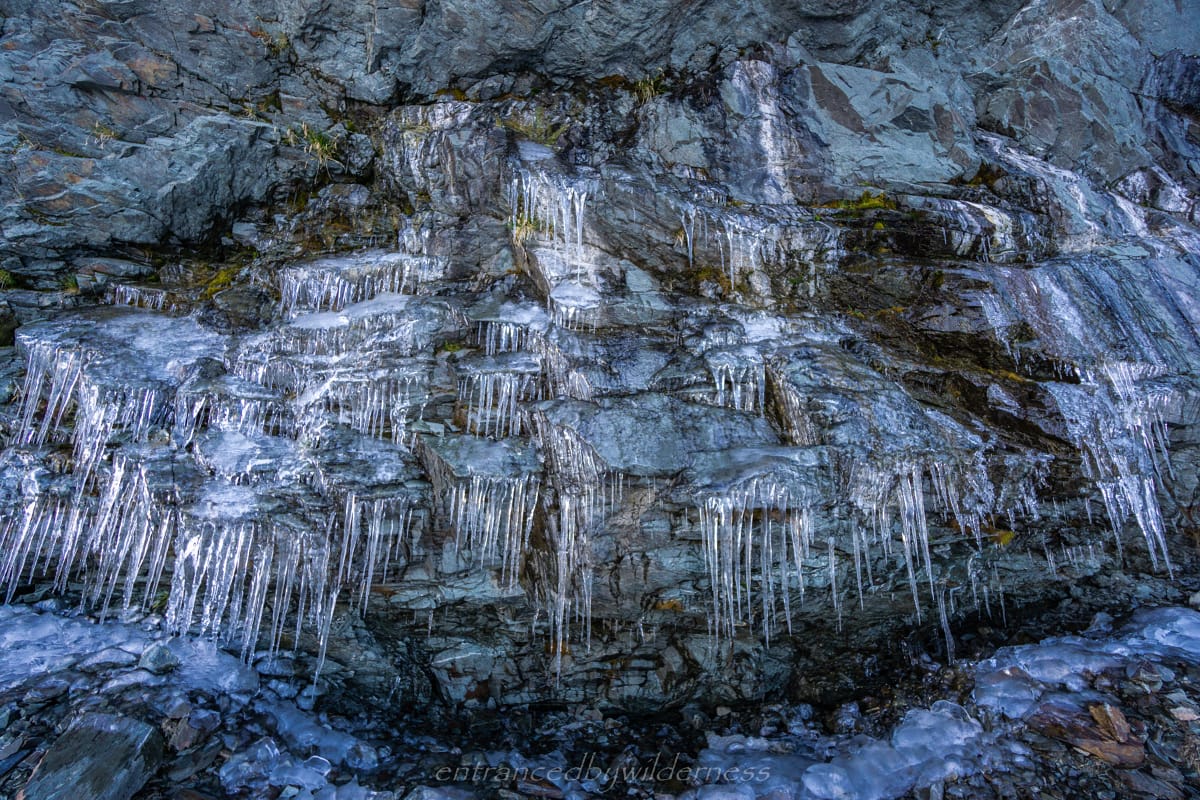
I ended up following the snow section as far as it went, then sidled under the bluffs to the waterfall section, which was beautiful with its icy fringes. From here on, it was fairly easy-going. I started to see some day hikers far below in the distance too.
Most of the people I eventually had bumped into were just doing the track section and a little further out into the open before turning back. It’s a little sad to know these people won’t even see the glacier, which they are half-way to reaching.
Eventually, I found myself back in the frosty tree-line and back into the forest.
One of the fastest and easiest glaciers to access from Queenstown
Is challenging, yet accessible with the right gear
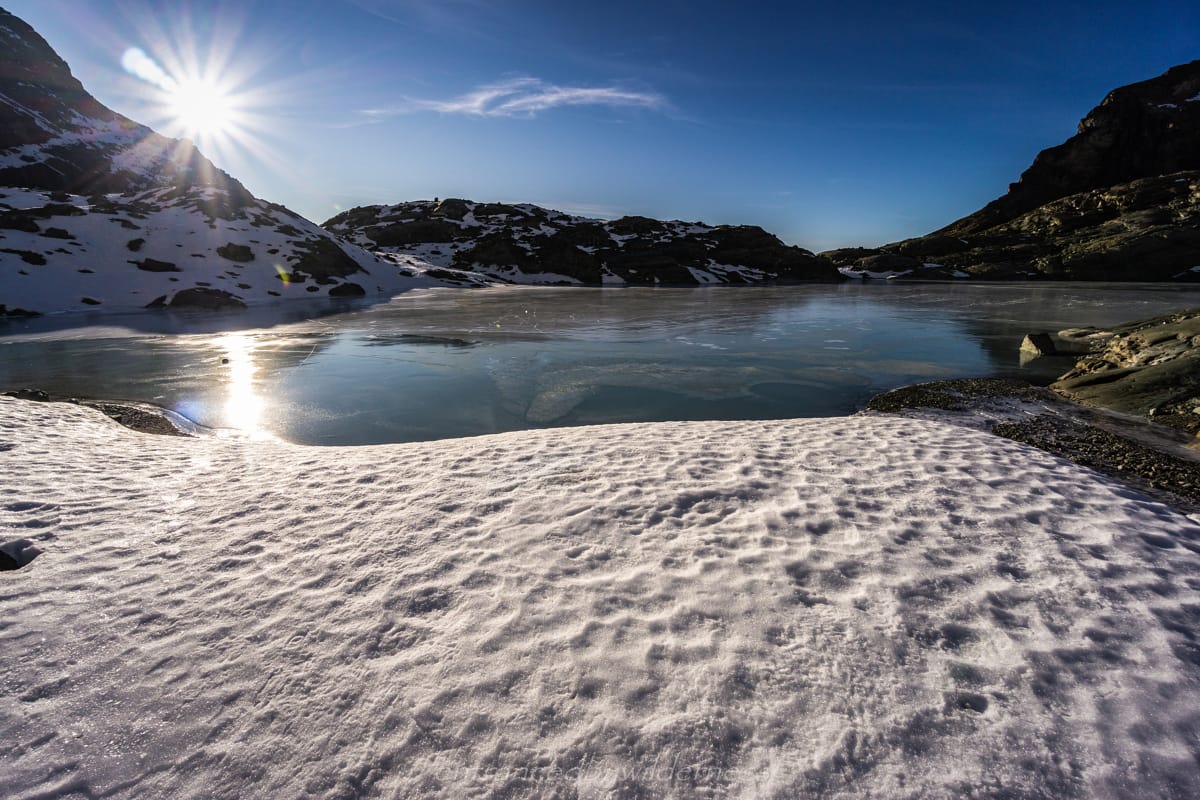
Frozen lake!
Glacial Caves!
Cons:
Walk in, walk out the same way
Lack of stable terrain in sections
Your Donation Really Helps!
In order to support the travelling and hiking community, I spend many hours per week or month to adequately document all information and advice for prospective visitors, accompanied by a (hopefully) entertaining insight into my personal experiences. This service is, and will remain, free. However, running a non-profit website and spending time creating content comes with financial and personal costs.