Turning a popular hiking route into a backcountry journey!
An exploration of both familiar and new landscapes
Map of Route
Hike Information
Location:
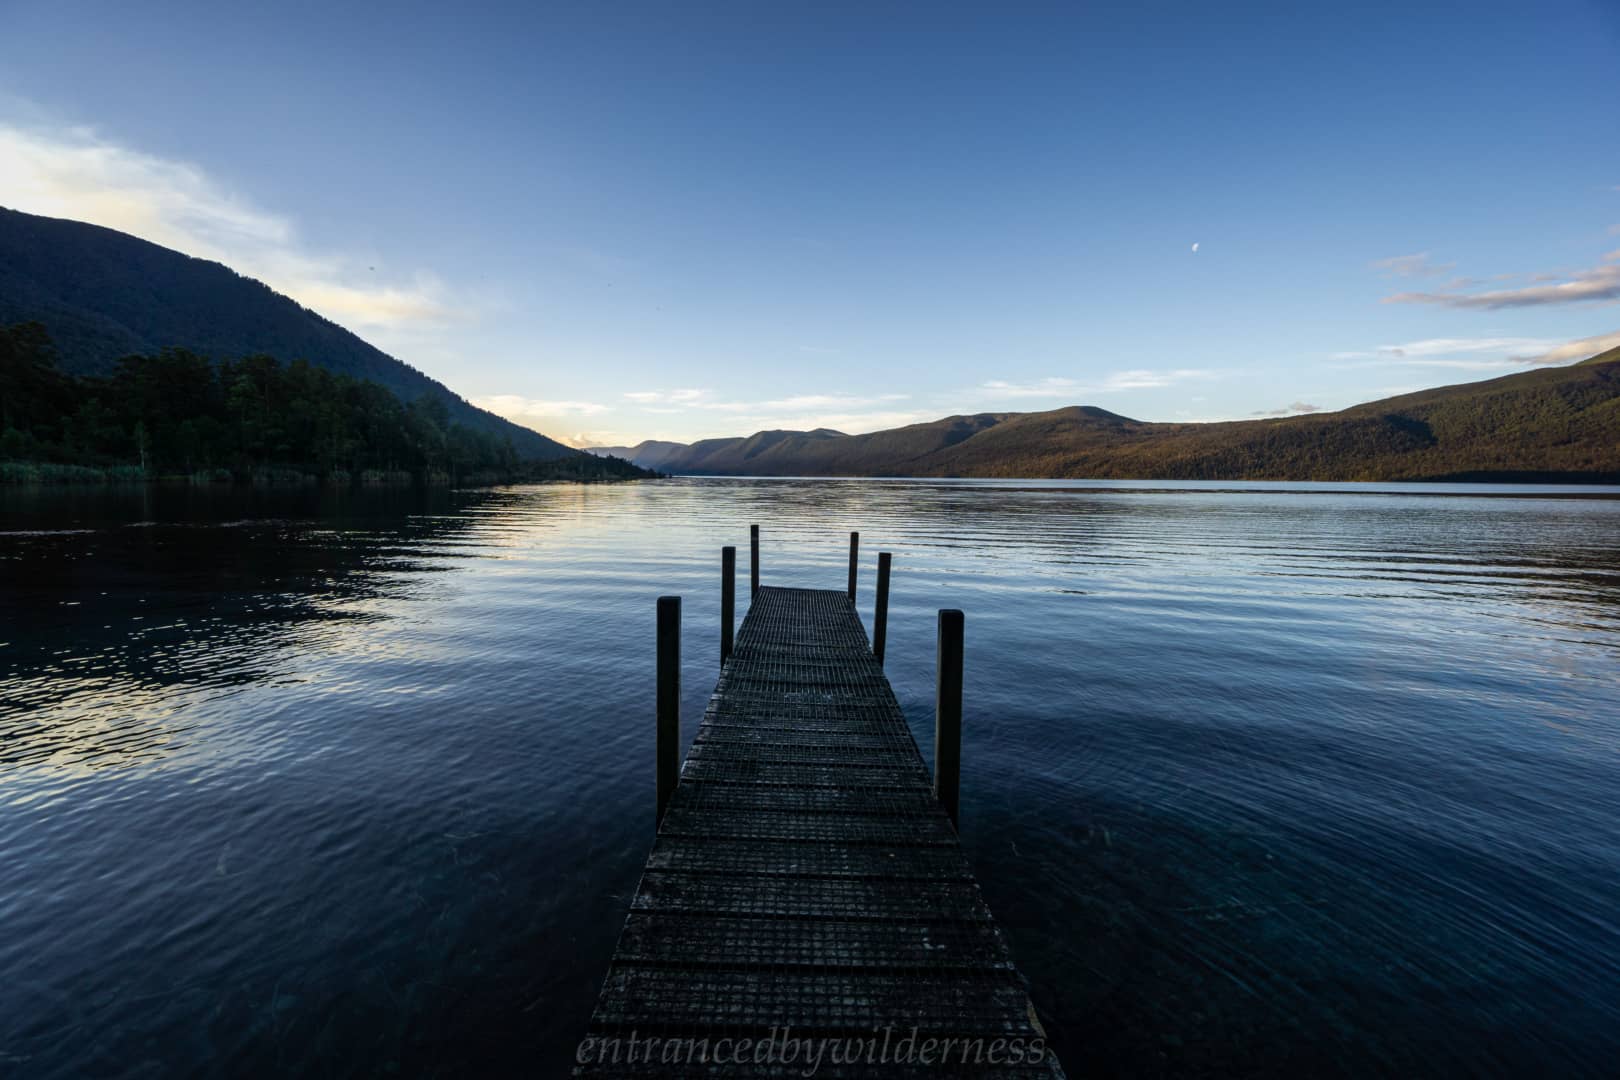
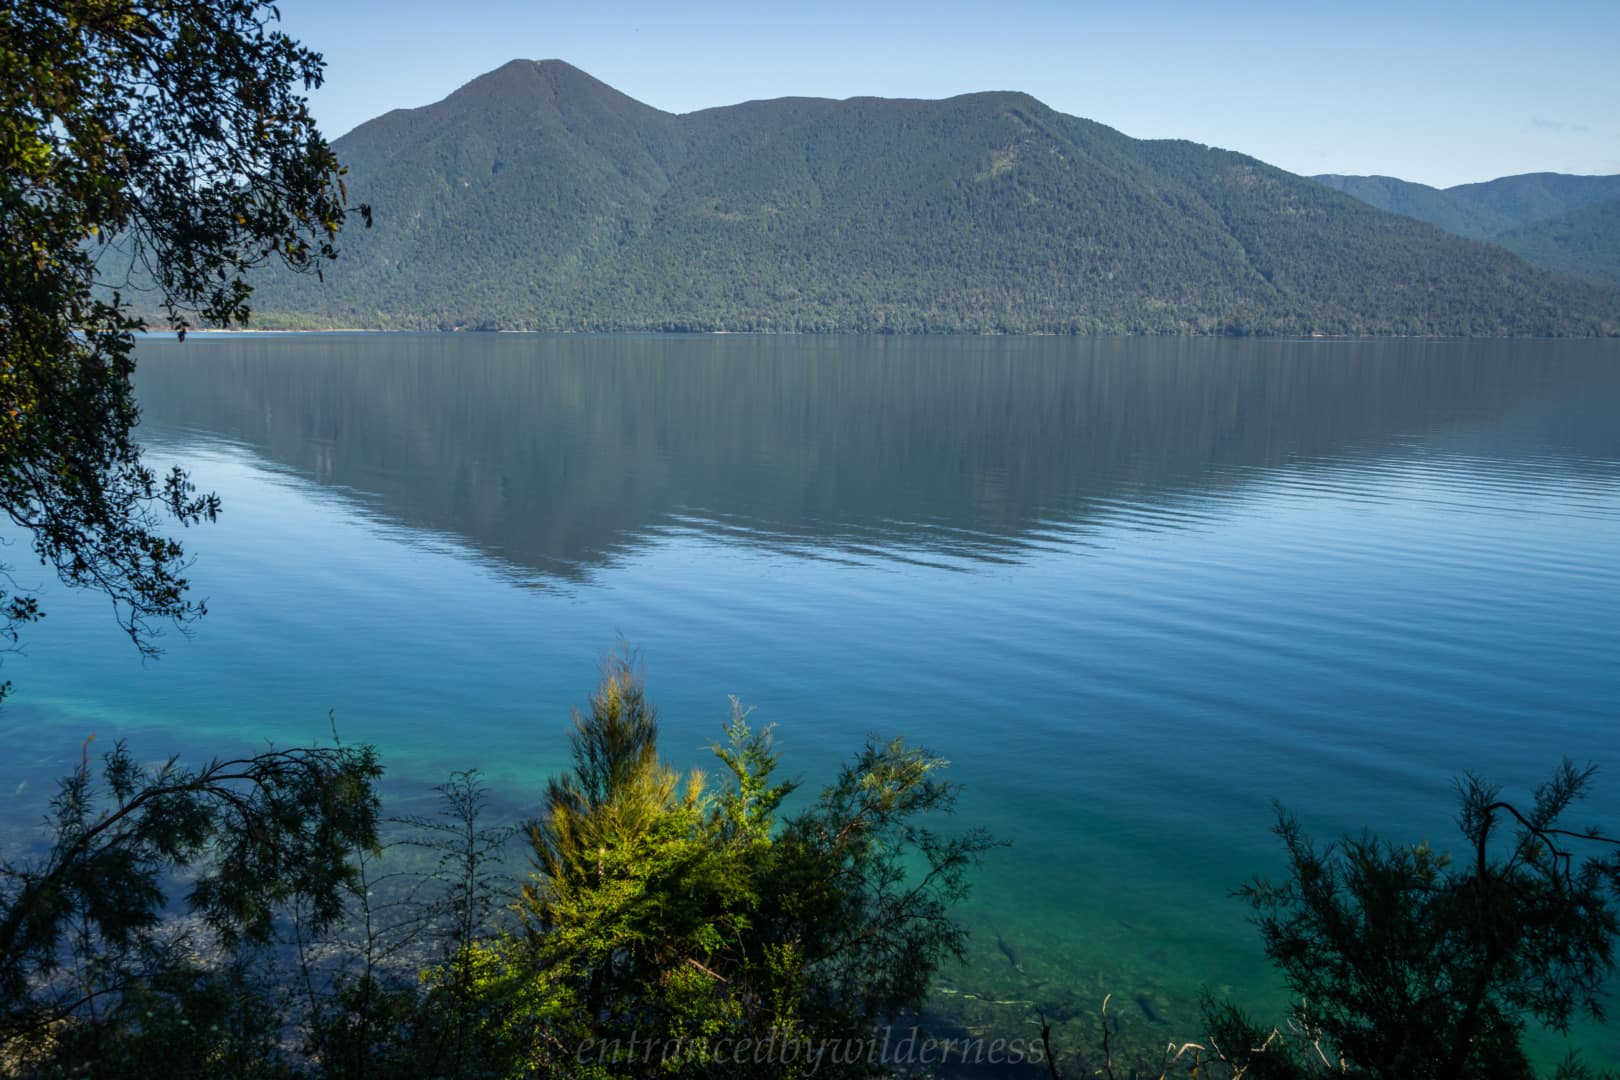
Nelson Lakes National Park is about an hour south of Nelson, in the South Island of New Zealand. The main gateway to this National Park is via St Arnaud, a small village on the edge of Lake Rotoiti. There is plenty of parking here in several locations. Starting at the Mt Robert car park is ideal.
Difficulty:
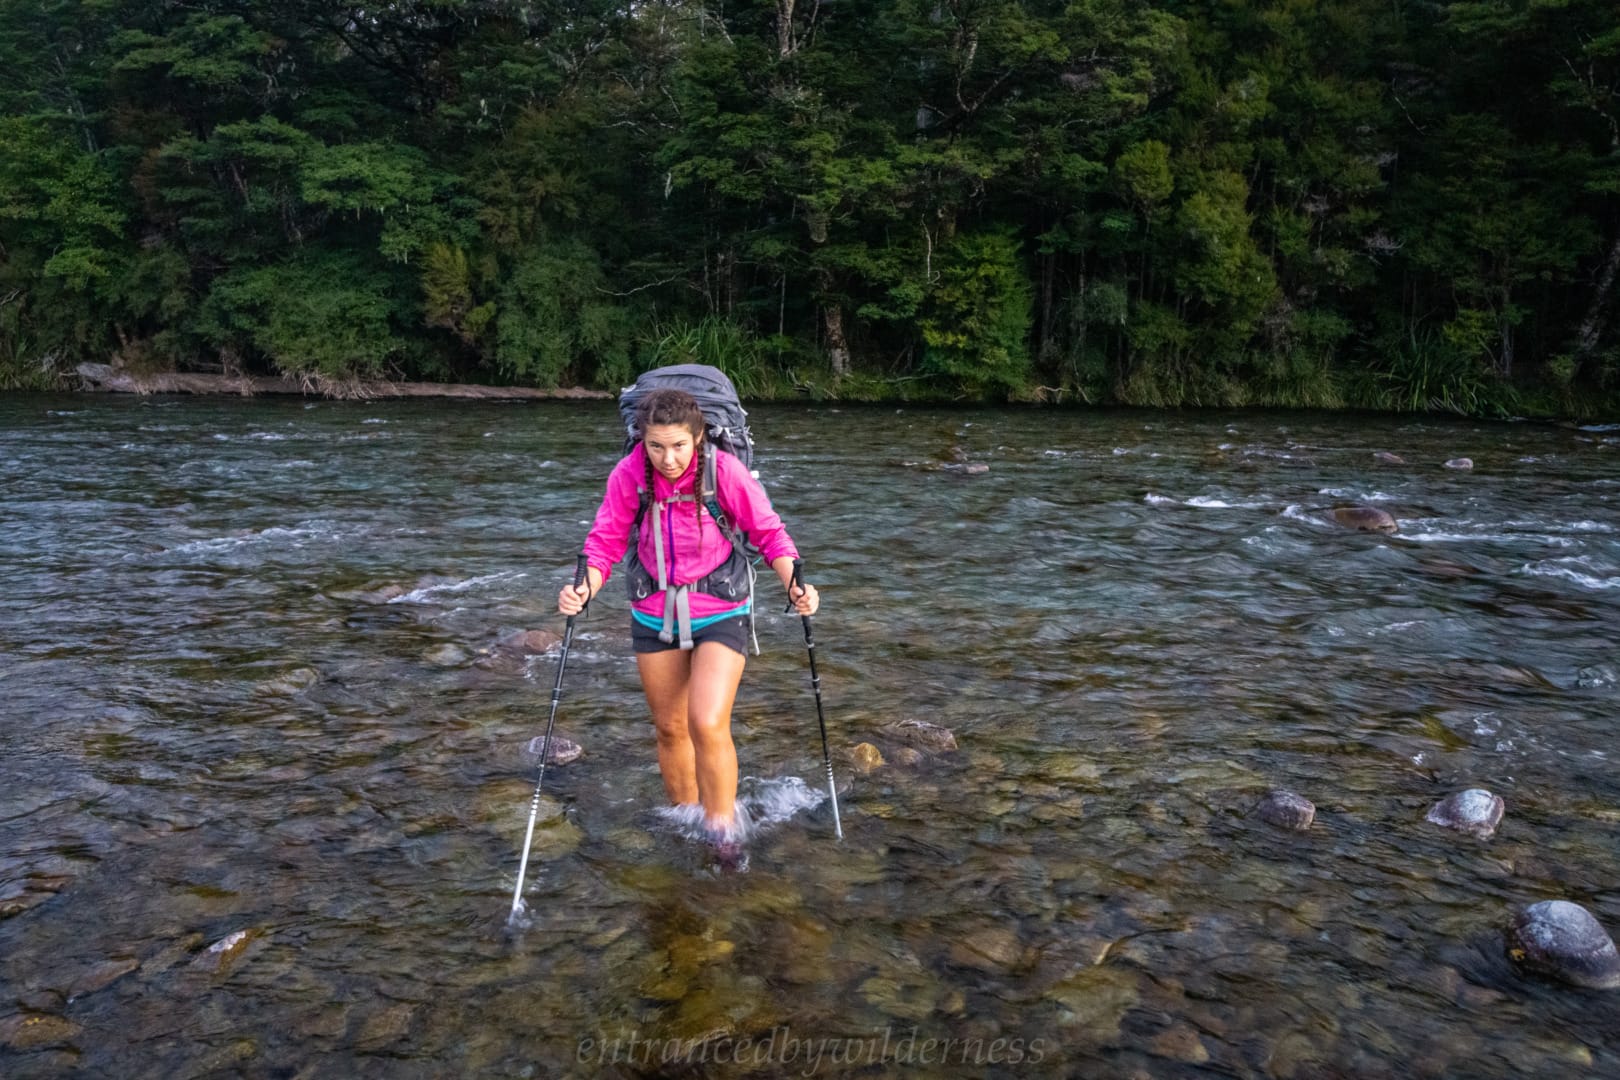
Advanced – This particular hike travels over several high passes and follows an alpine ridge line. There are a couple of somewhat technical sections where a slip could be dangerous. The entire route is well-marked or cairned, but navigation skills are still required. There are also a couple of river/creek crossings (most are bridged, however) which may be difficult during/after heavy rain or in late Spring / early Summer.
Camping:
It is possible to mix it up with both huts and tent camping. There are many spots to choose from along the way, and it’s all dependent on your timing and desires.
Time:
The timing is dependent on your speed and the season. This route could take anywhere between 5-10 days. On this trip, we took it very slow due to unlimited time restraints and making the most of good weather, and spent 9 days on the route (short last day).
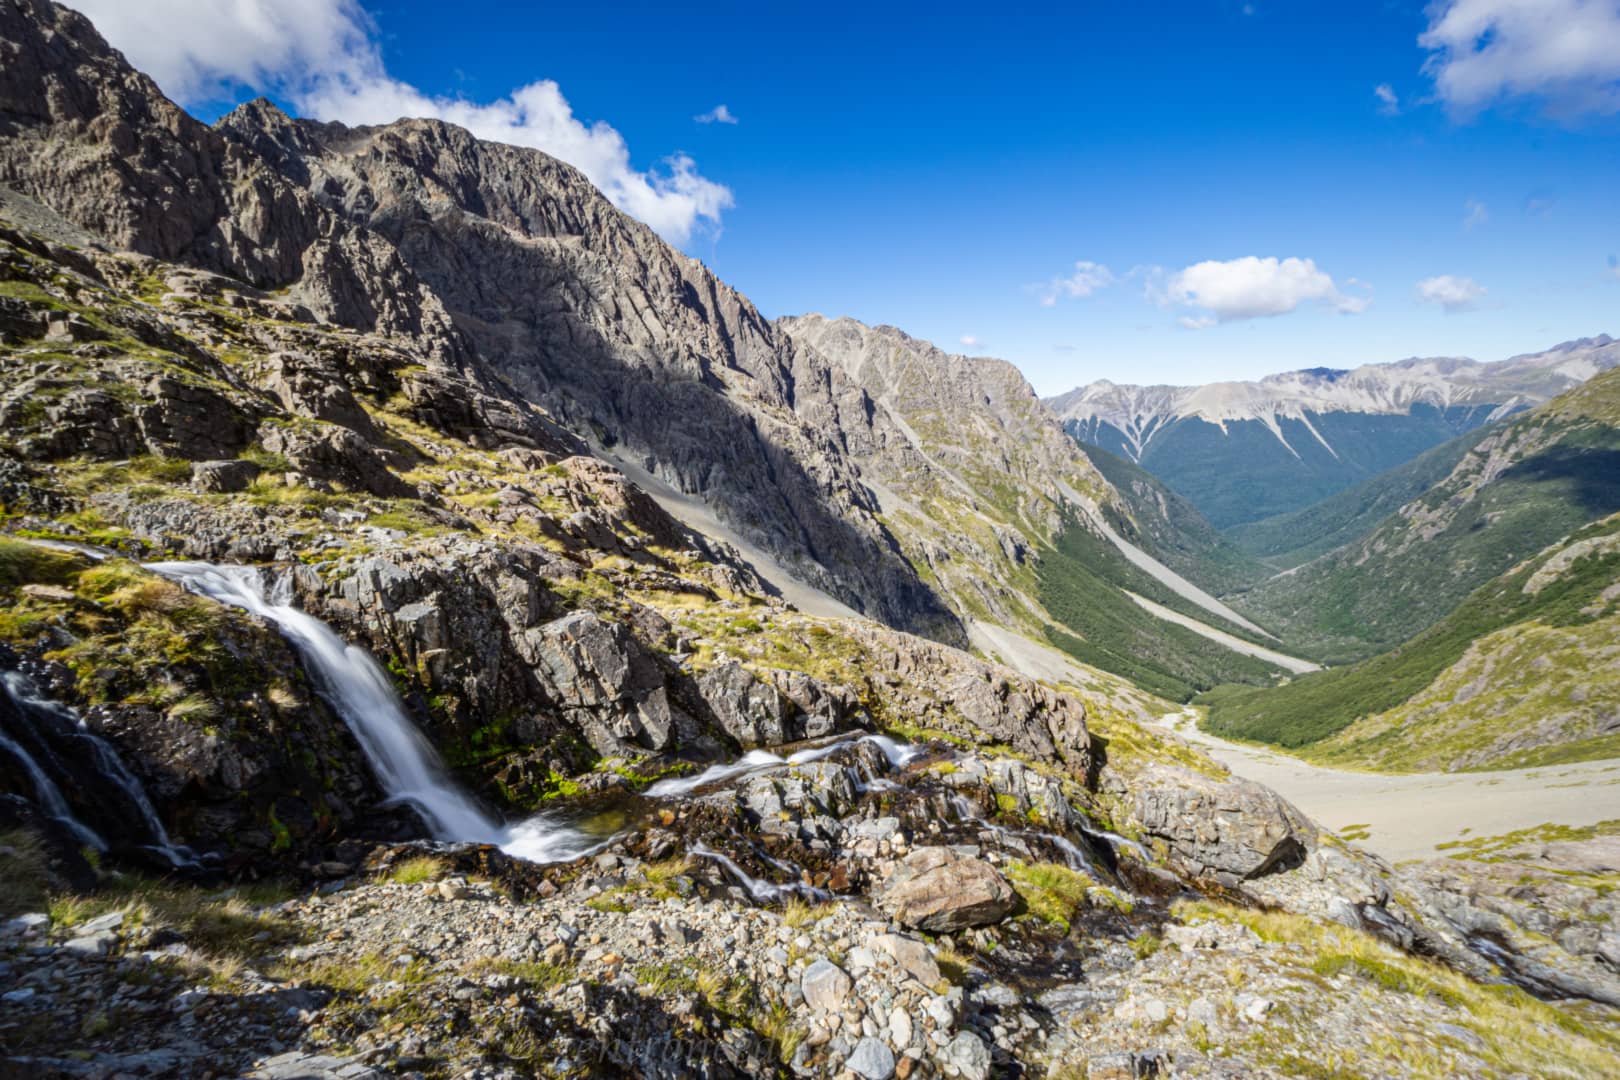
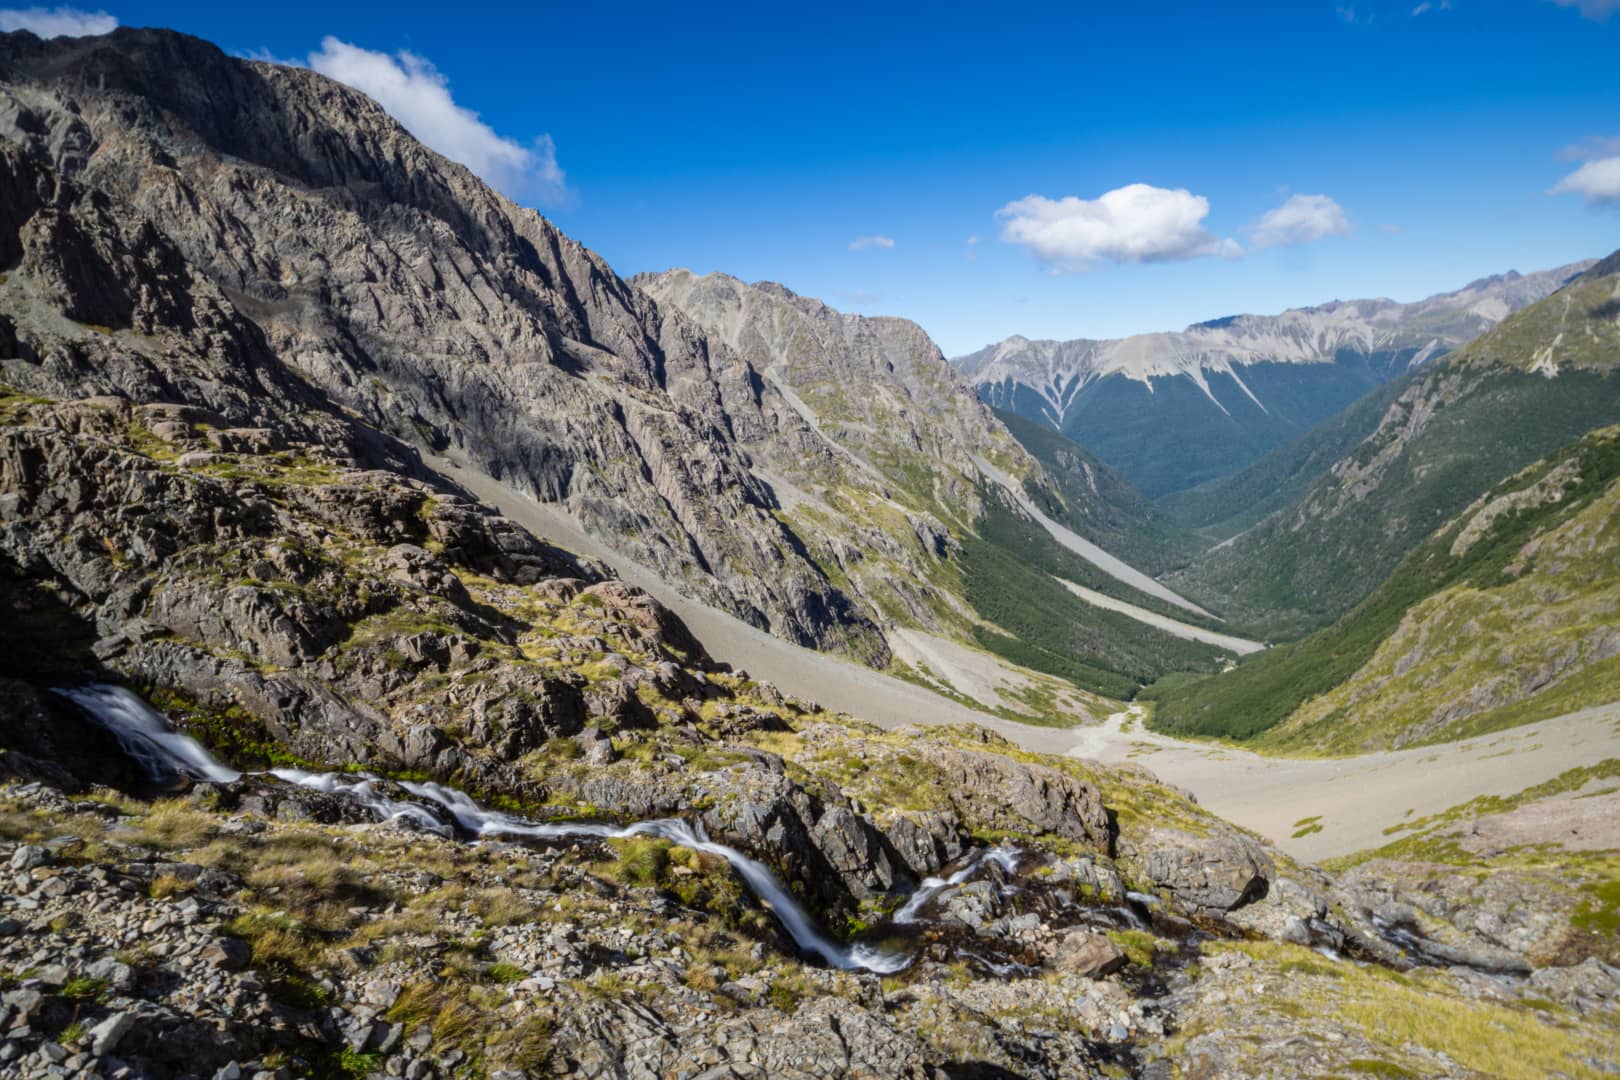
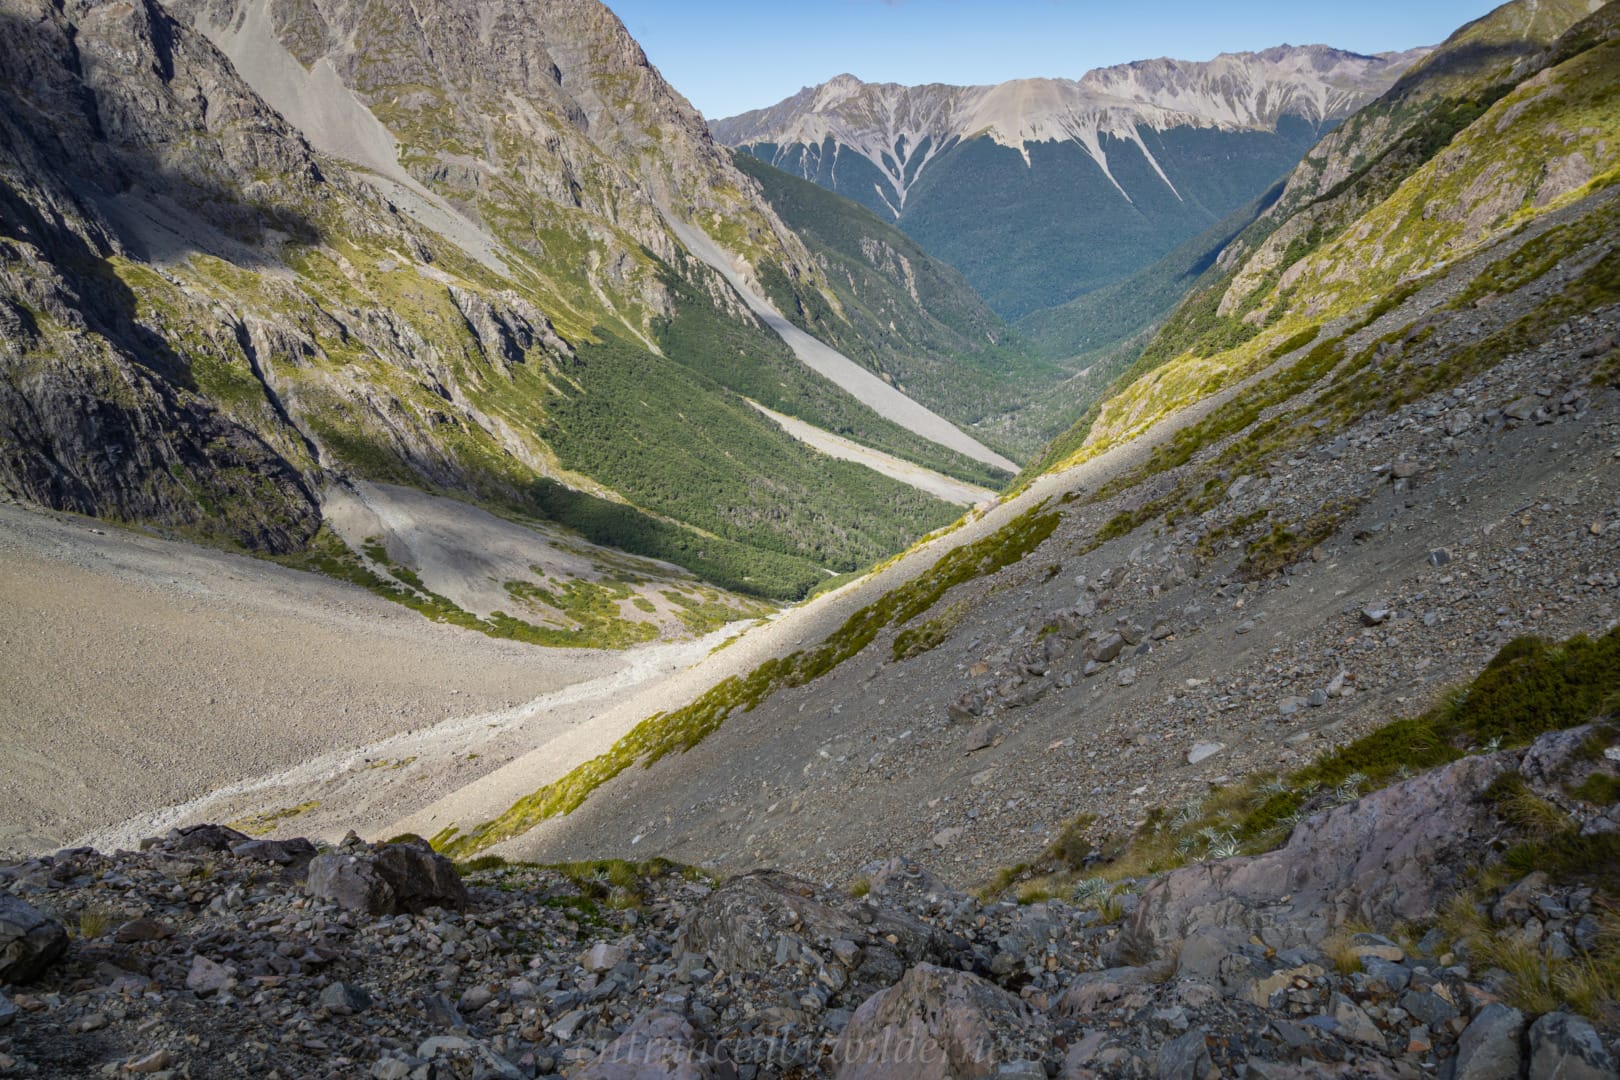
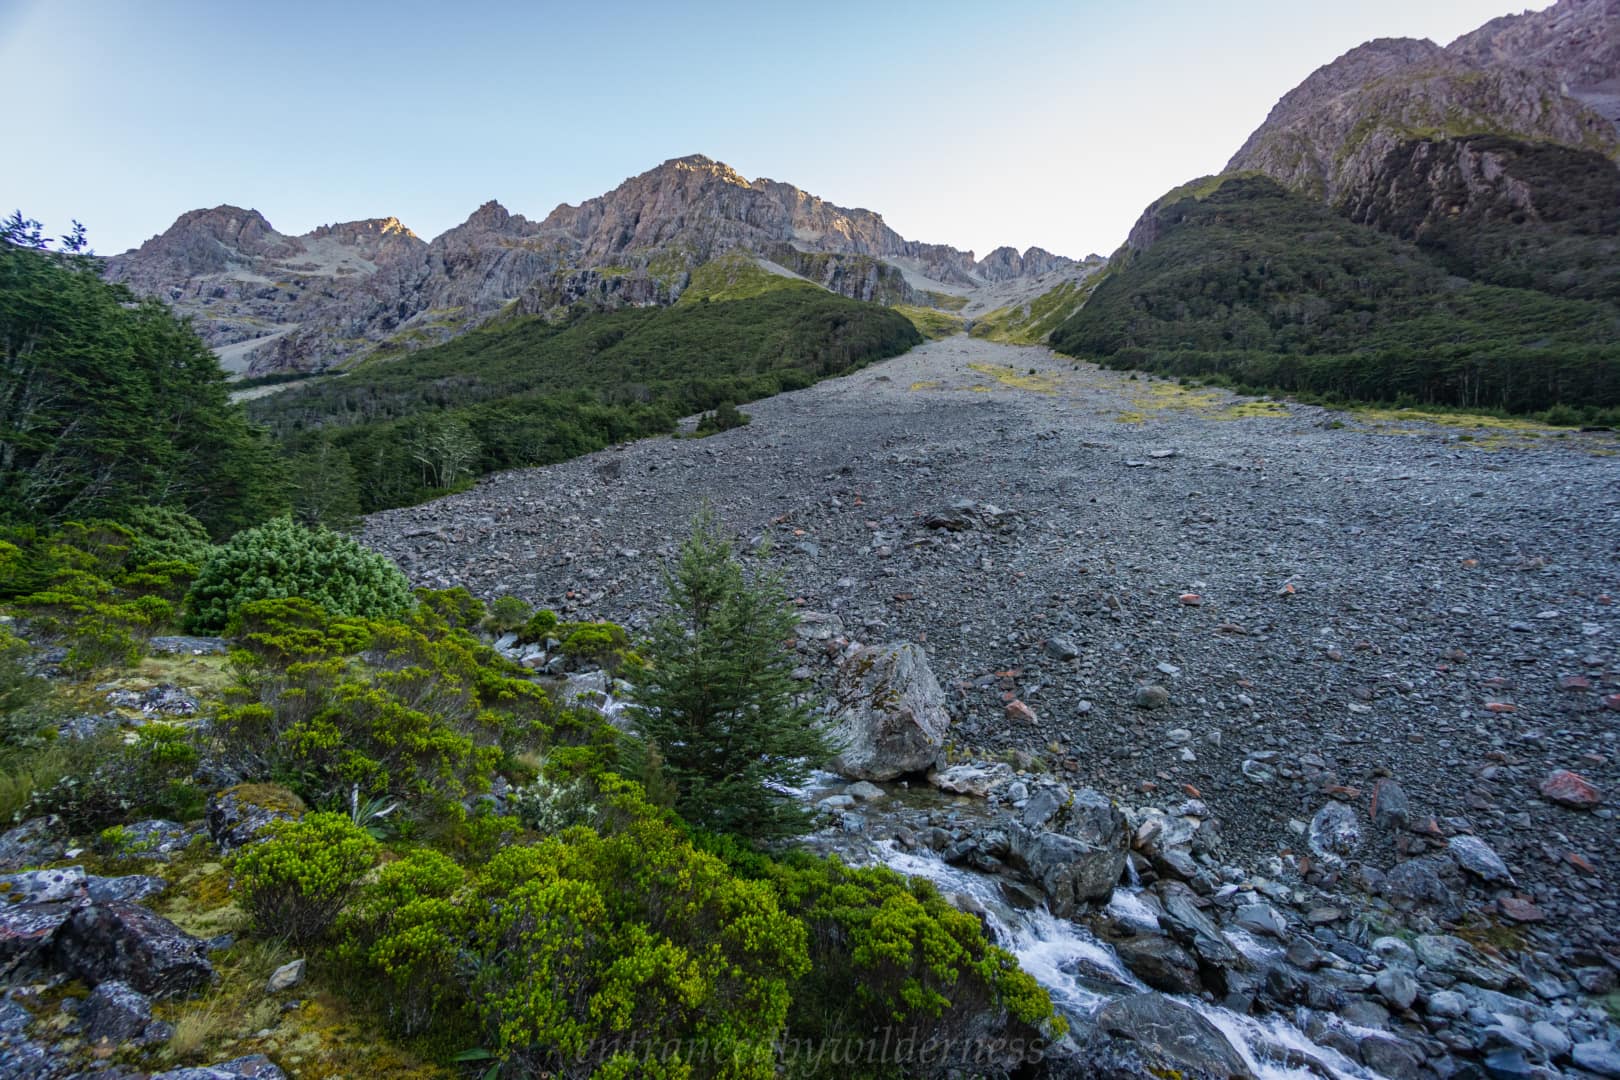
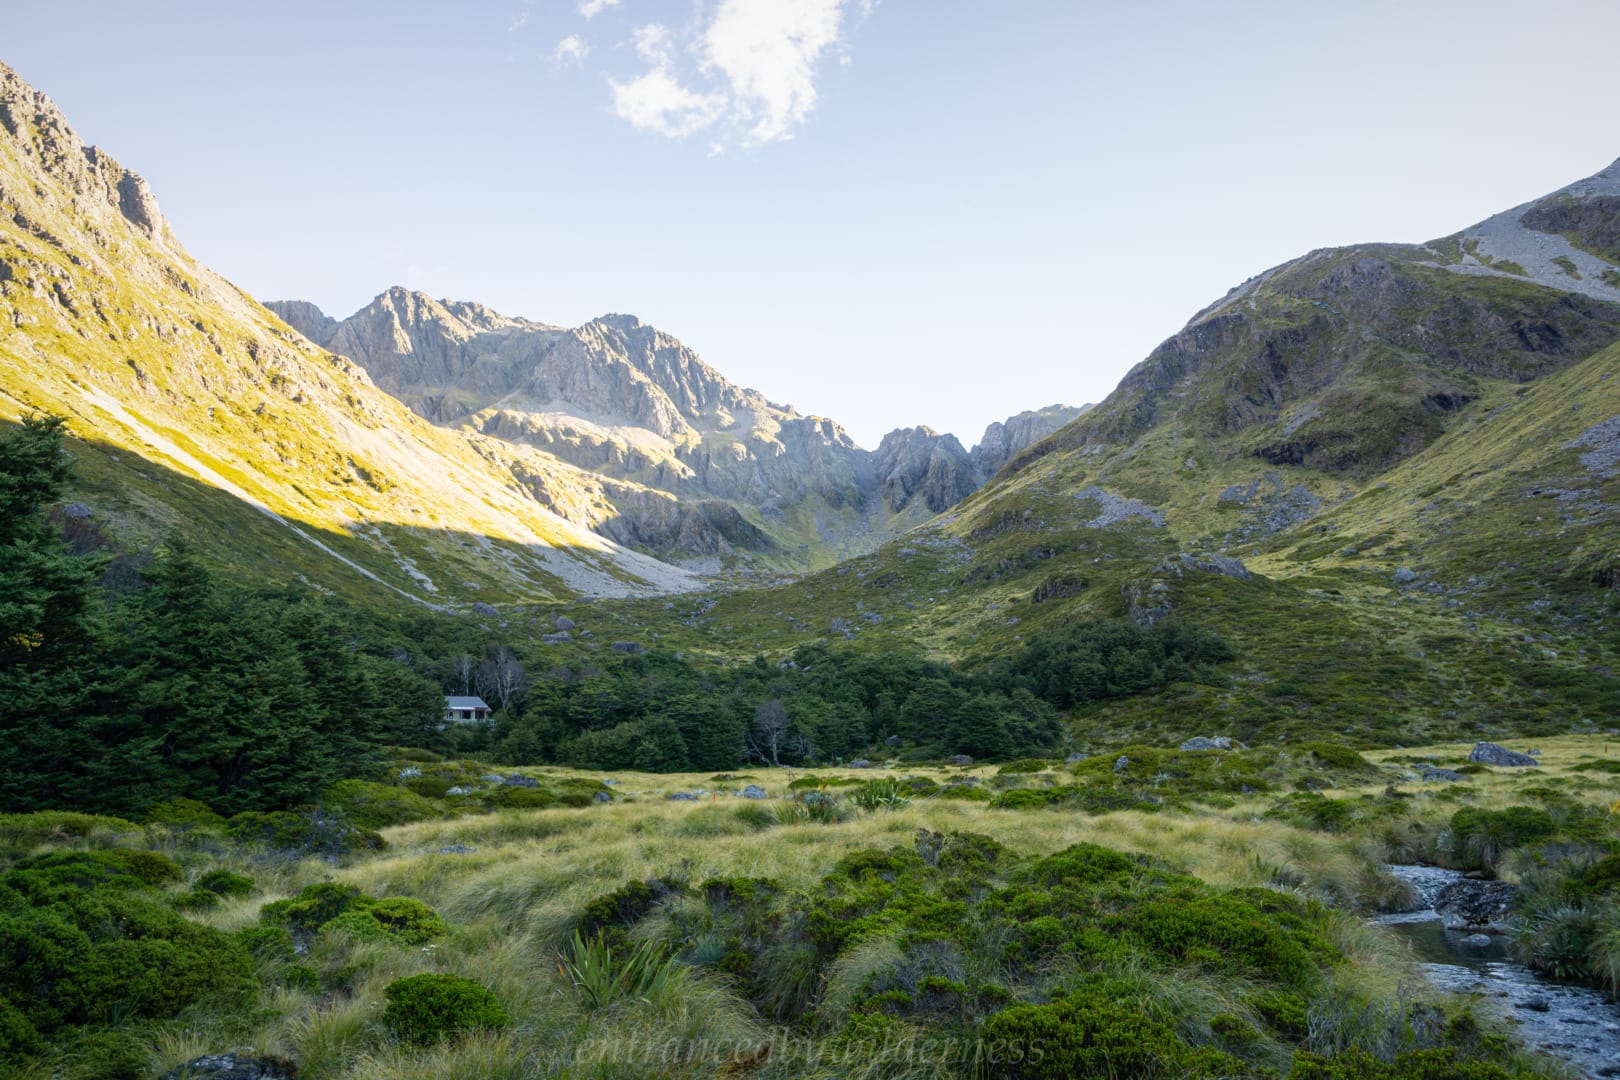
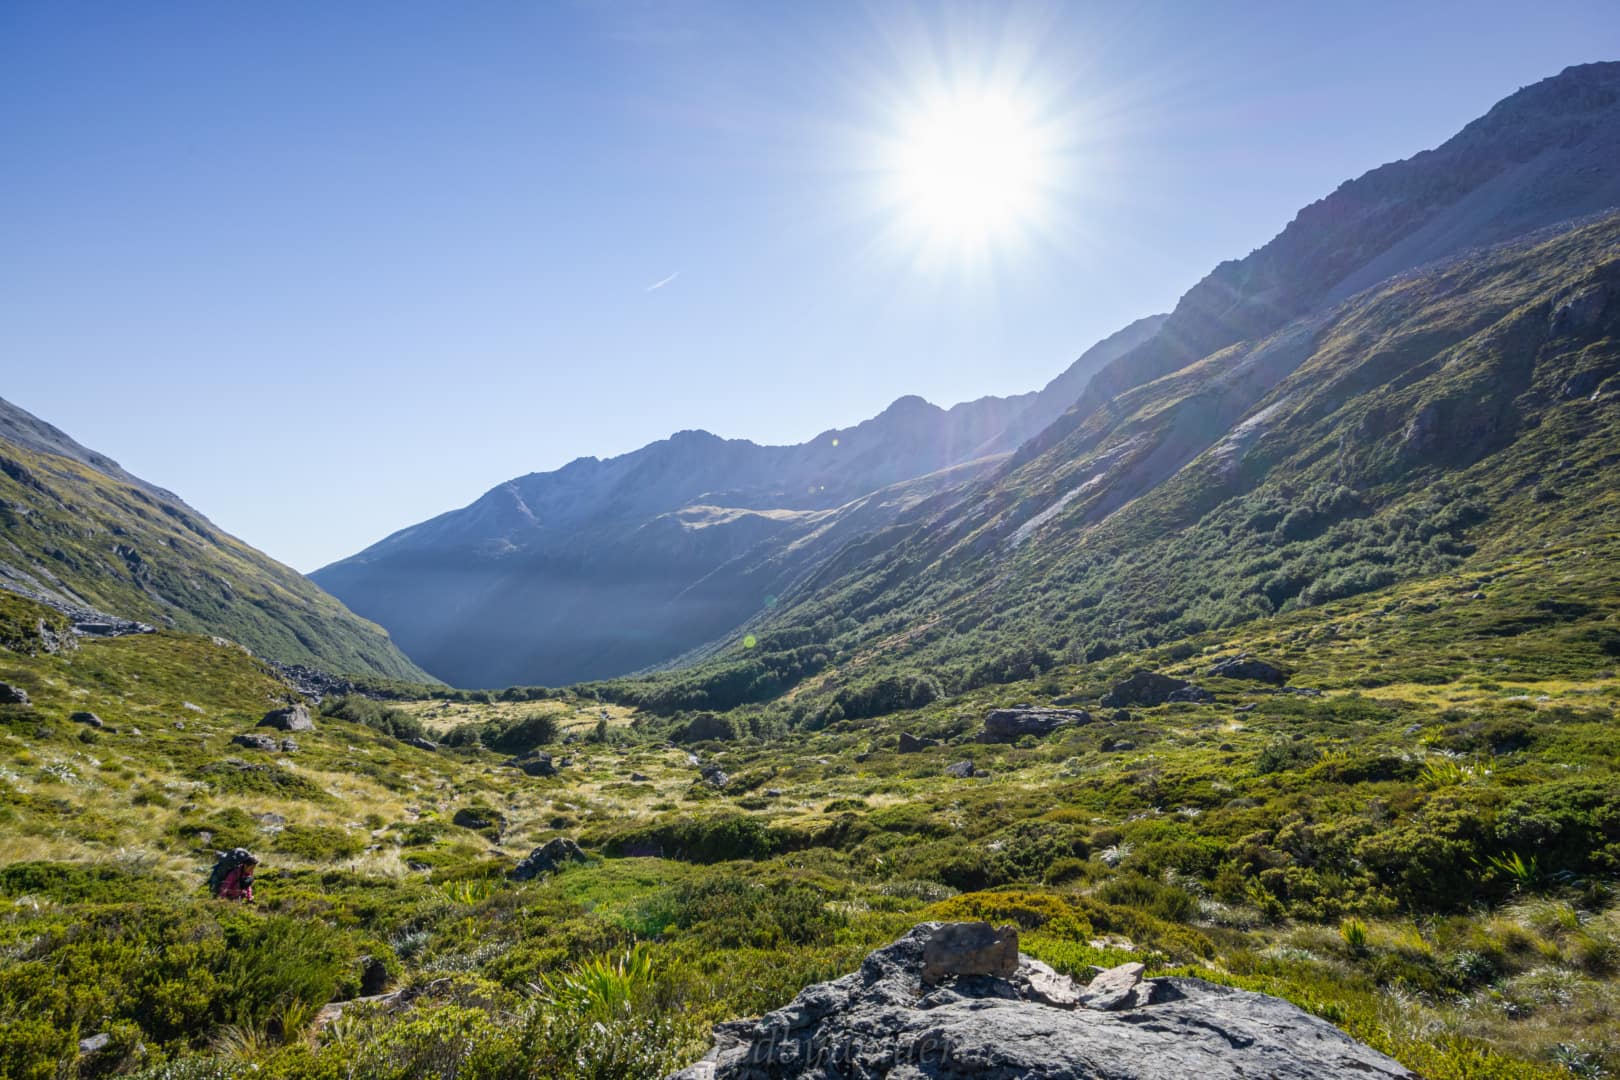
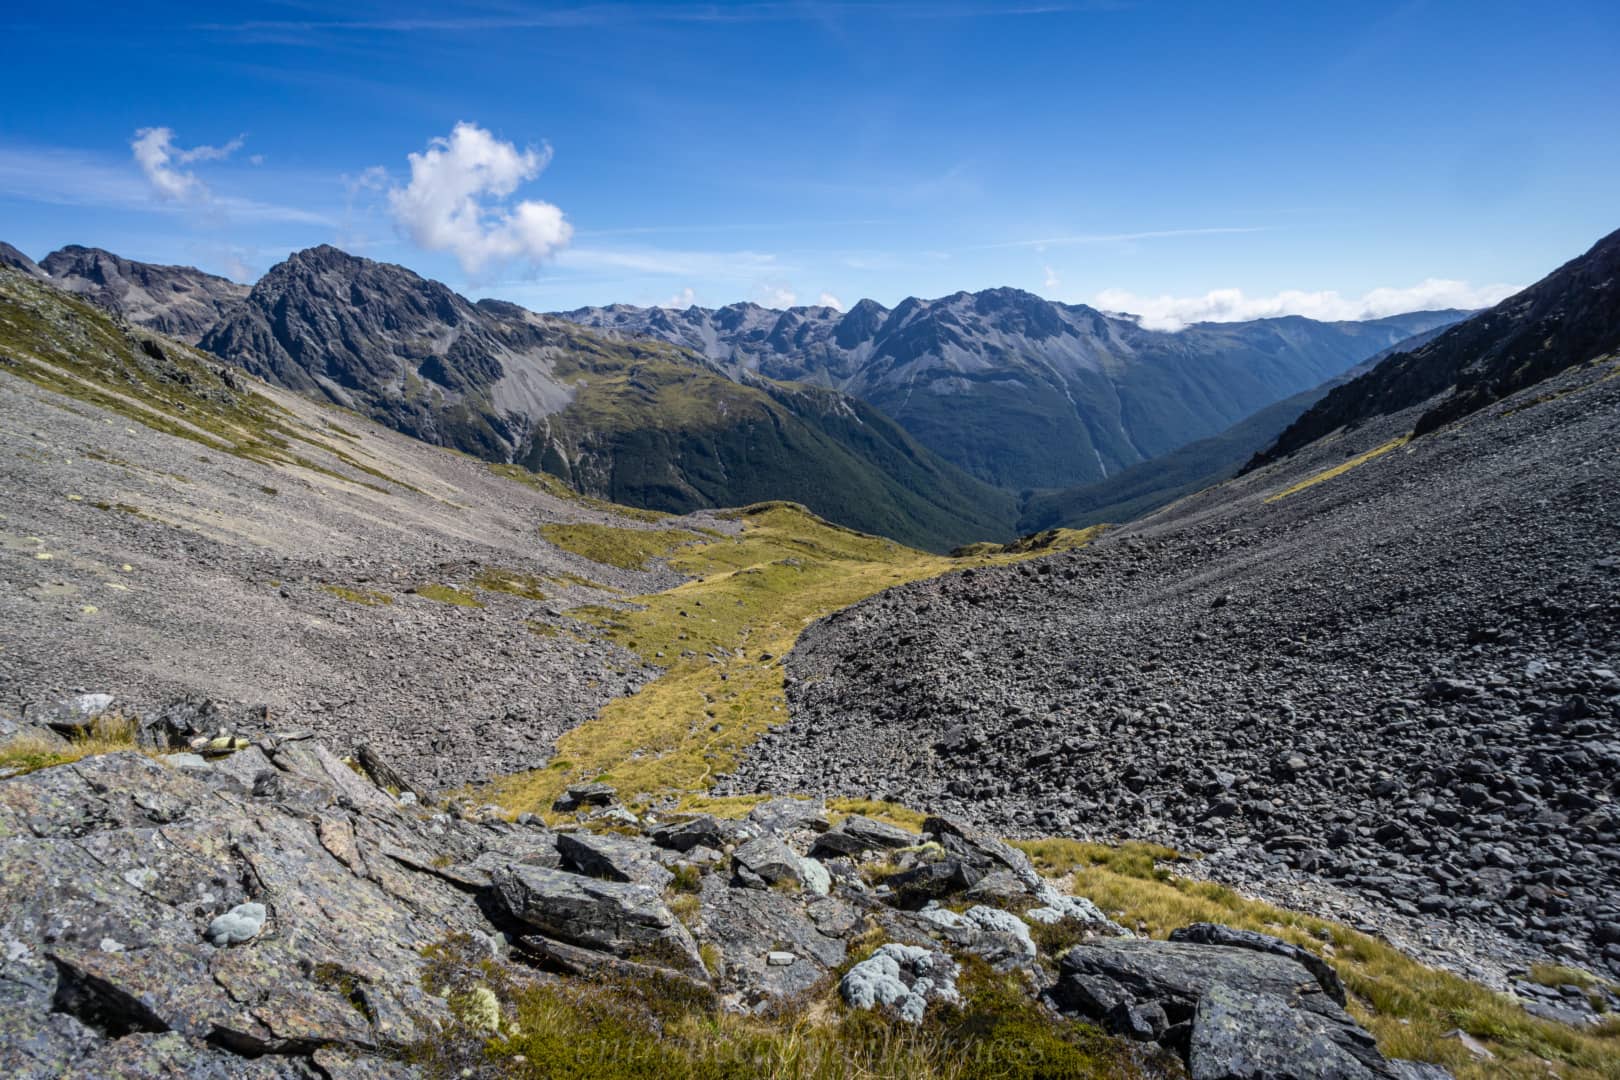
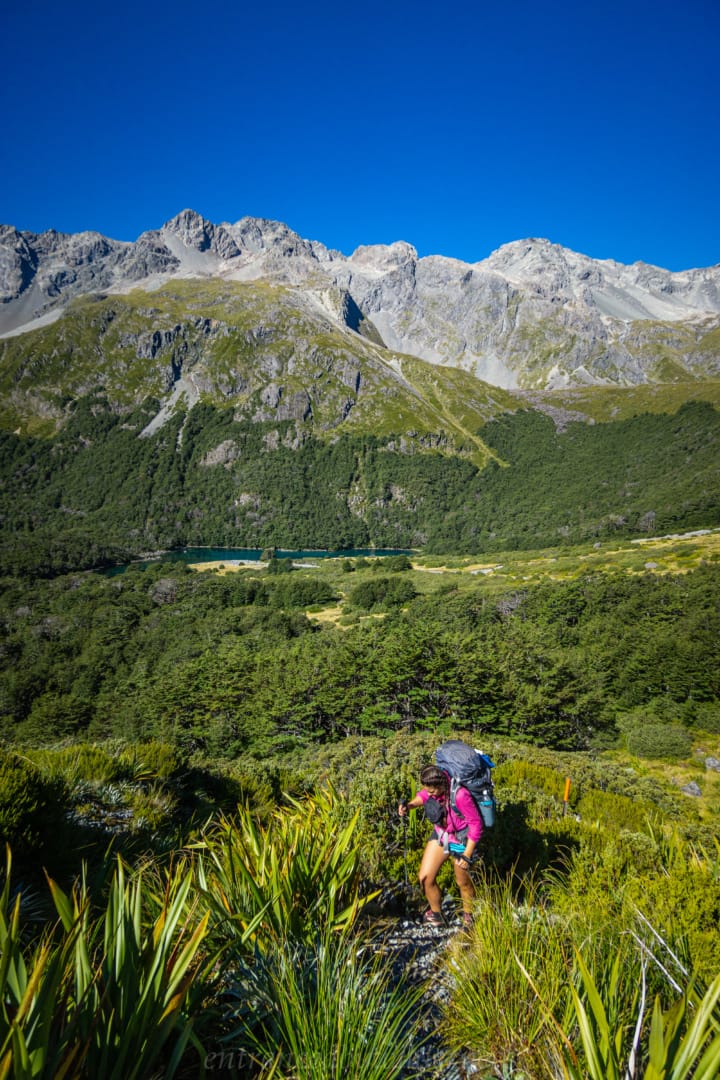
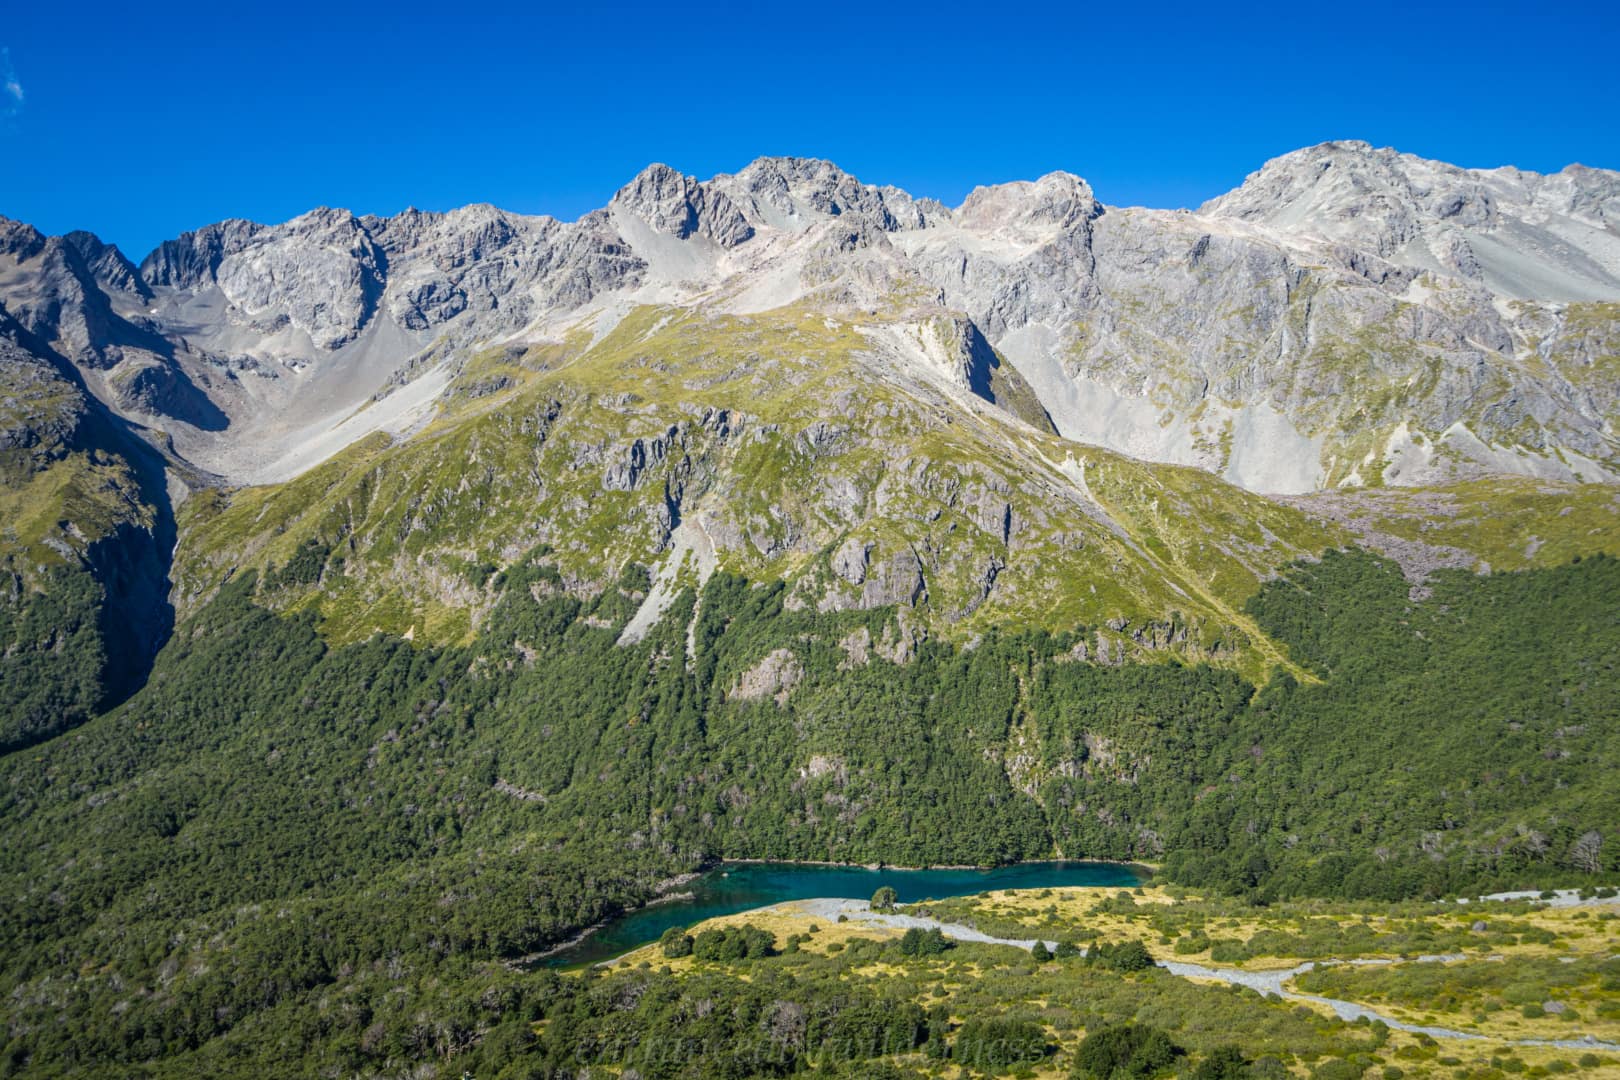
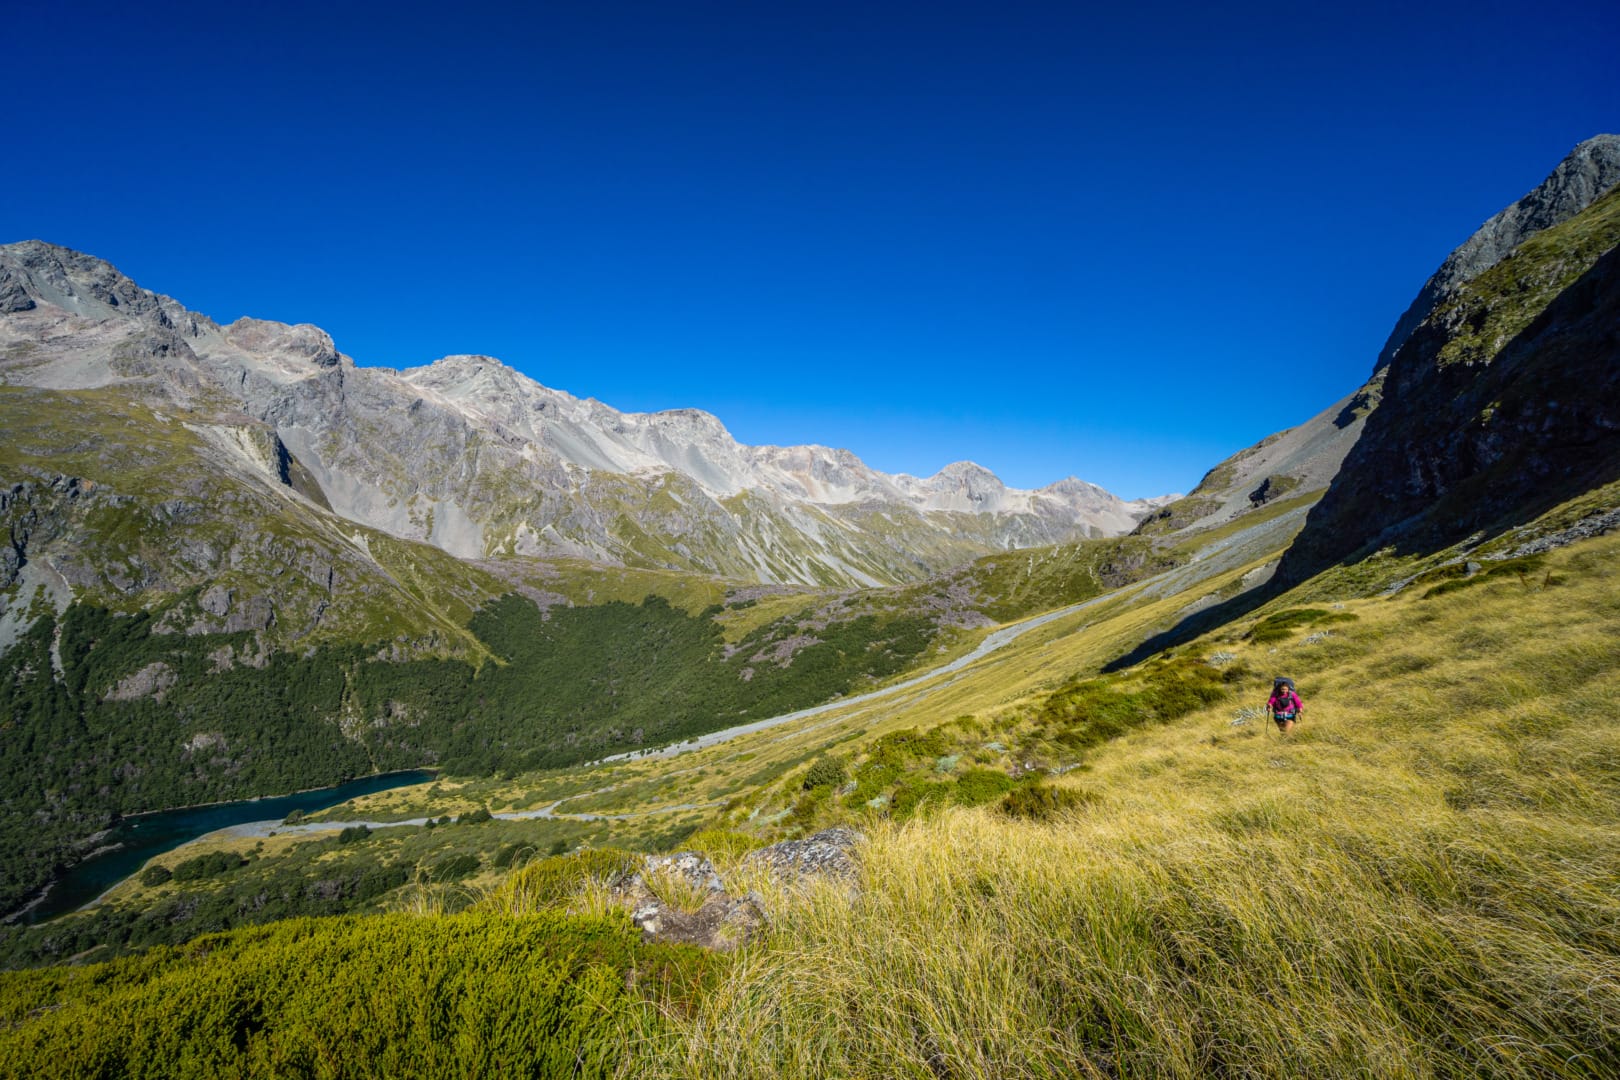
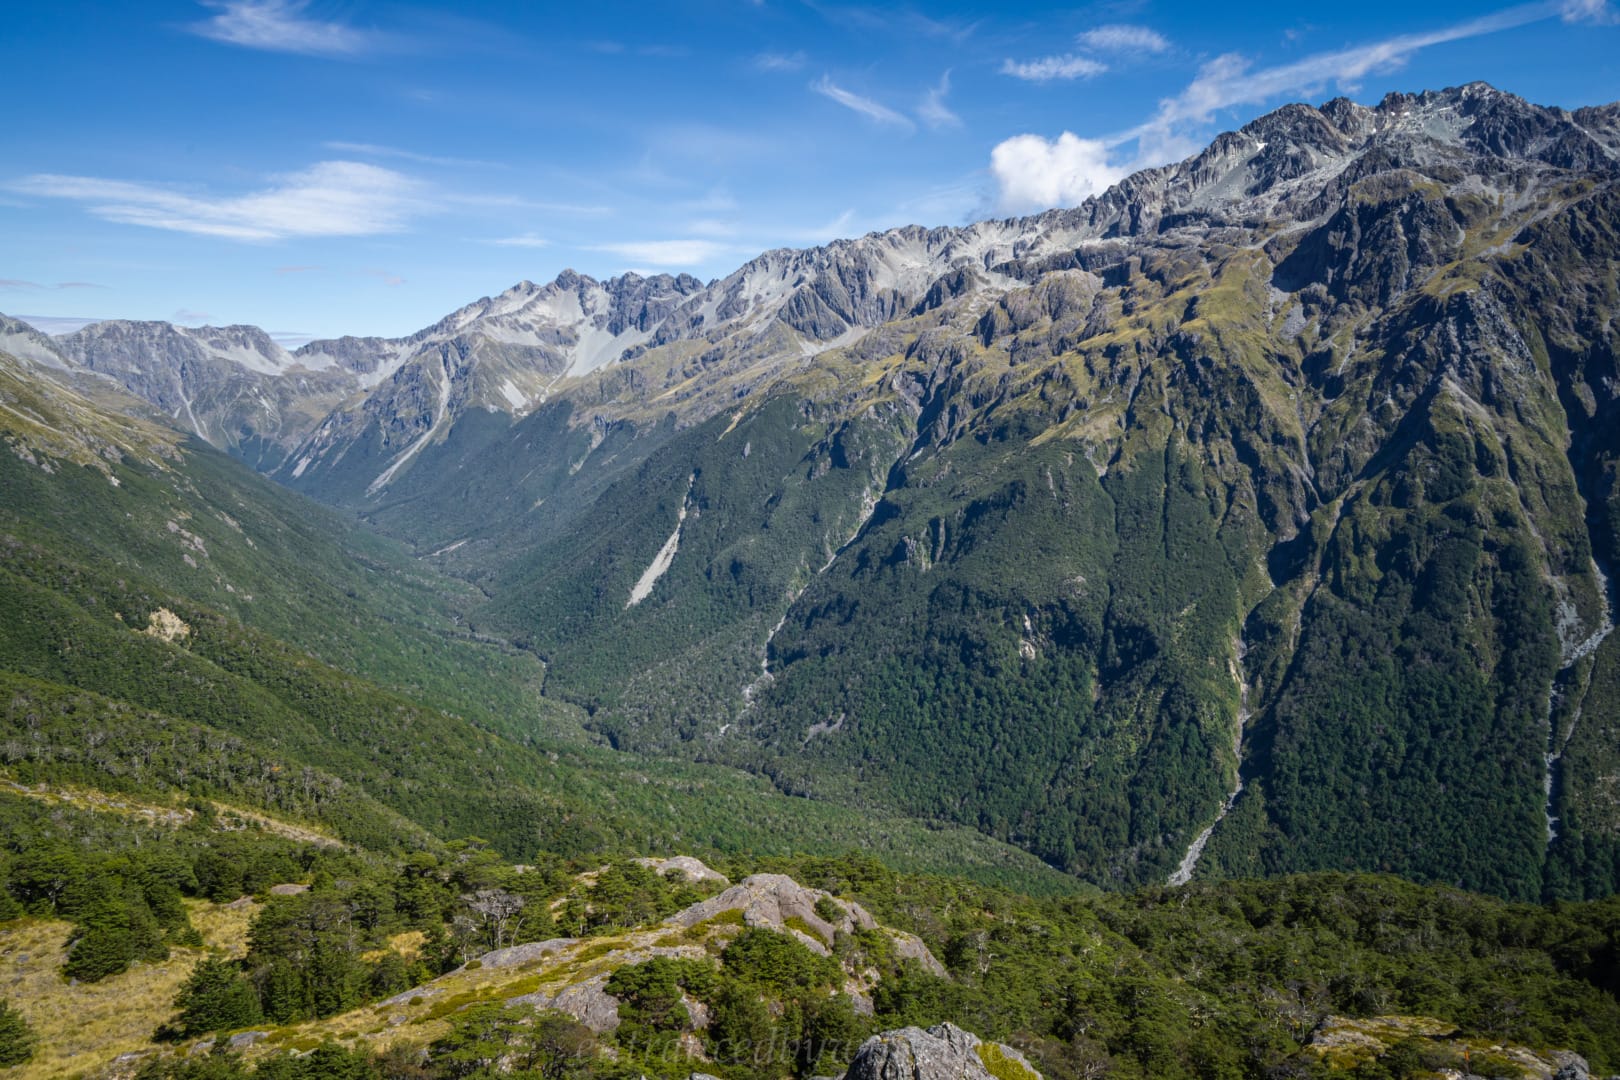
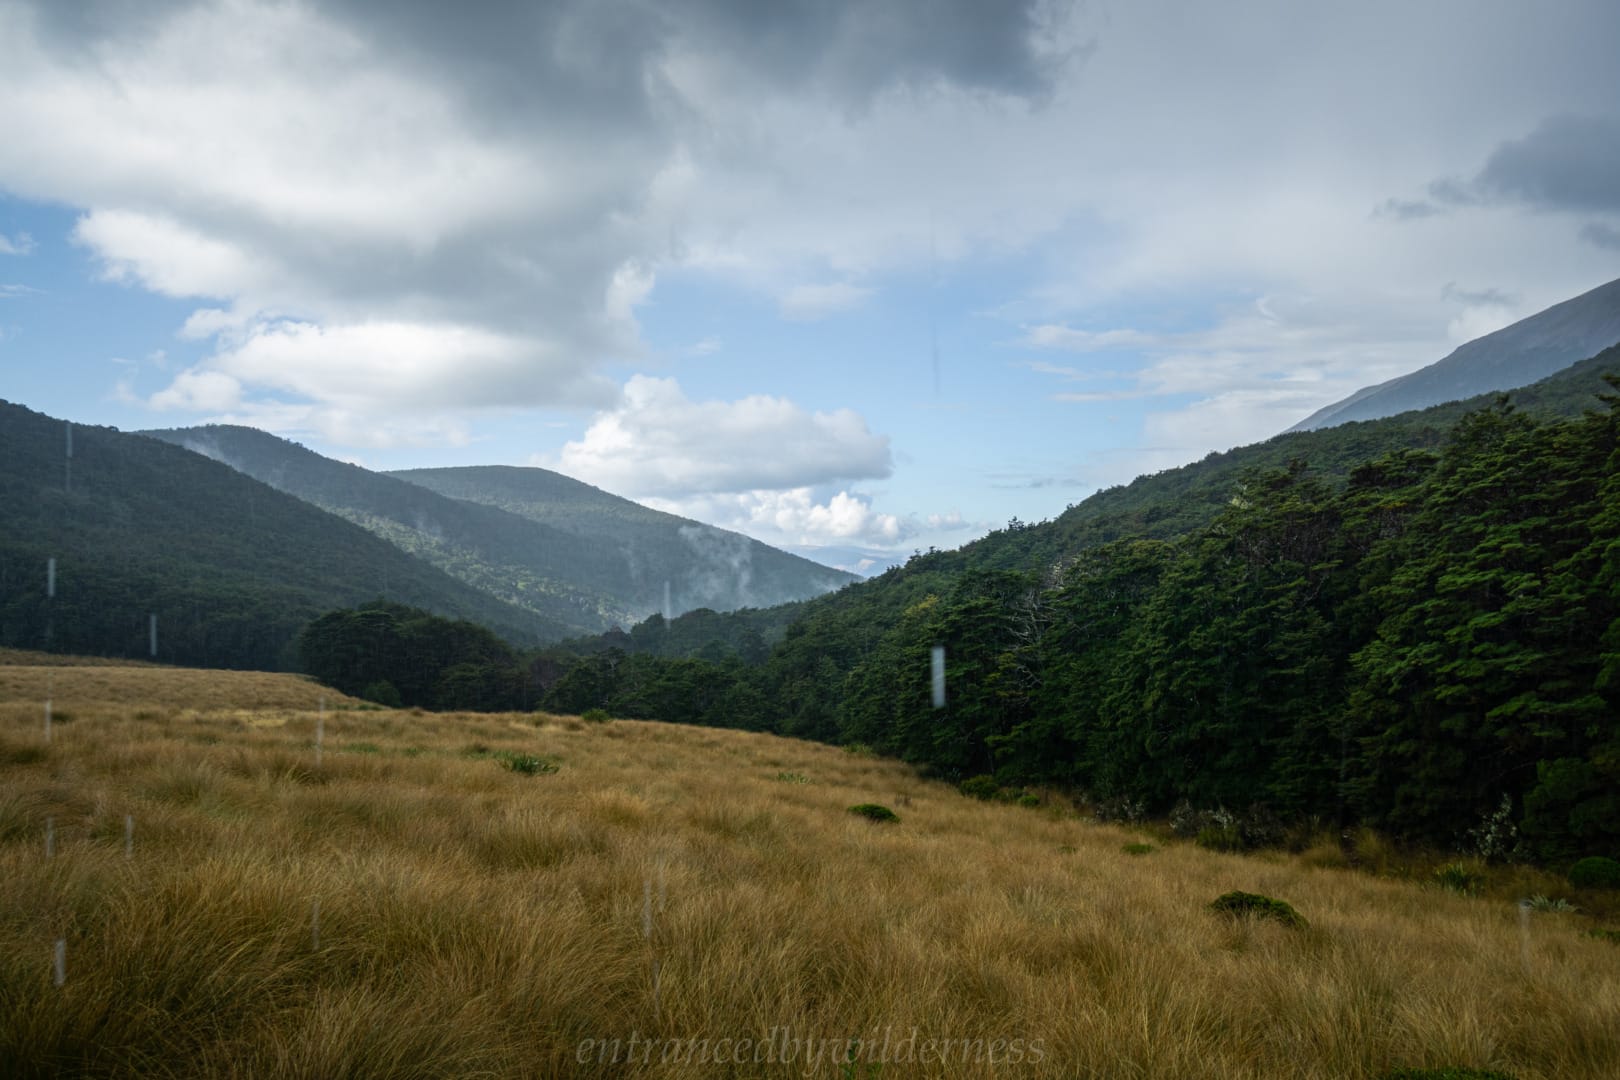
Looking down the glorious Hopeless Valley
My Trip
17/03/2020 – 25/03/2020
Introduction
A huge long term high pressure weather system loomed over most of South Island during March (the same system that kept a low pressure system over Australia, causing flooding). This was the moment to jump on a long, multi-day trip!
I have done a variation of the Travers – Sabine Circuit before in 2018 (see the trip here), but I was keen to explore deeper into the D’Urville valley, and possibly over Waiau Pass/Thompson Pass area depending on time.
The Hike
Day 1 – Robert Ridge Carpark to Hinapouri Tarn
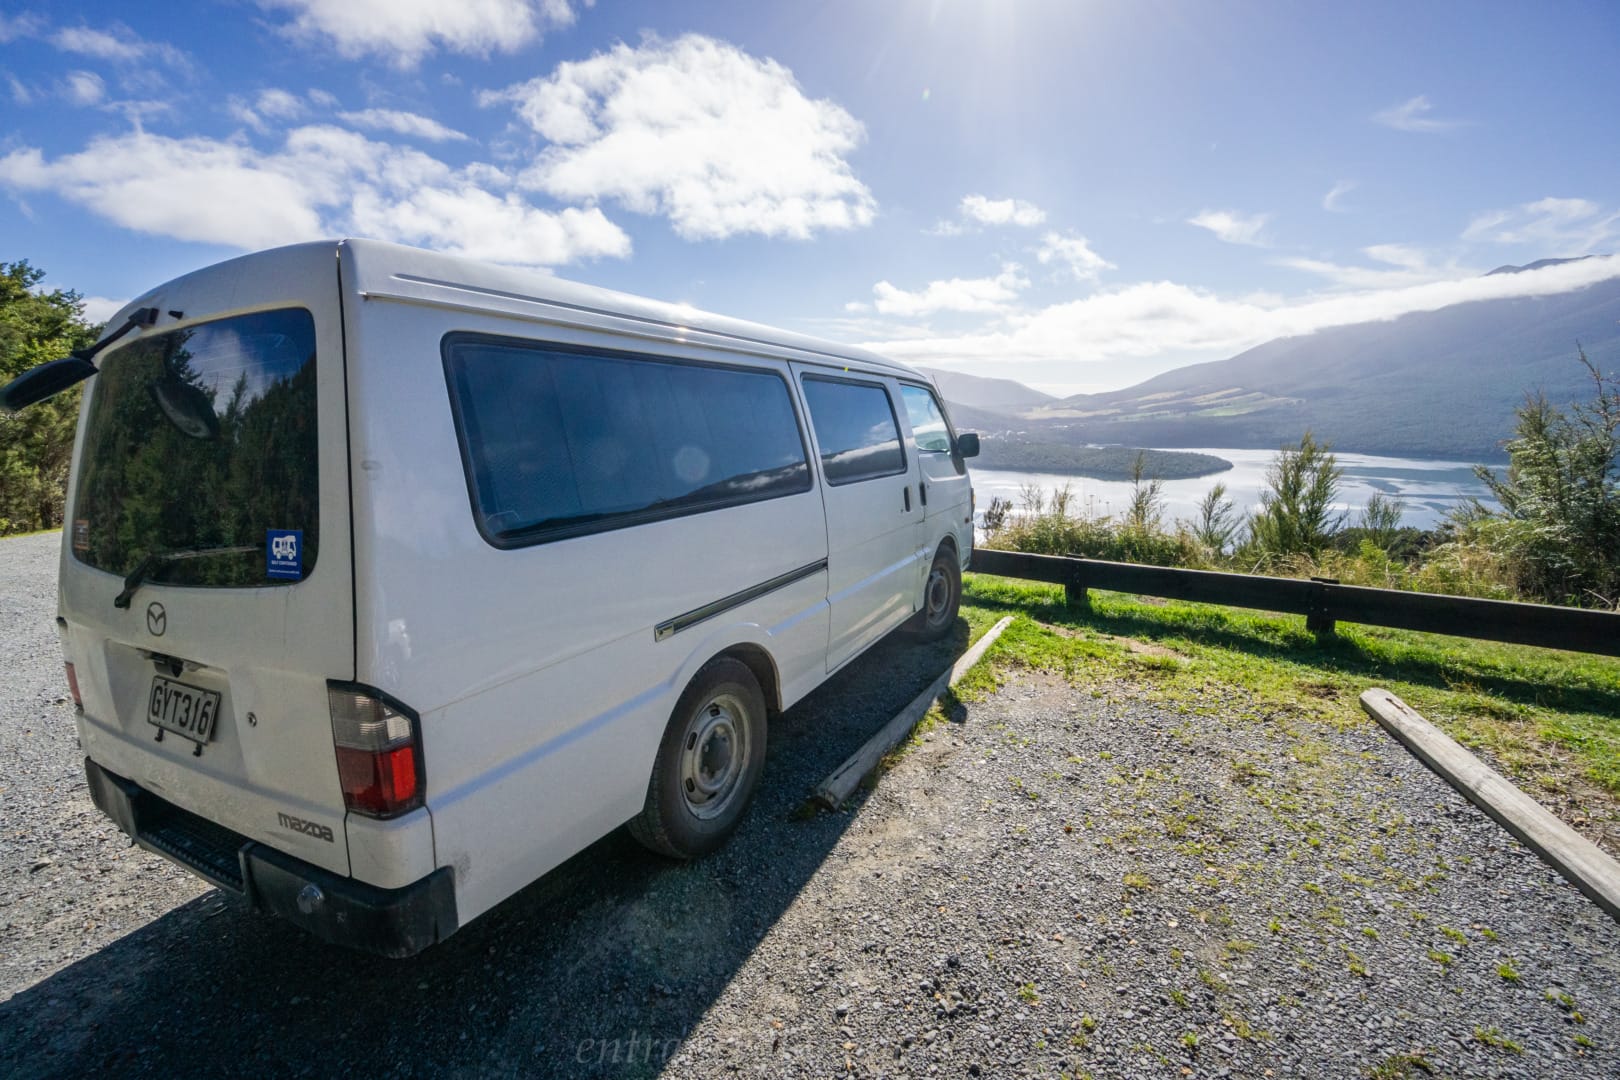
After spending a night at a freedom camping site nearby, pre-packed and ready to go, we drove to the Mt Robert carpark, near St Arnaud to being the hike.
Today’s mission was to traverse the Robert Ridge Track towards Angelus Hut, and camp behind it at Hinapouri Tarn.
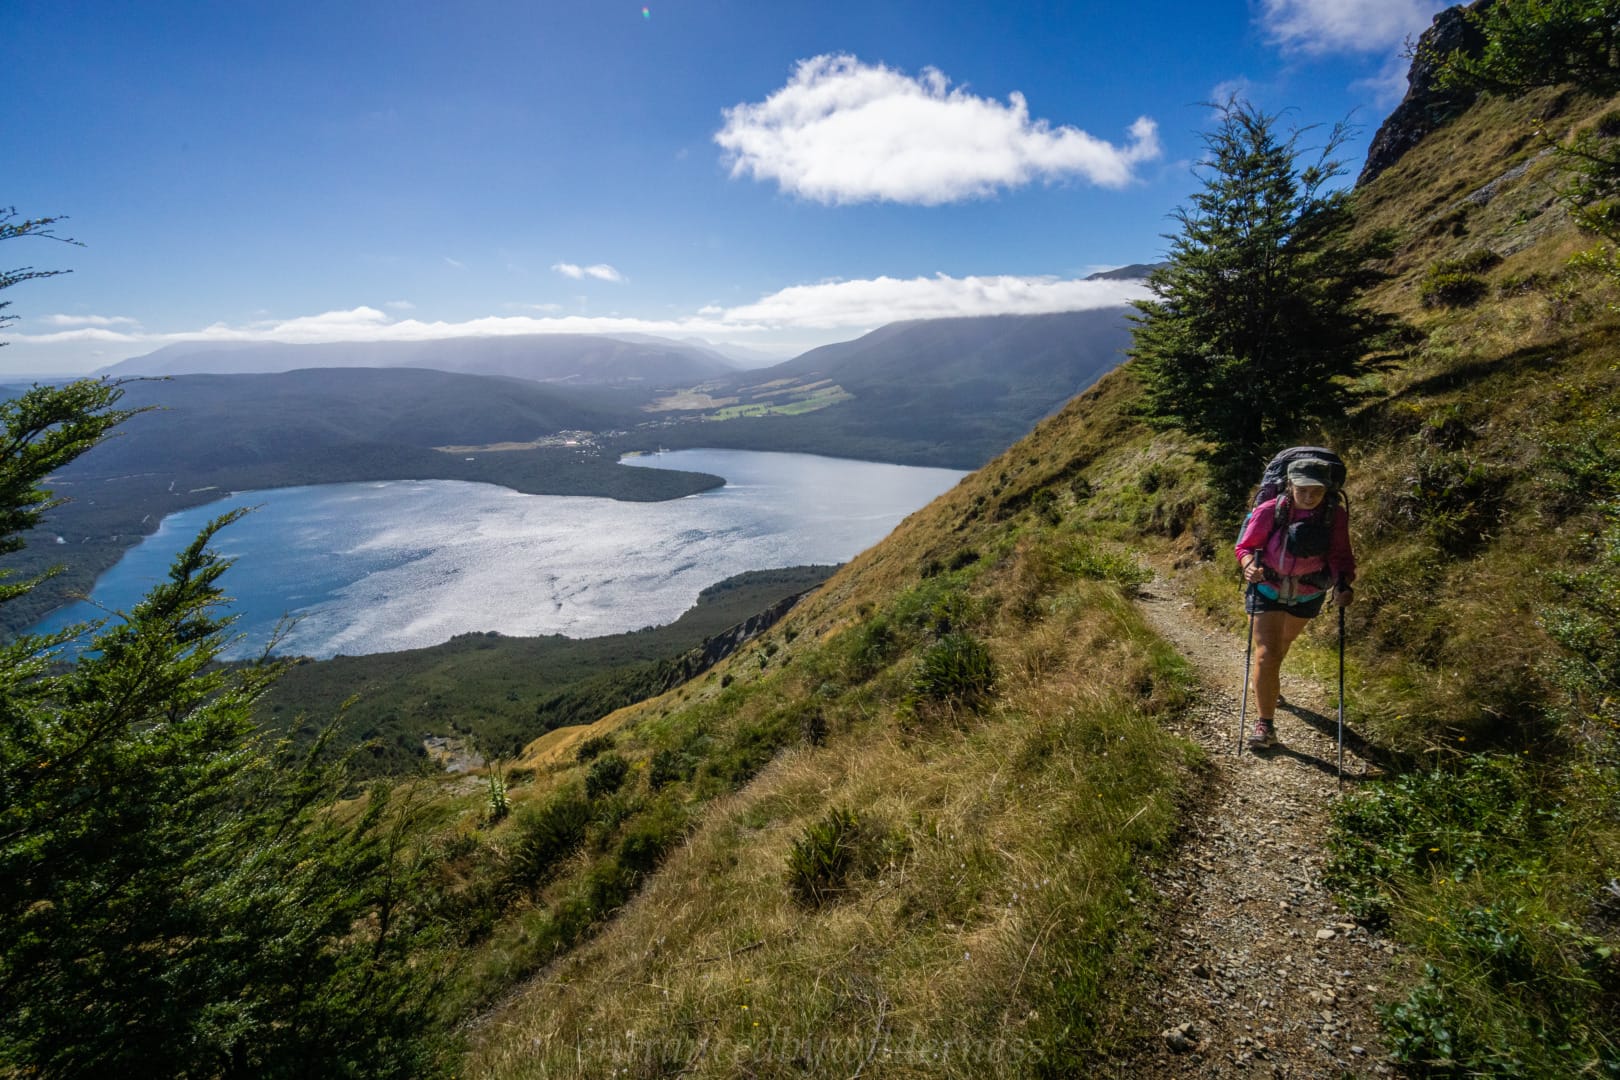
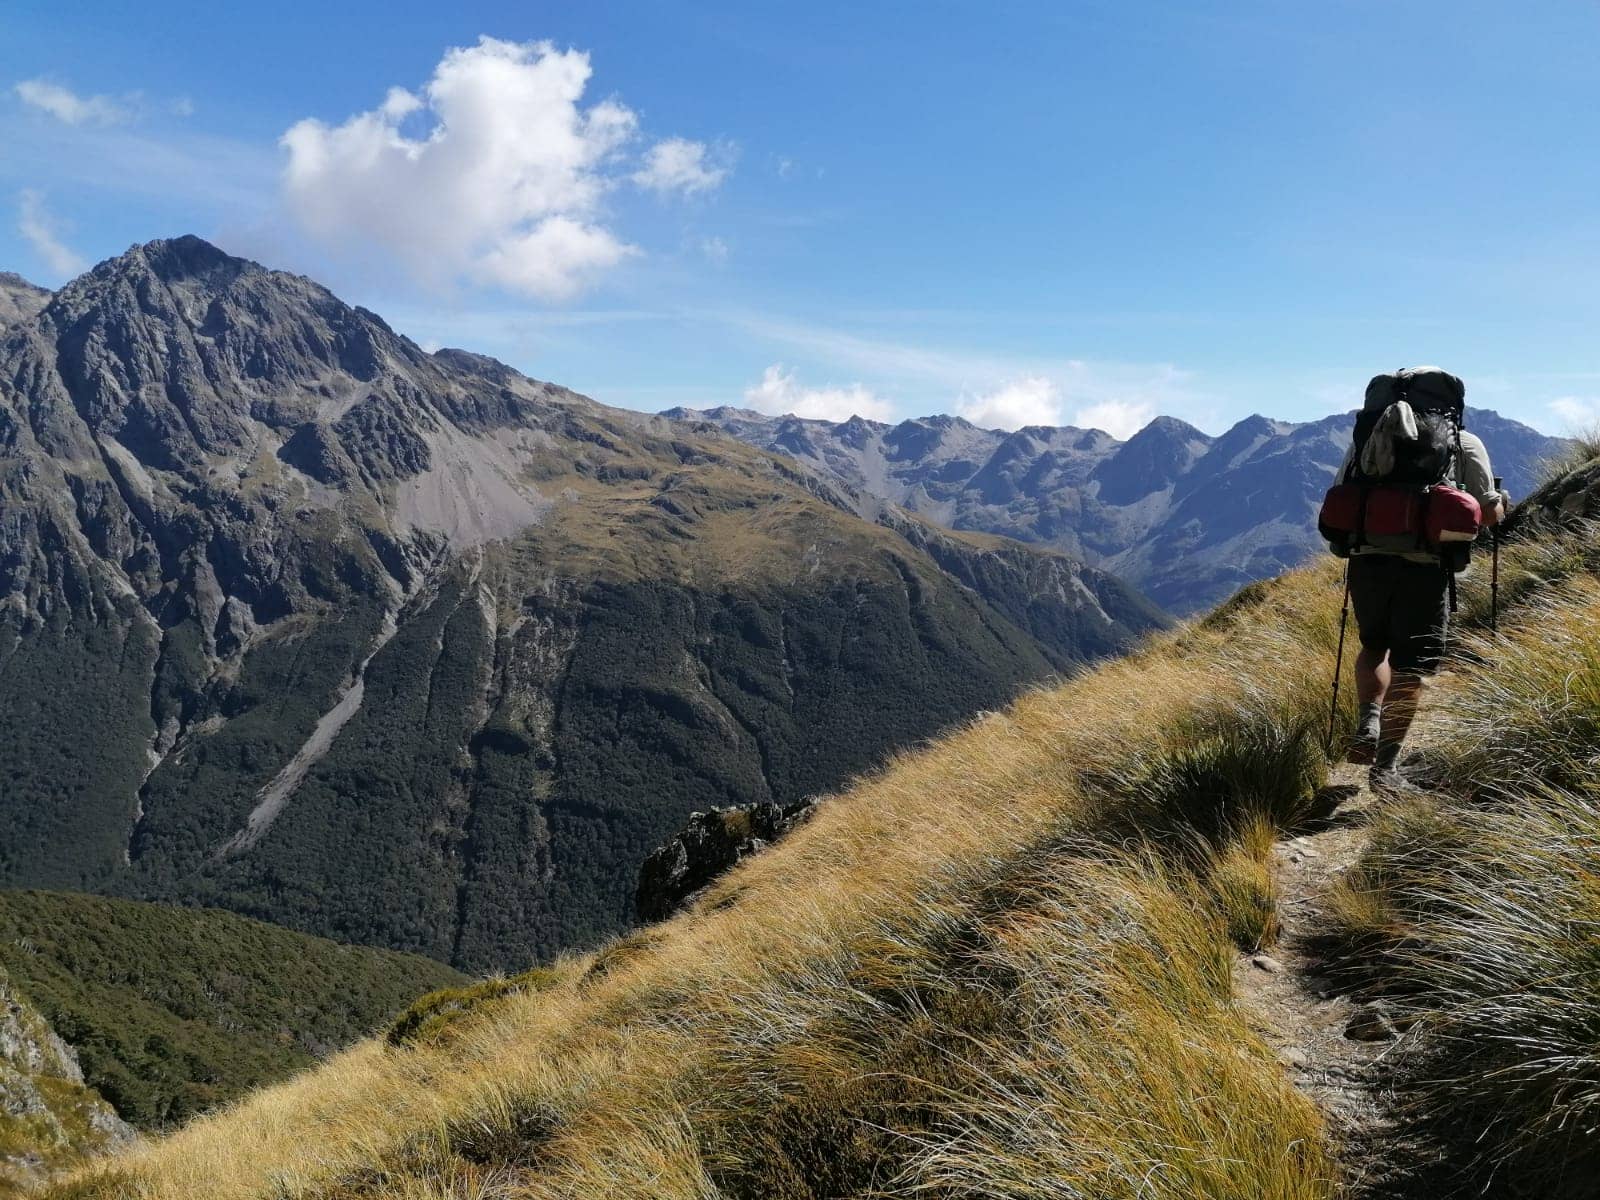
The Robert Ridge Track initially begins as part of a day trip along the Mt Robert Loop. This is a track in which you get a taste of the alpine route along the ridge, but loop back around above Lake Rotoiti. This is definitely worth a trip if you only have a short time in the region.
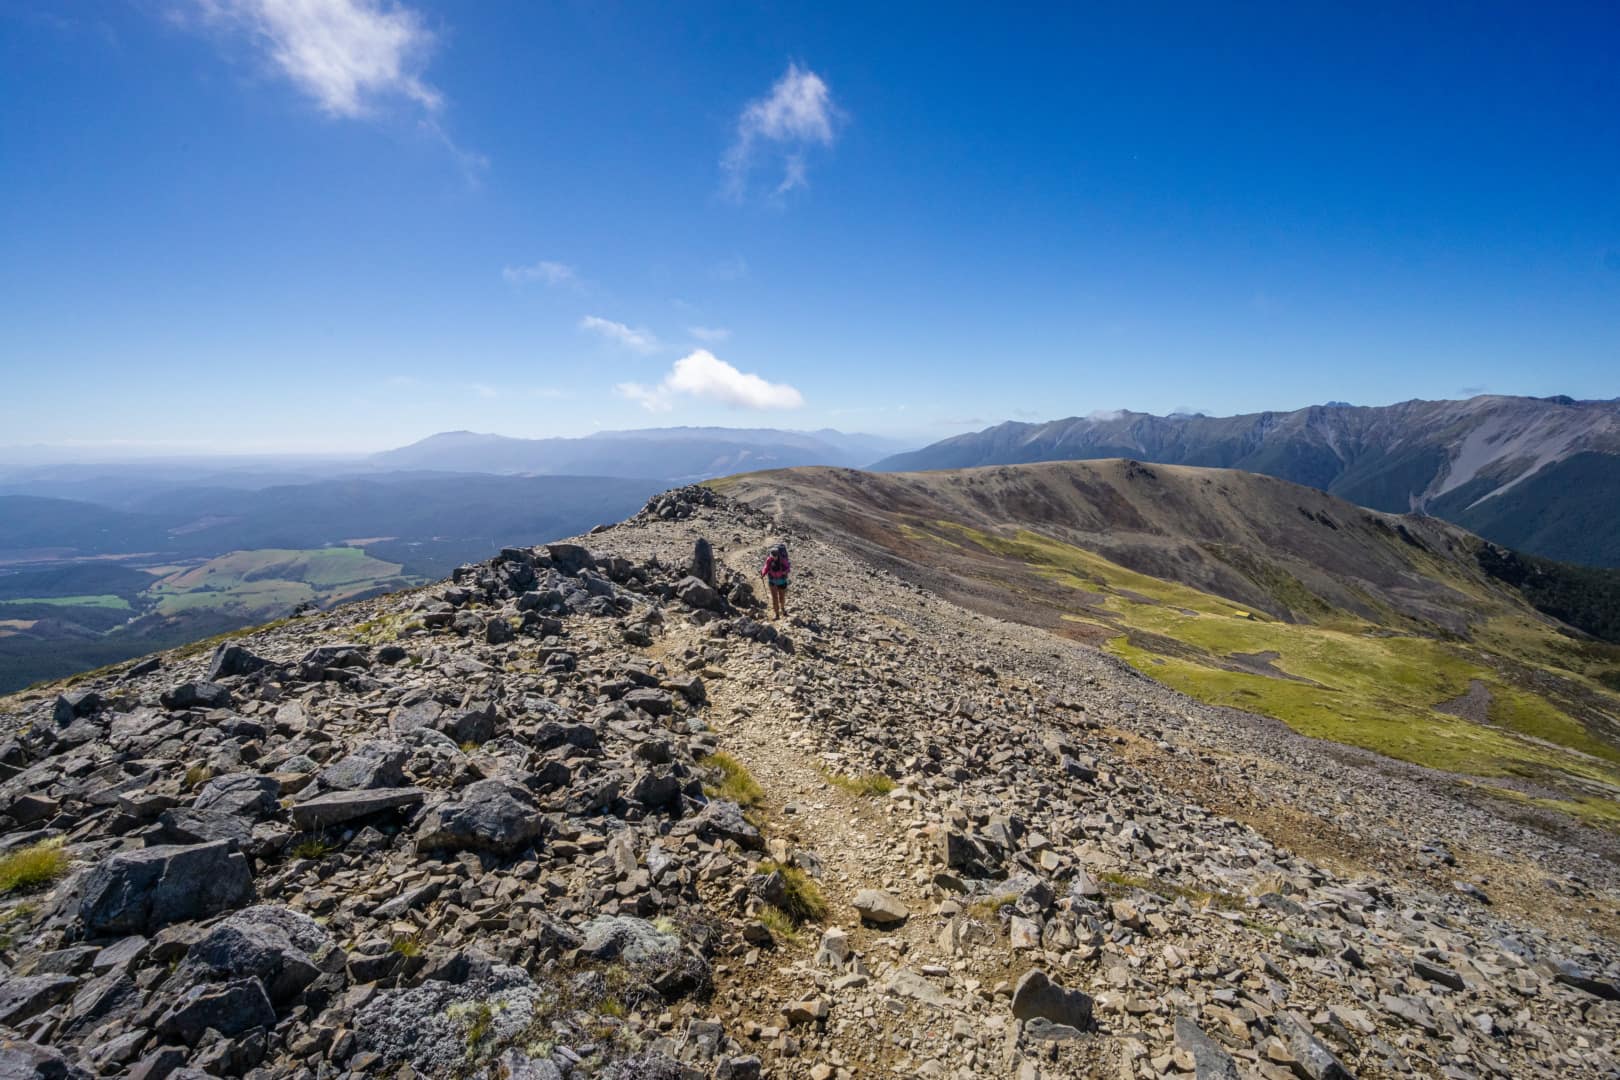
The route along Robert Ridge towards Angelus Hut however is fairly straightforward if comfortable on rocks, but at times it does feel steep, and being mindful of footing is always important. It would be a different landscape come winter time though! The views along this ridge are beautiful – there are small tarns, colour changes and panoramic views all around!
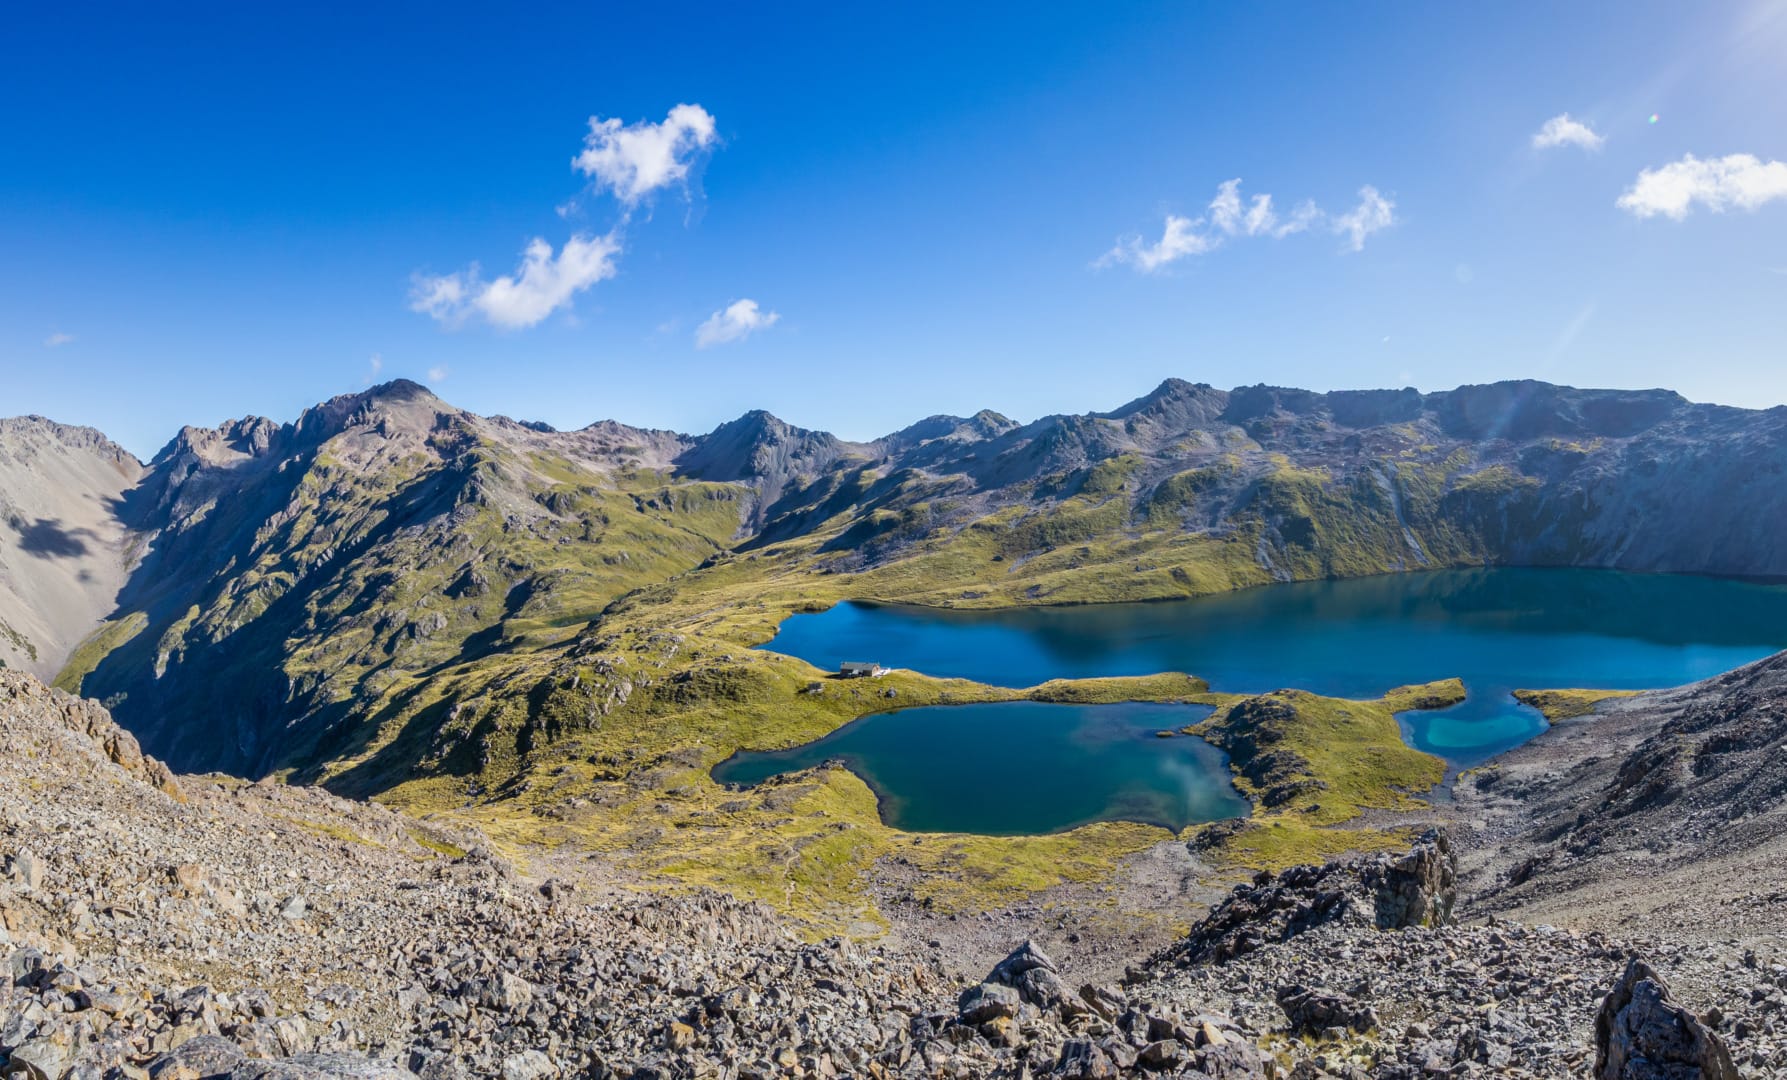
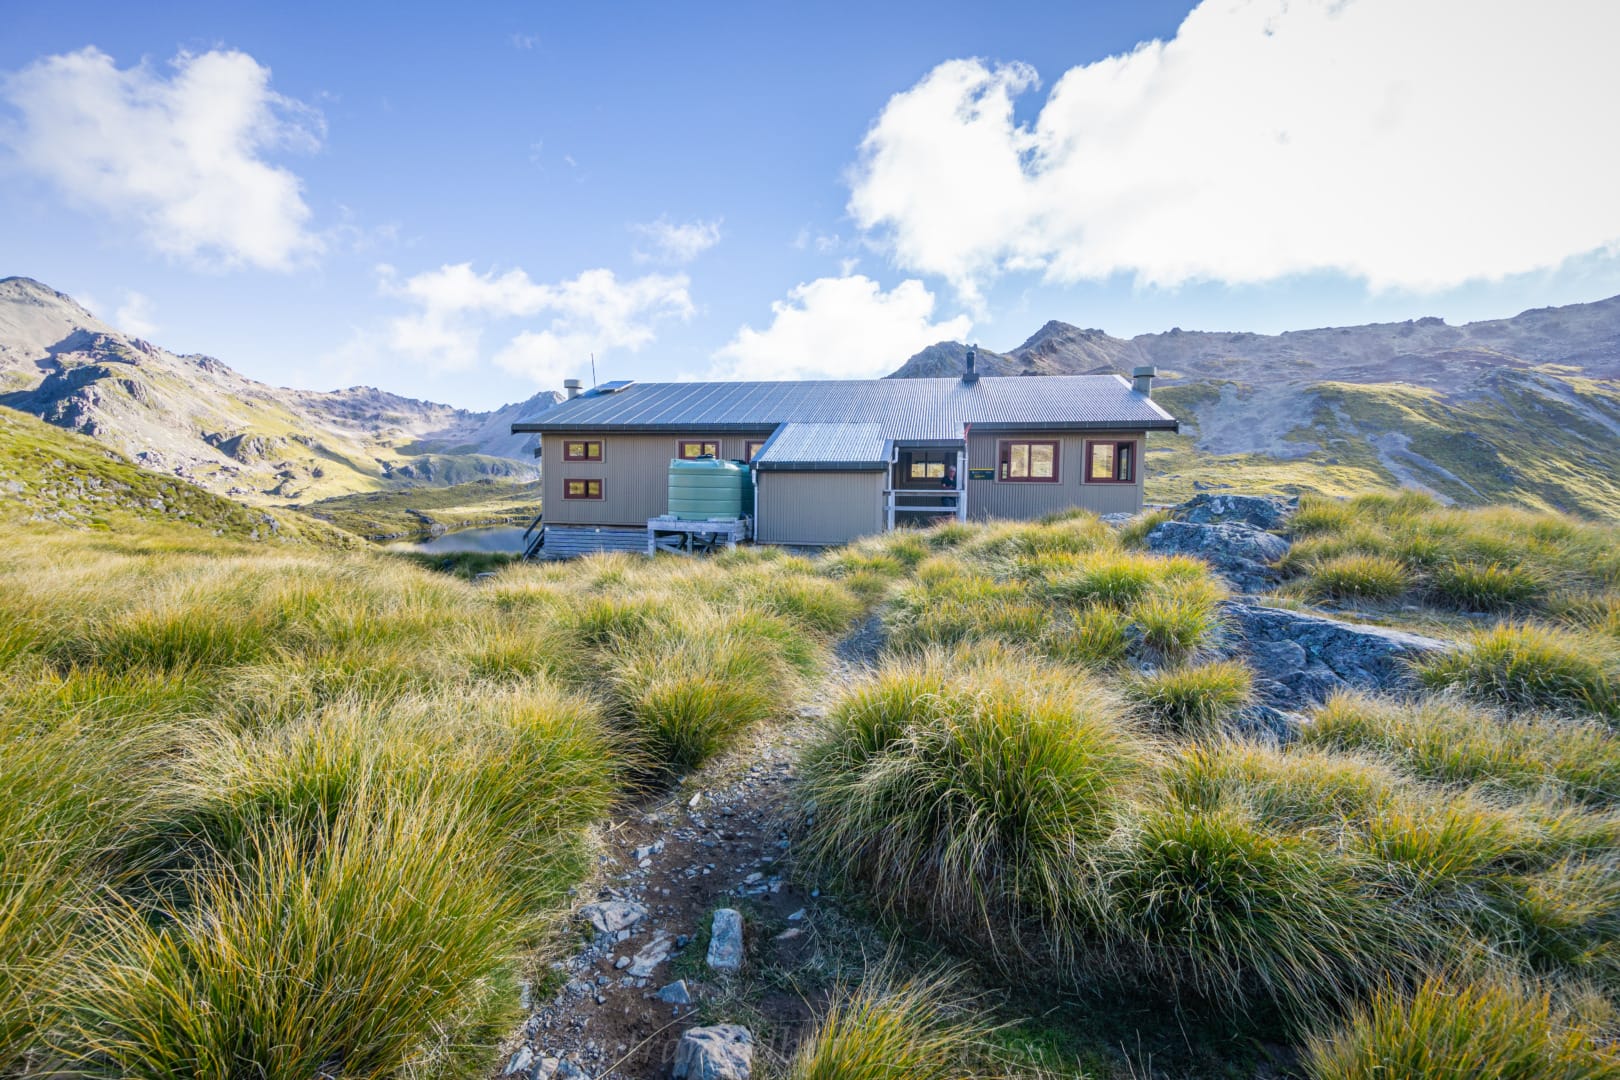
After a final crest, Angelus Lakes can be seen, along with the hut. A beautiful location for sure. We quickly checked out the hut, but moved on to get to Hinapouri Tarn whilst there was still light.
There is an obvious track here that follows the route to Sunset Saddle, with the turn-off shortly after going past the hut. It’s well walked, but it does seem to branch following either side of the tarn, we chose the lower route as the track was more defined here.
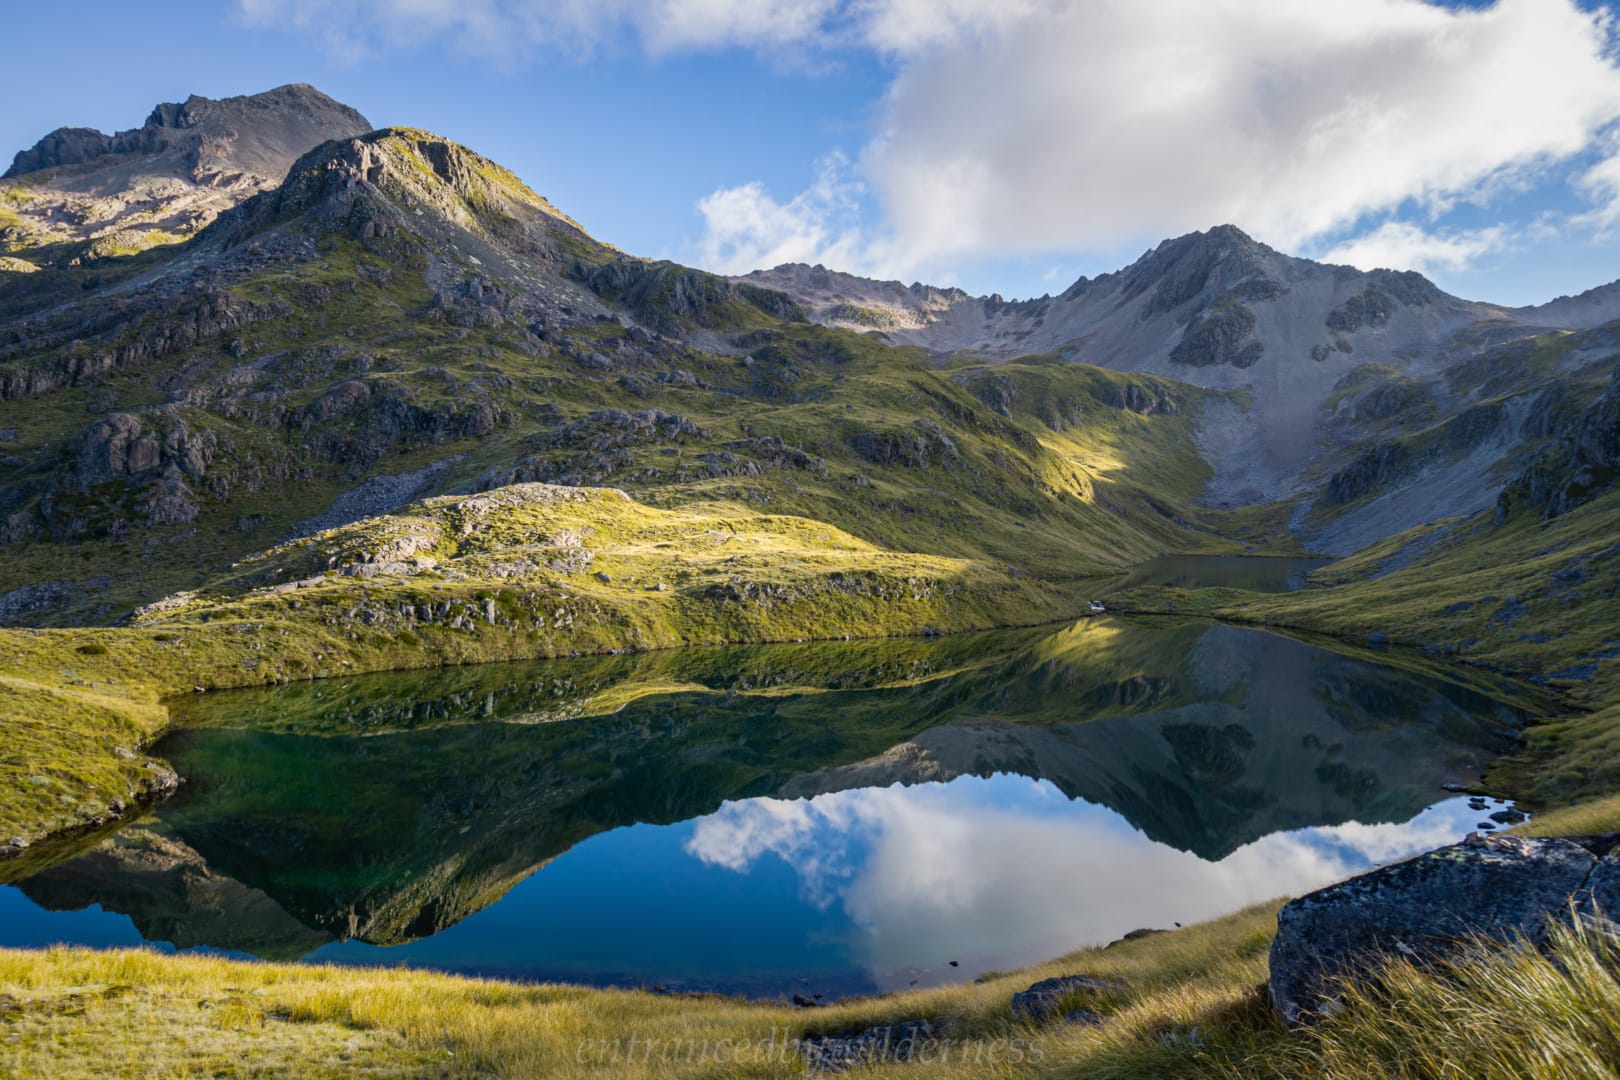
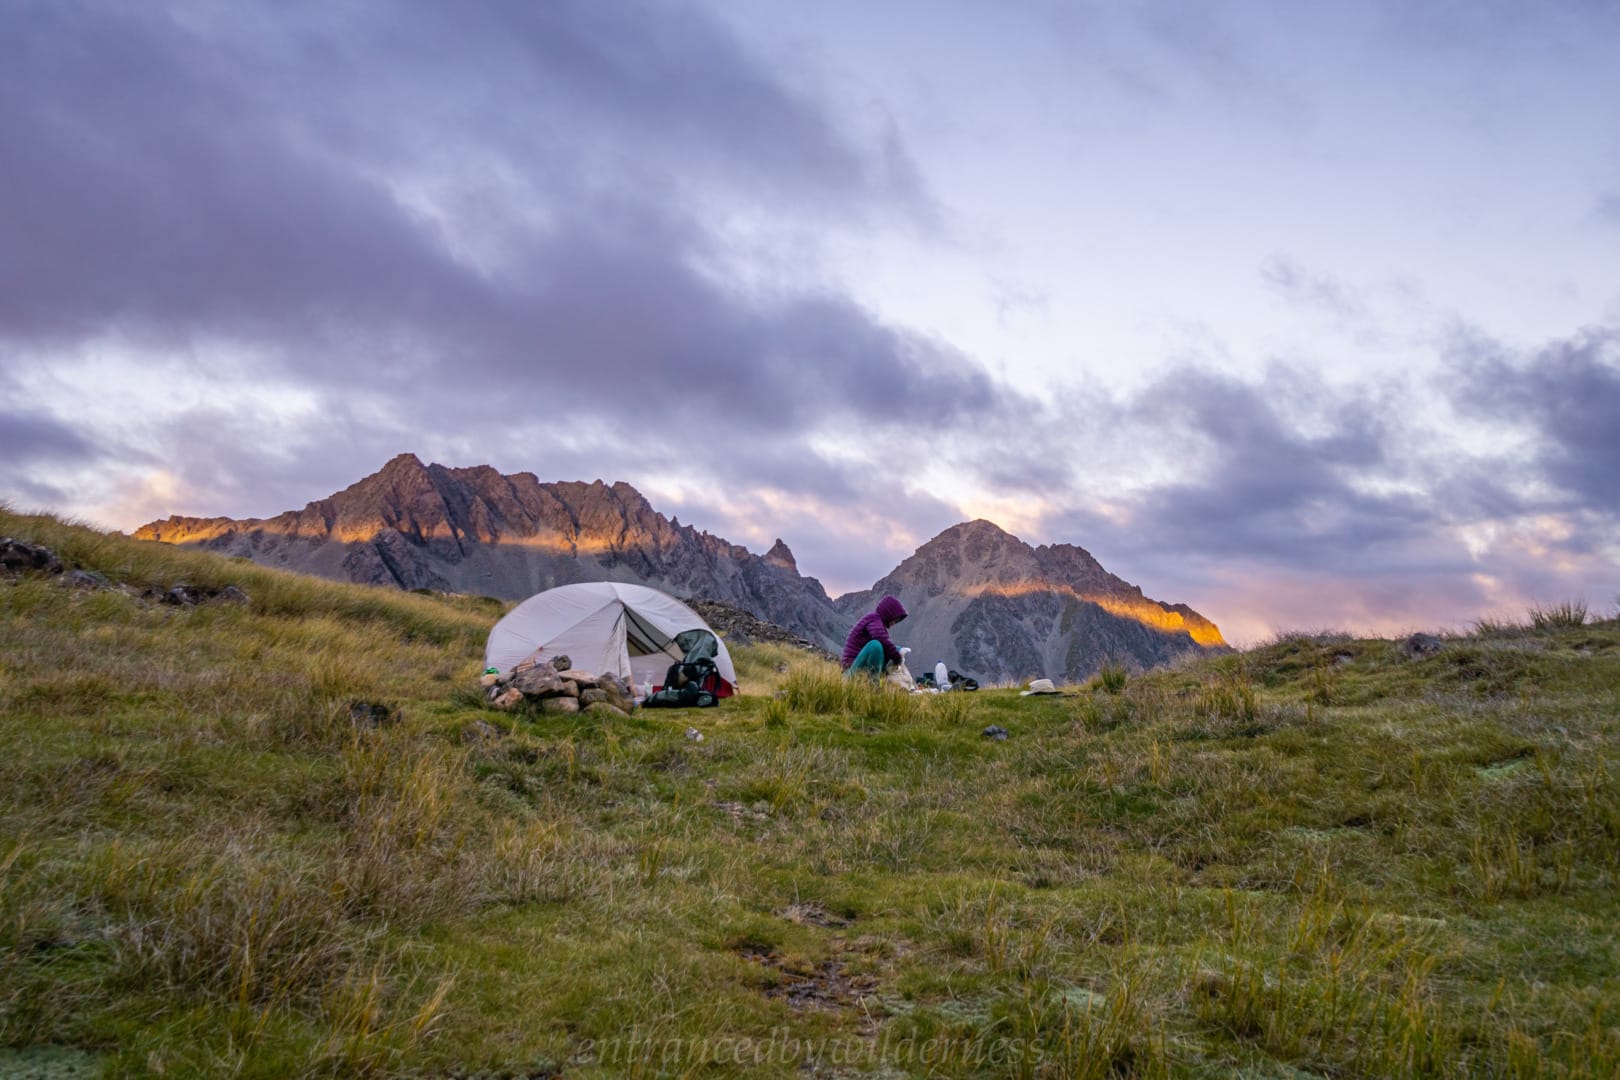
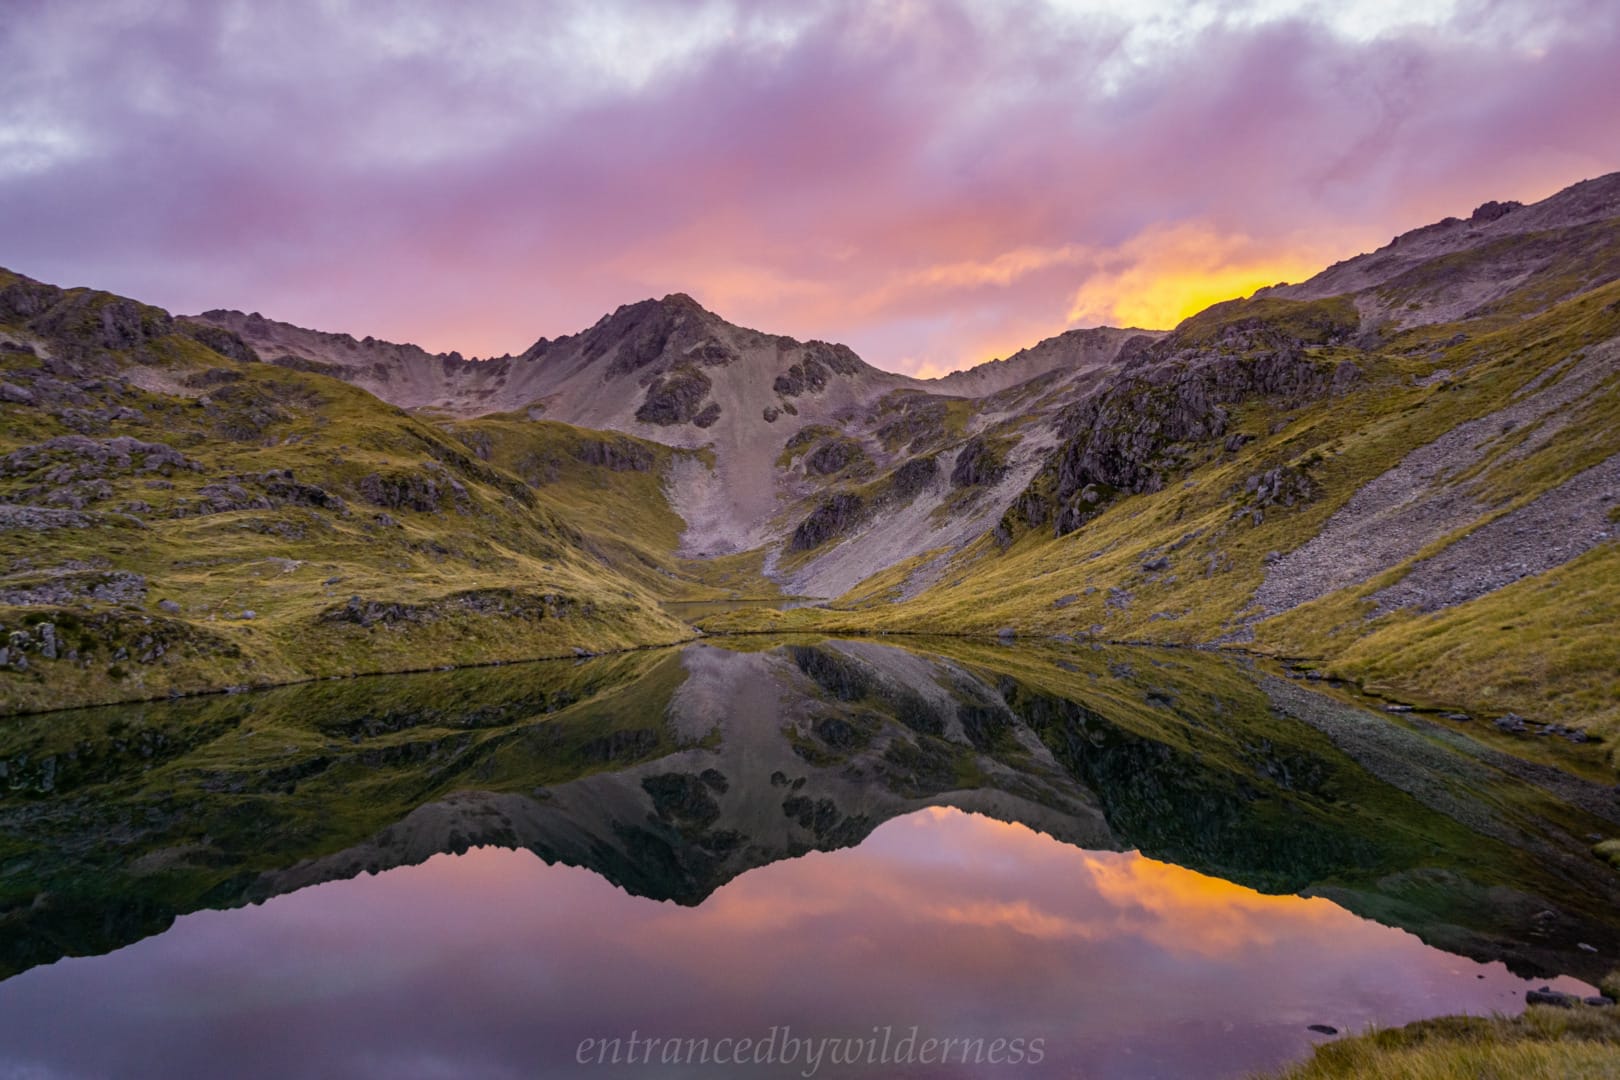
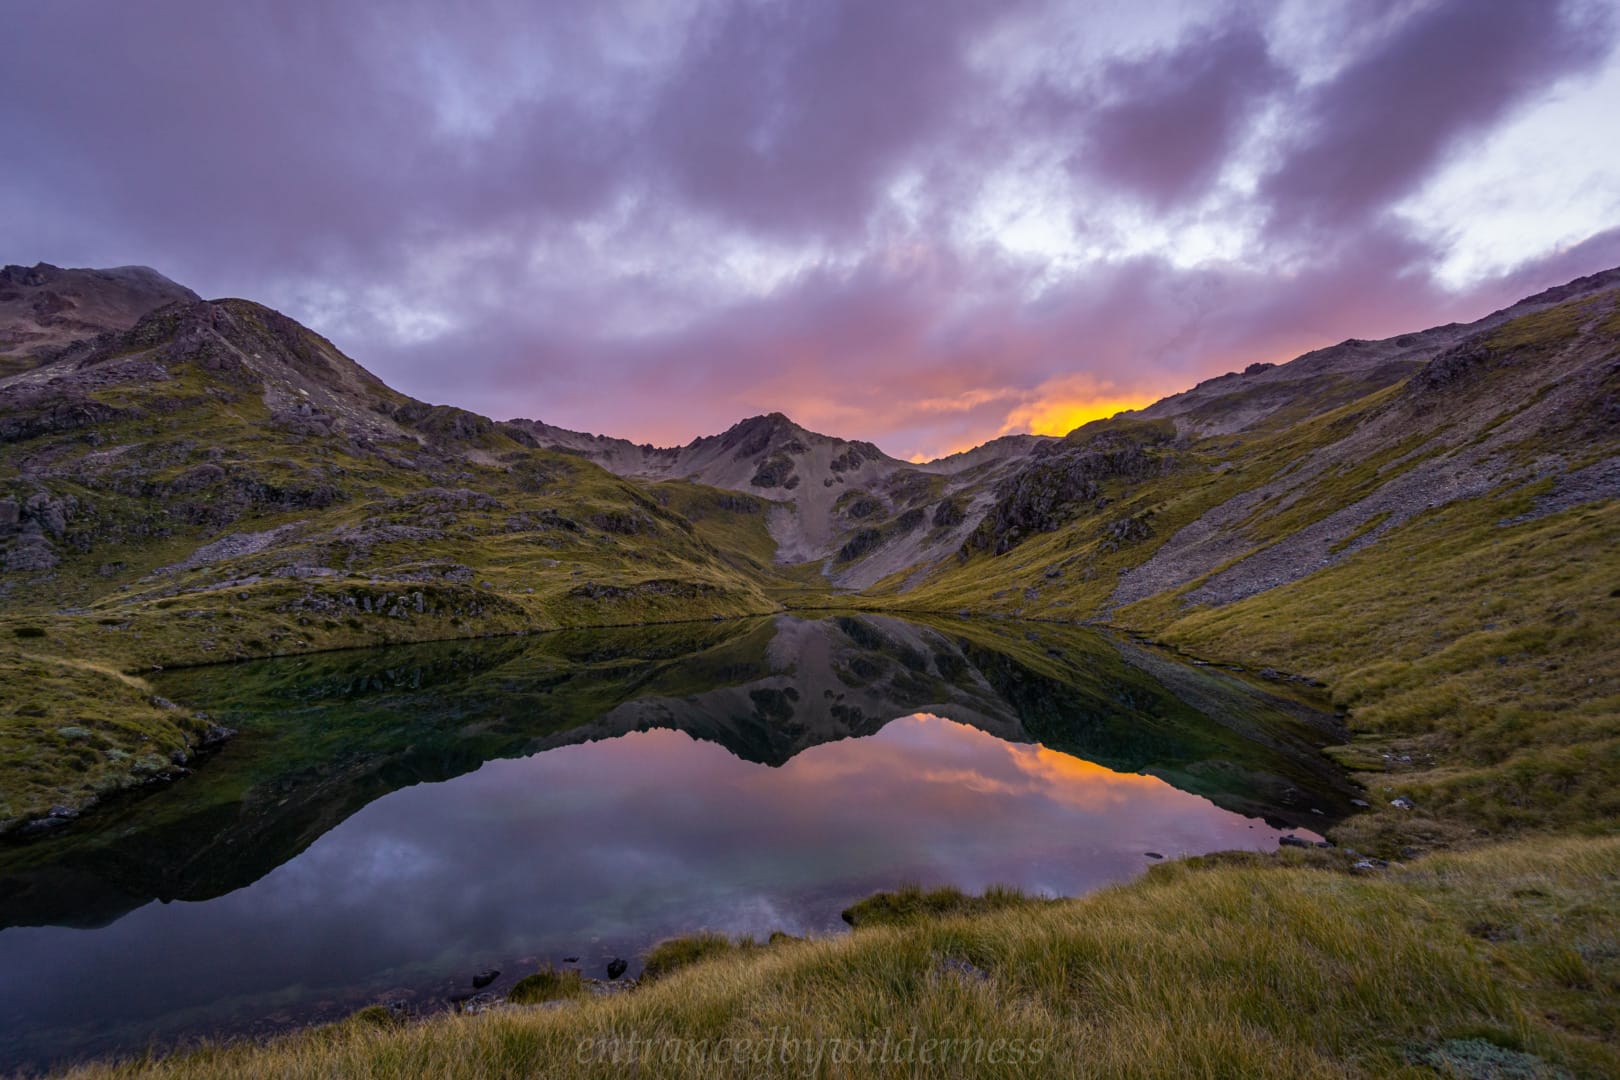
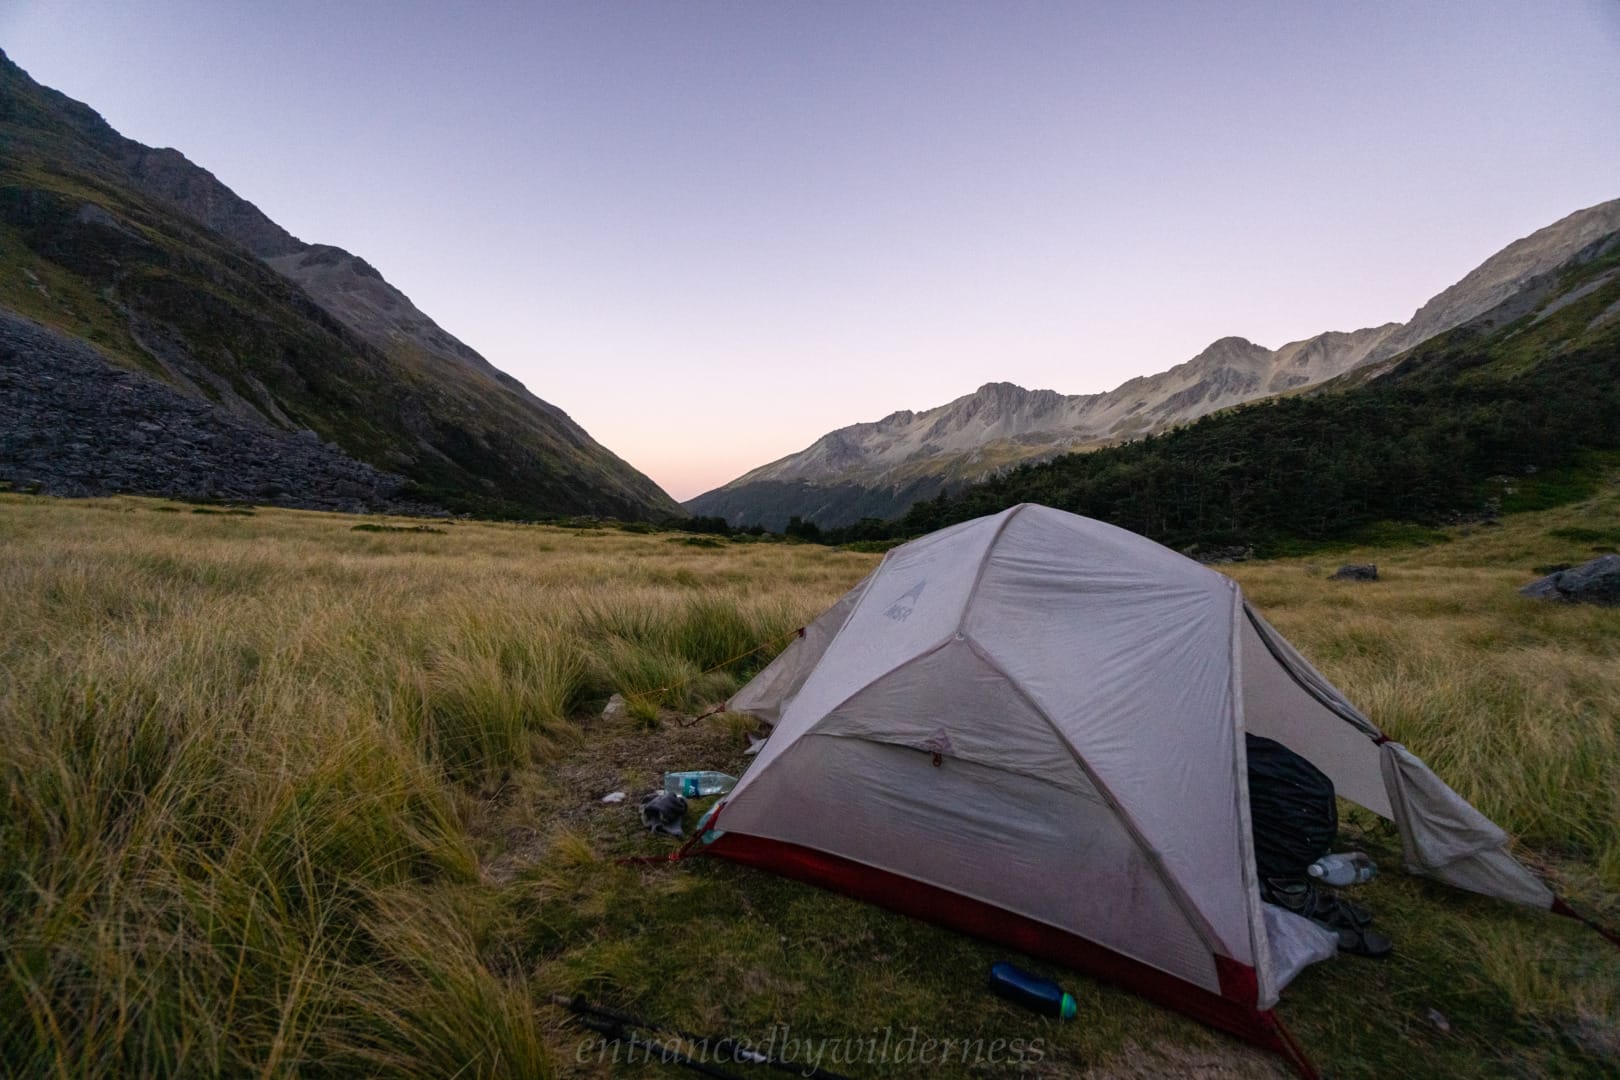
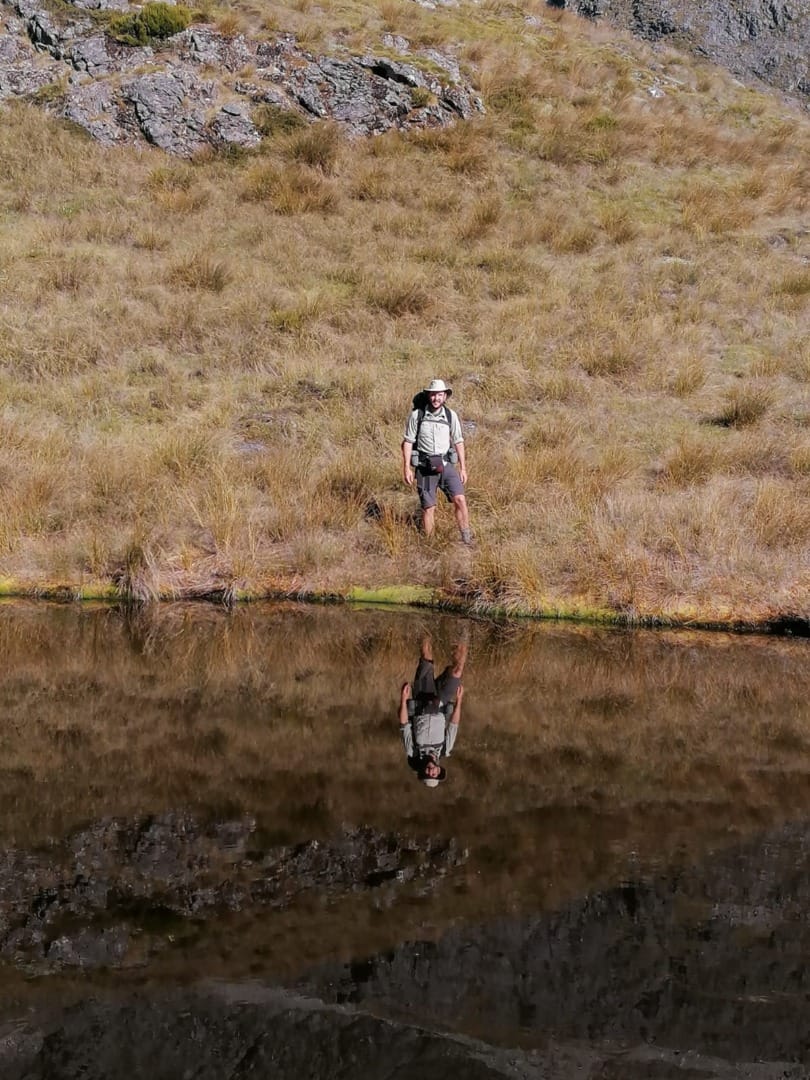
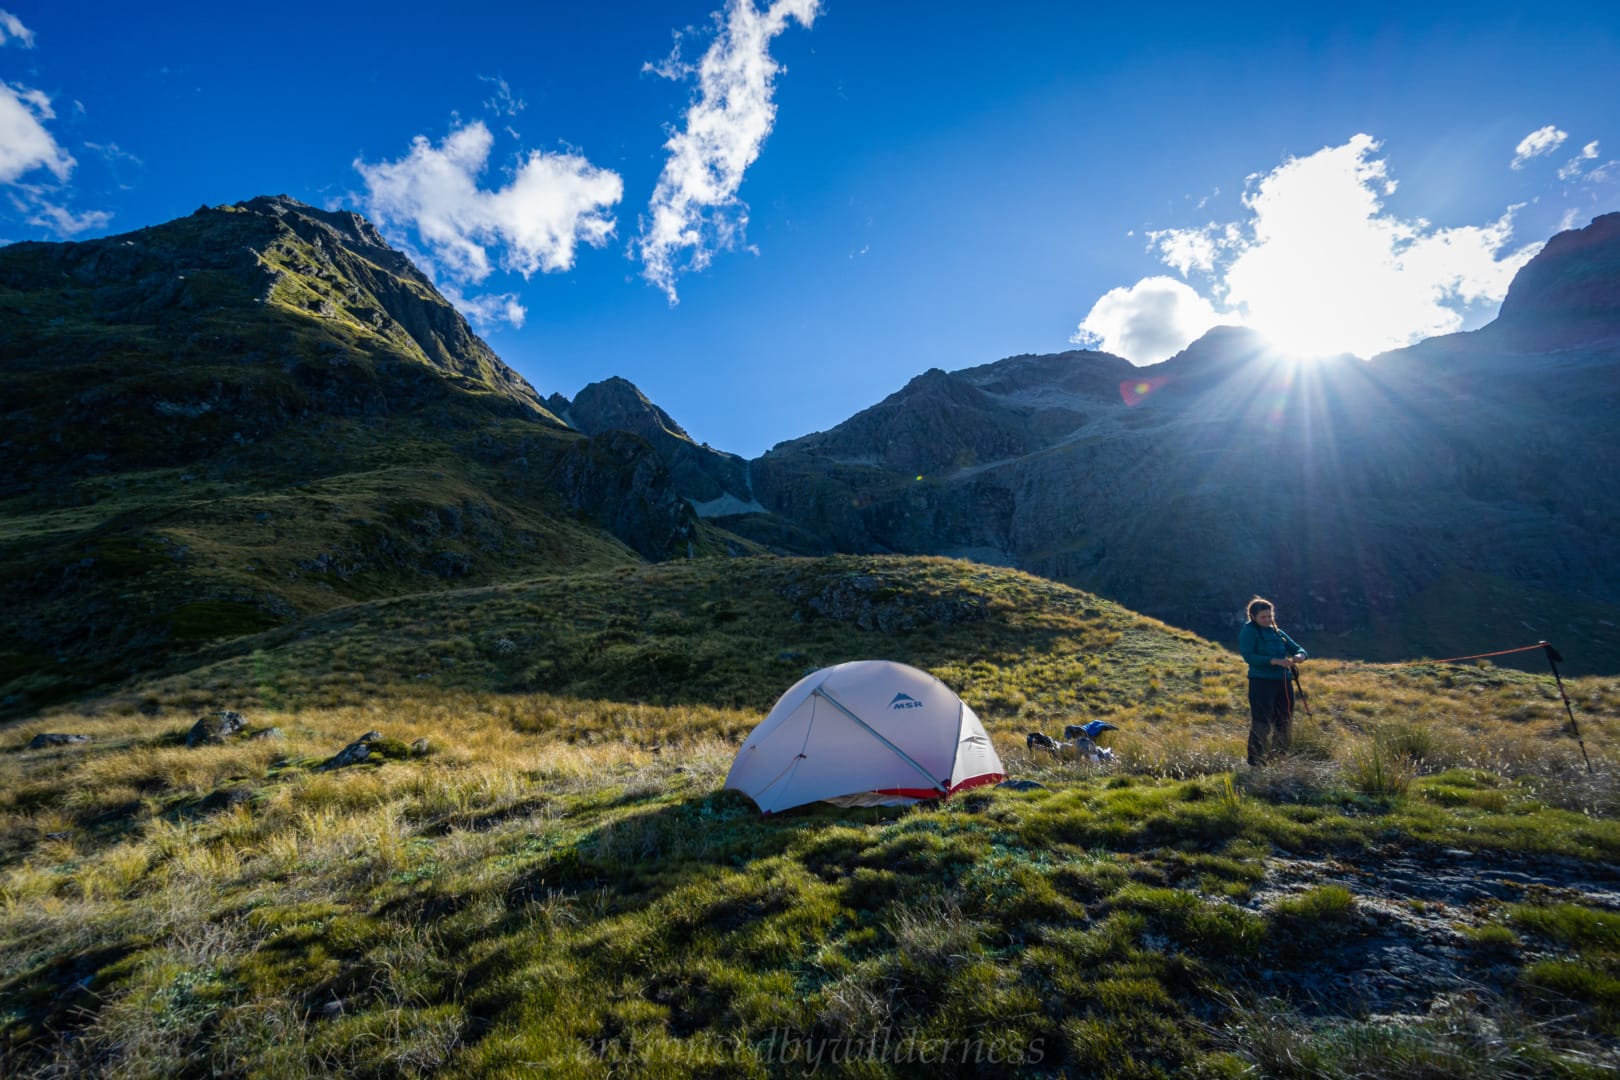
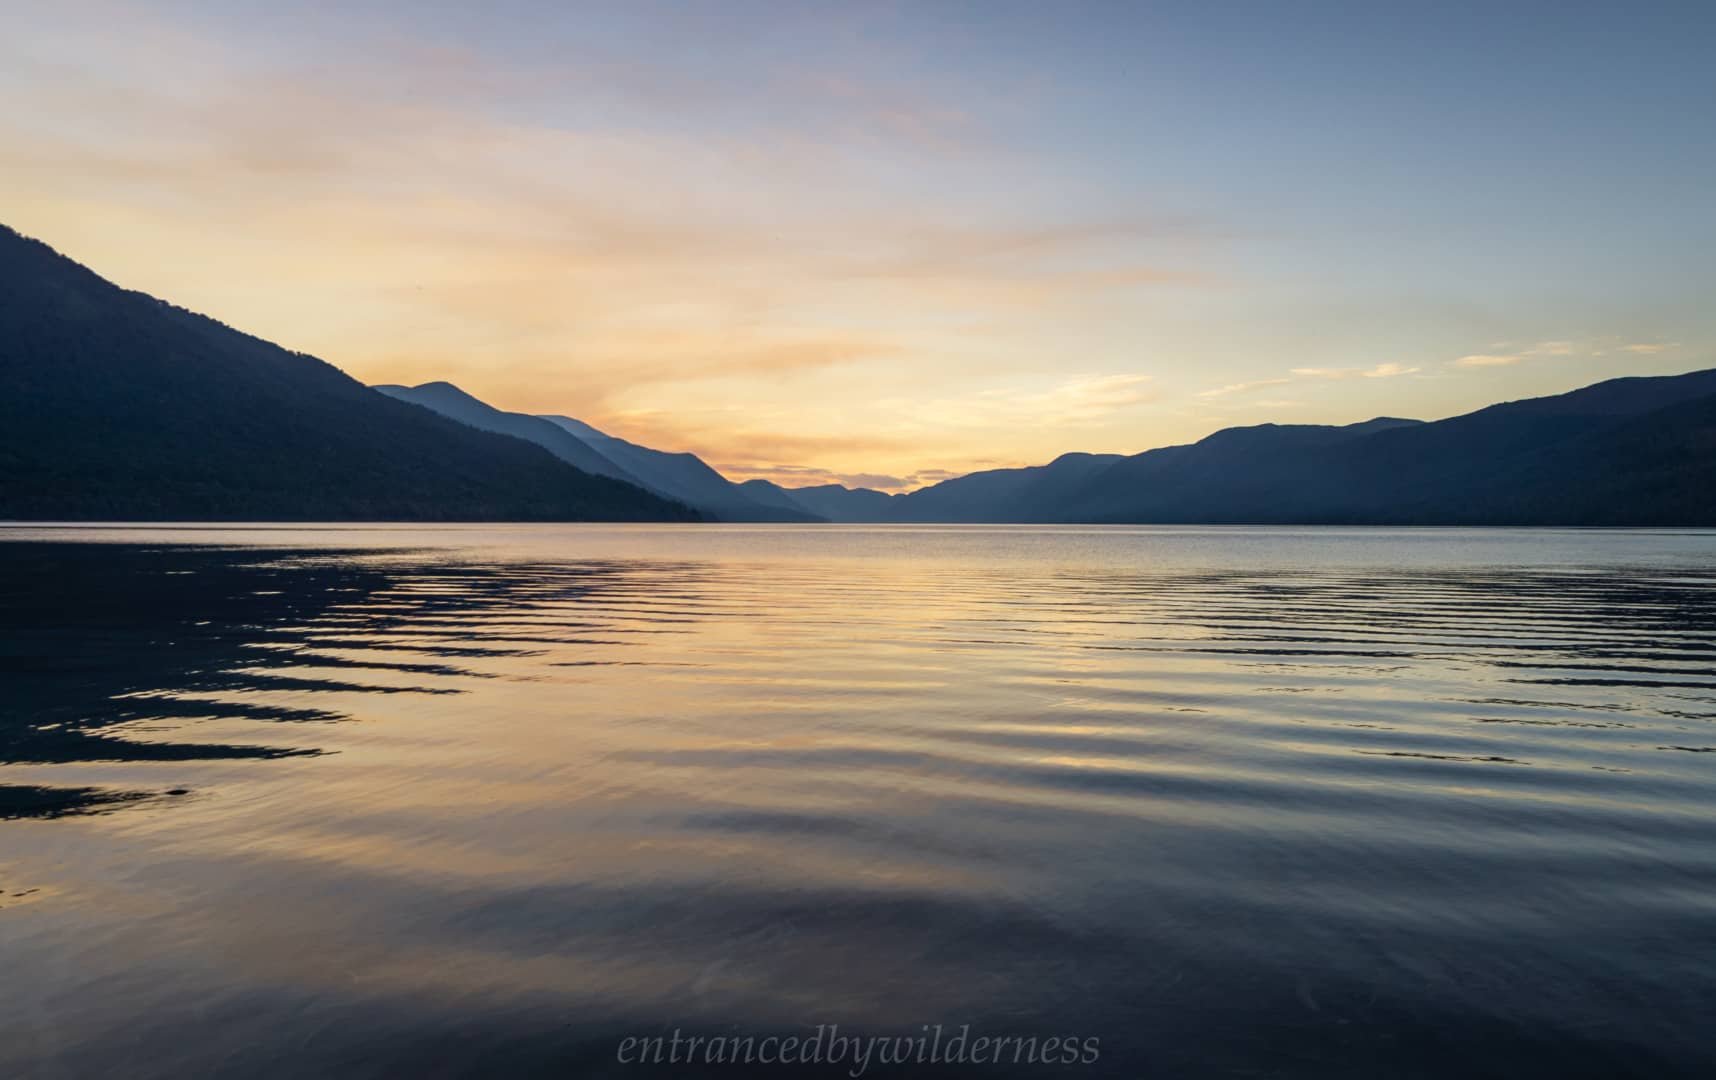
We found a relatively flat spot at the north-eastern edge of the tarn and set up camp there. As the sun left us, the temperature dropped fast, as we quickly had a splash wash in the tarn before putting warm clothes on. It would be a nice night for a fire, but such is the alpine life without firewood! After having dinner on the snowgrass, the sunset gave us a spectacle! It was truly beautiful!
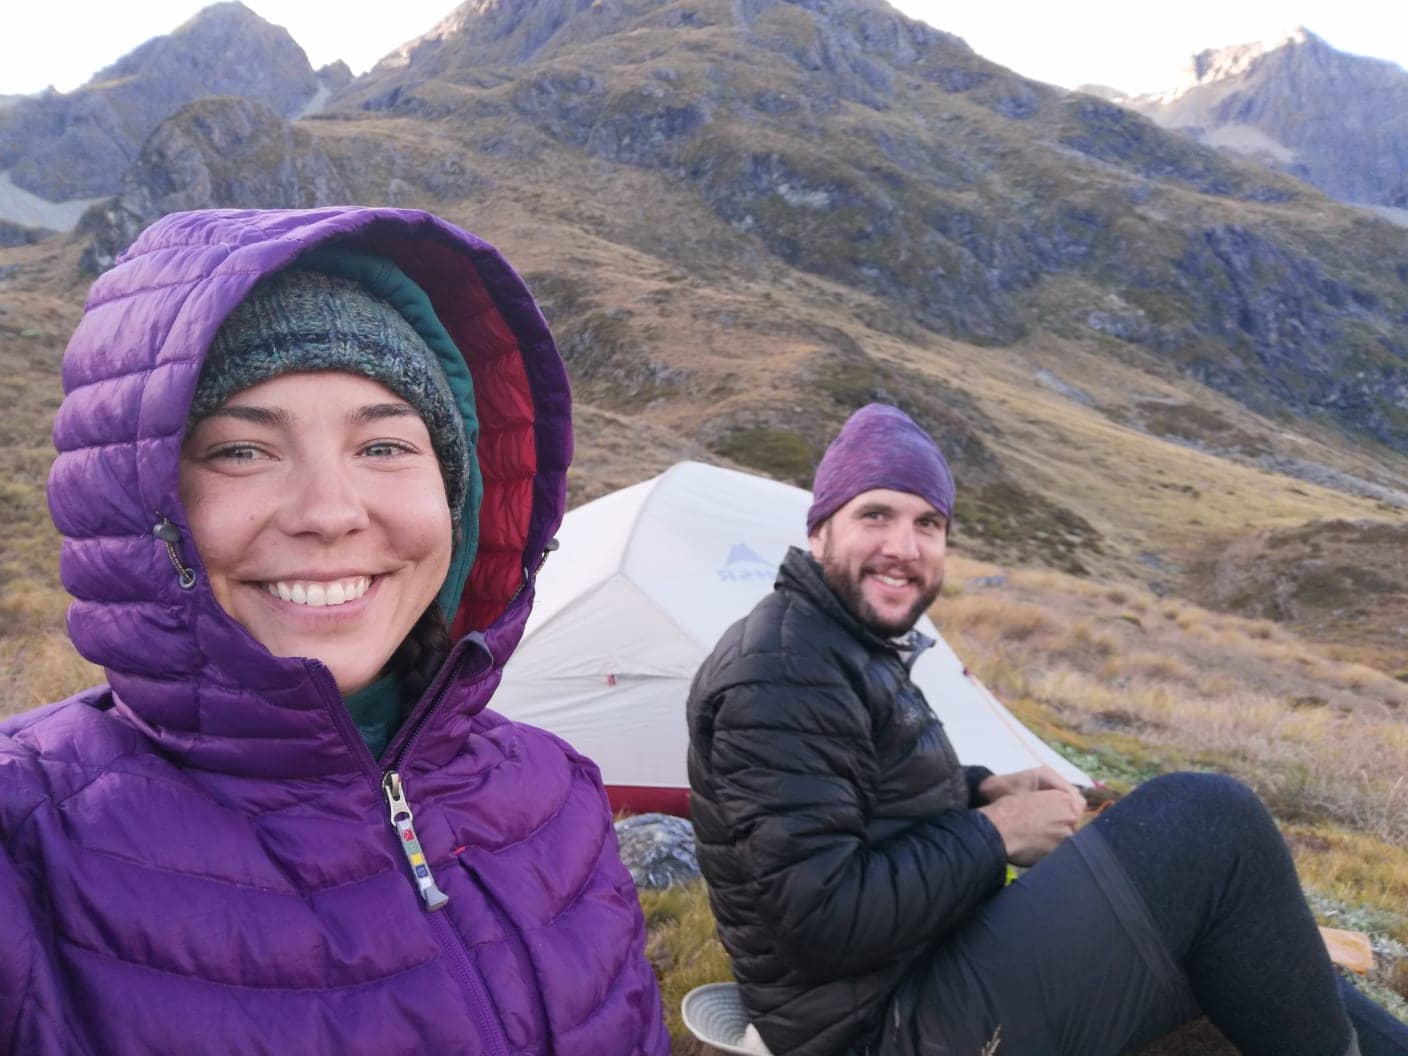
The night was cooooold! Clear skies are nice, but it also means it’s colder. It definitely dropped just below 0C, as condensation froze, along with frosts. I still had my summer hiking gear, but luckily, the thermal liner in my sleeping bag to take the edge off. My winter bag was in storage, sadly!
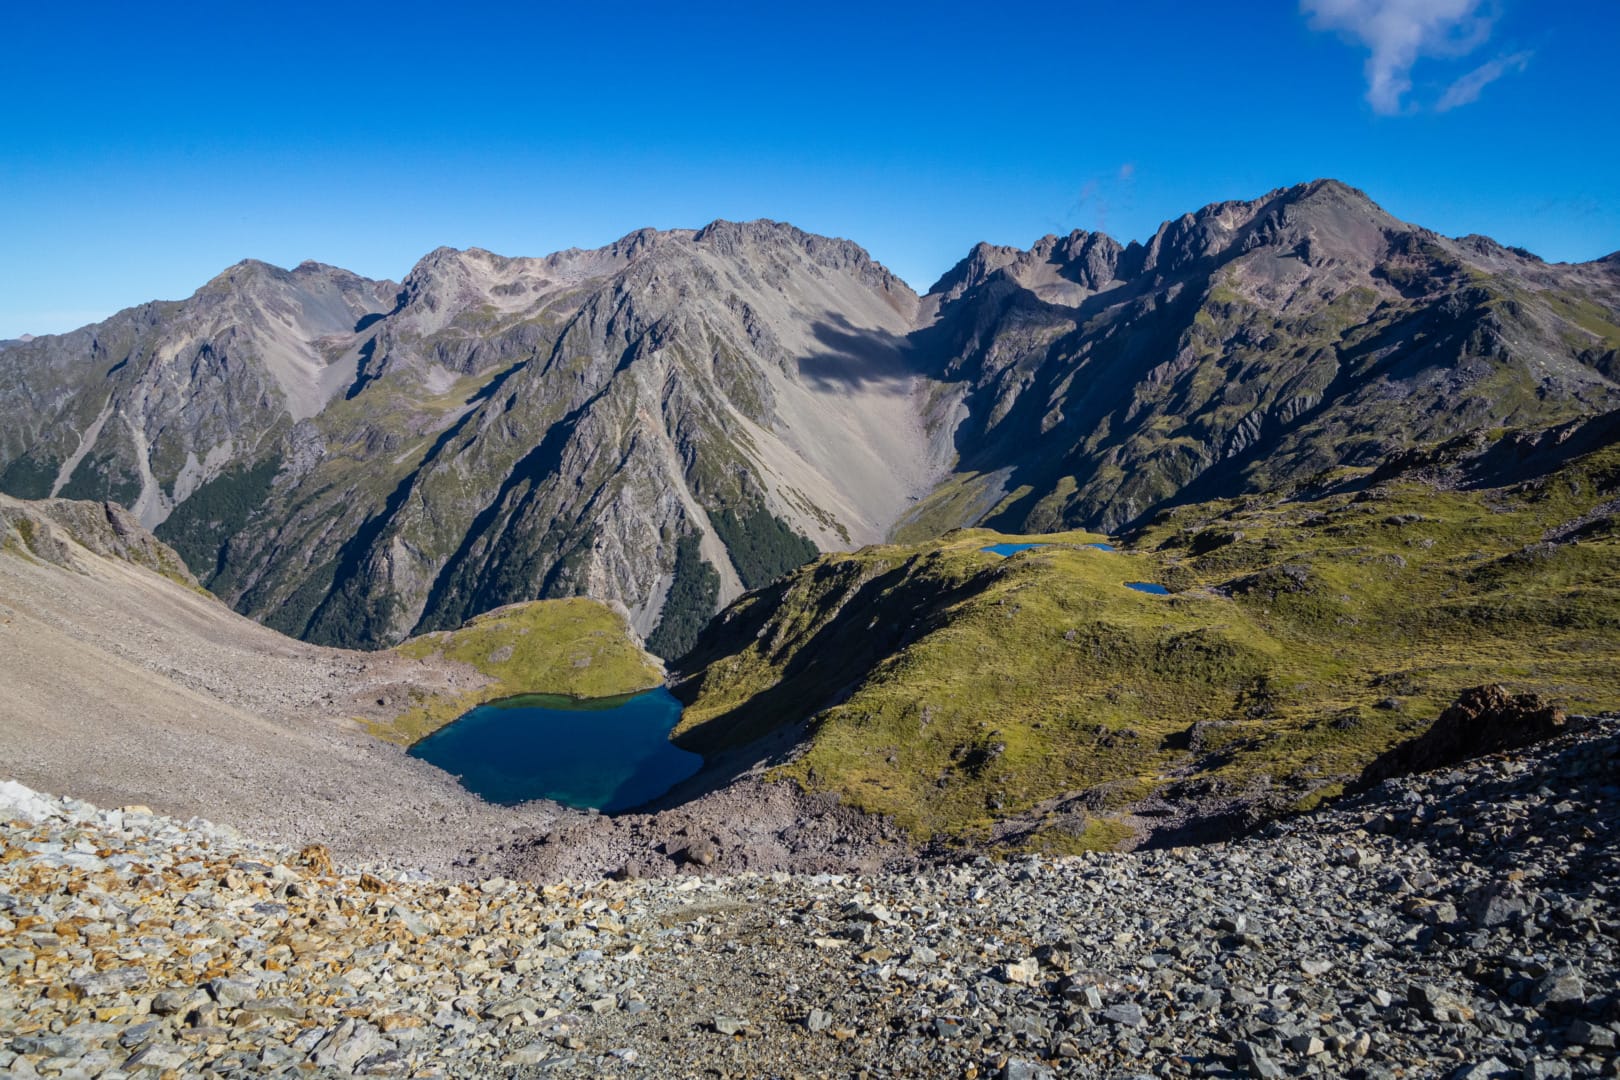
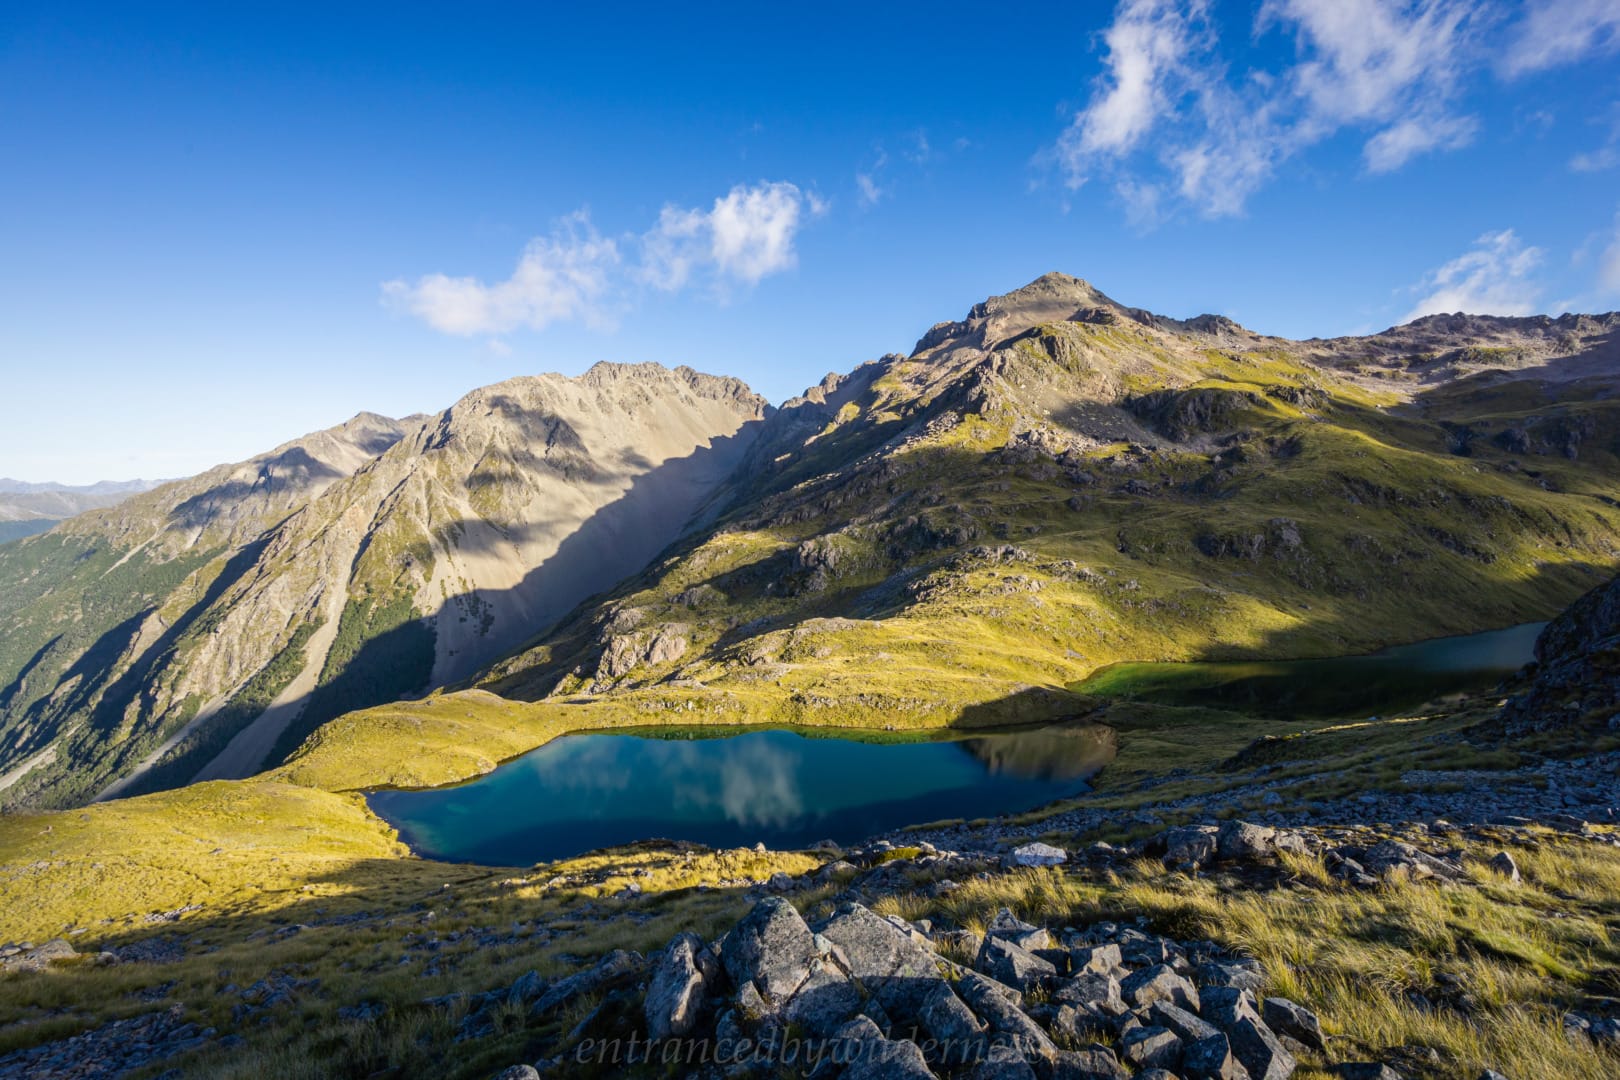
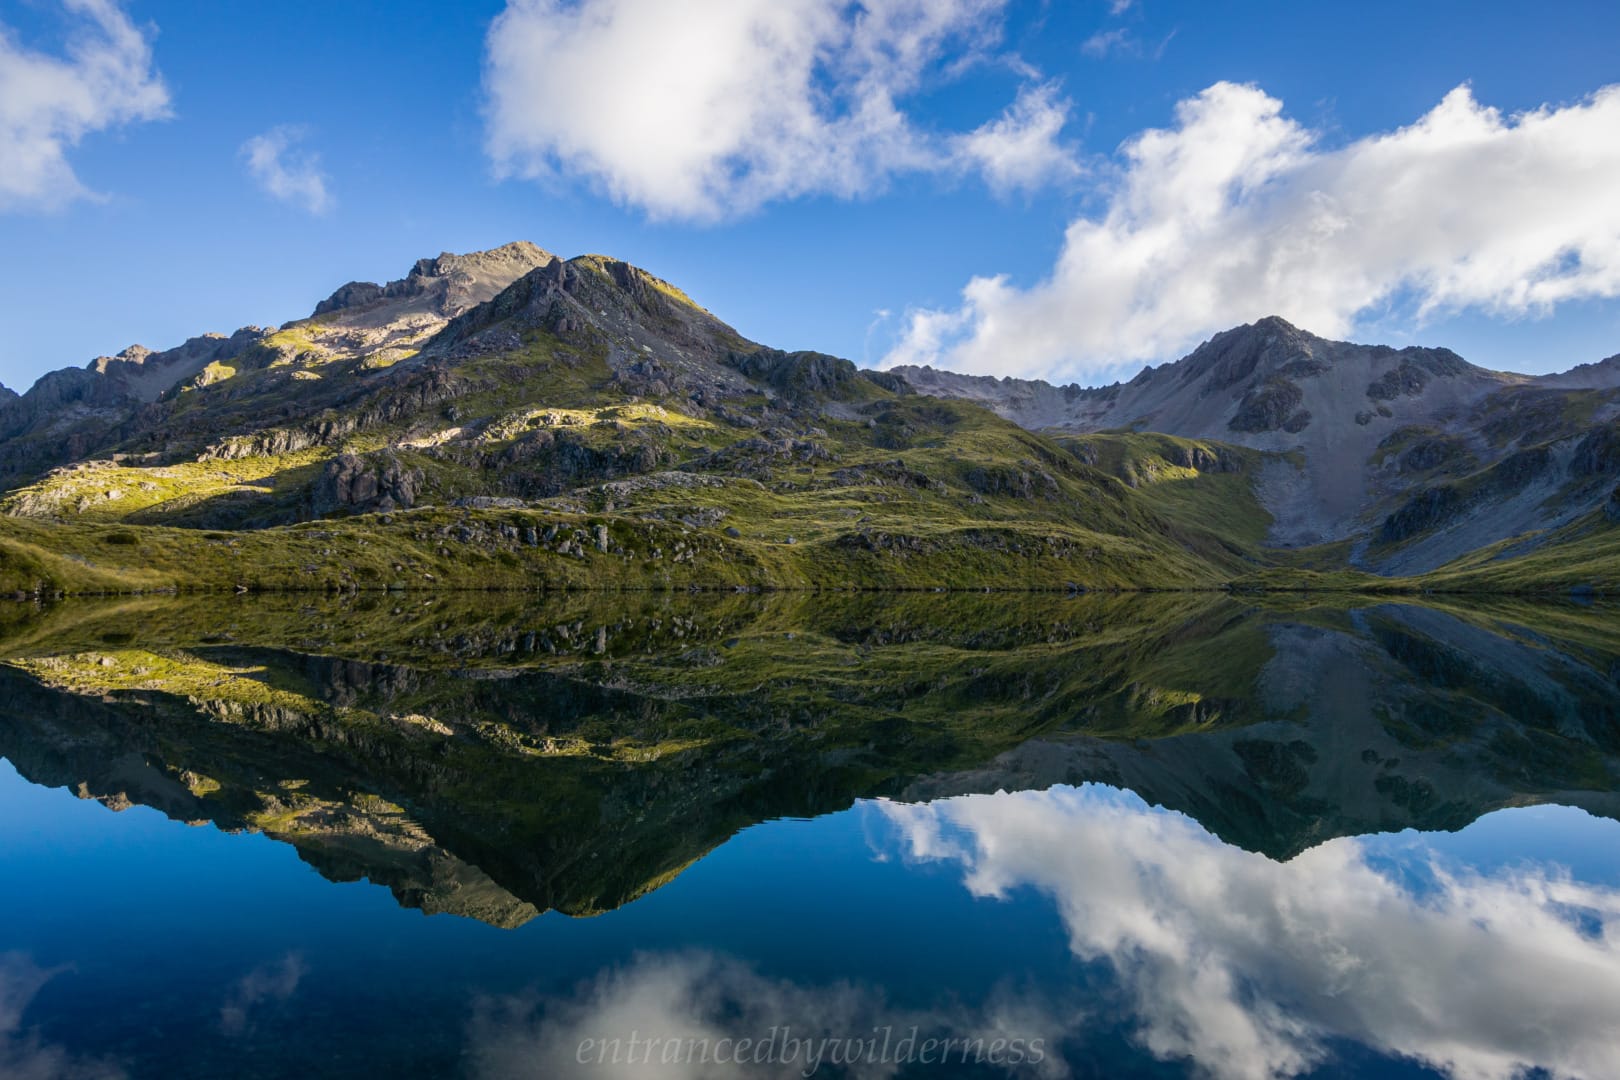
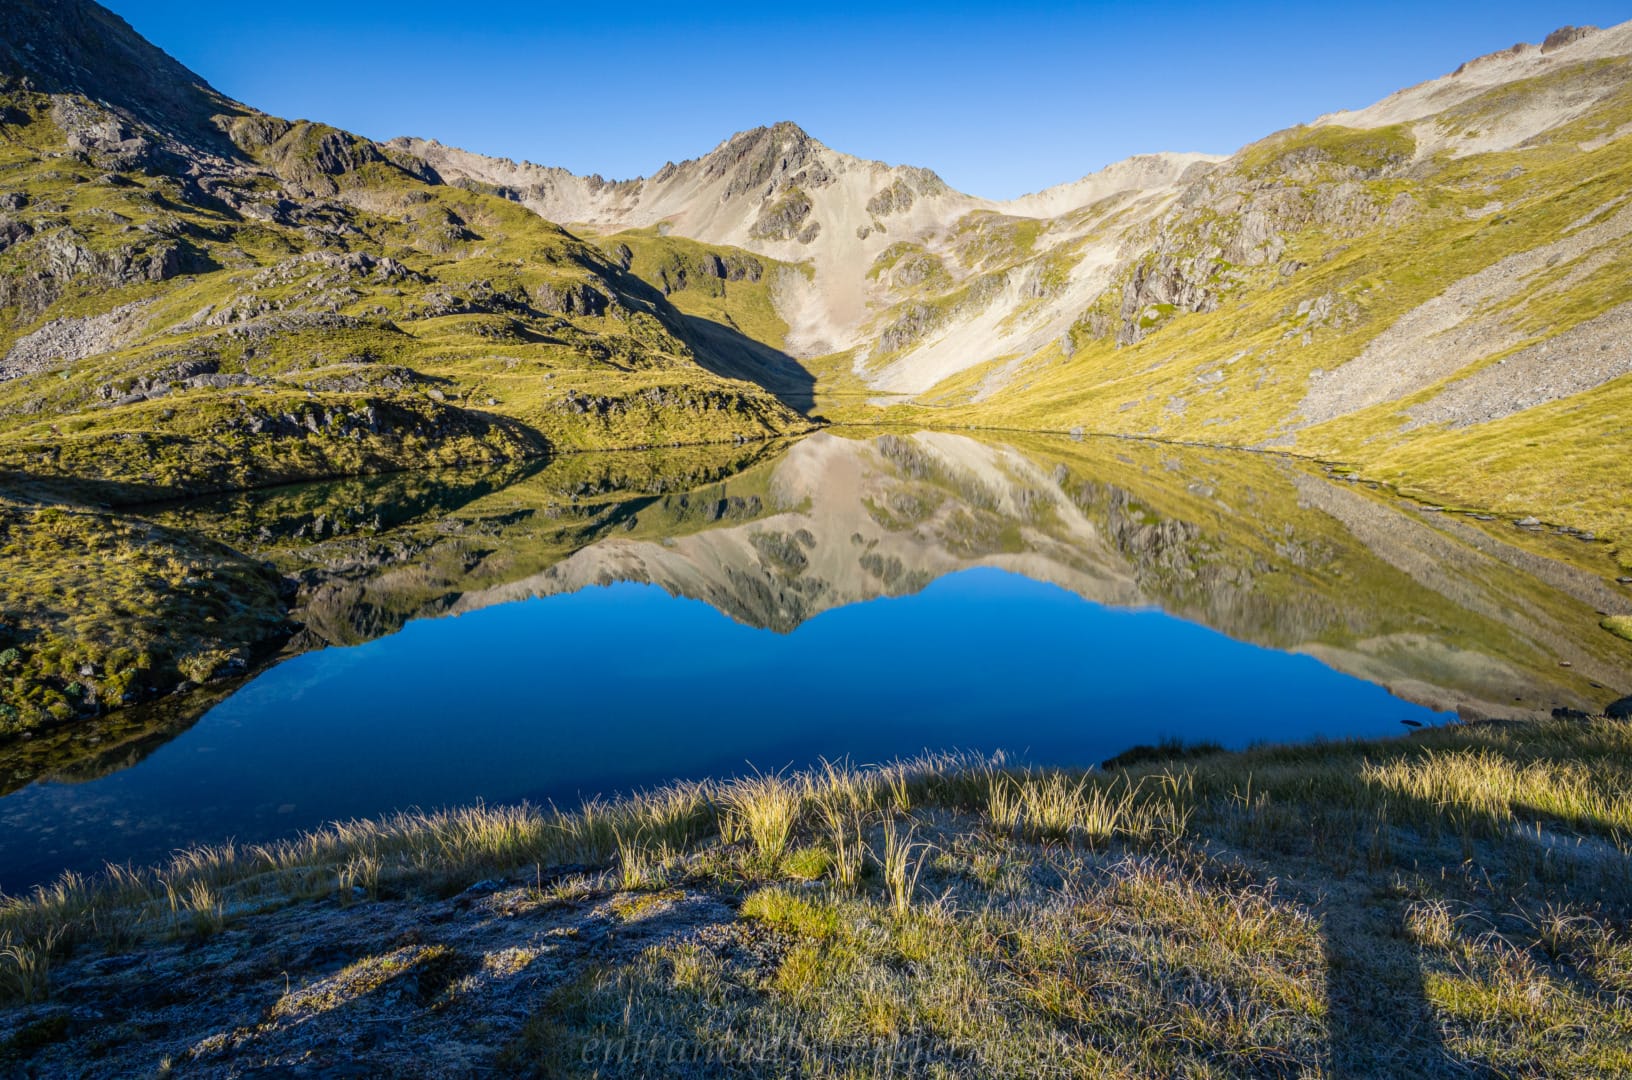
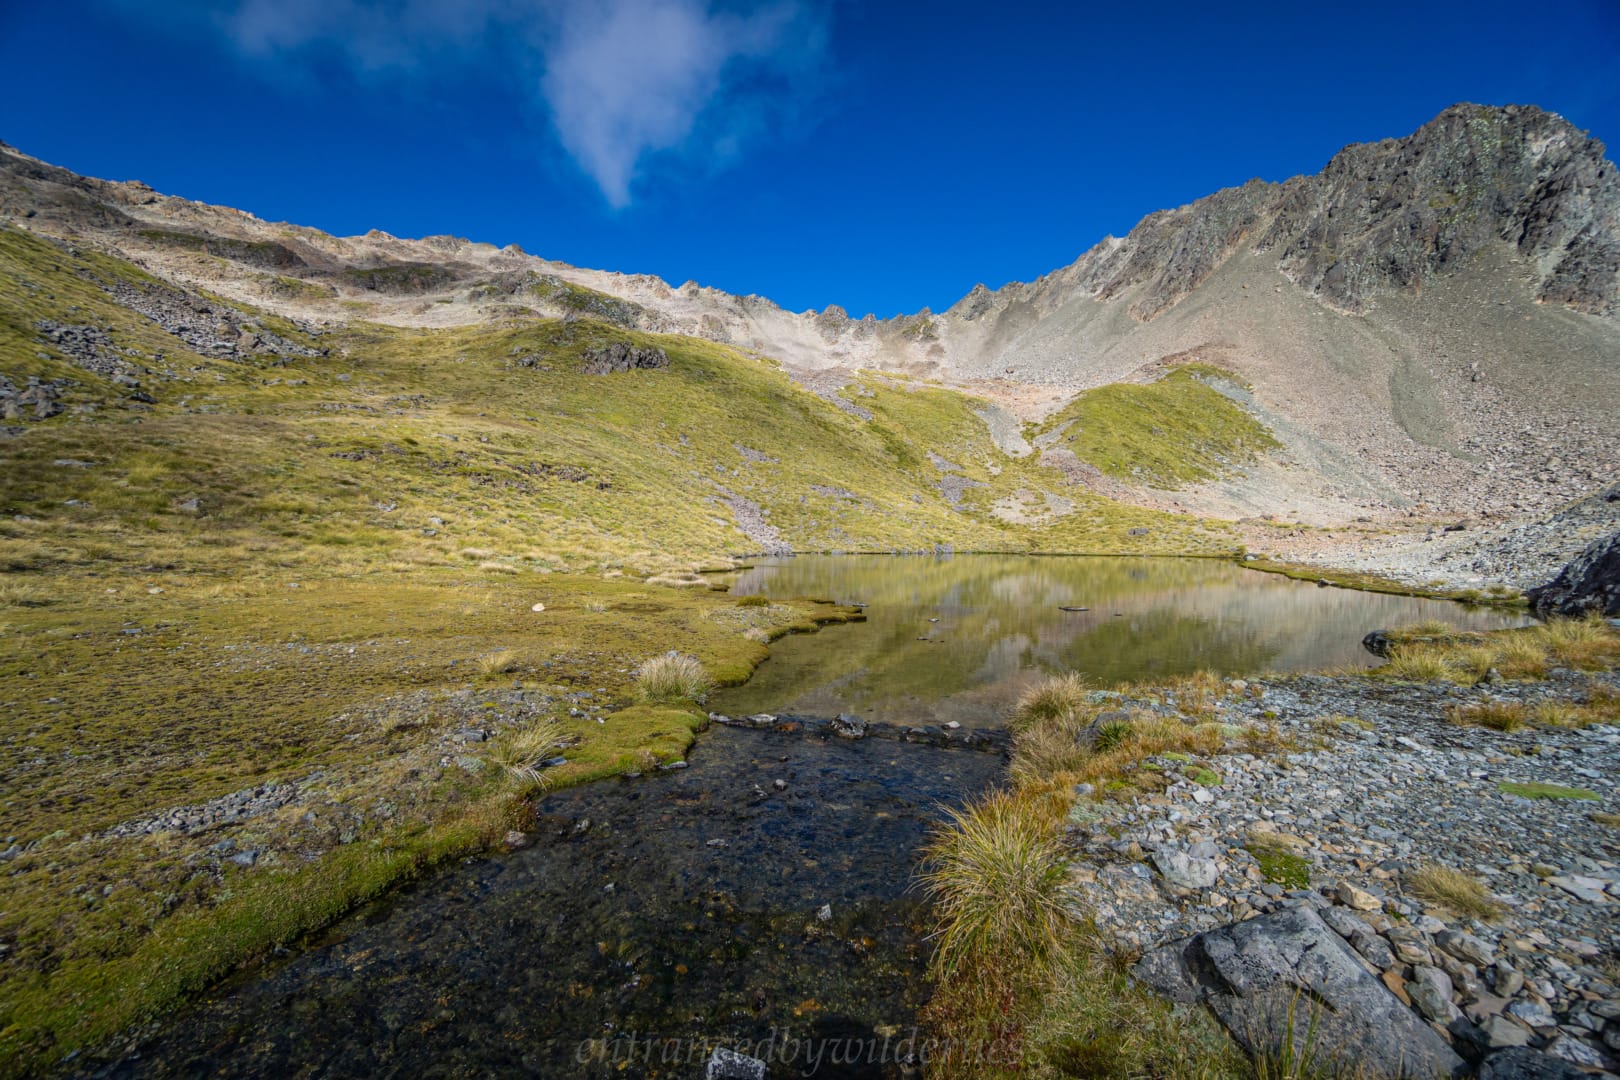
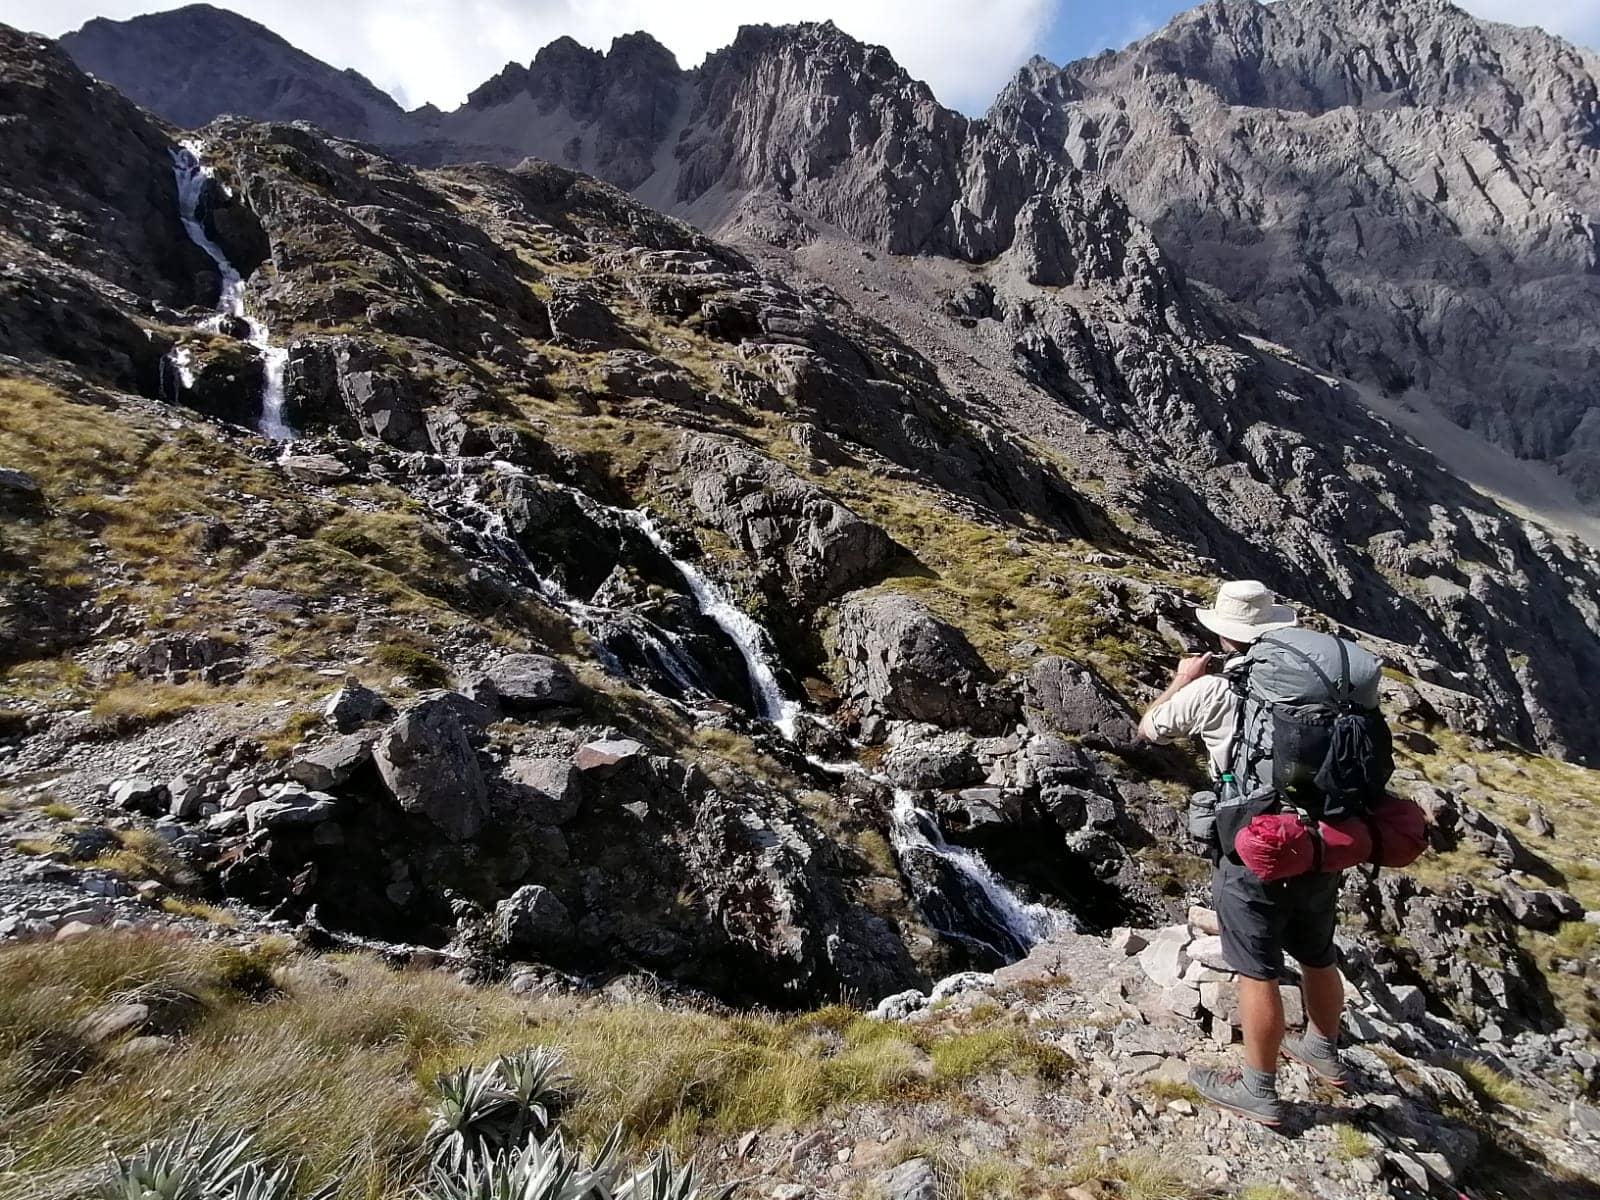
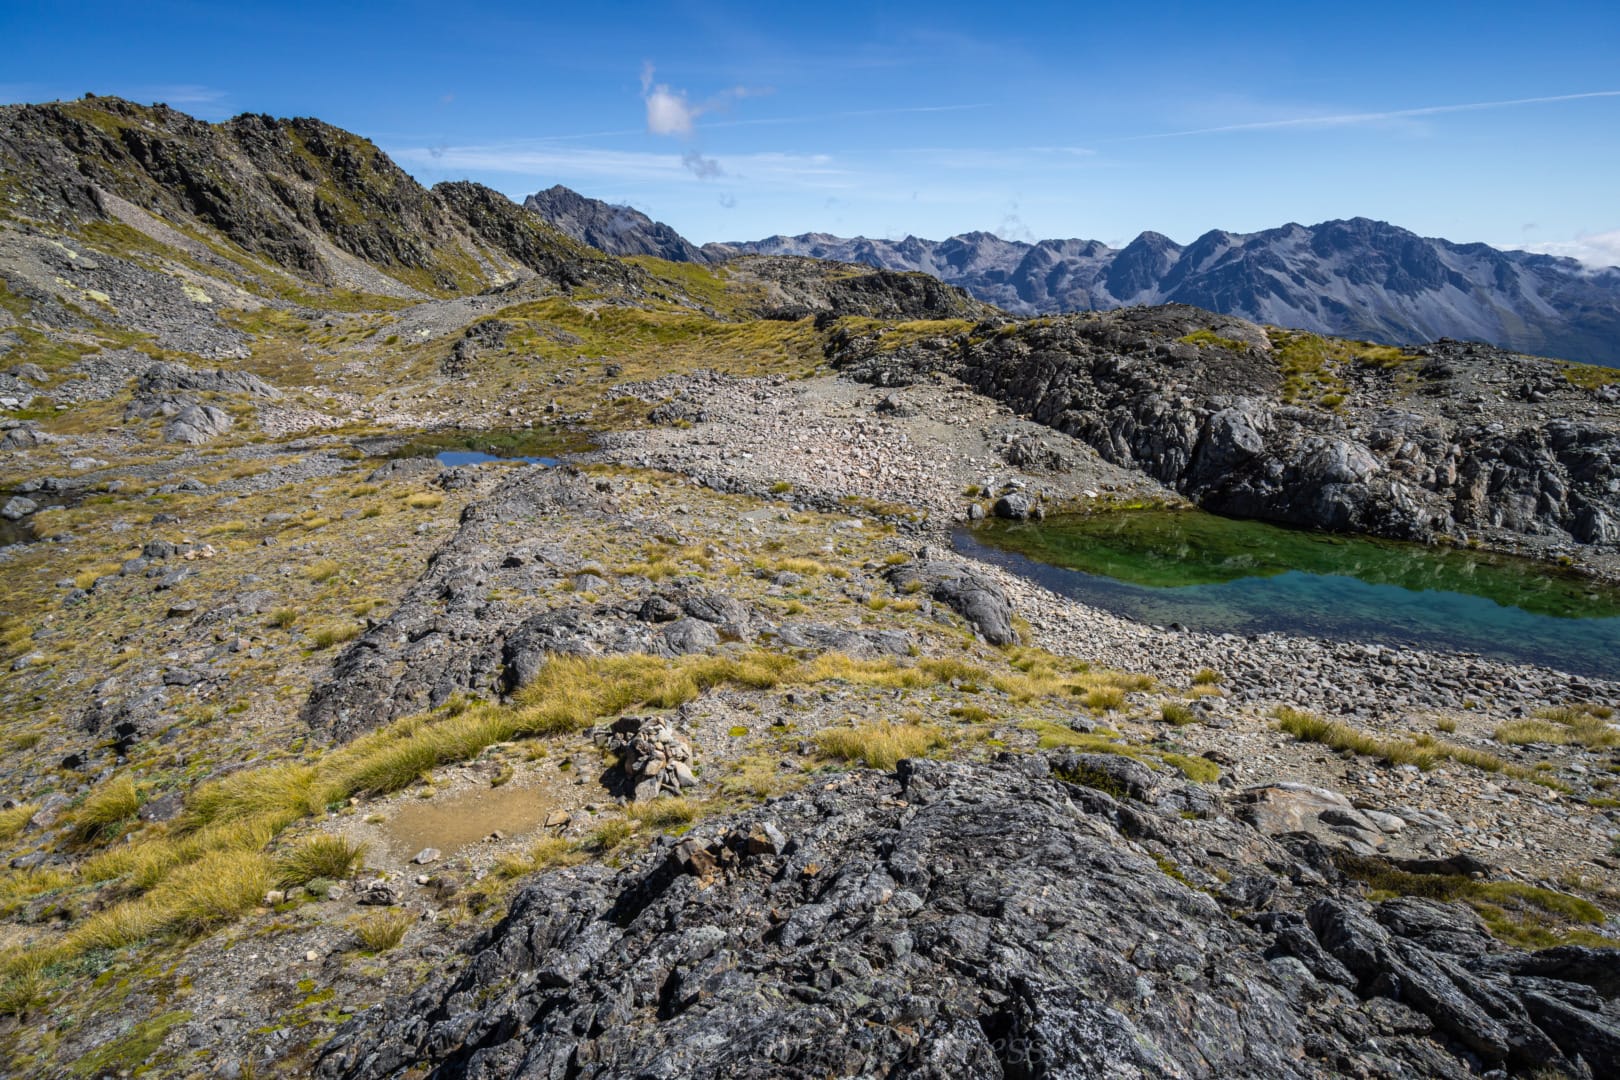
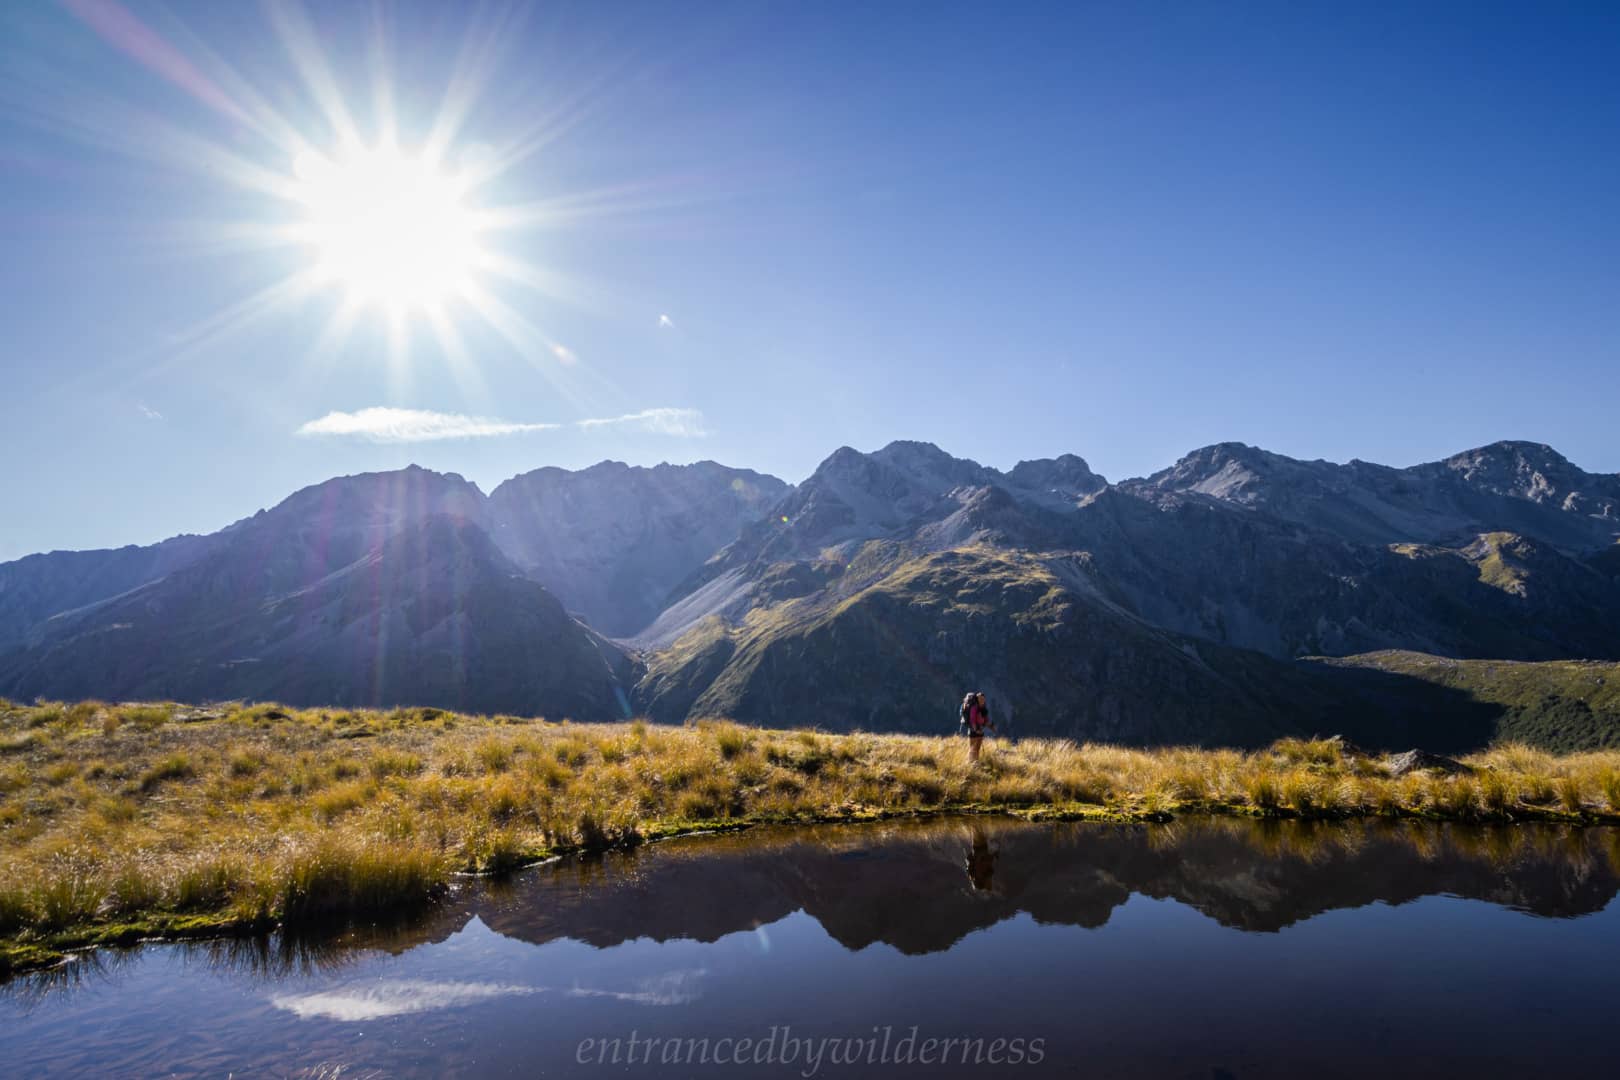
With no real rush, and a slow breakfast, we set off towards Sunset Saddle. There were a bunch of people from Angelus Hut doing a day hike to Sunset Saddle who were a little behind us. The view of Hinapouri tarn only gets better as you ascend, and in my opinion, the tarn is more spectacular than Angelus Lakes! After around 1720m, there is a large area and tarn, leading into a waterfall heading to Hinapouri Tarn, there are plenty of suitable camping sites here to make use of.
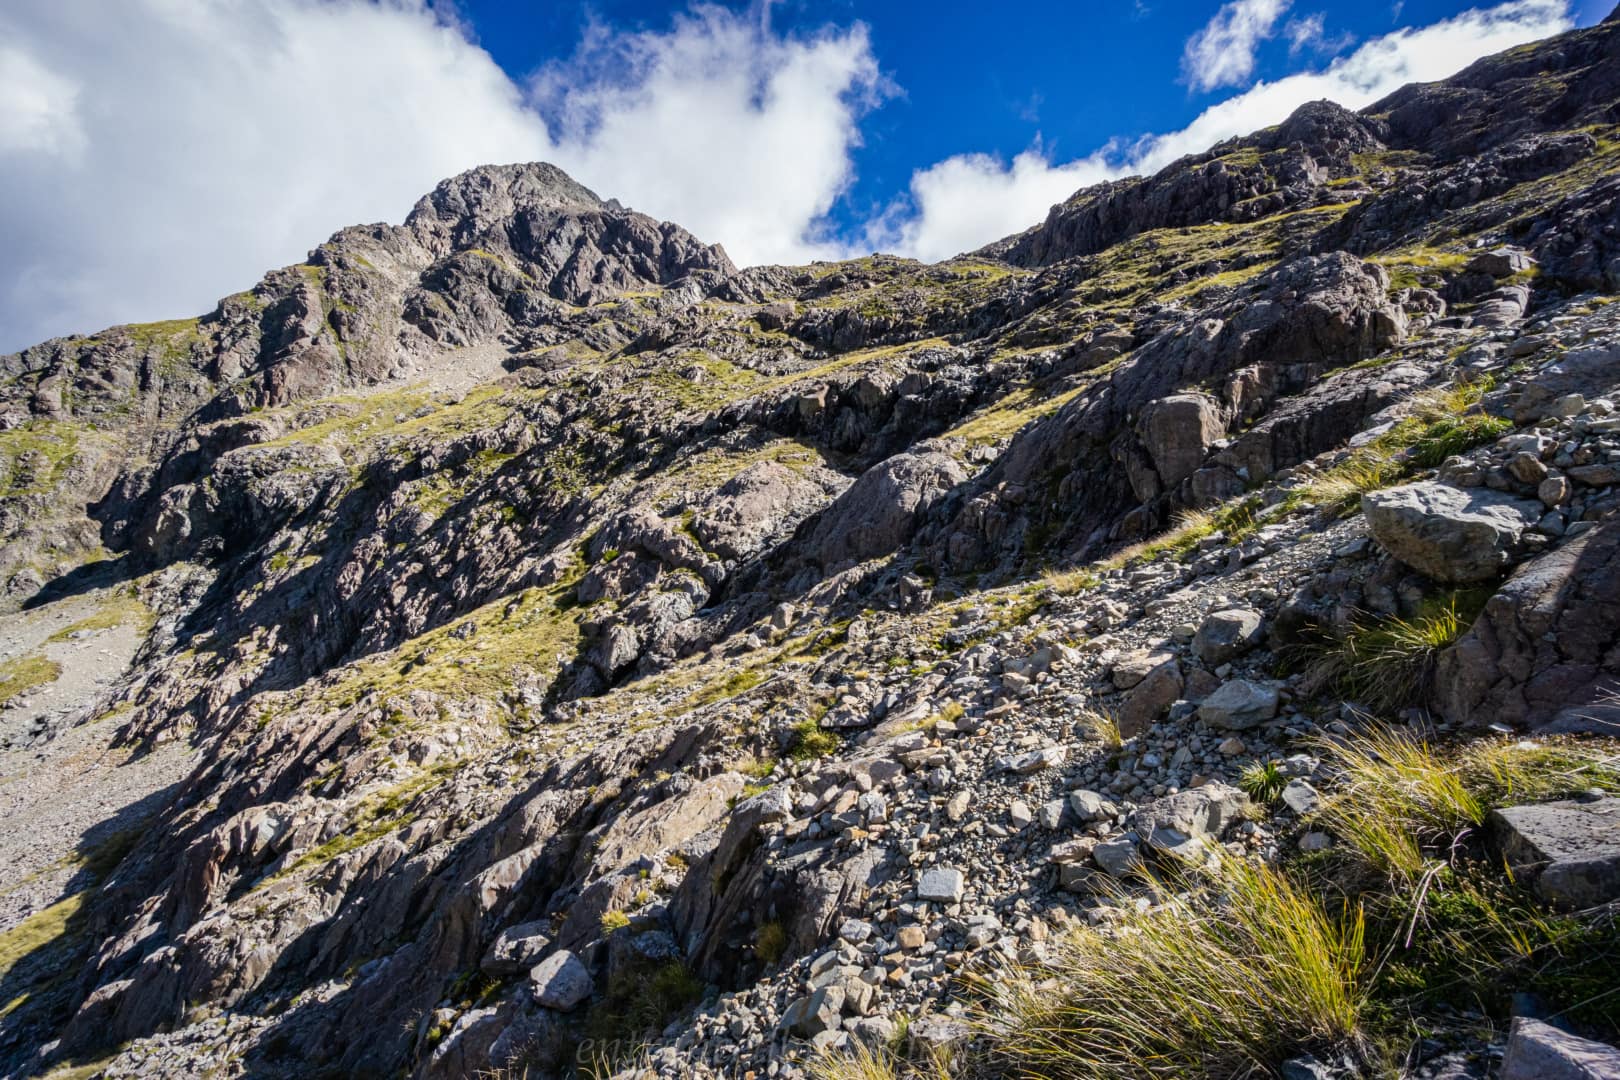
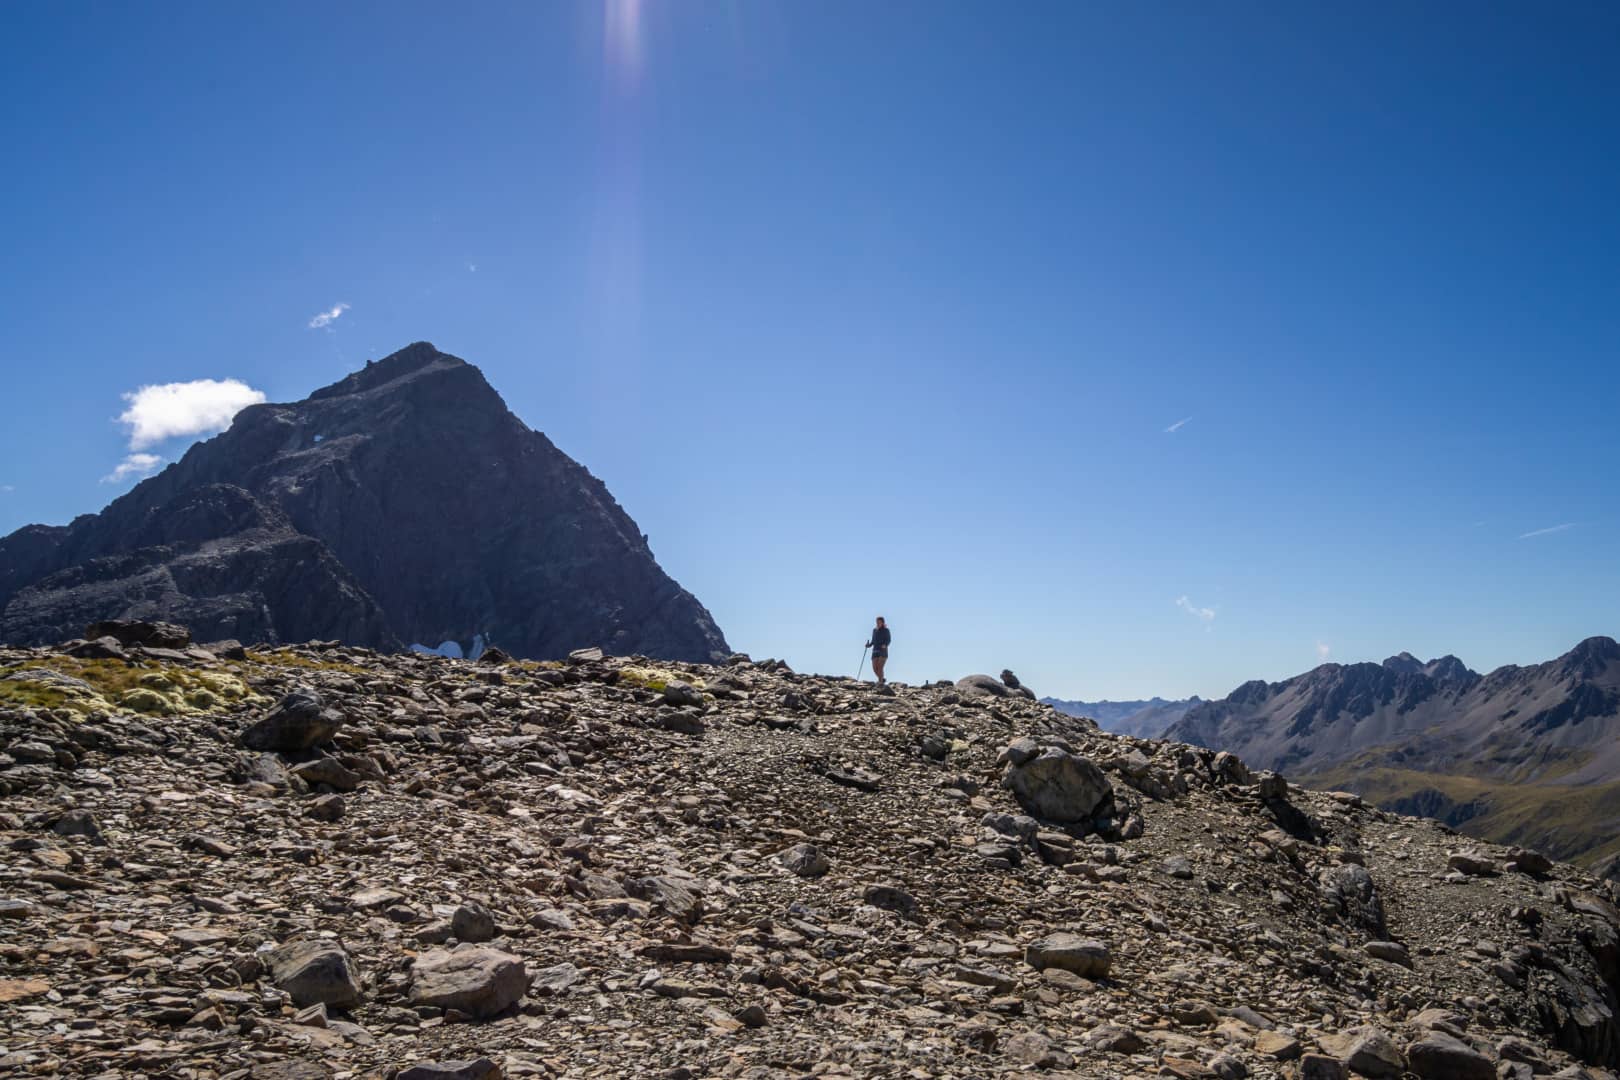
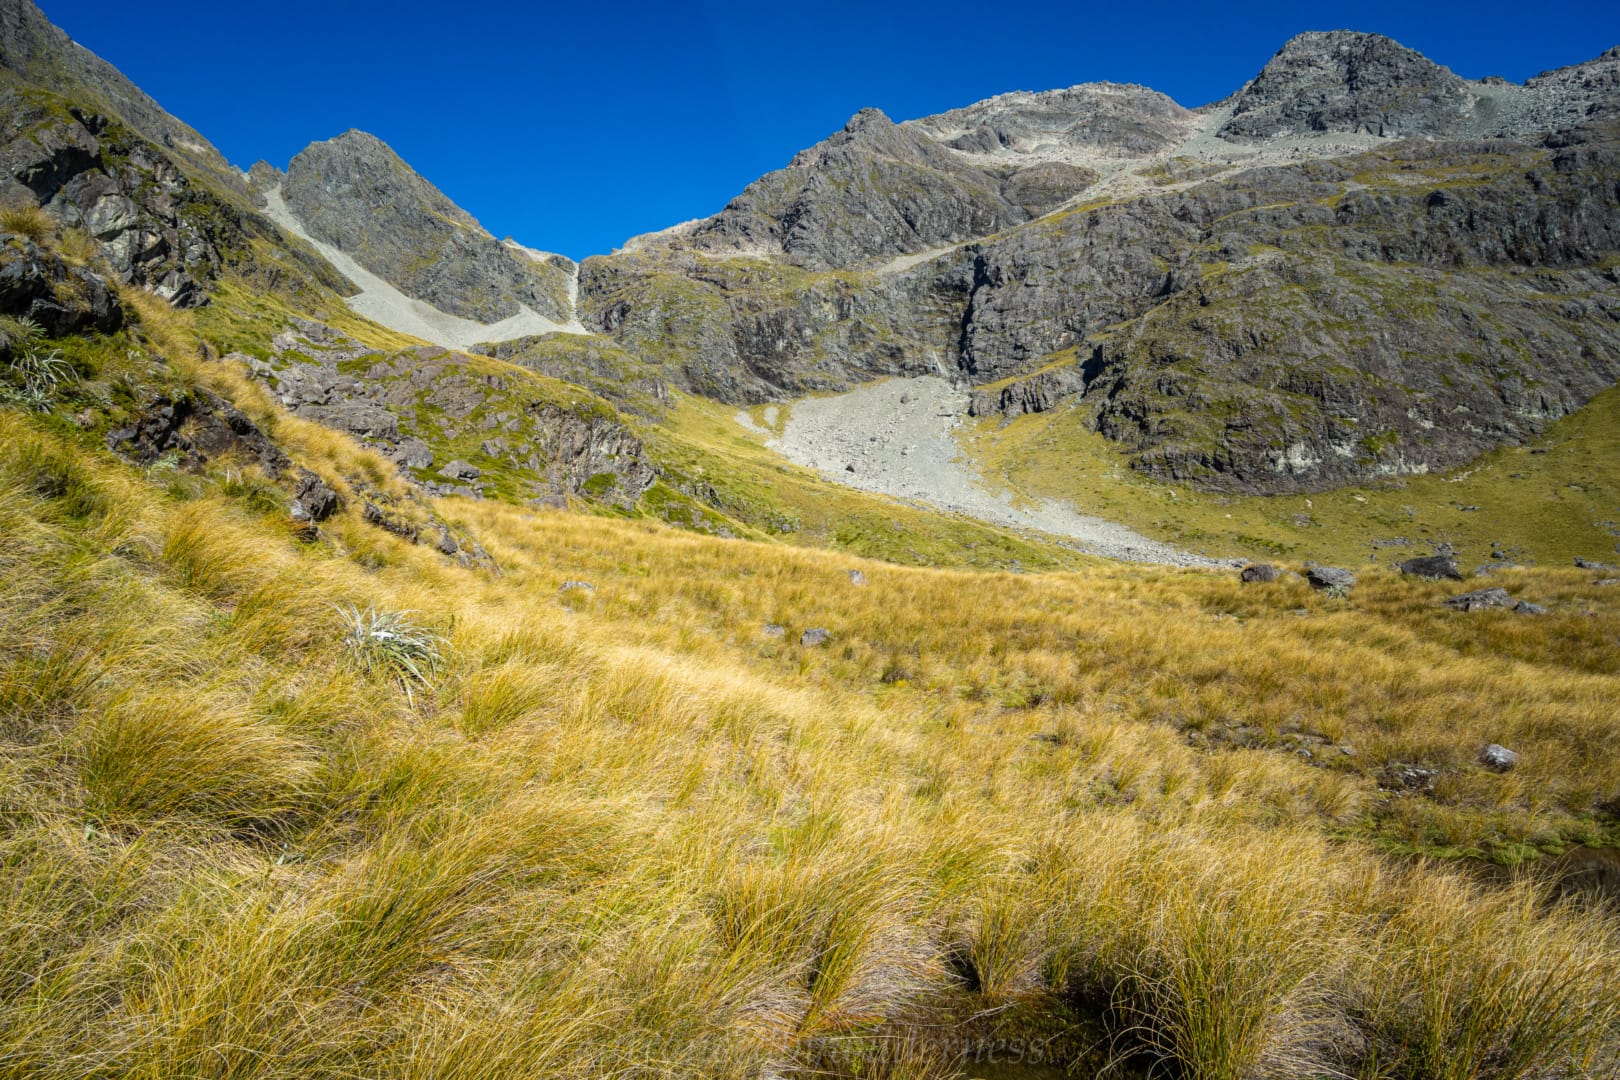
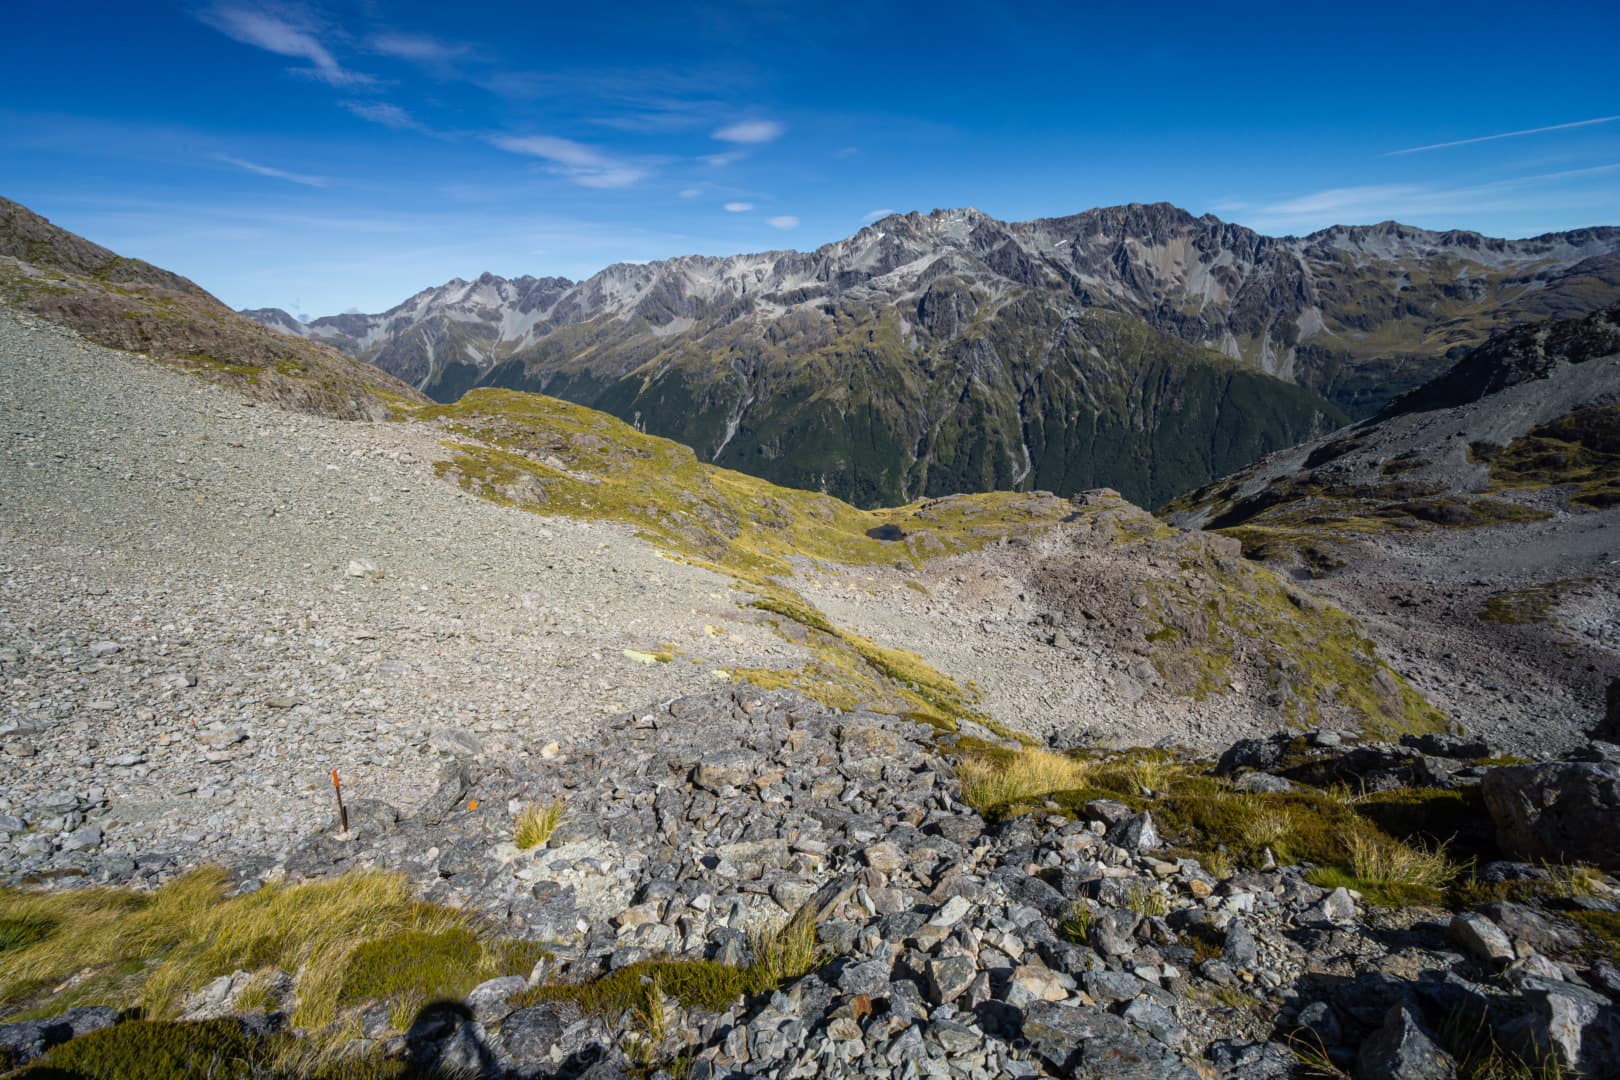
The final stretch to Sunset Saddle is well-cairned, and easy to follow. From the Saddle, you have views of Angelus Hut and lakes, and the peaks toward Mt Hopeless and the upper section of the Hopeless Valley itself. It appears on a topo map that you might have a clearer view of the valley from the saddle, but you actually are limited with visibility down the valley.
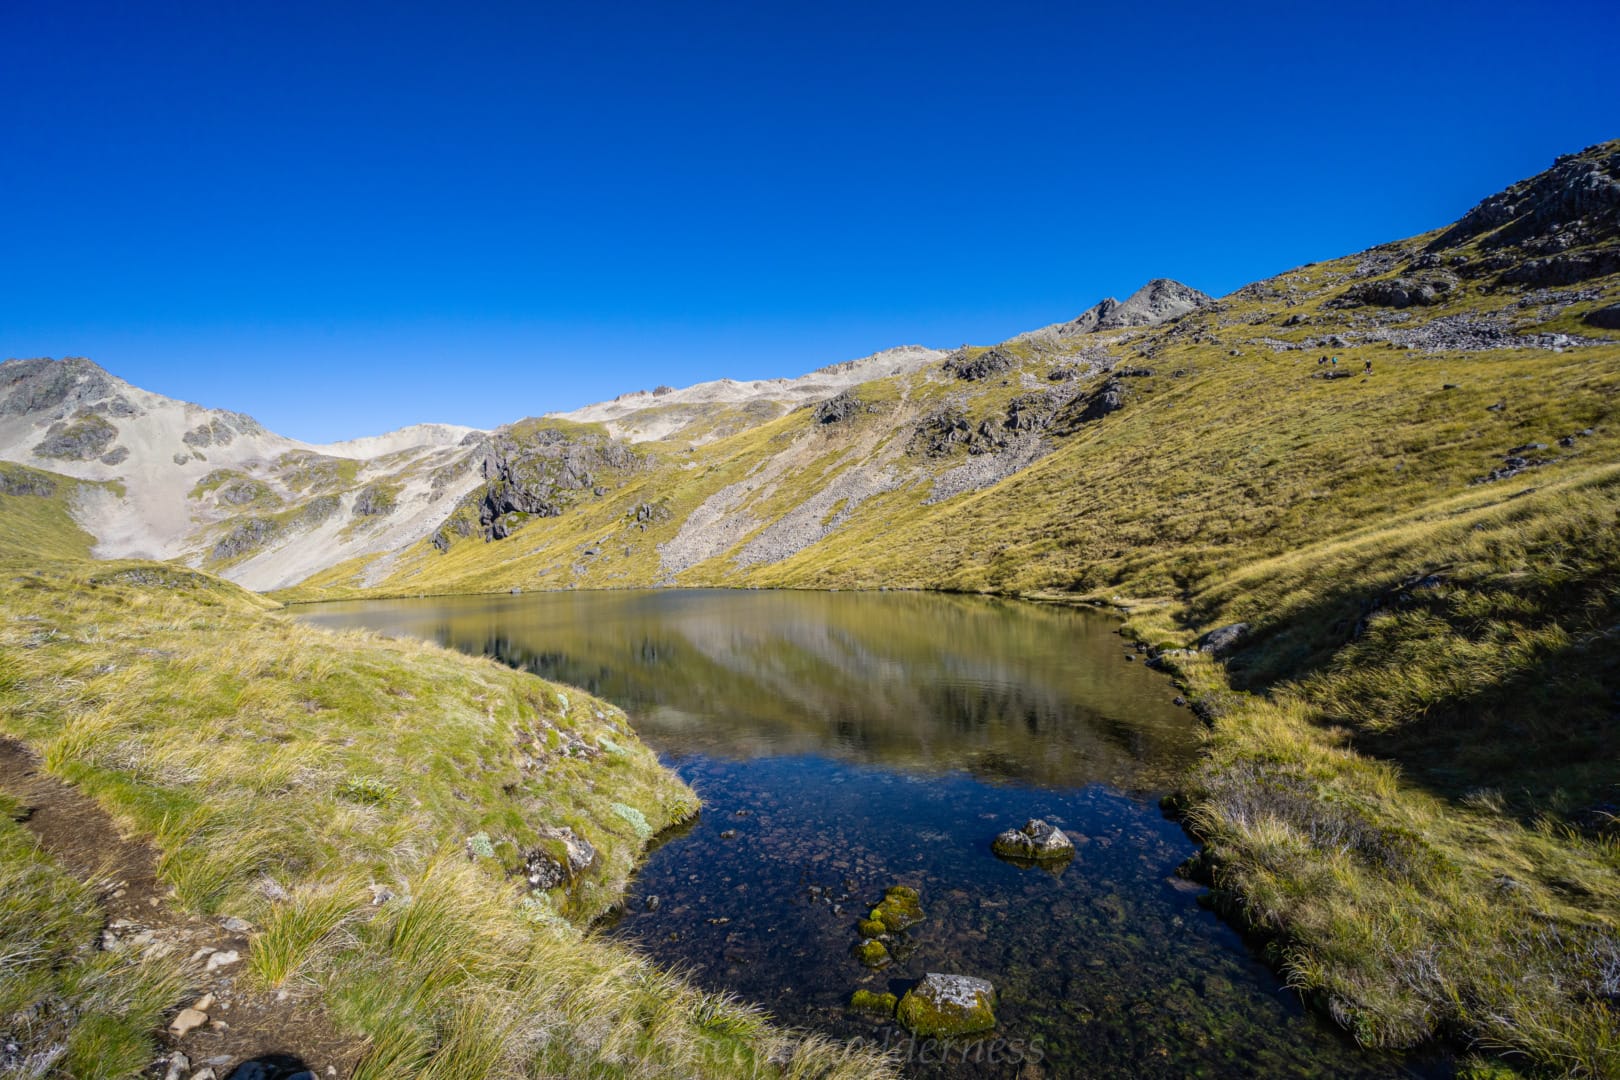
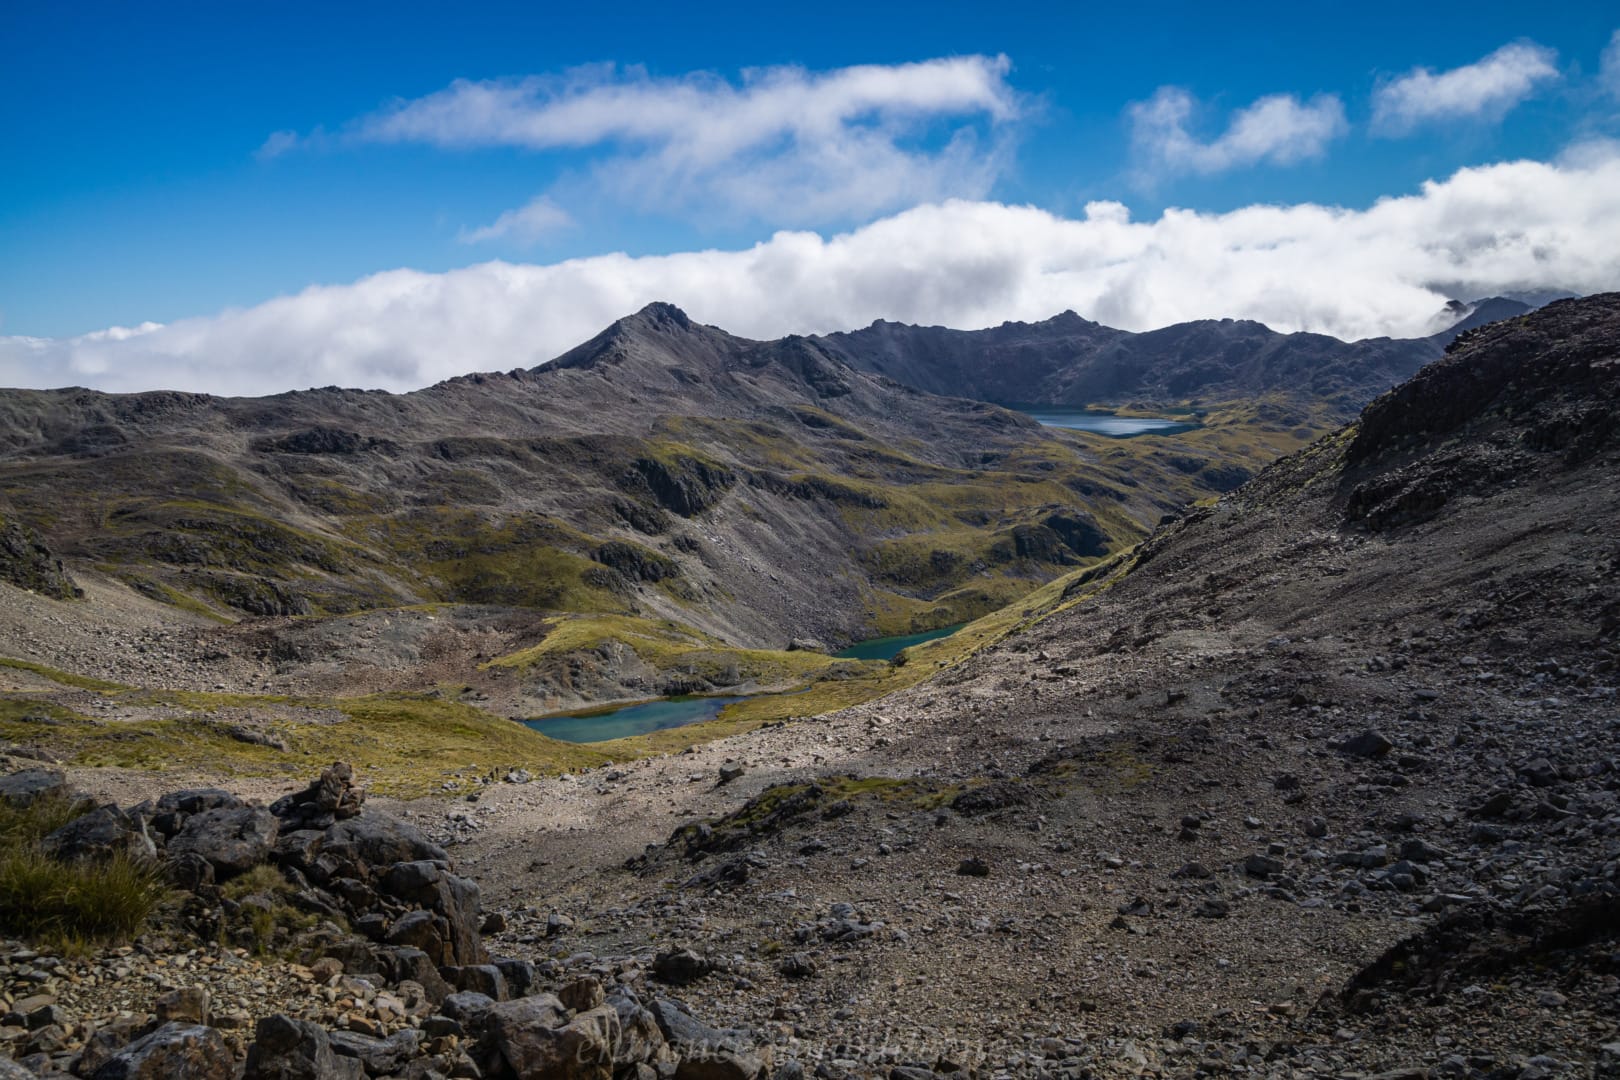
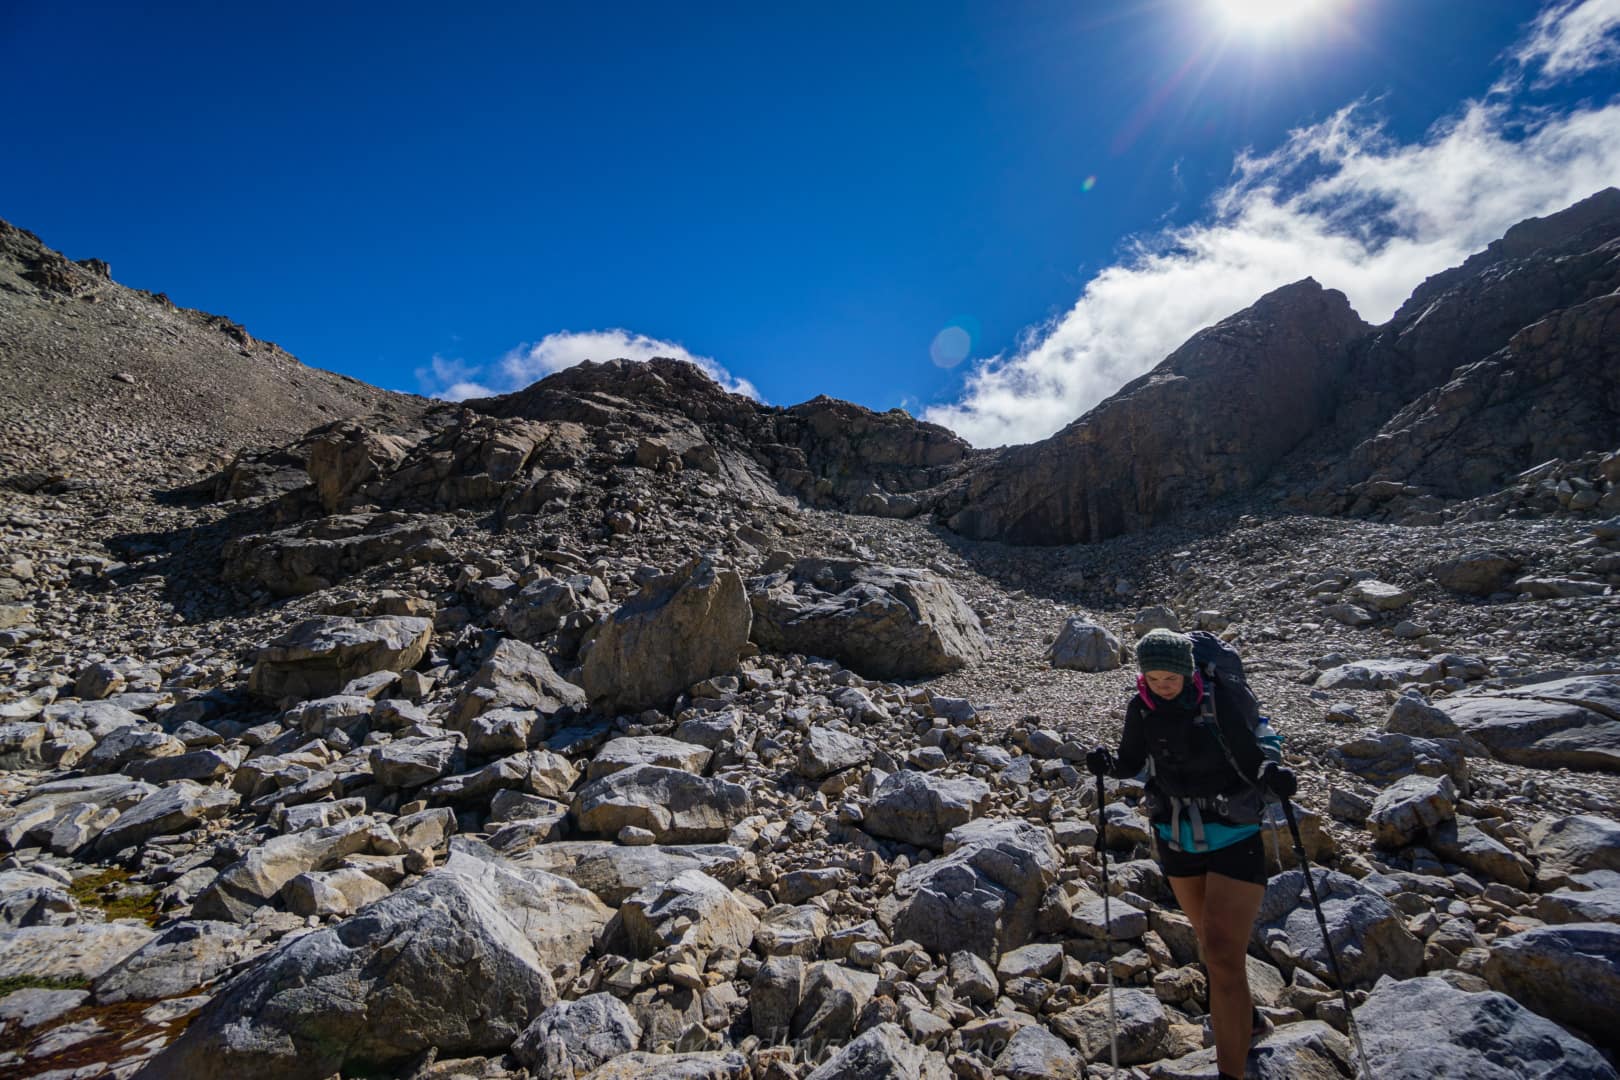
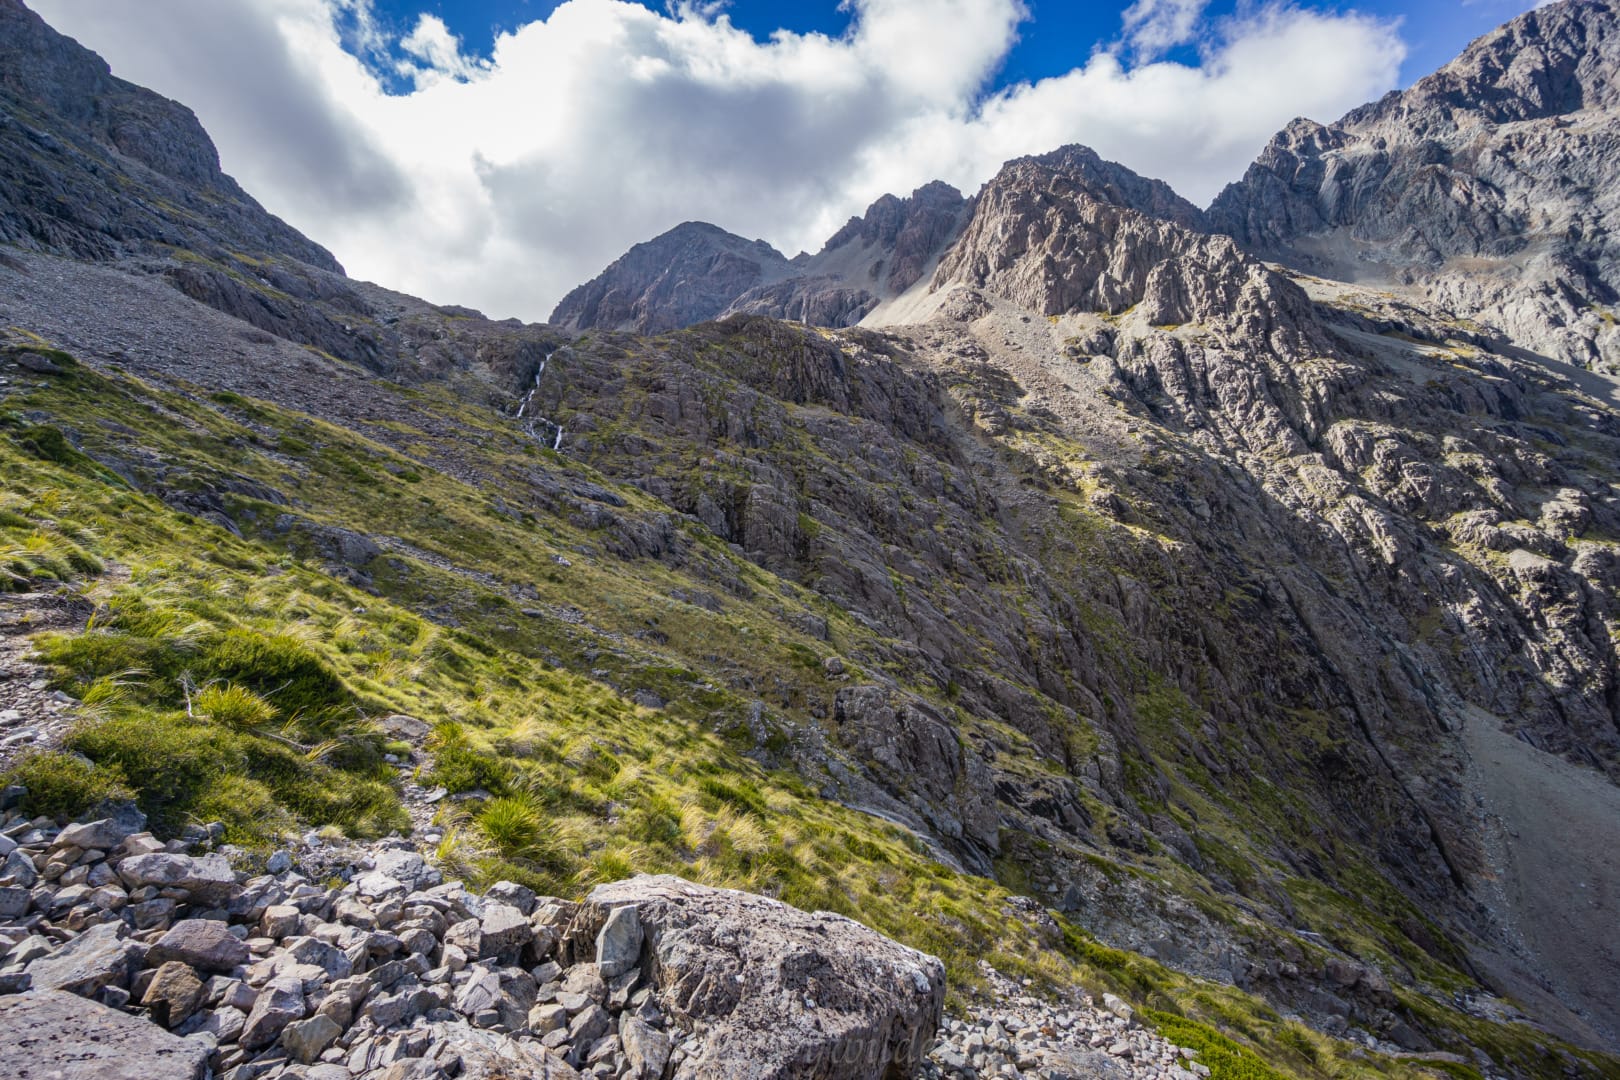
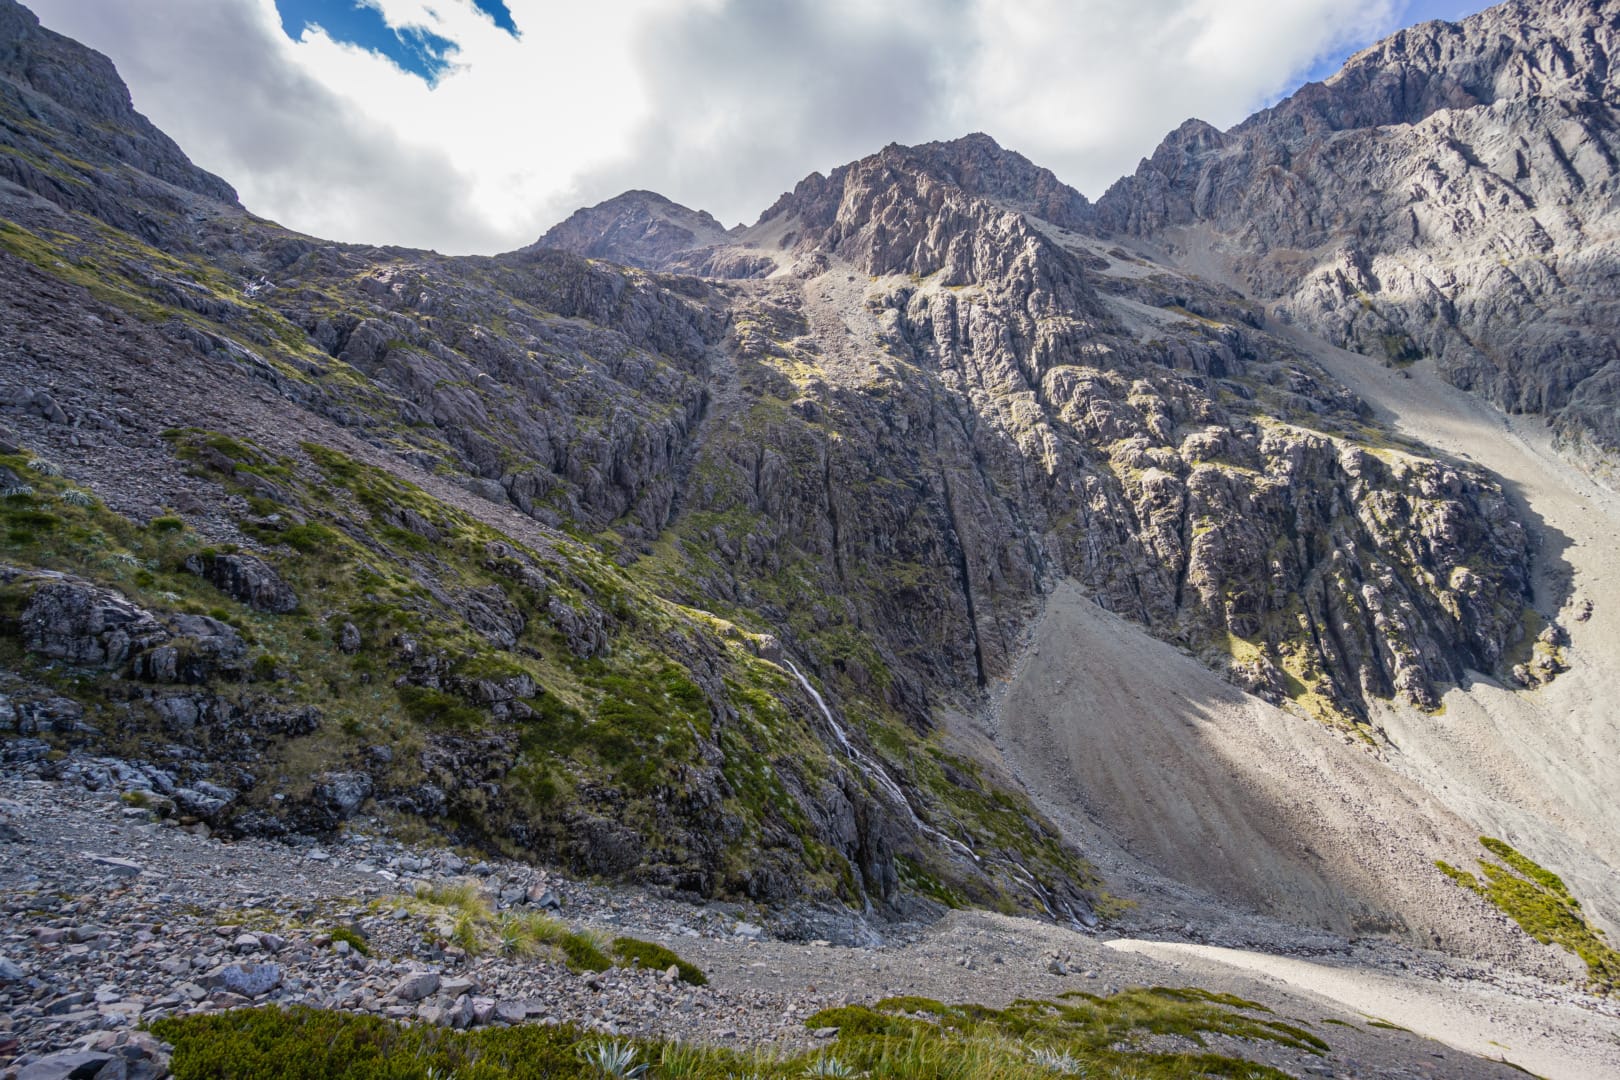
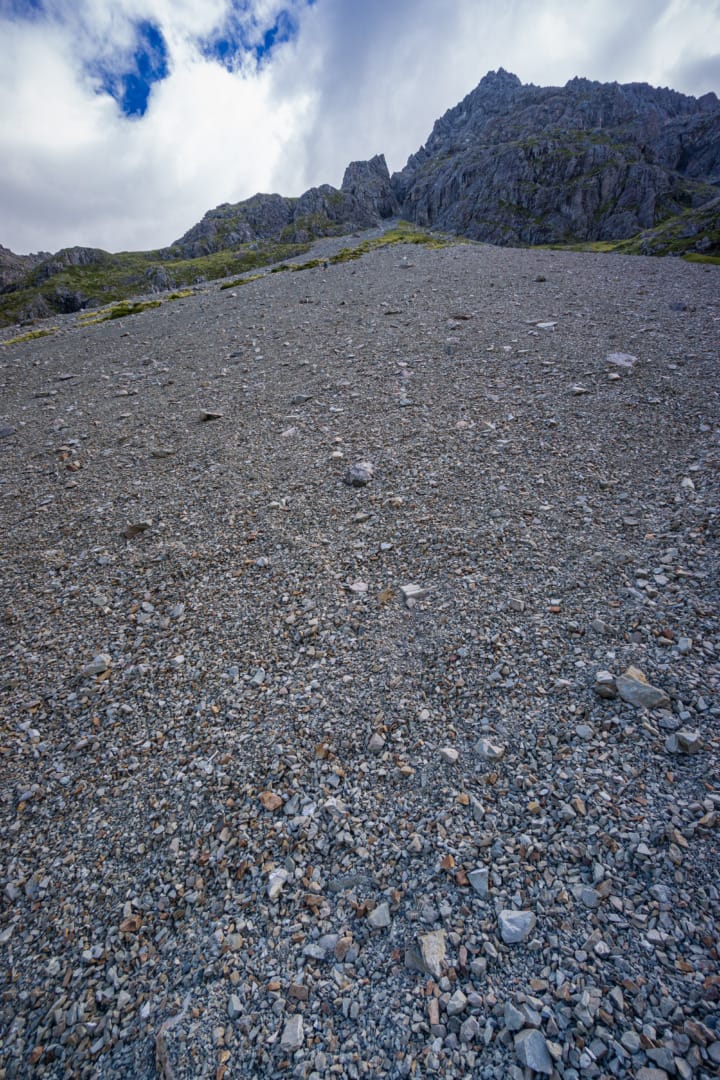
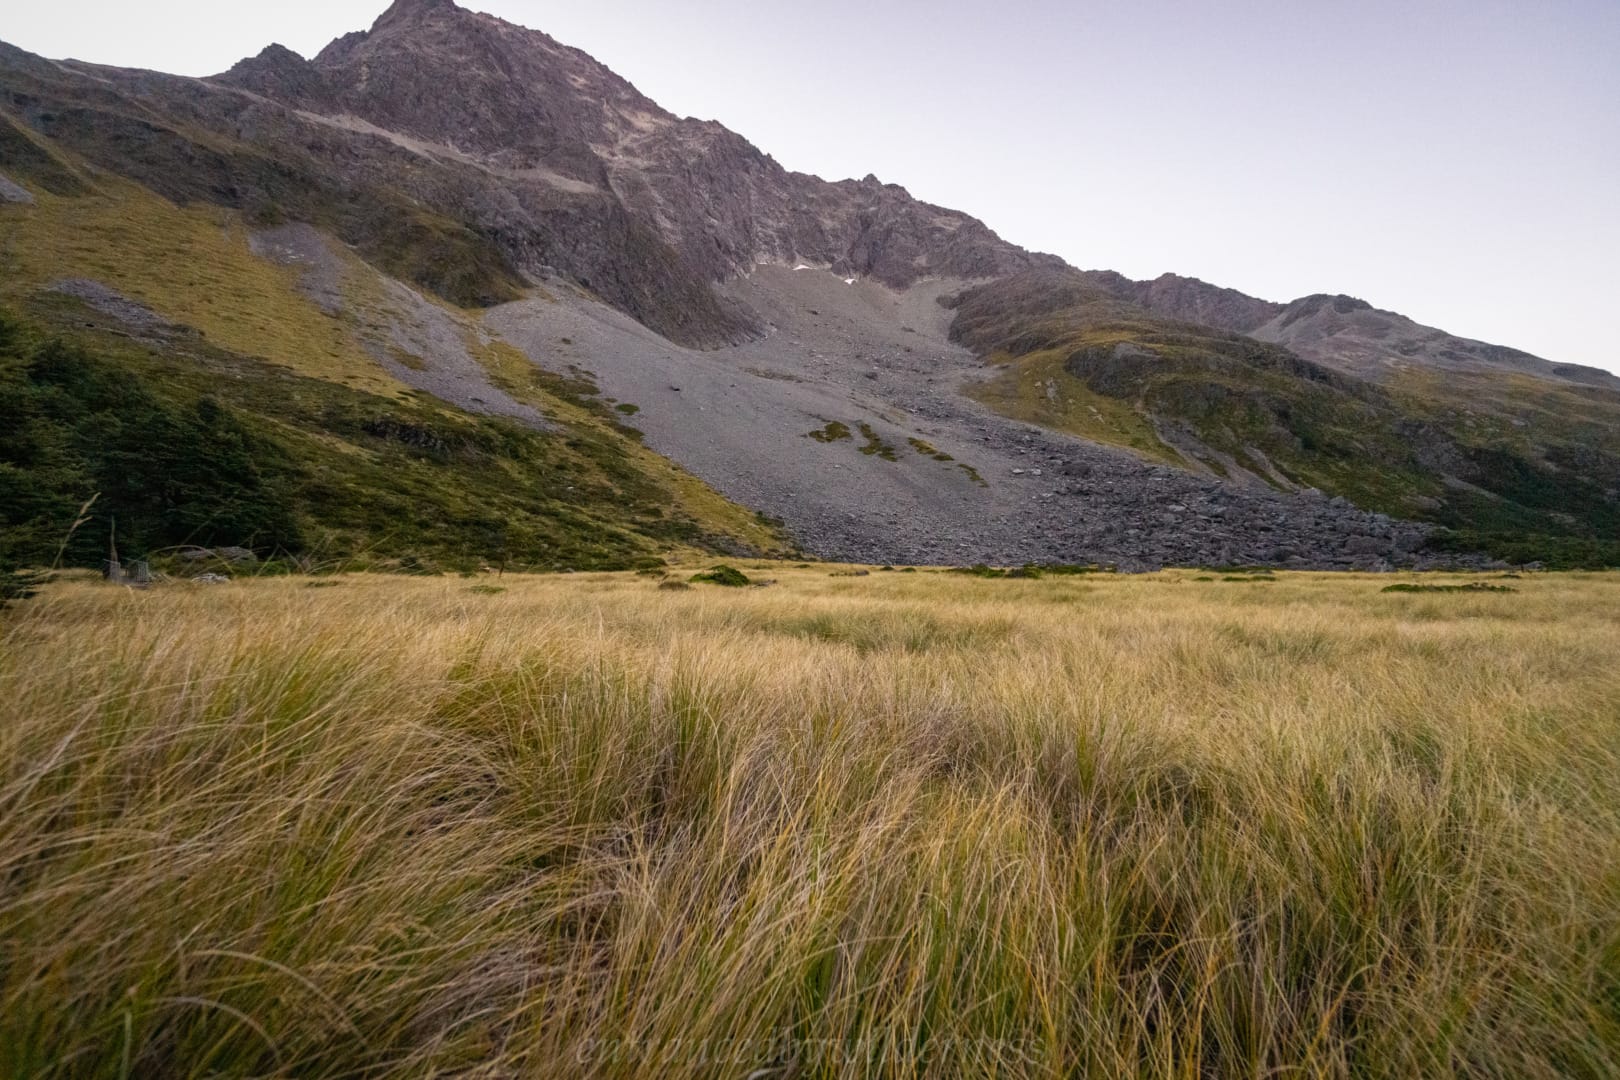
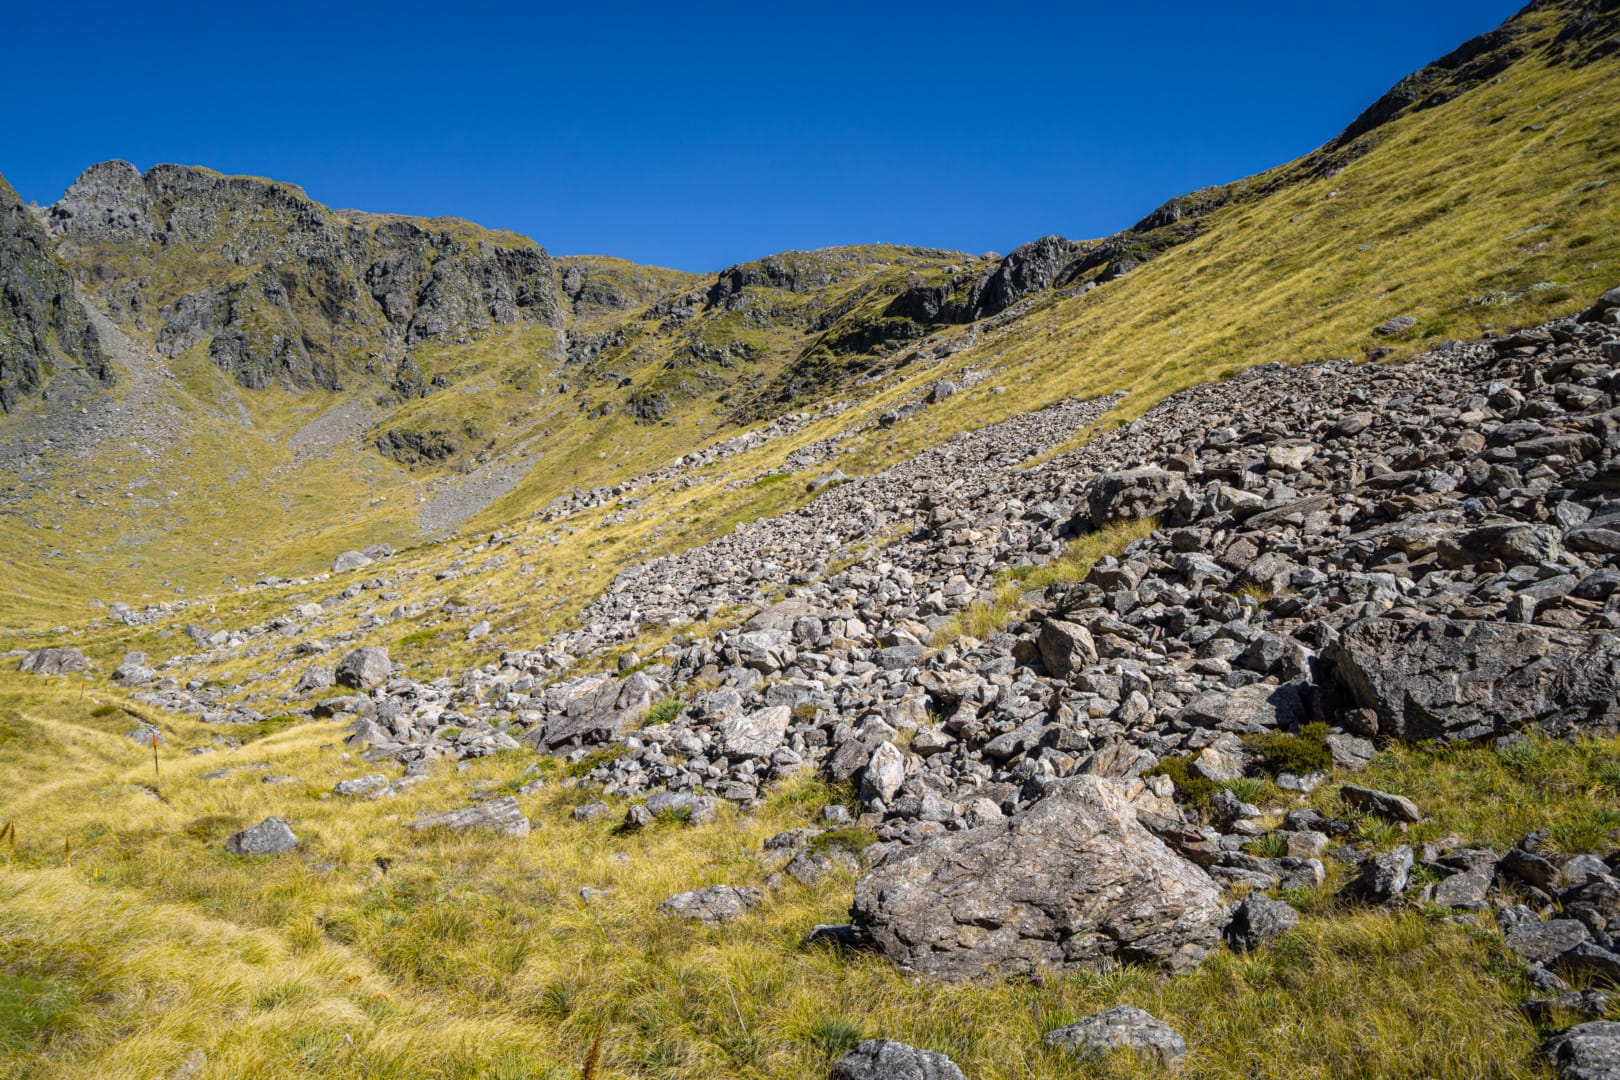
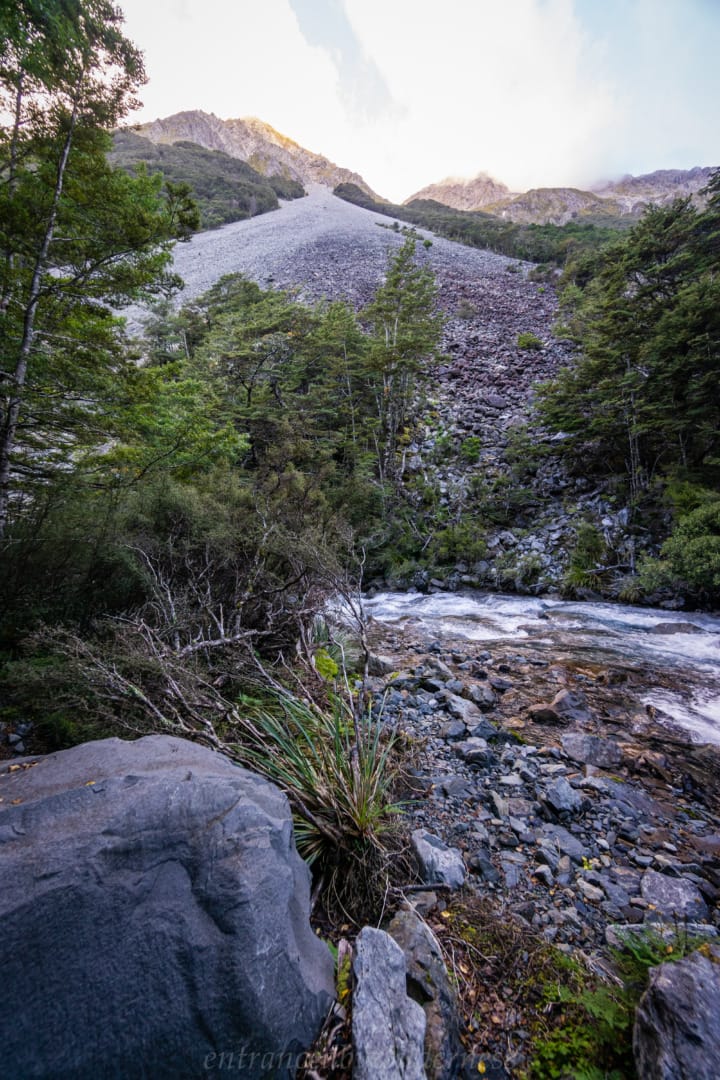
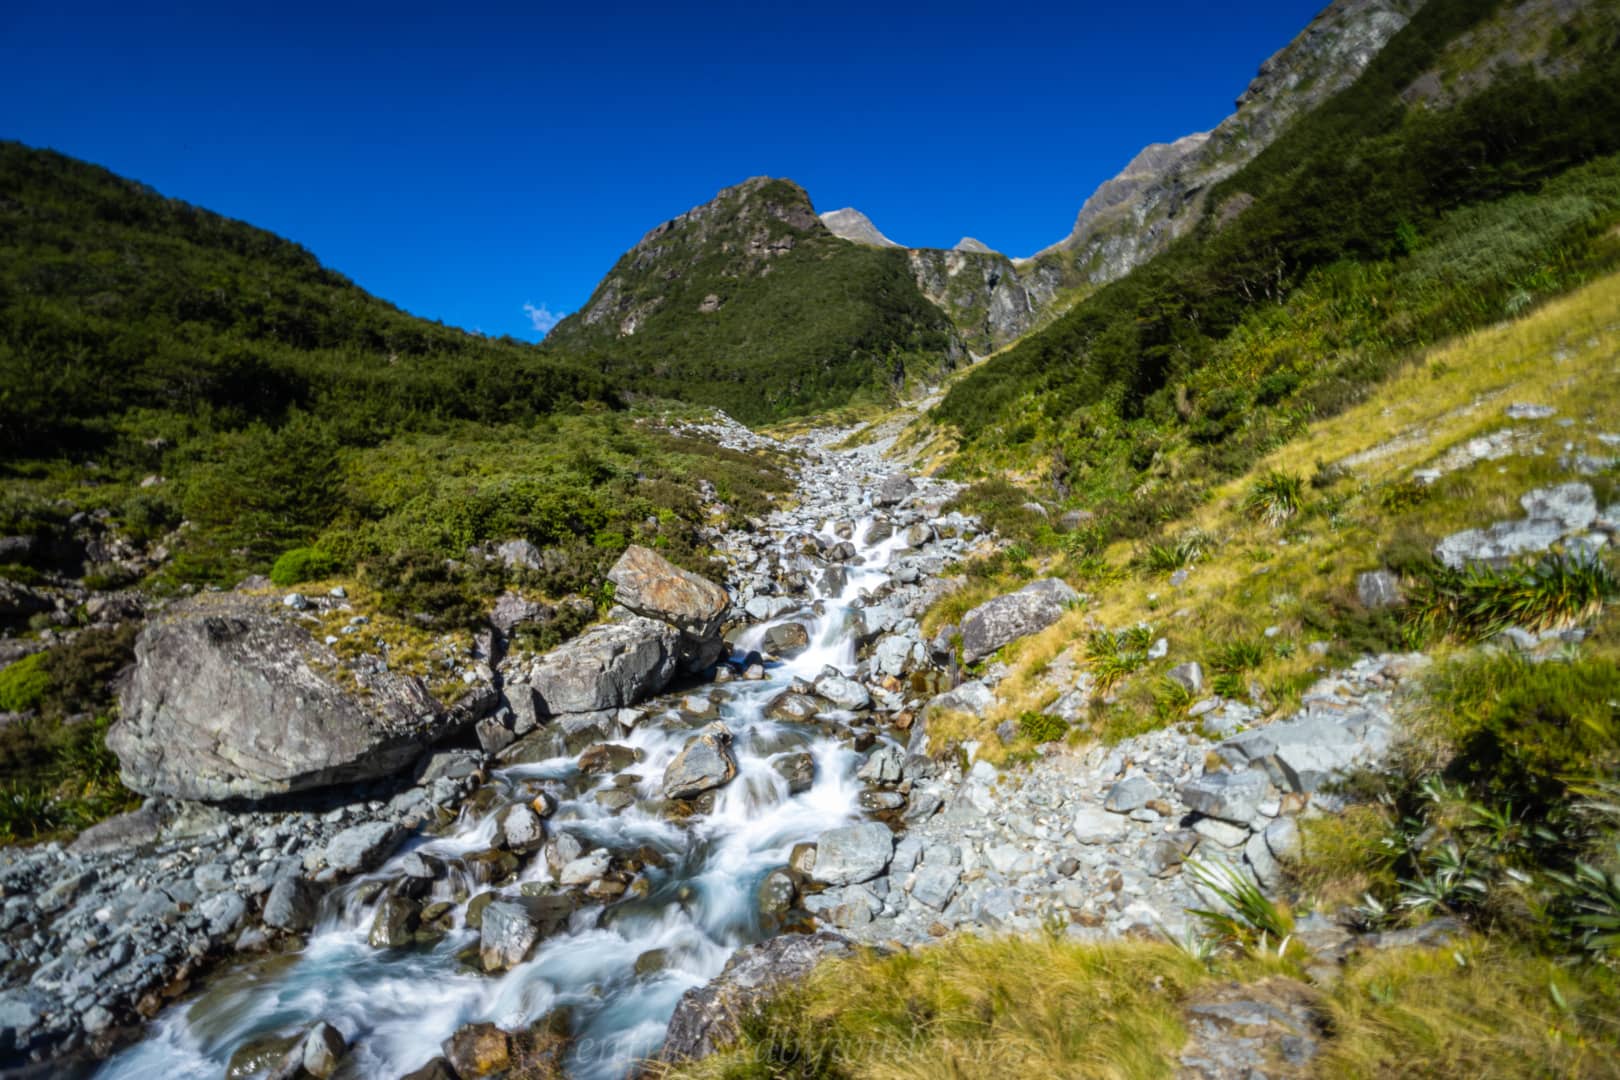
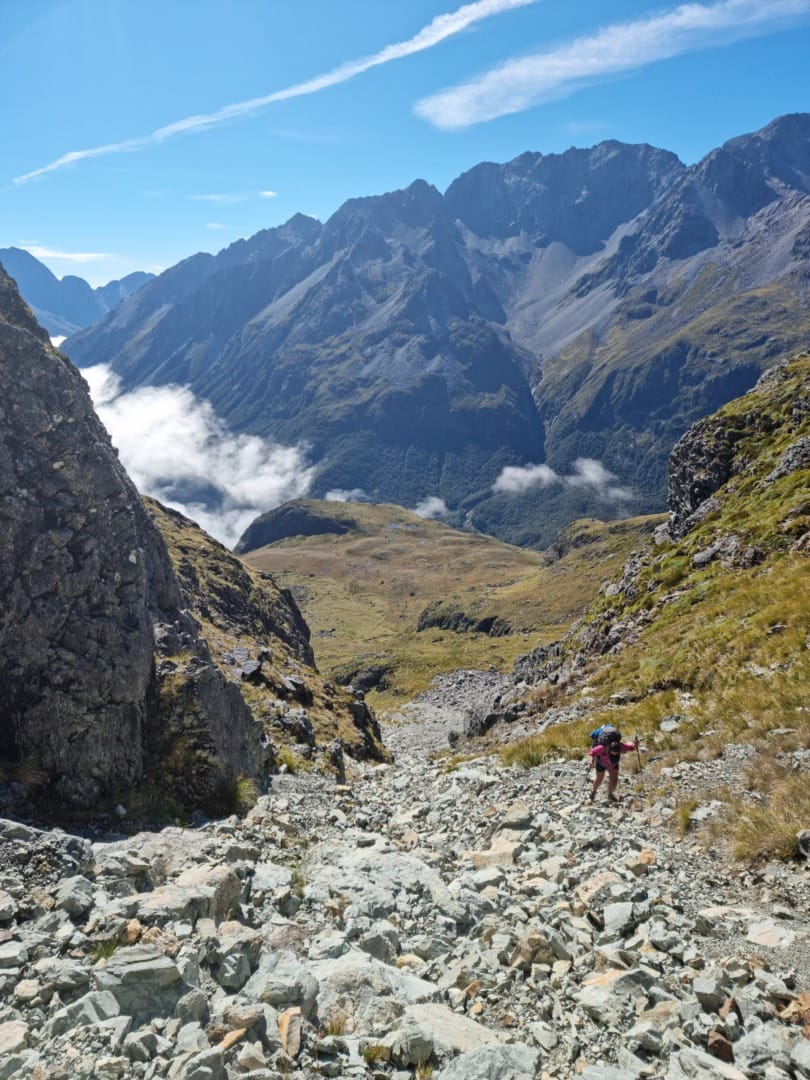
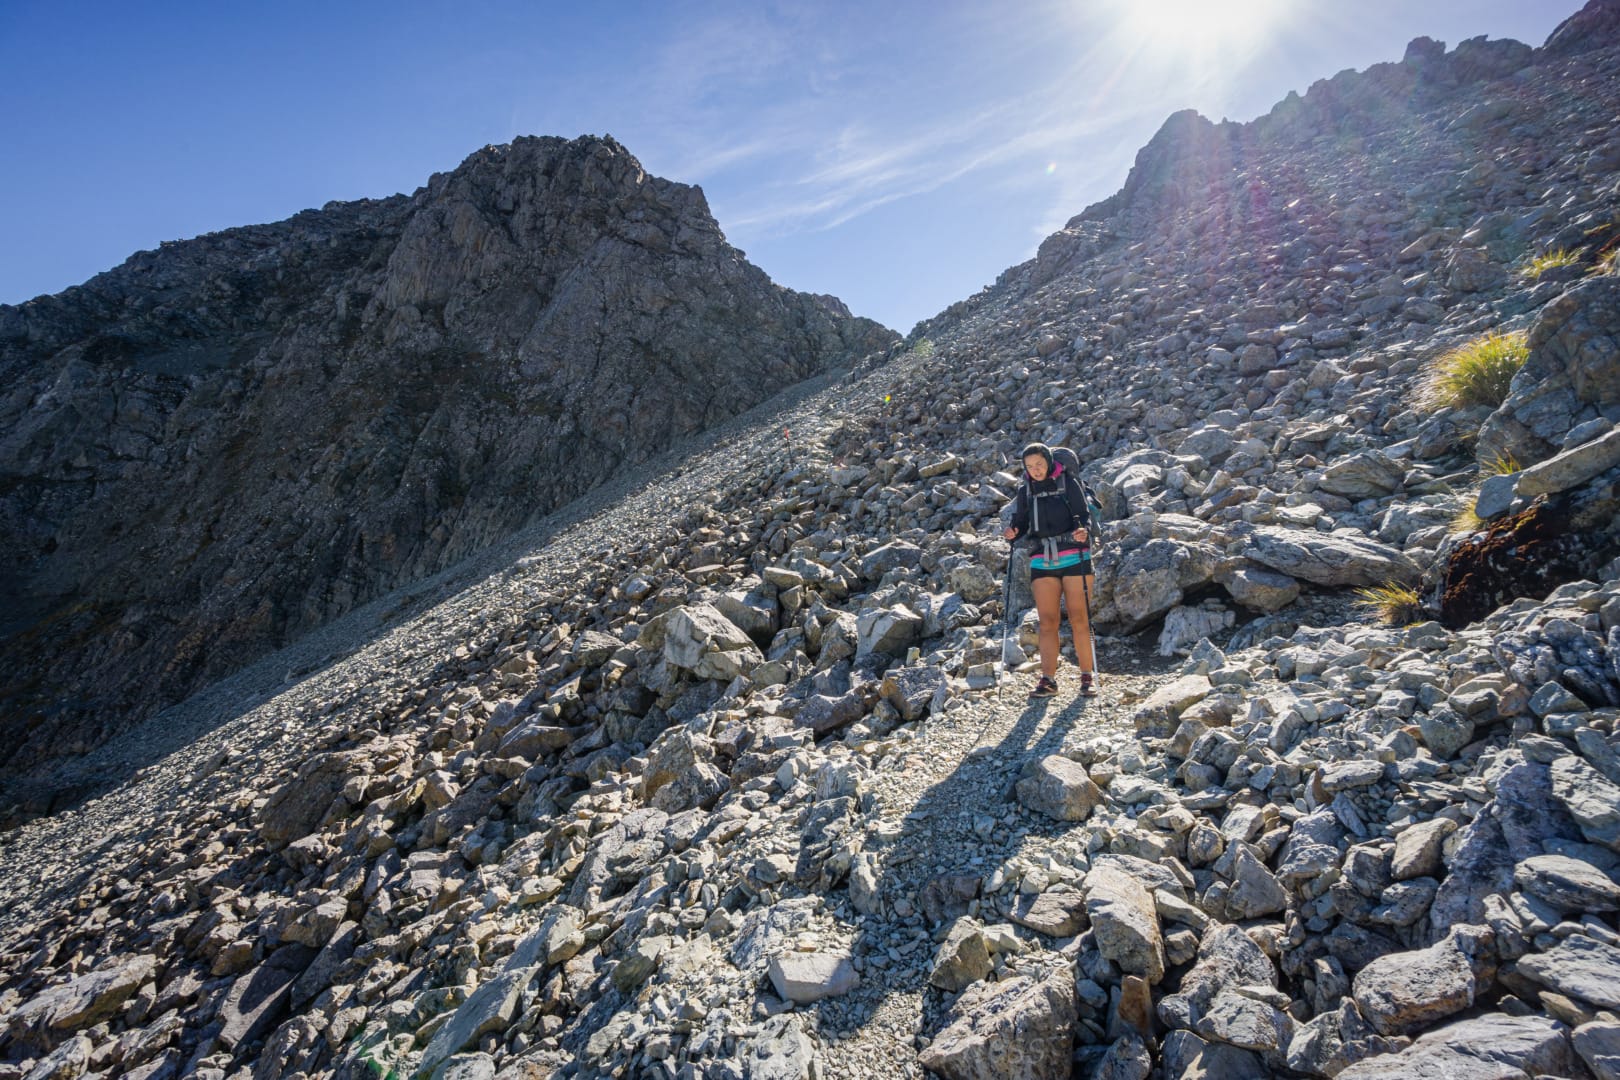
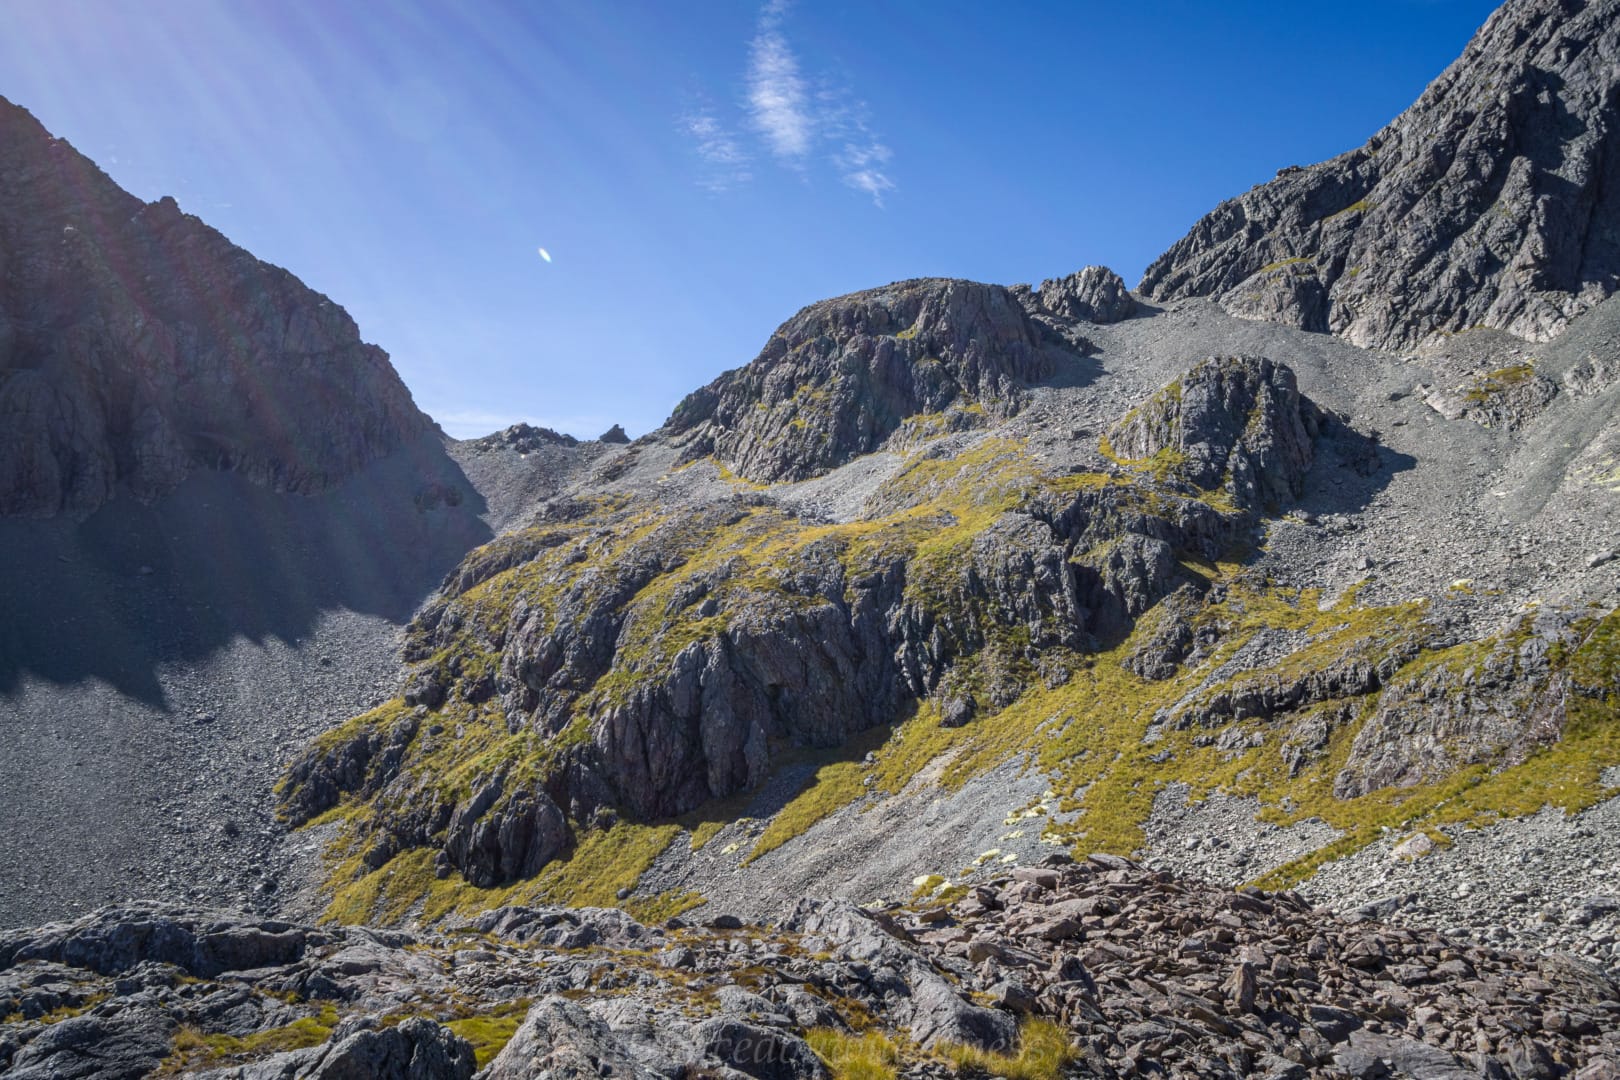
Once passing over the saddle, we descended down the loose rocks in the upper Hopeless valley. Again, the route is well marked with cairns and is generally straight forward, although slow-going. There is a shallow rocky tarn, and a huge bluff to stay on the left of here.
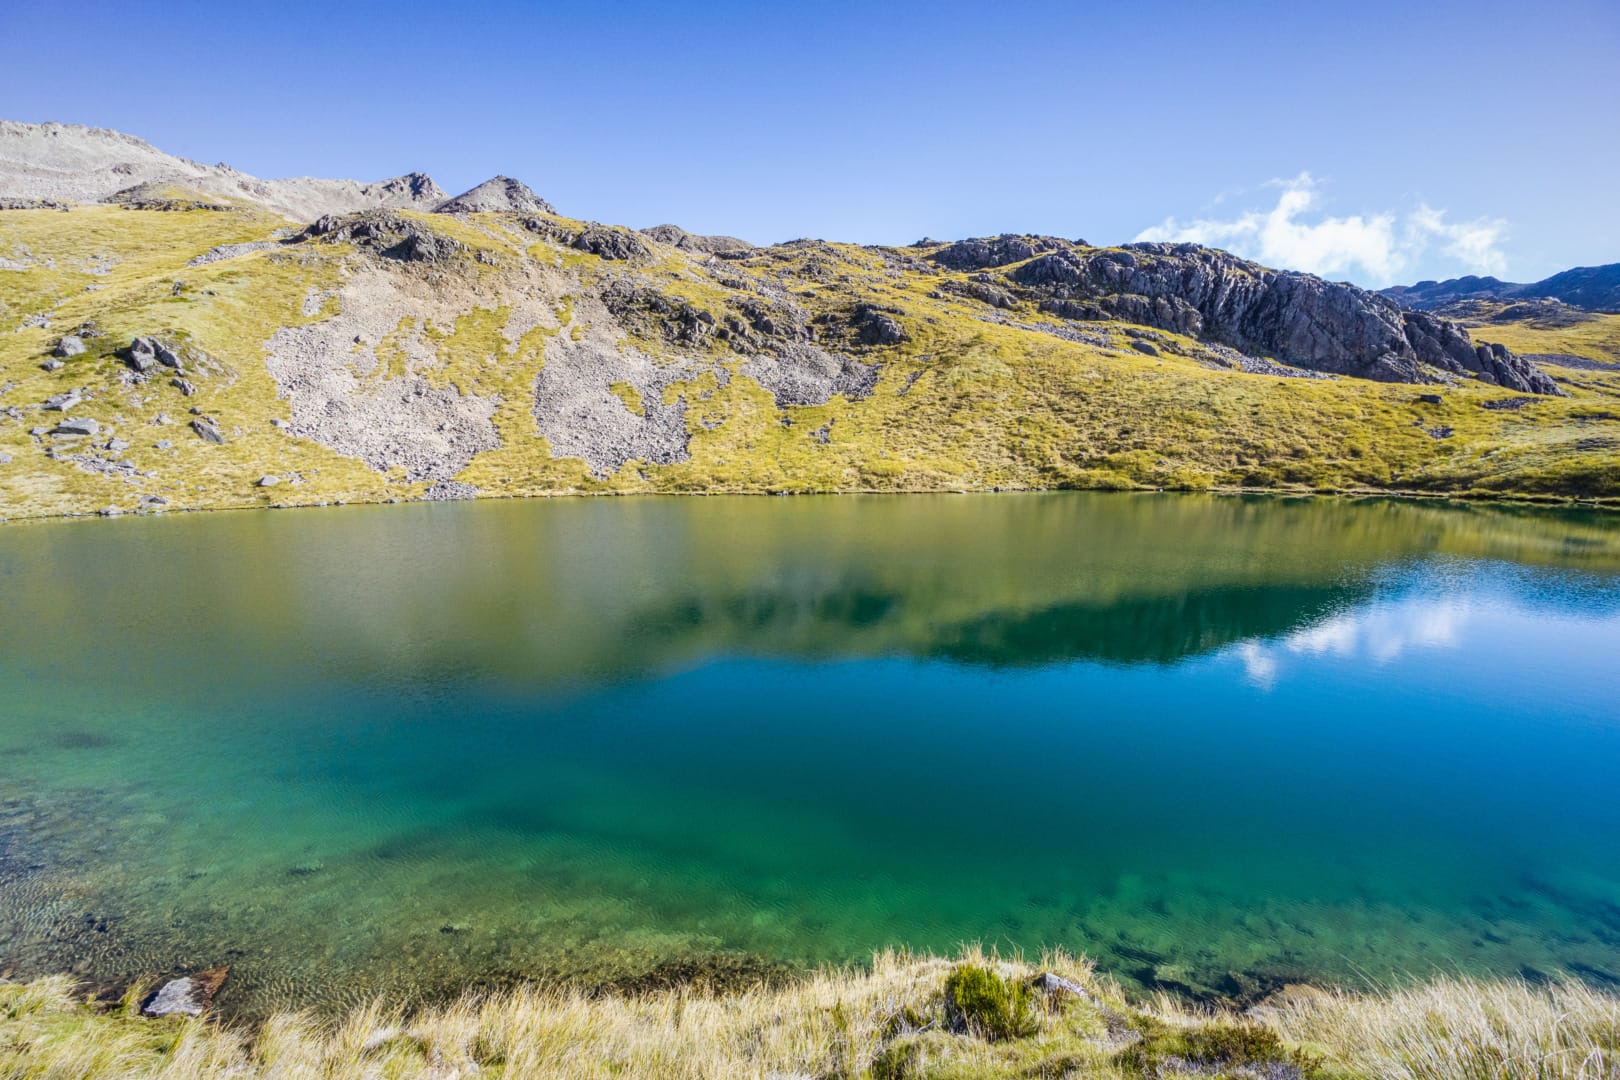
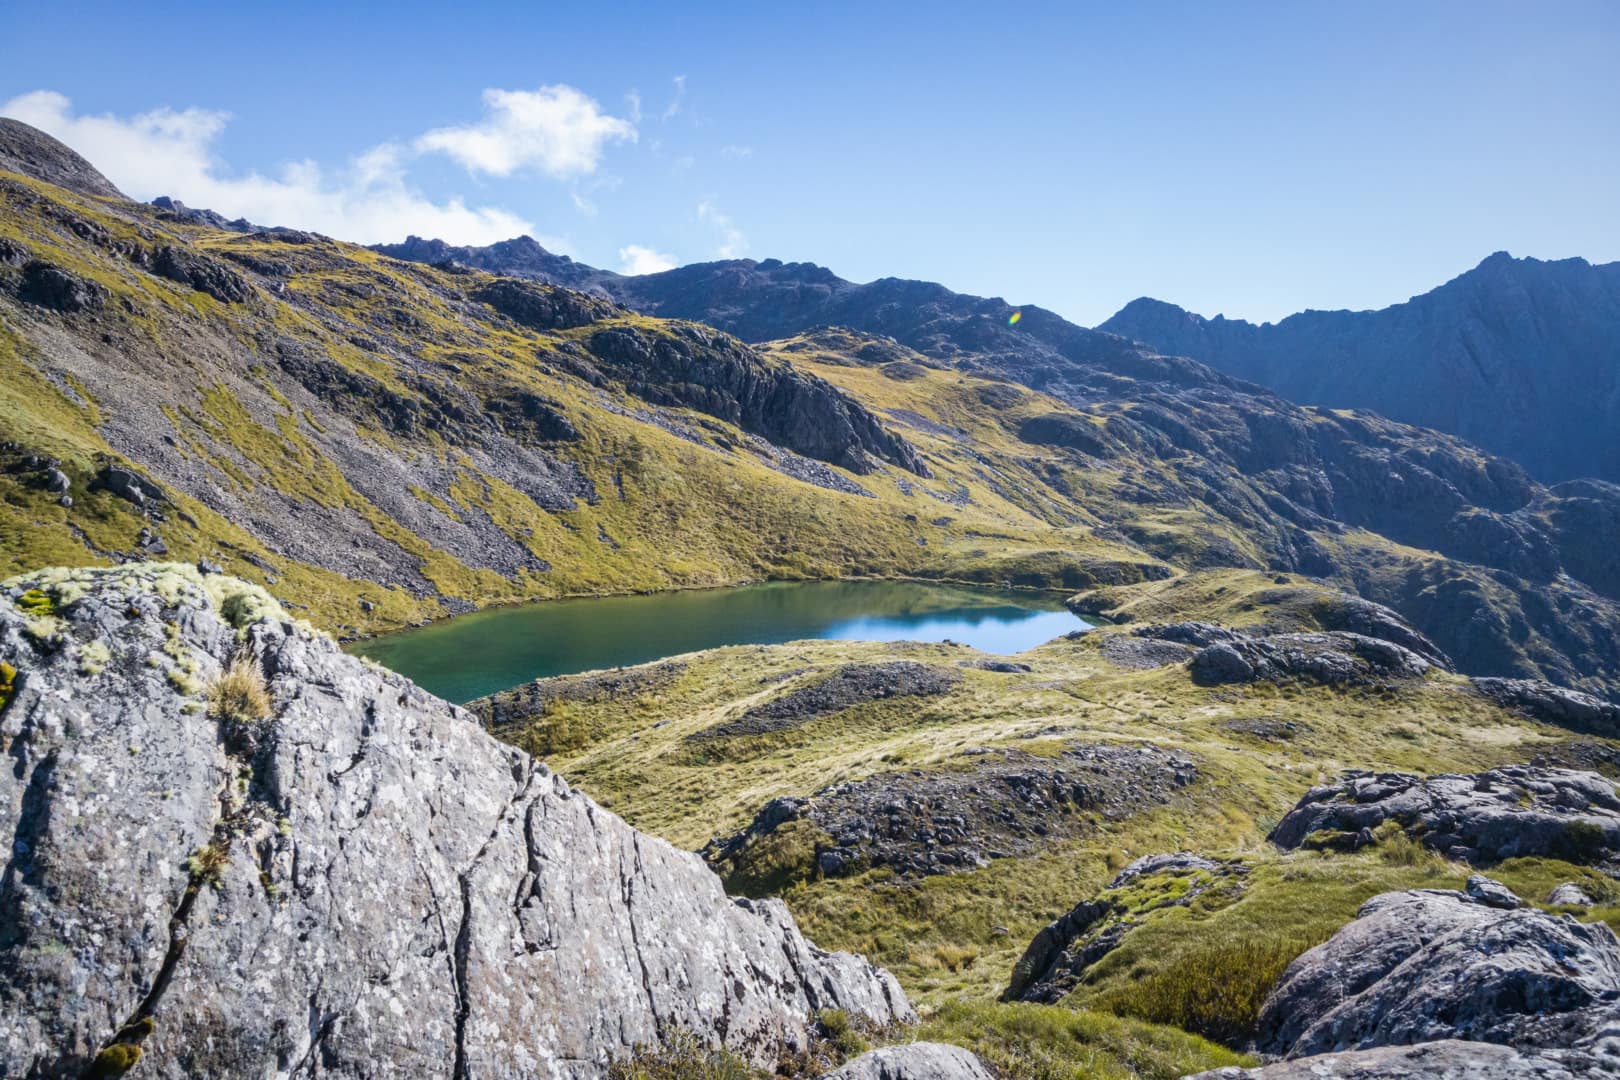
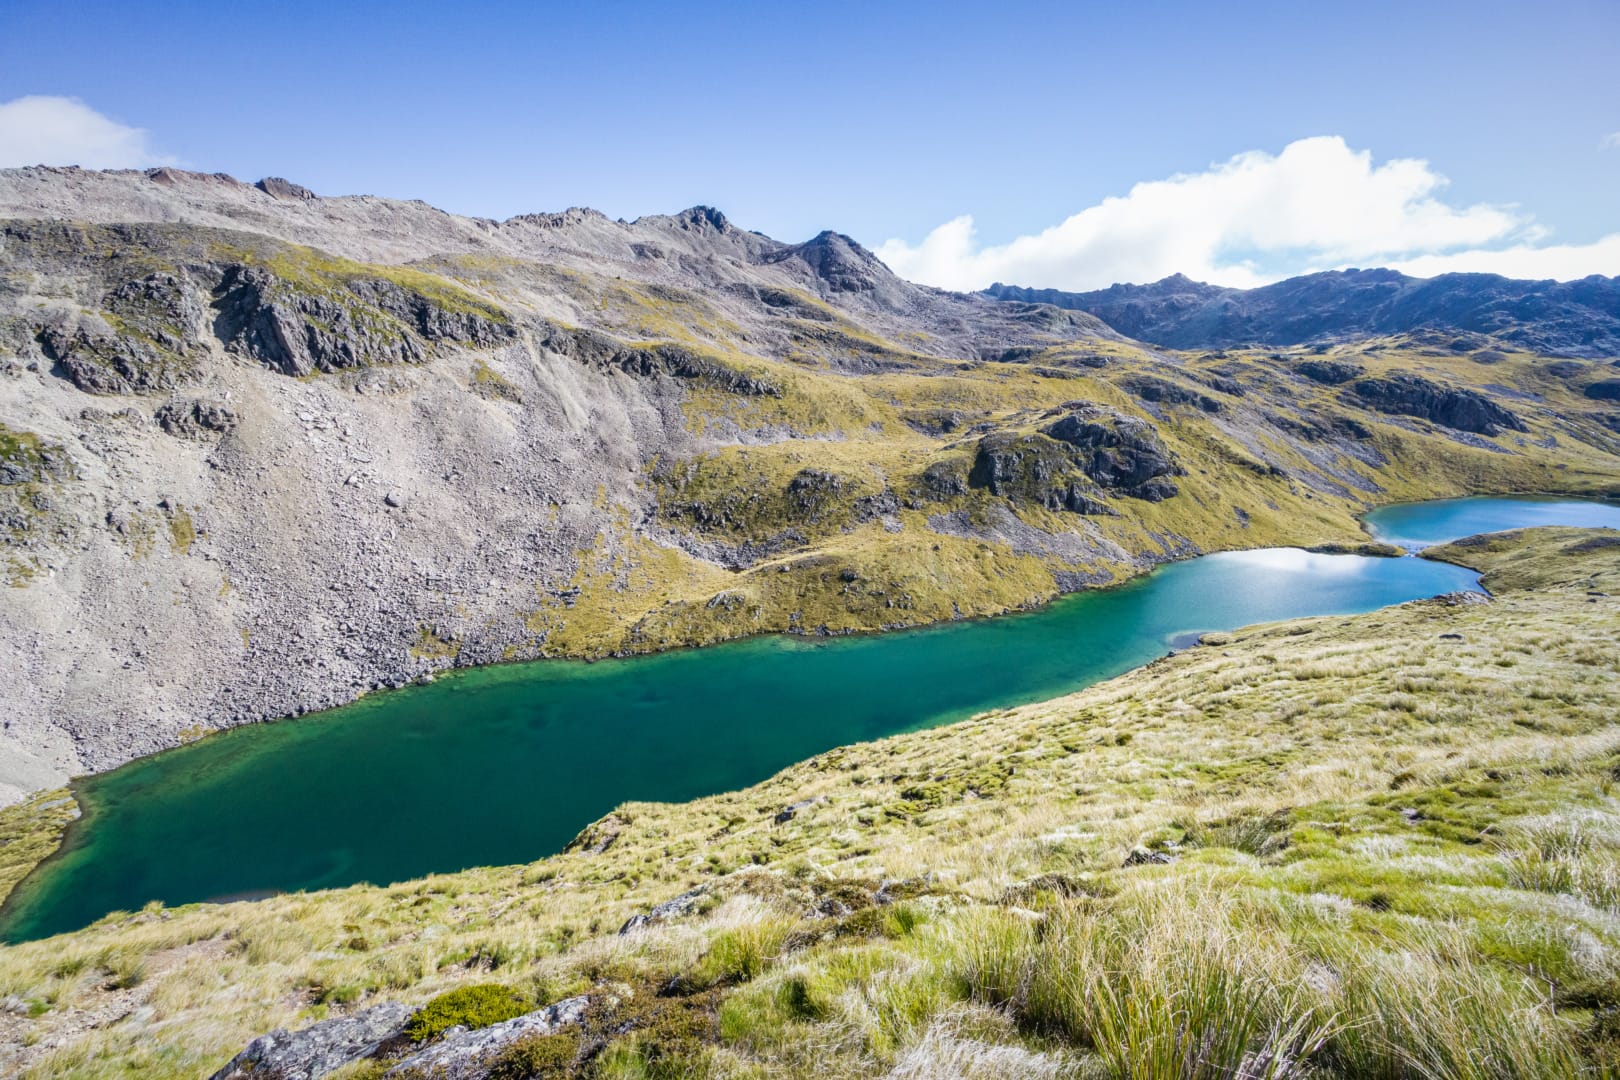
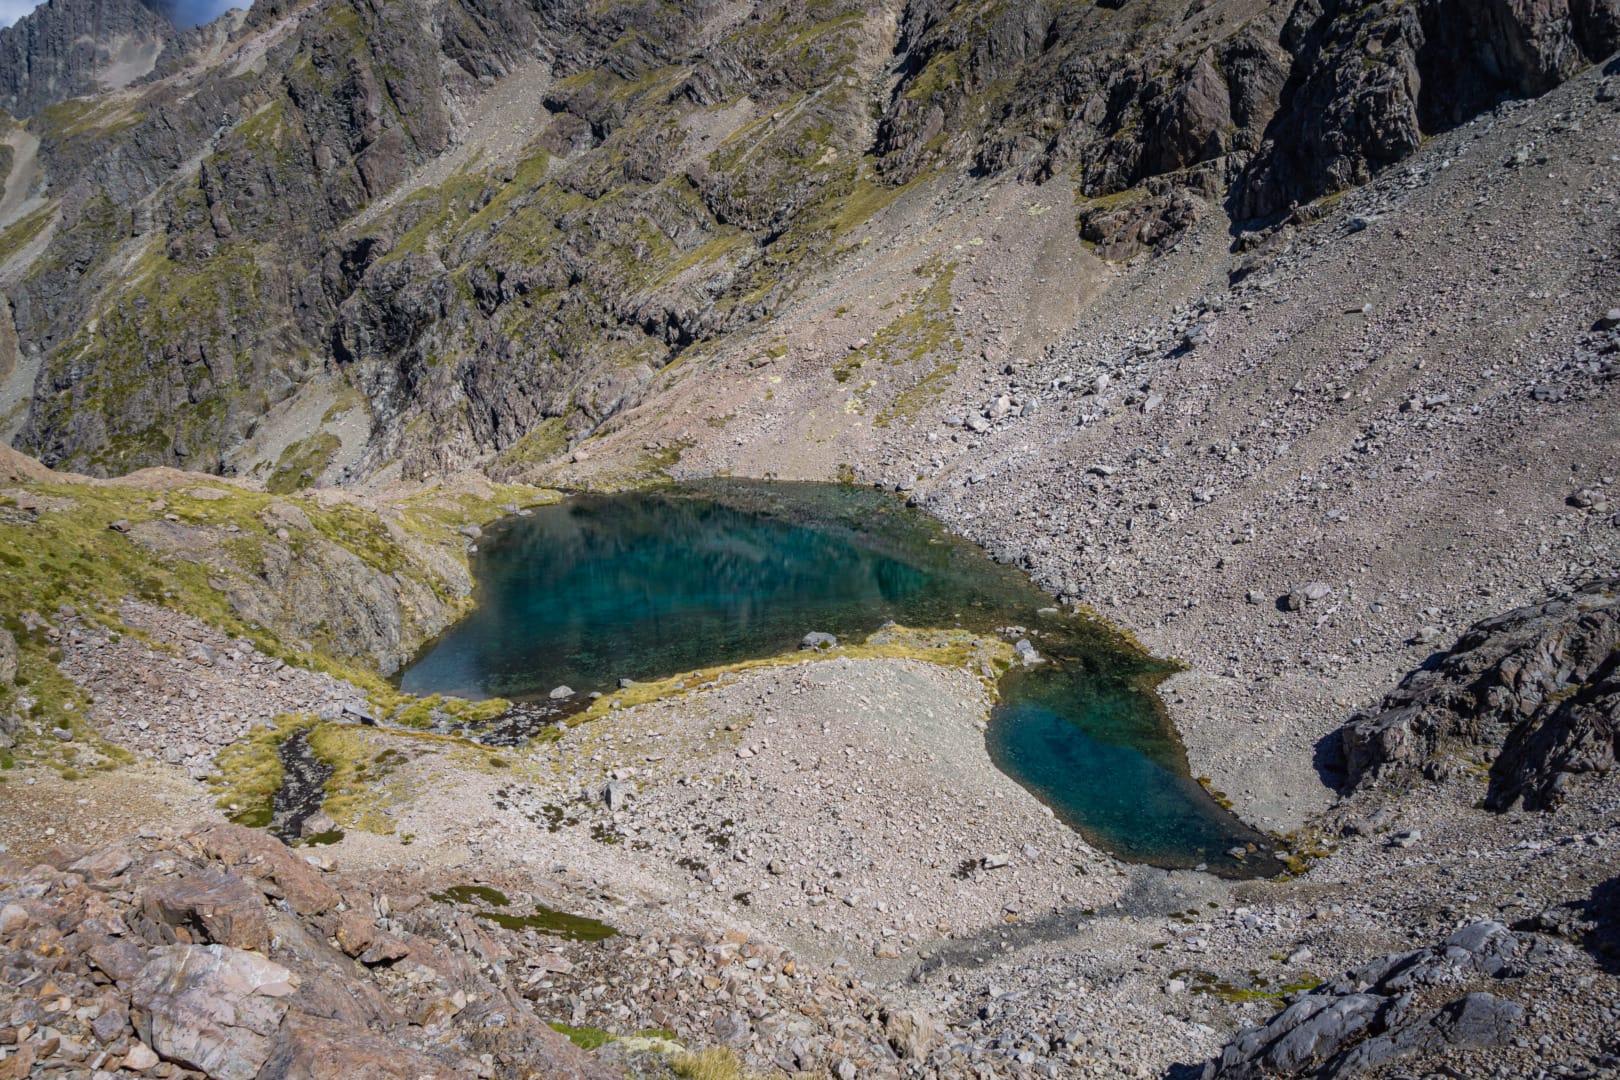
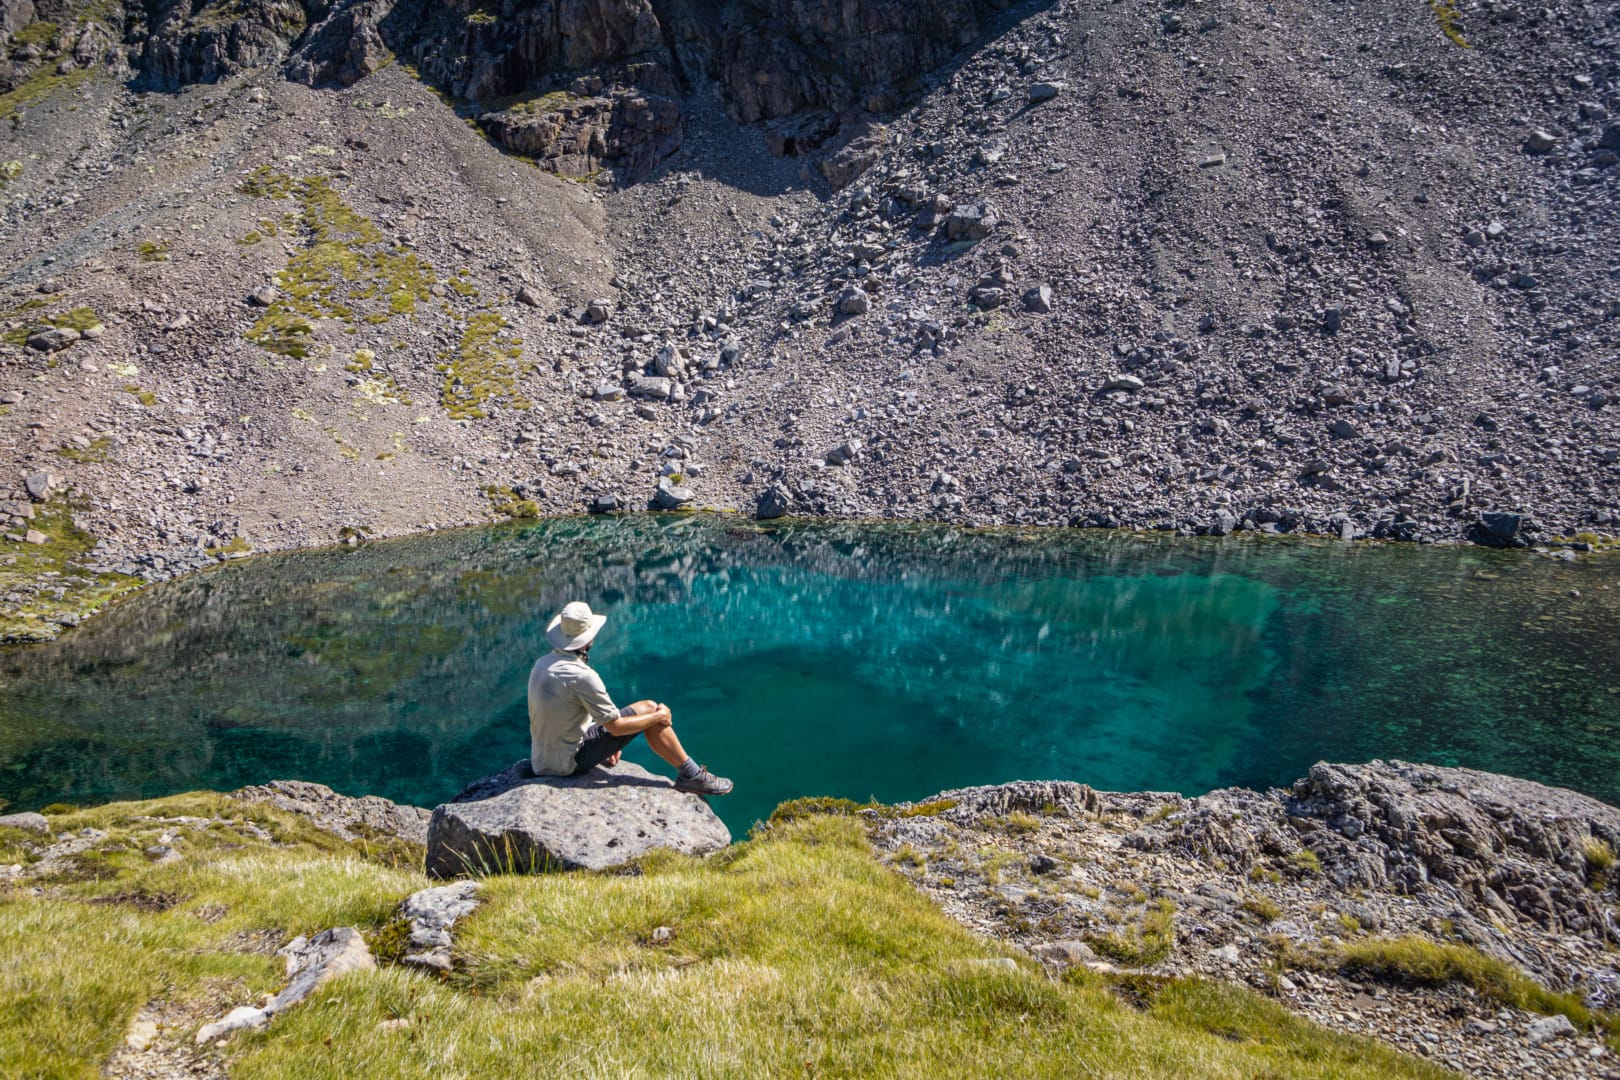
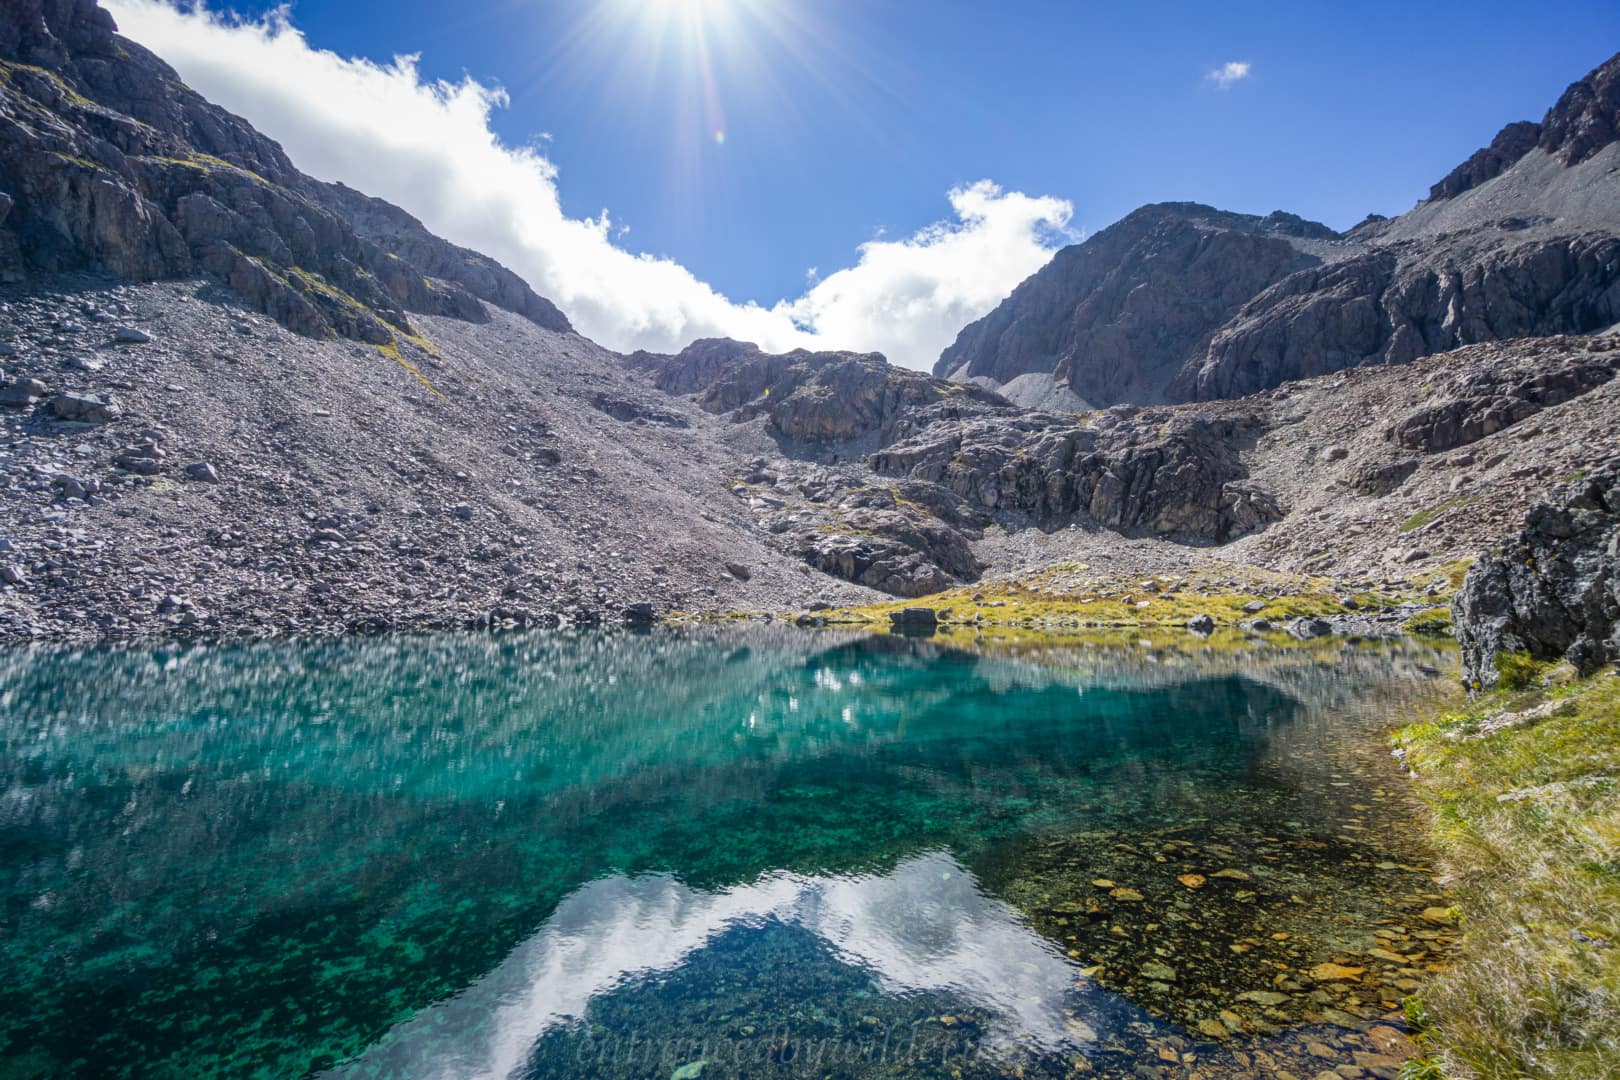
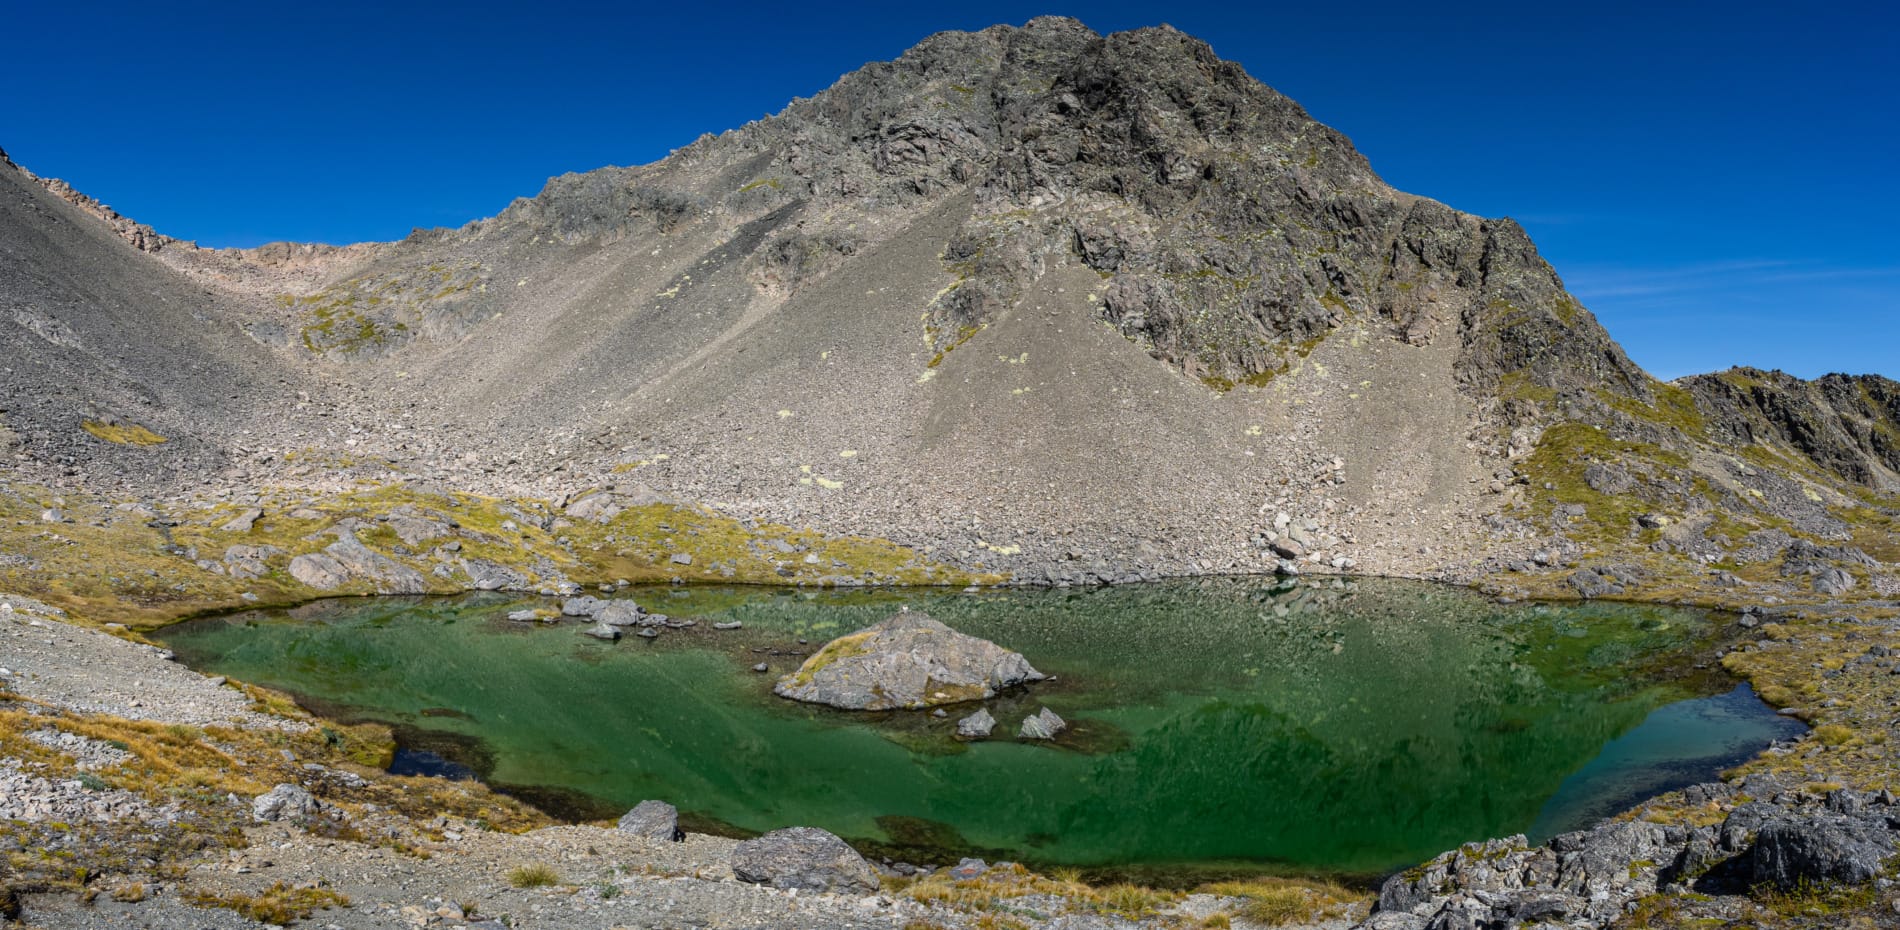
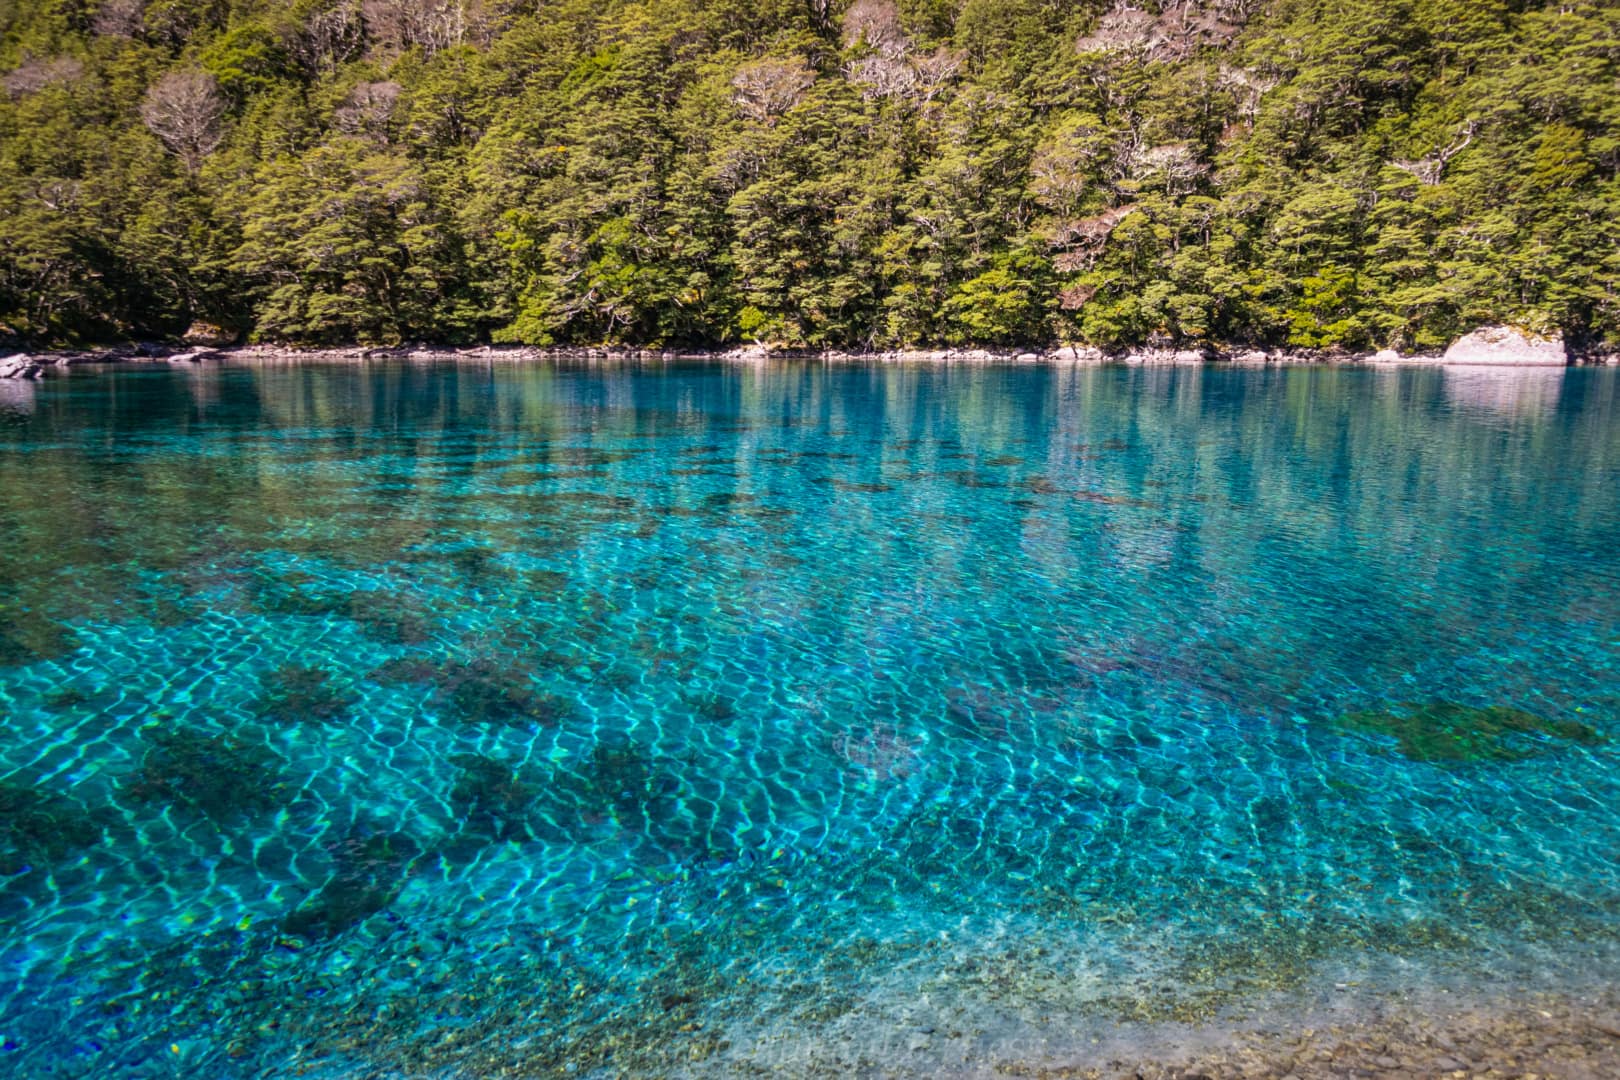
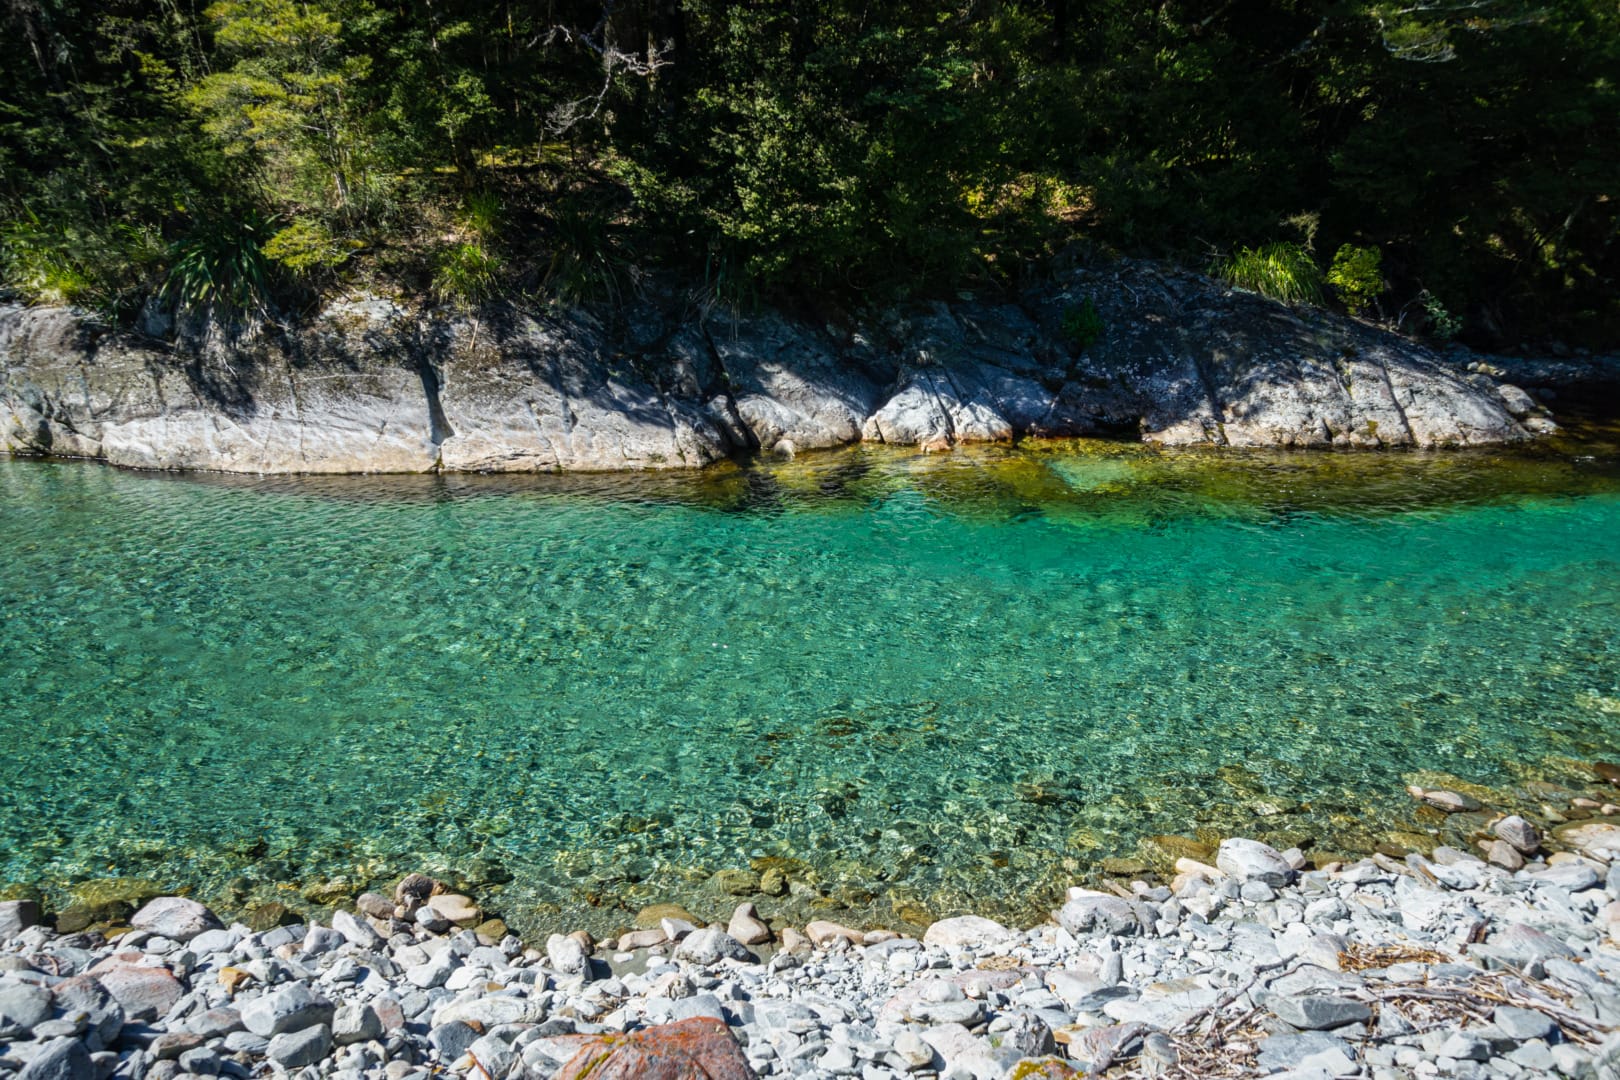
At around the 1770m elevation contour, you reach the first of two marked tarns on the map. The first is largely uninteresting, but the second at 1620m is perhaps the bluest tarn i’ve ever seen! It was gorgeous! Somehow, it looked a bit like a chicken from above.
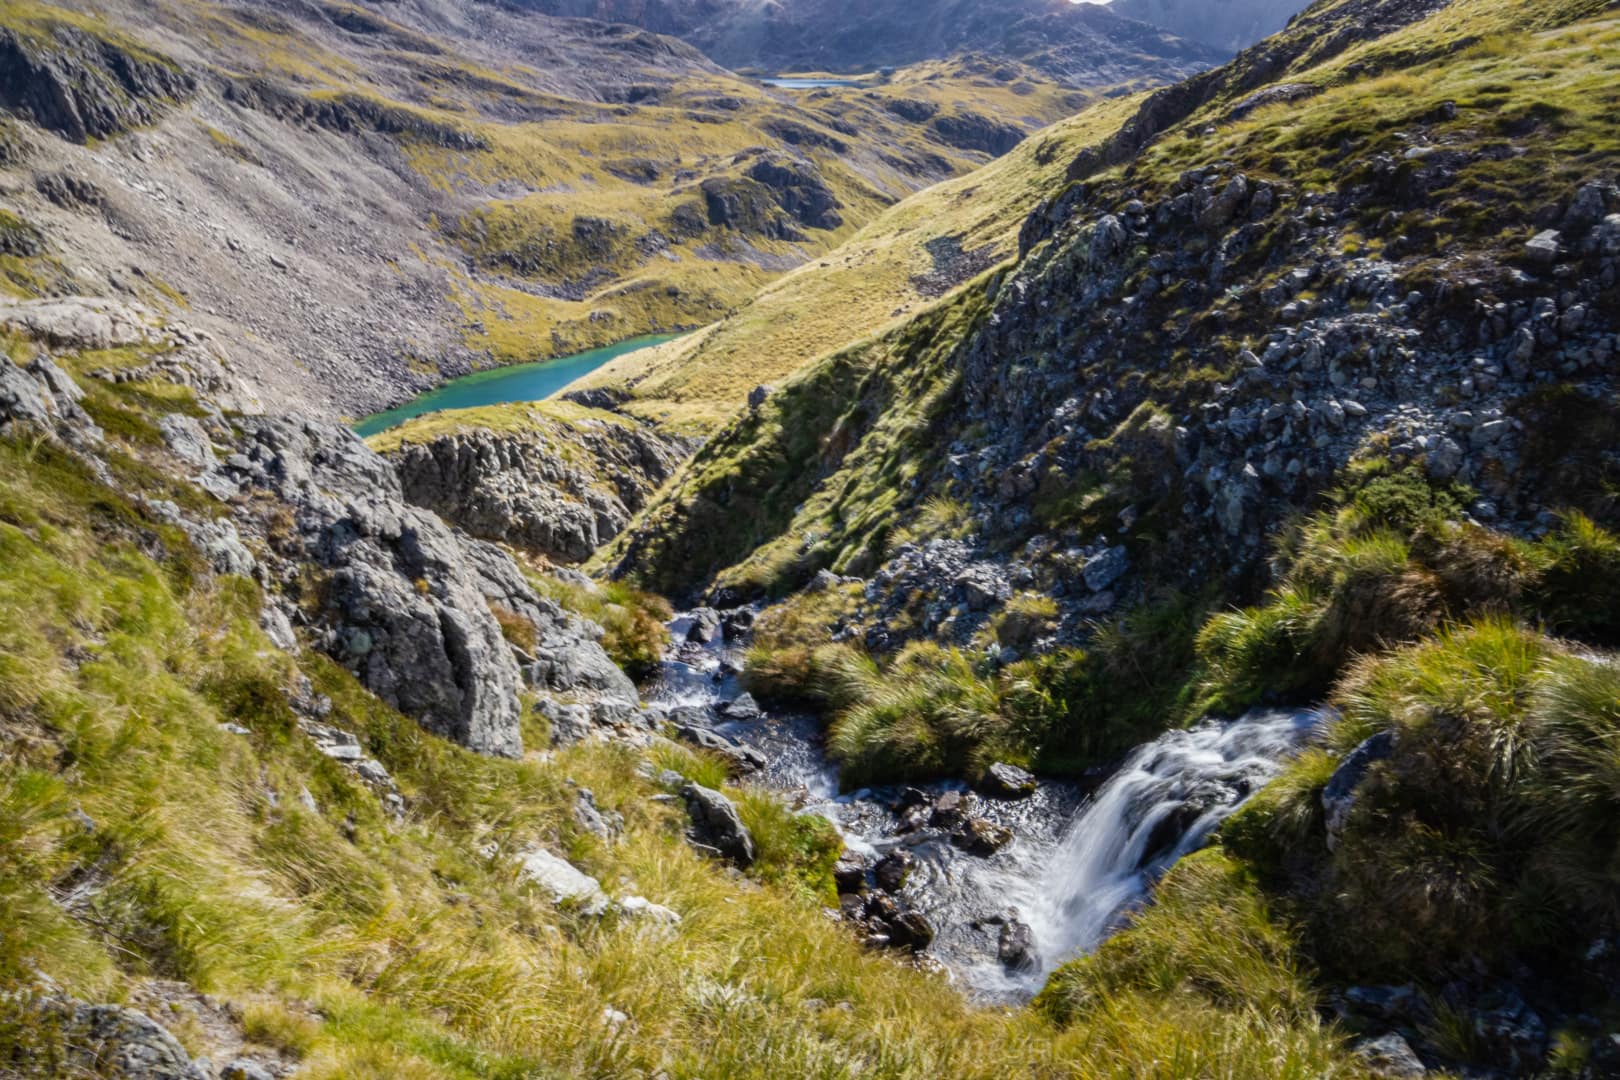
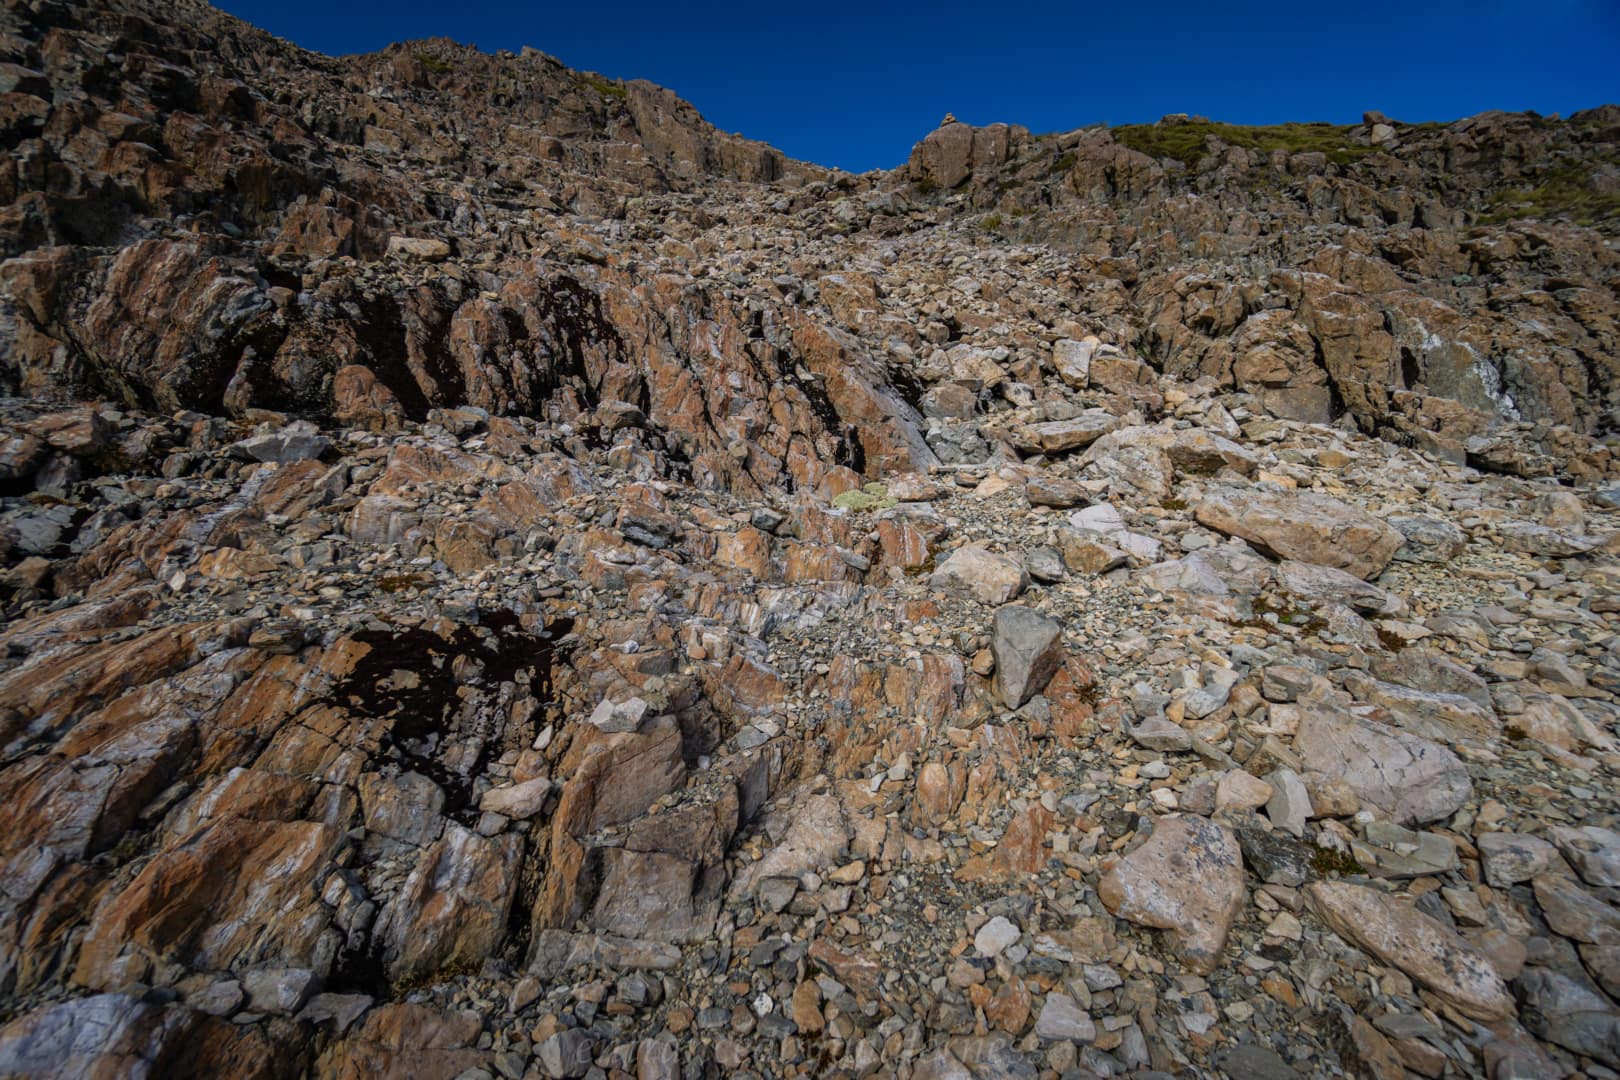
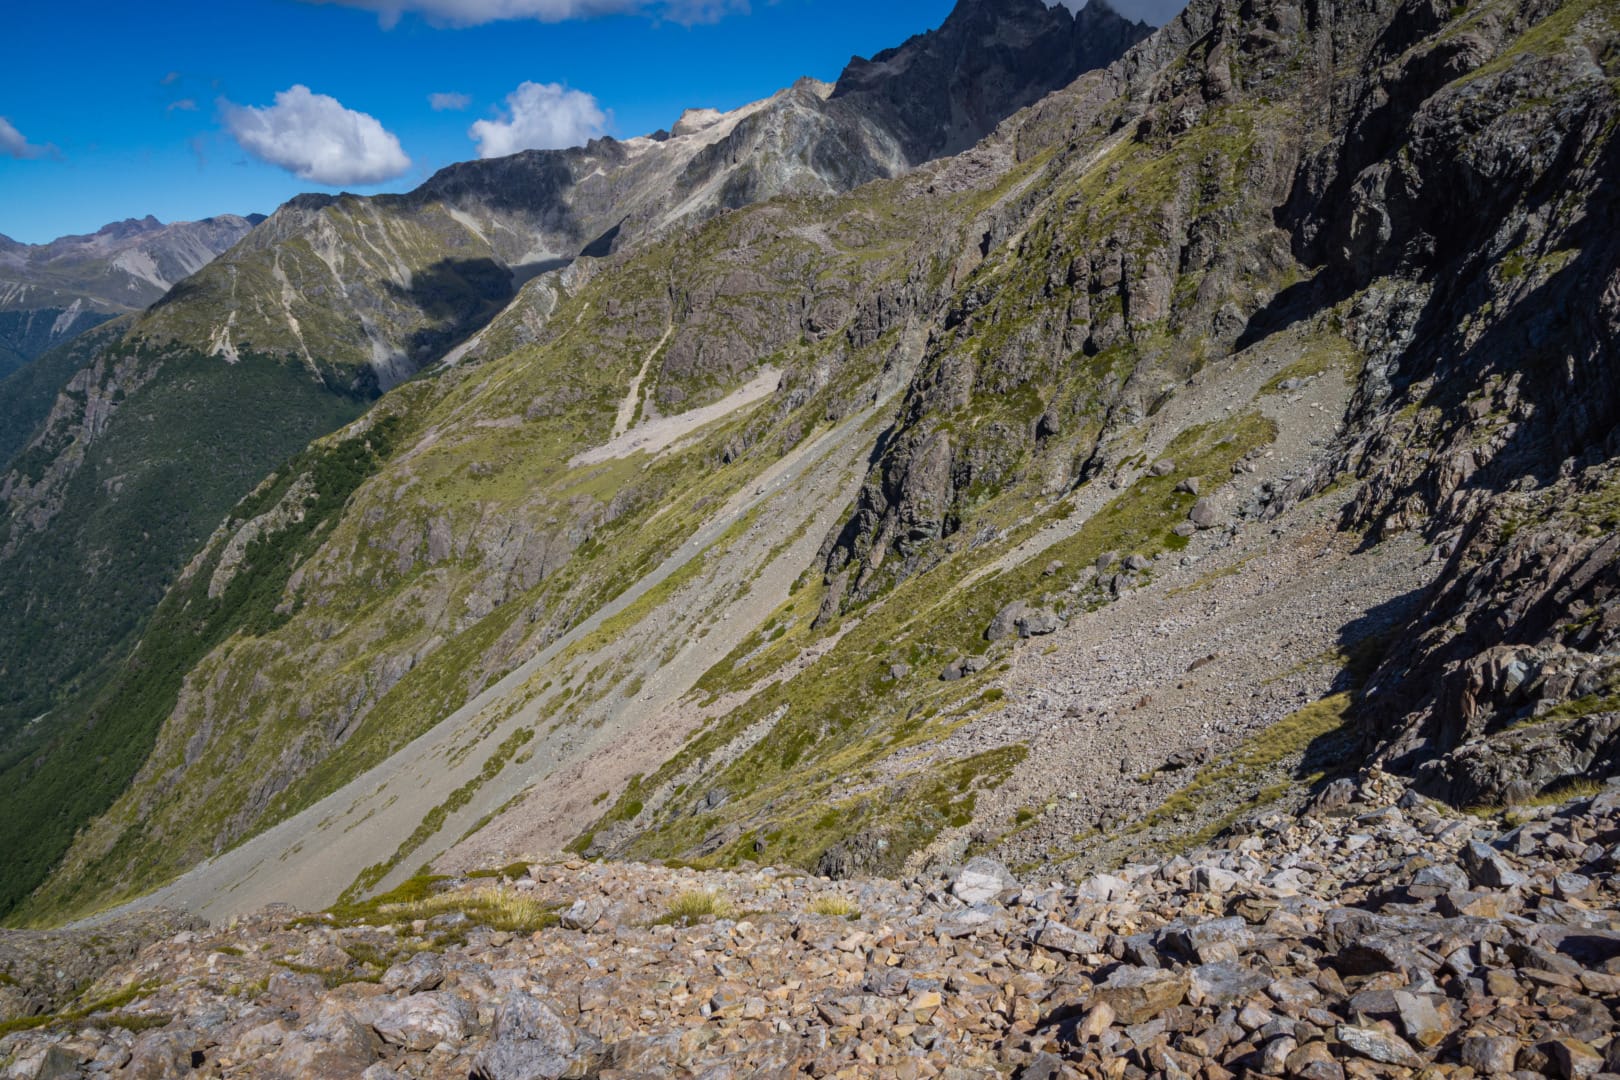
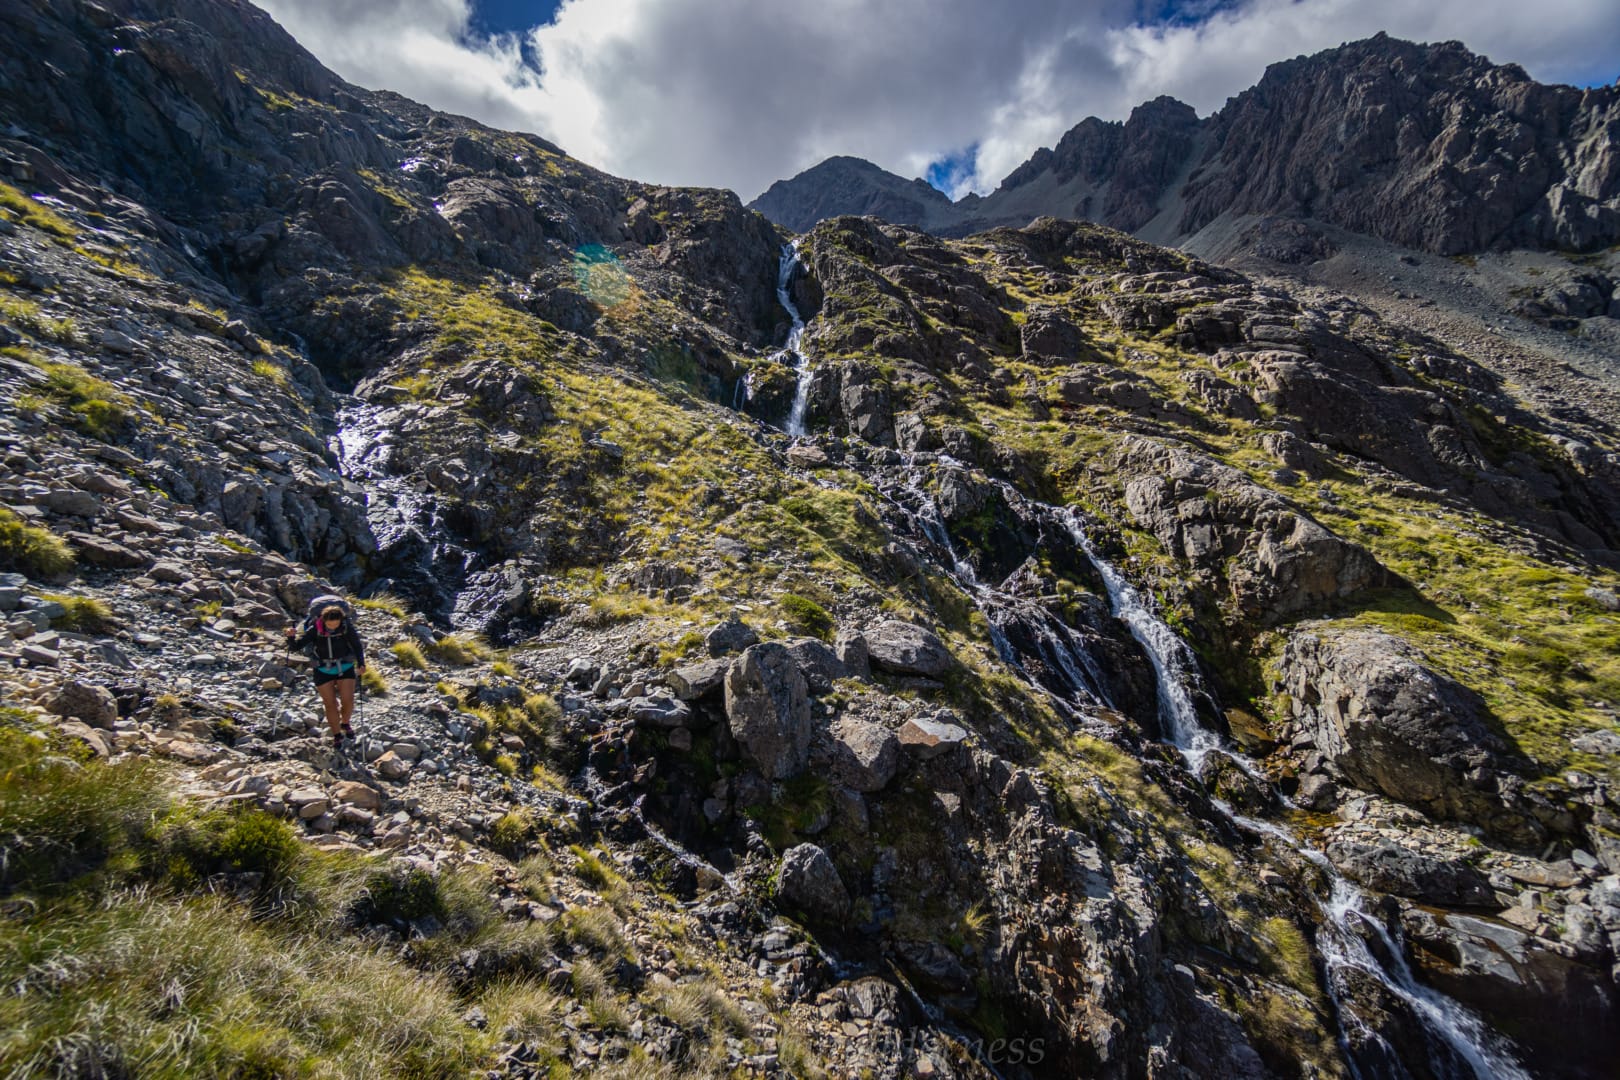
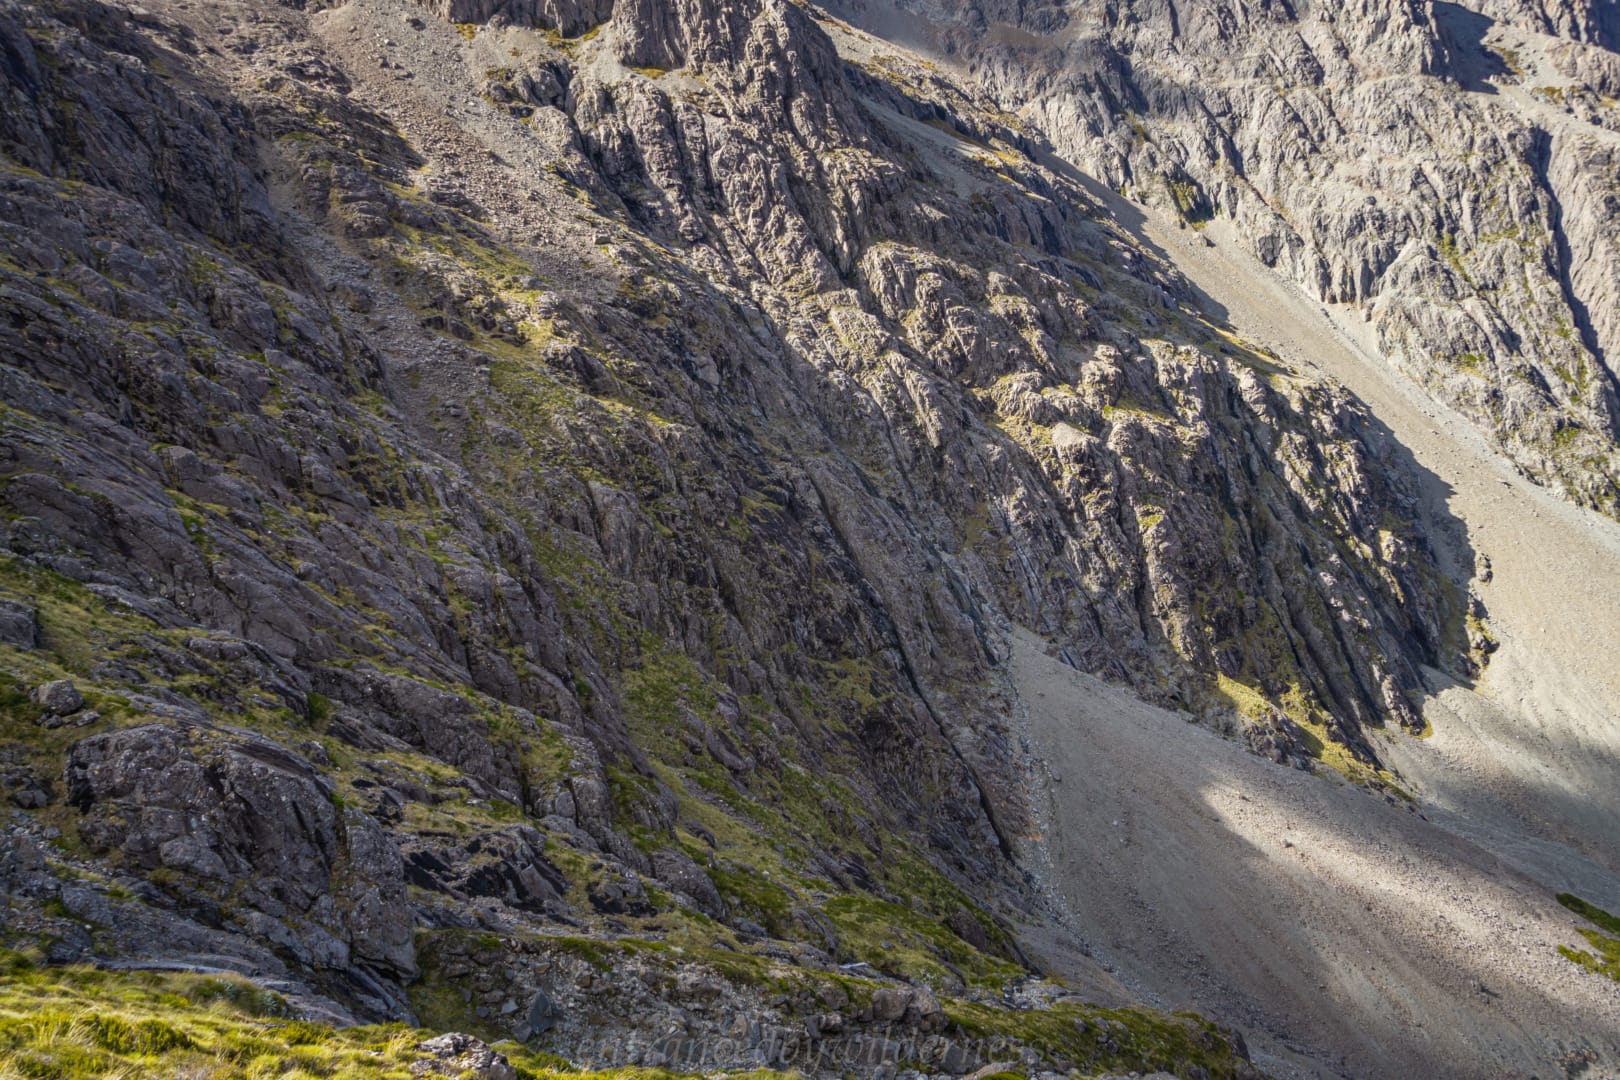
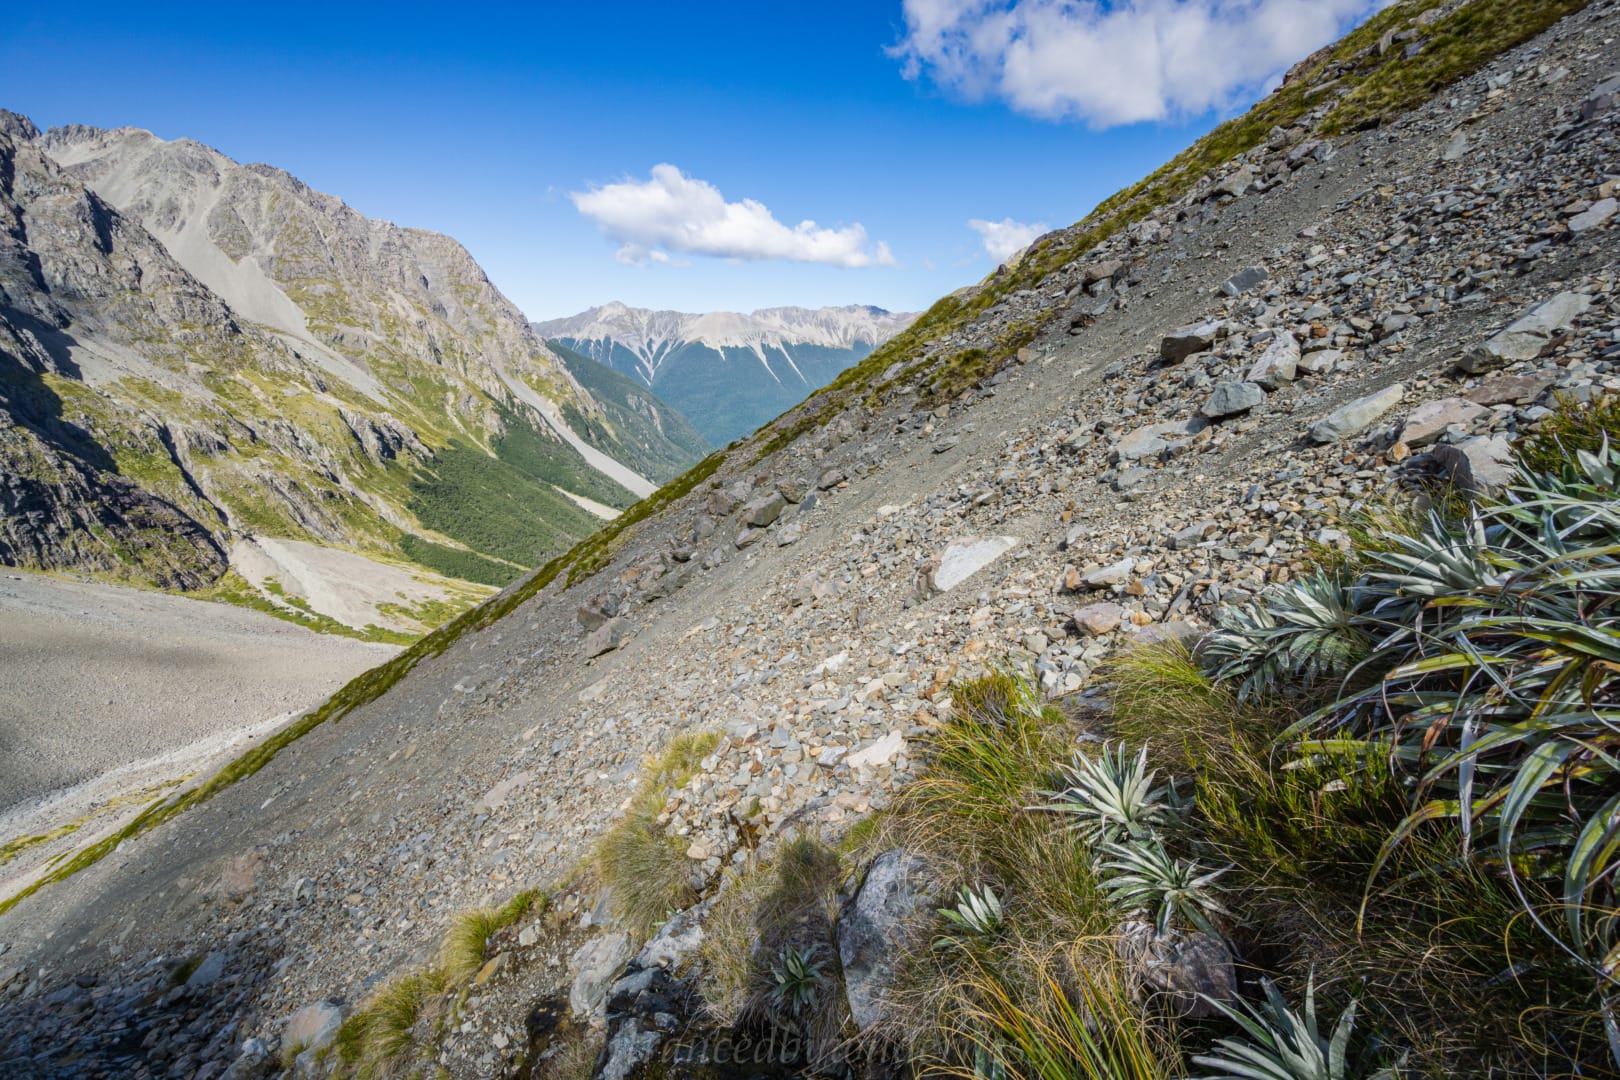
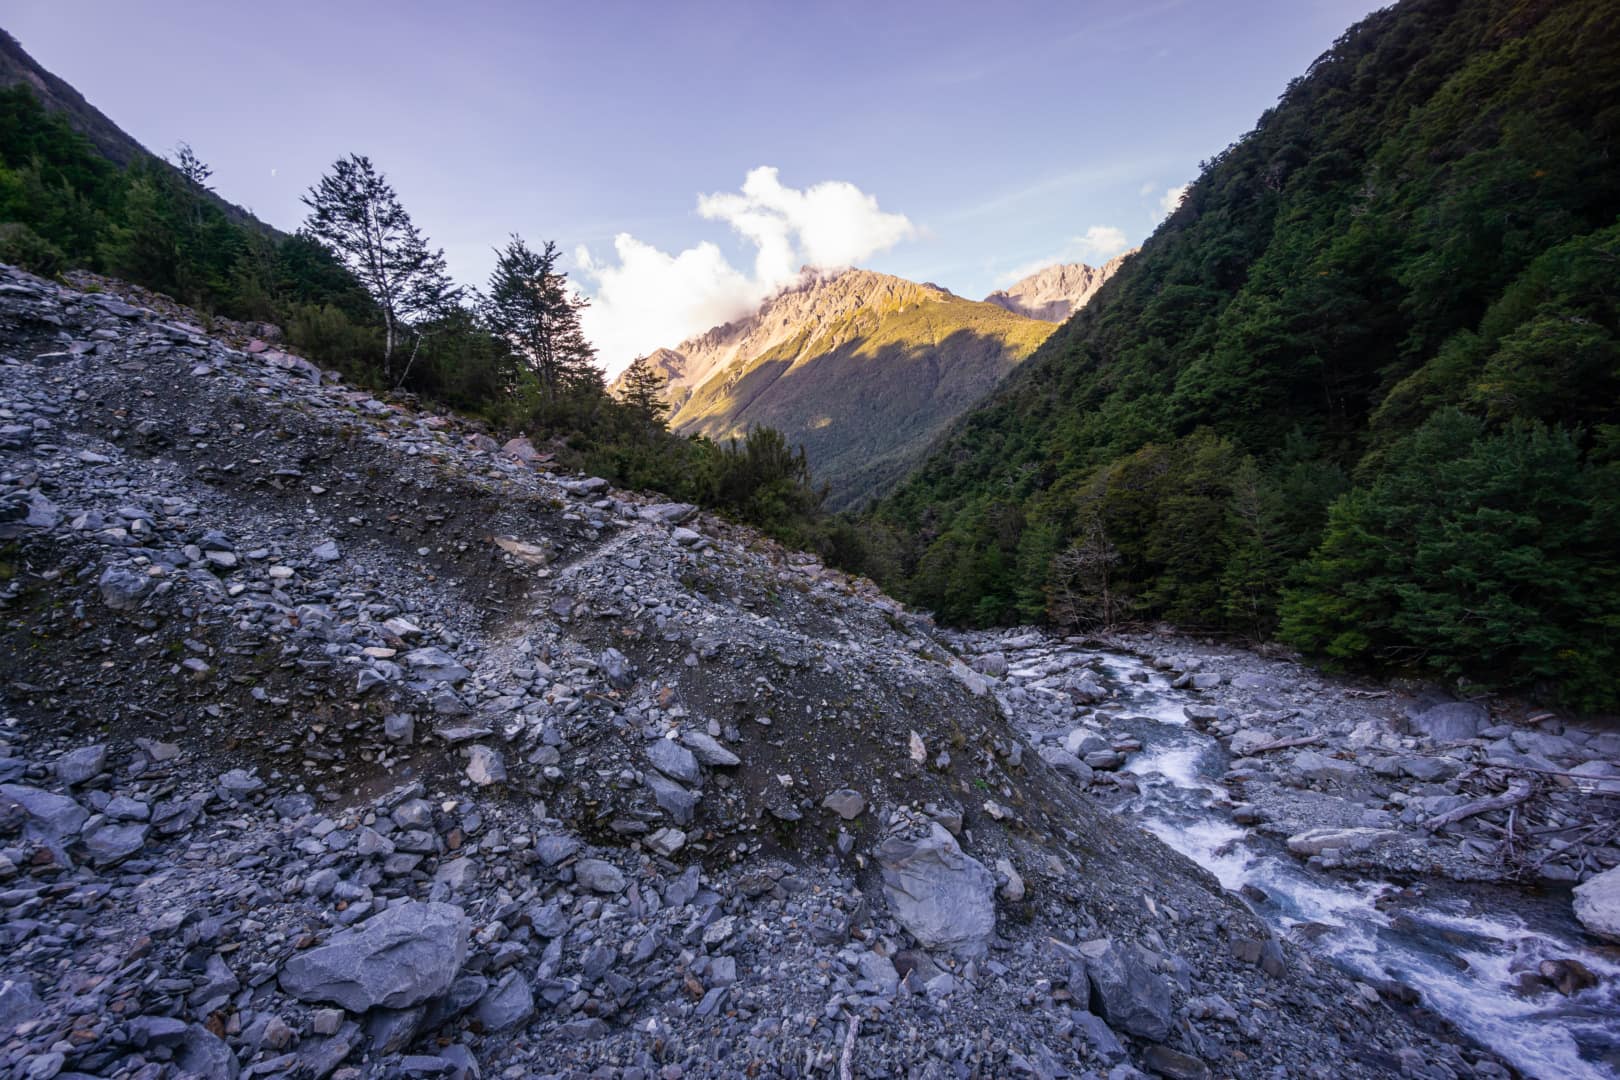
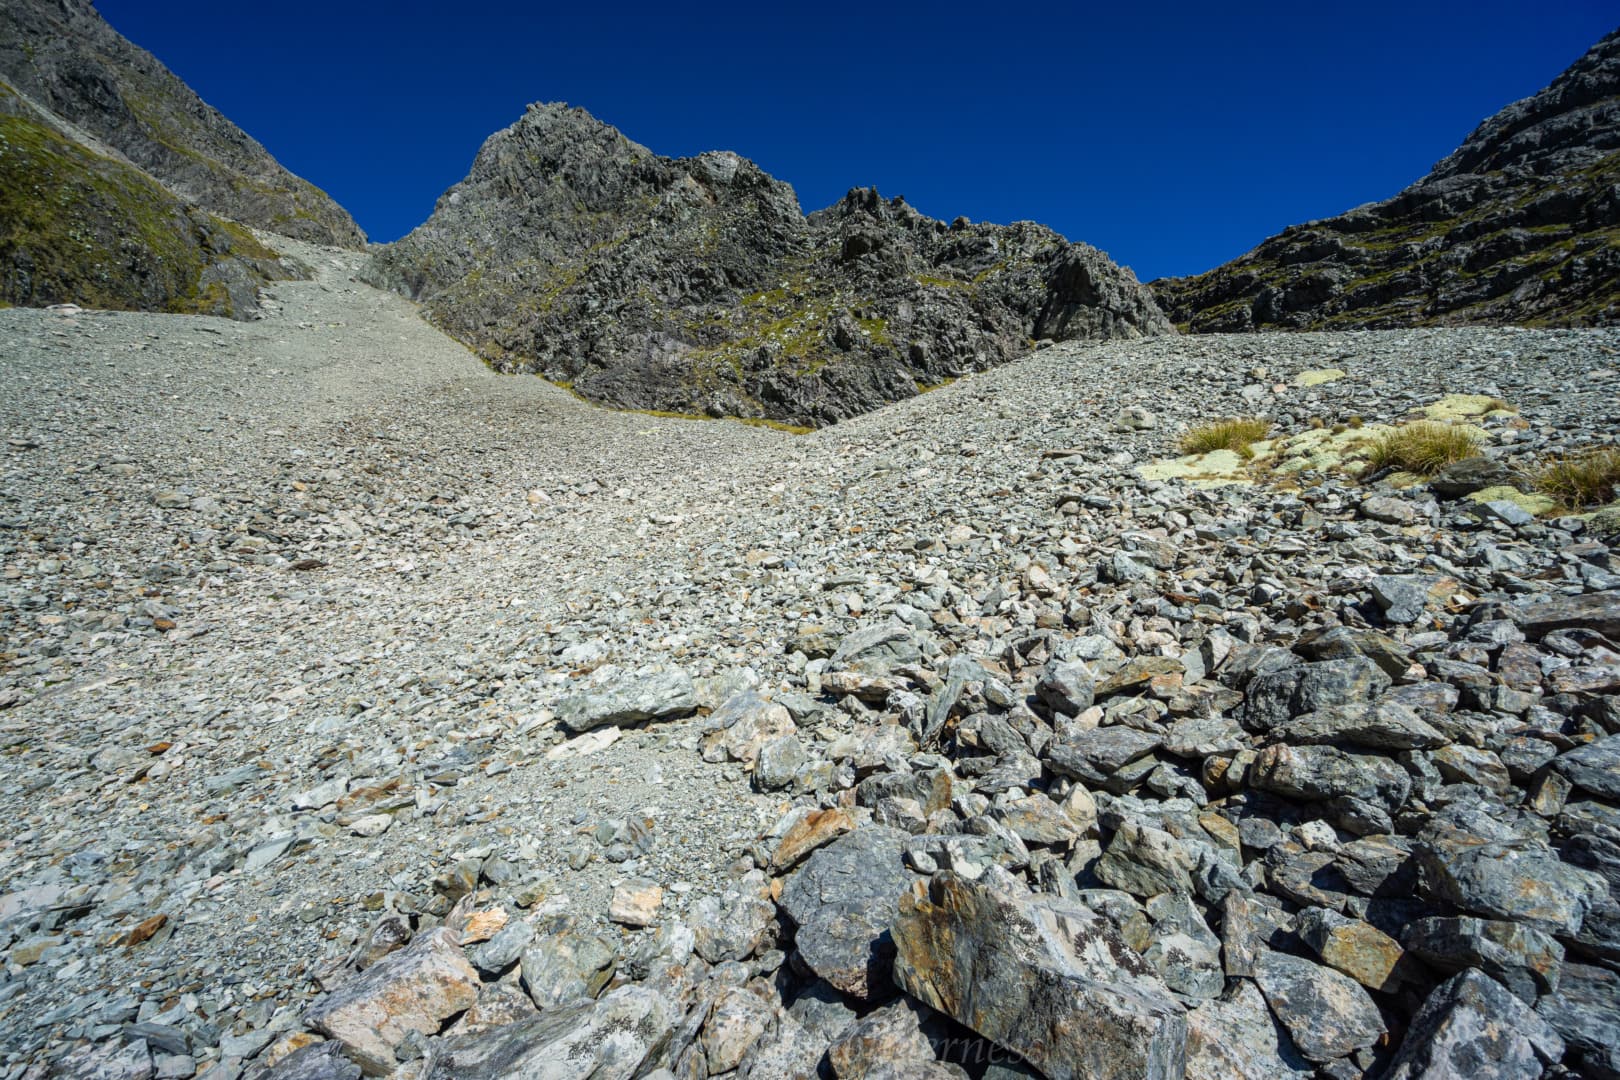
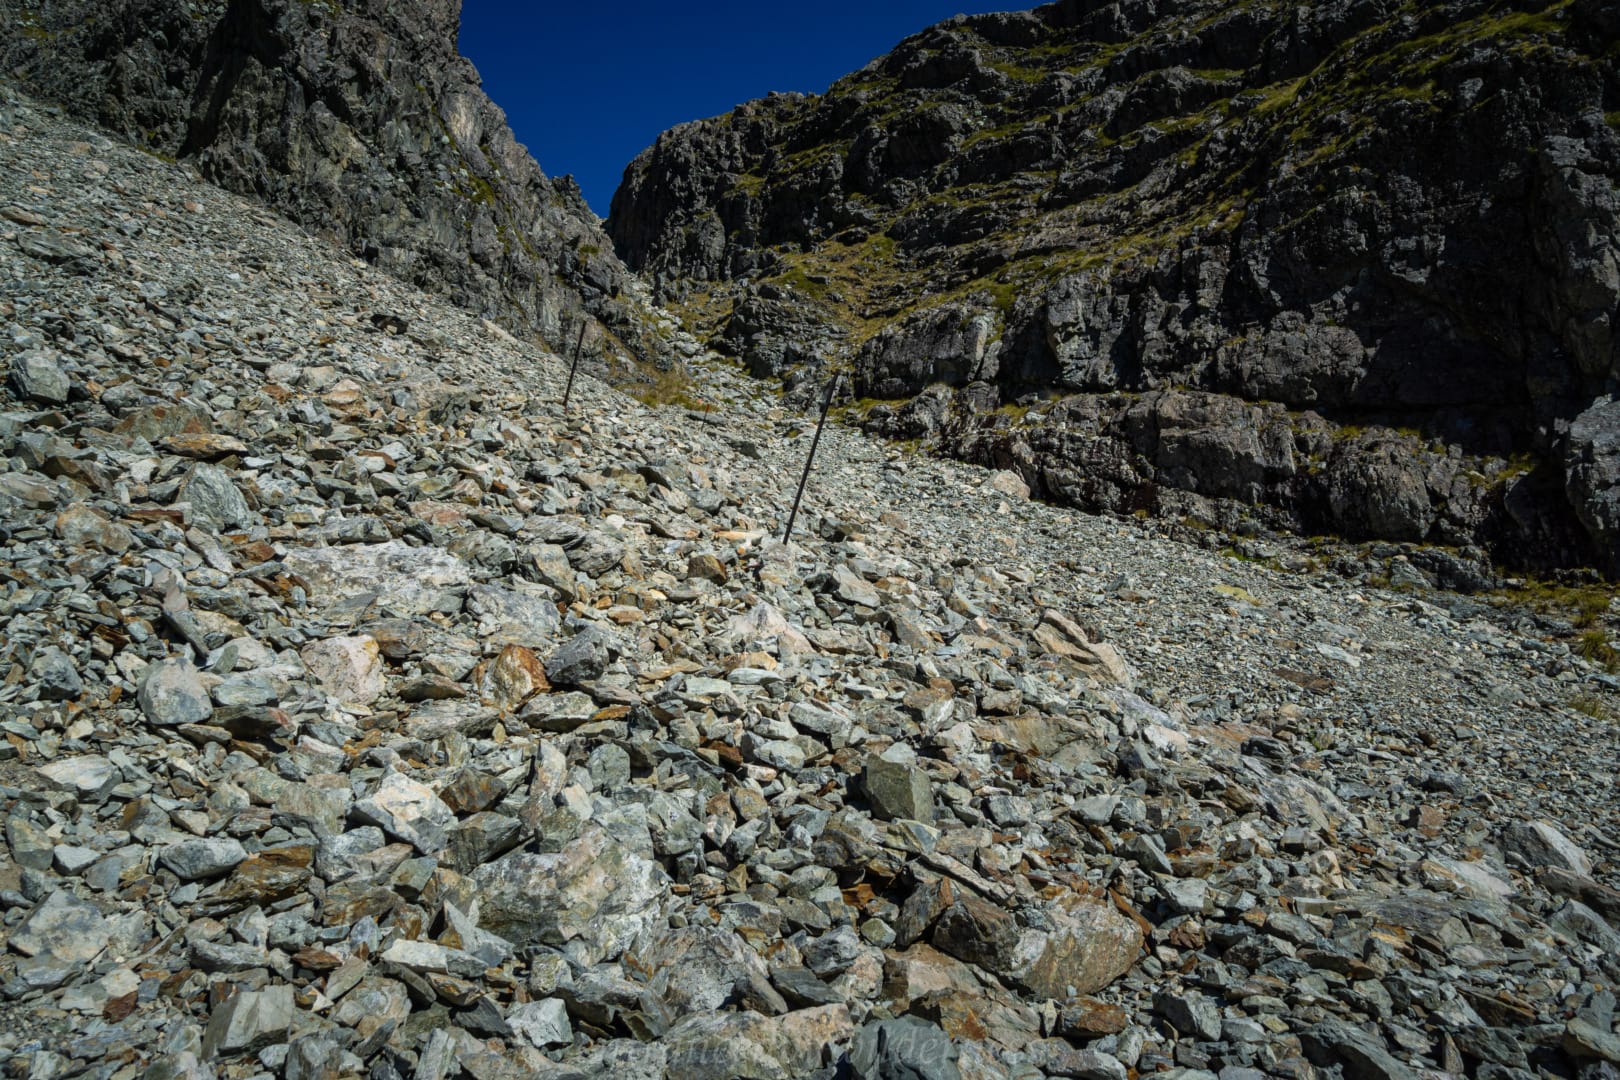
We had lunch whilst looking over the steep drop into the lower valley below – our destination. I had read online prior, that there were two options here, one was a climb up the bluffed waterfall face, and another was to sidle towards the screen fan on the true right of the stream. We opted for the easier scree route without much consideration of the other, frankly, difficult-looking route.
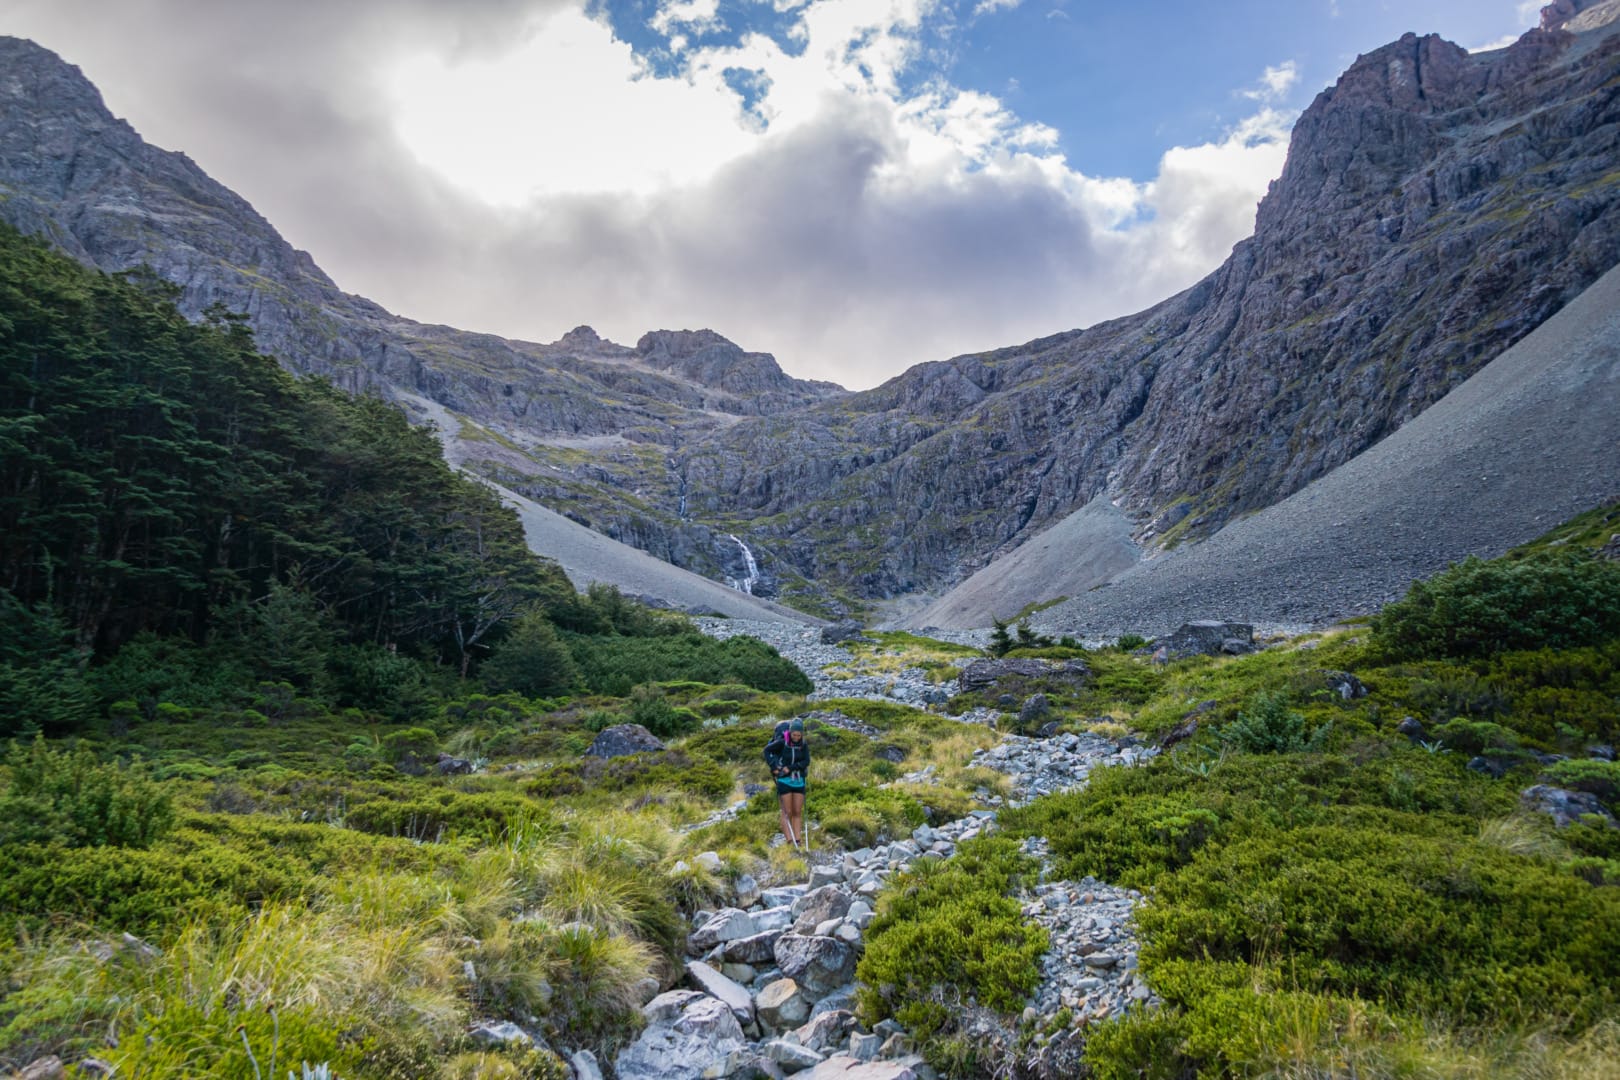
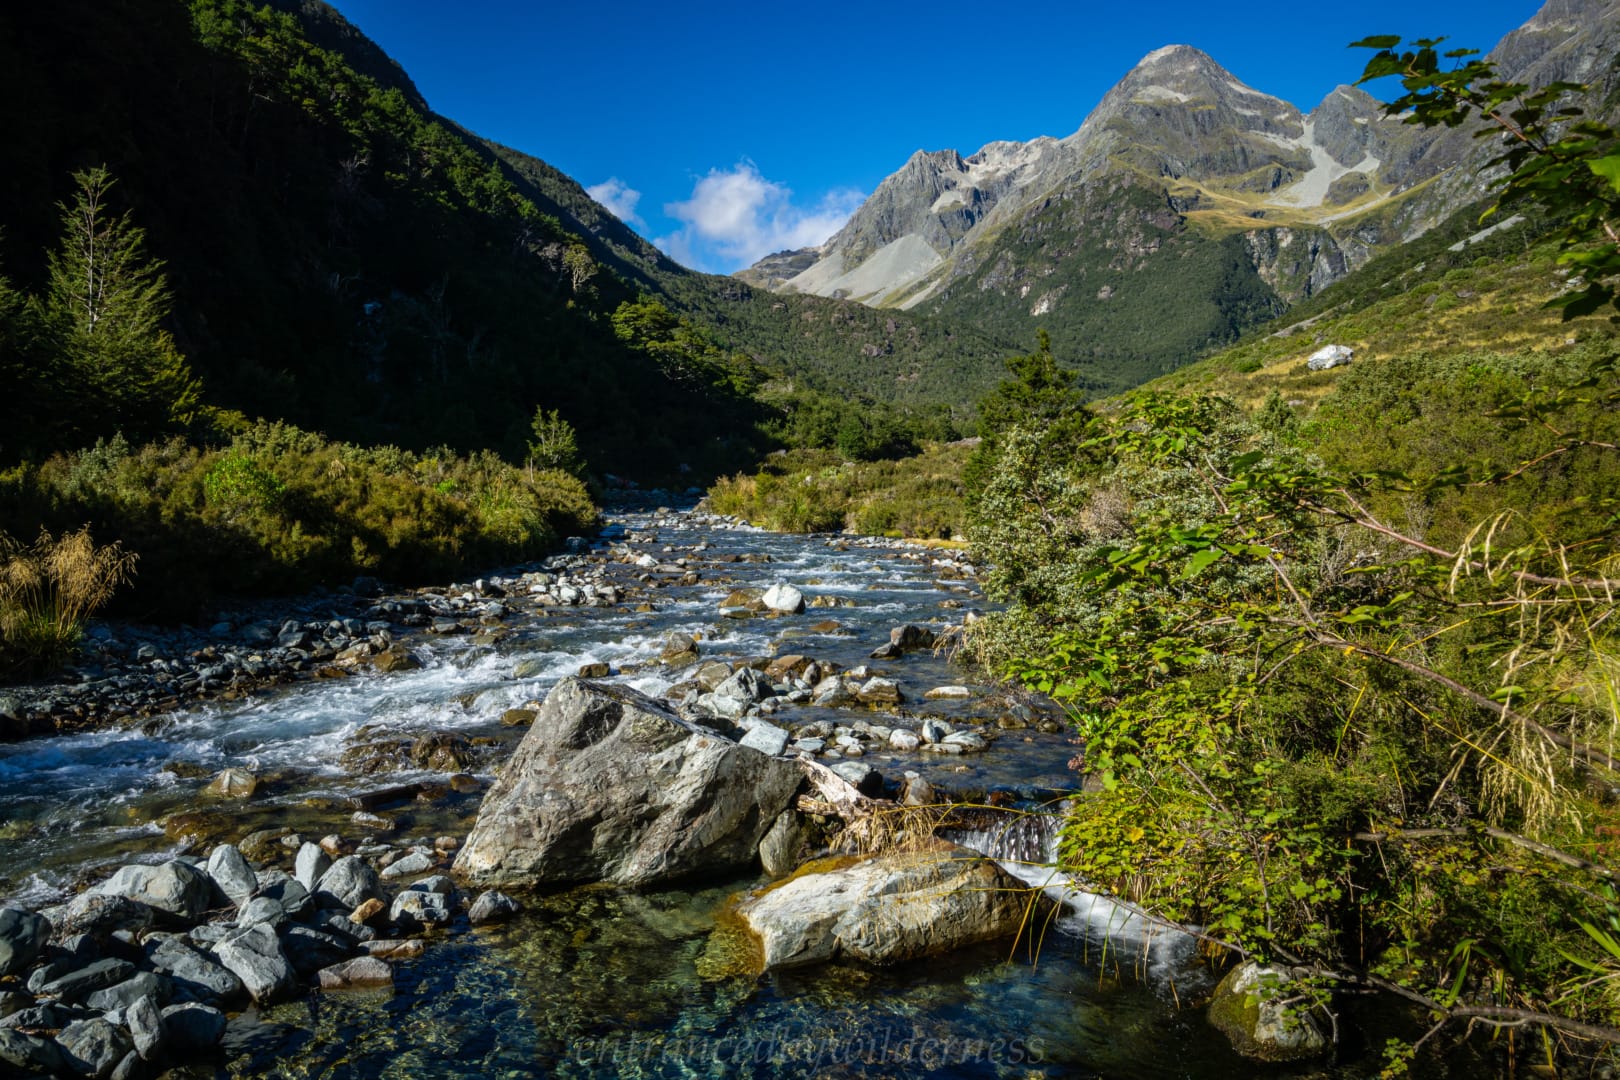
The initial section is probably the trickiest, once you start to descend there is a lot of larger loose material as you follow the stream and cascades down. It is also extremely beautiful here and frequent breaks are required to take in the captivating views! Eventually, the scree section begins, with a slow steep sidle before it gets more straight-forward. The scree becomes easier here all the way to the bottom.
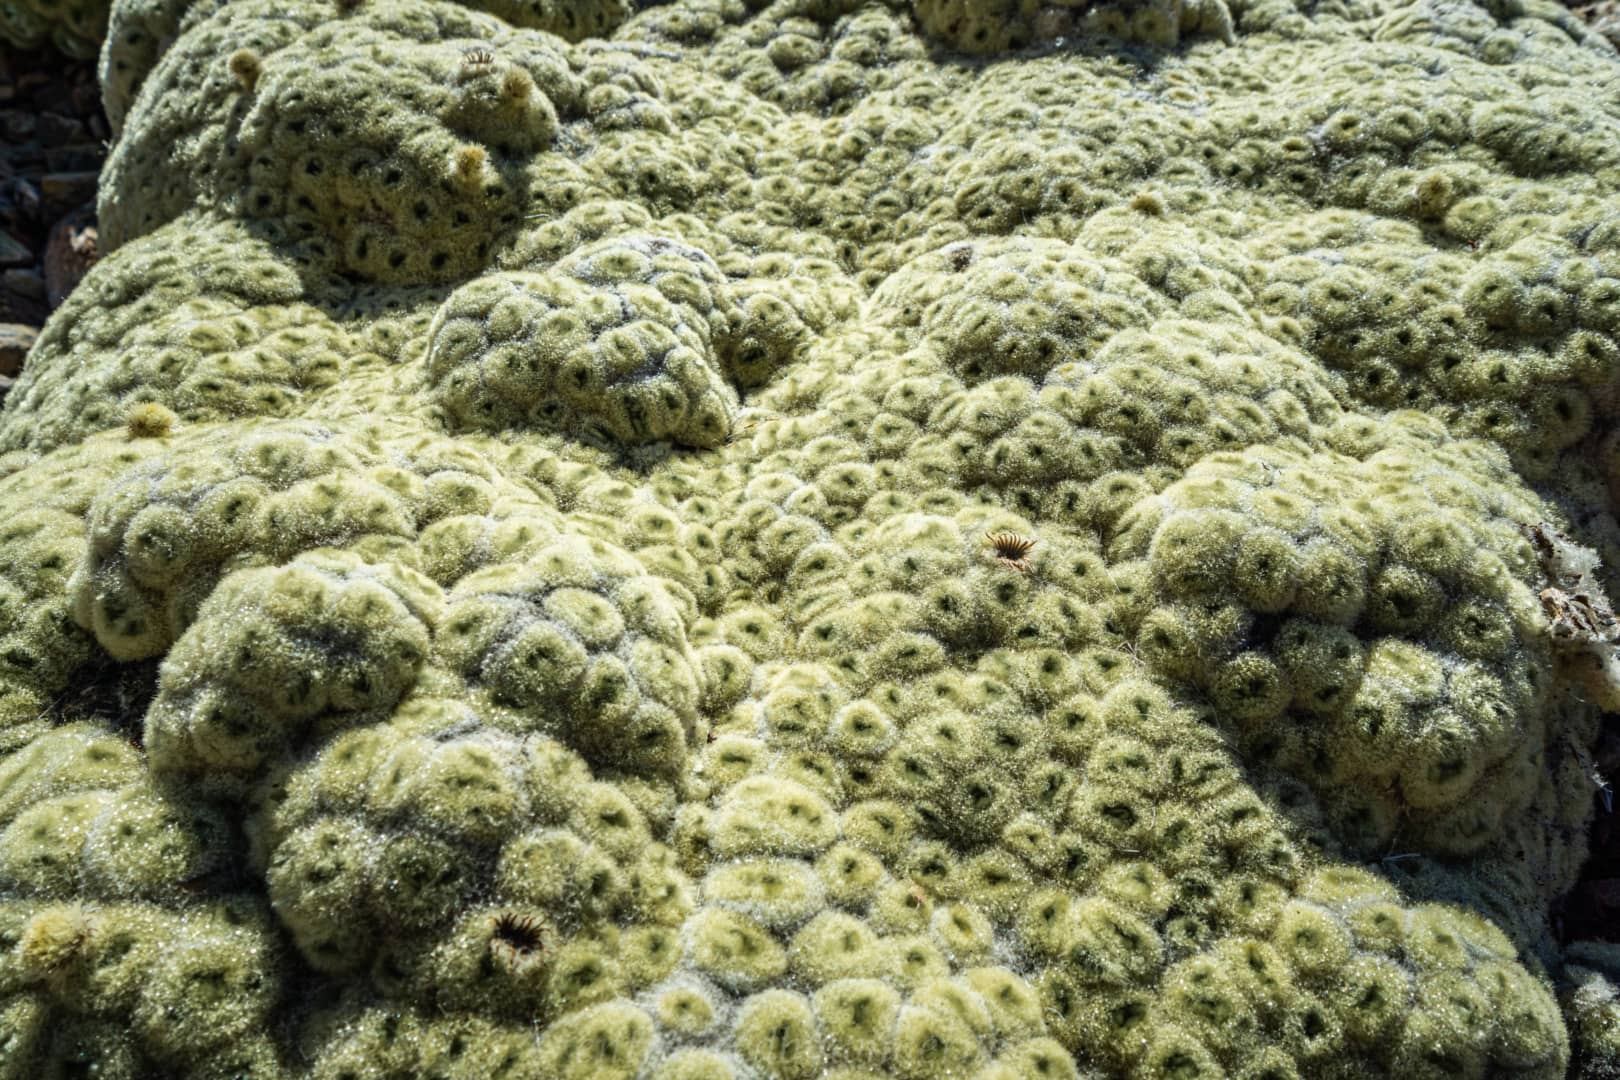
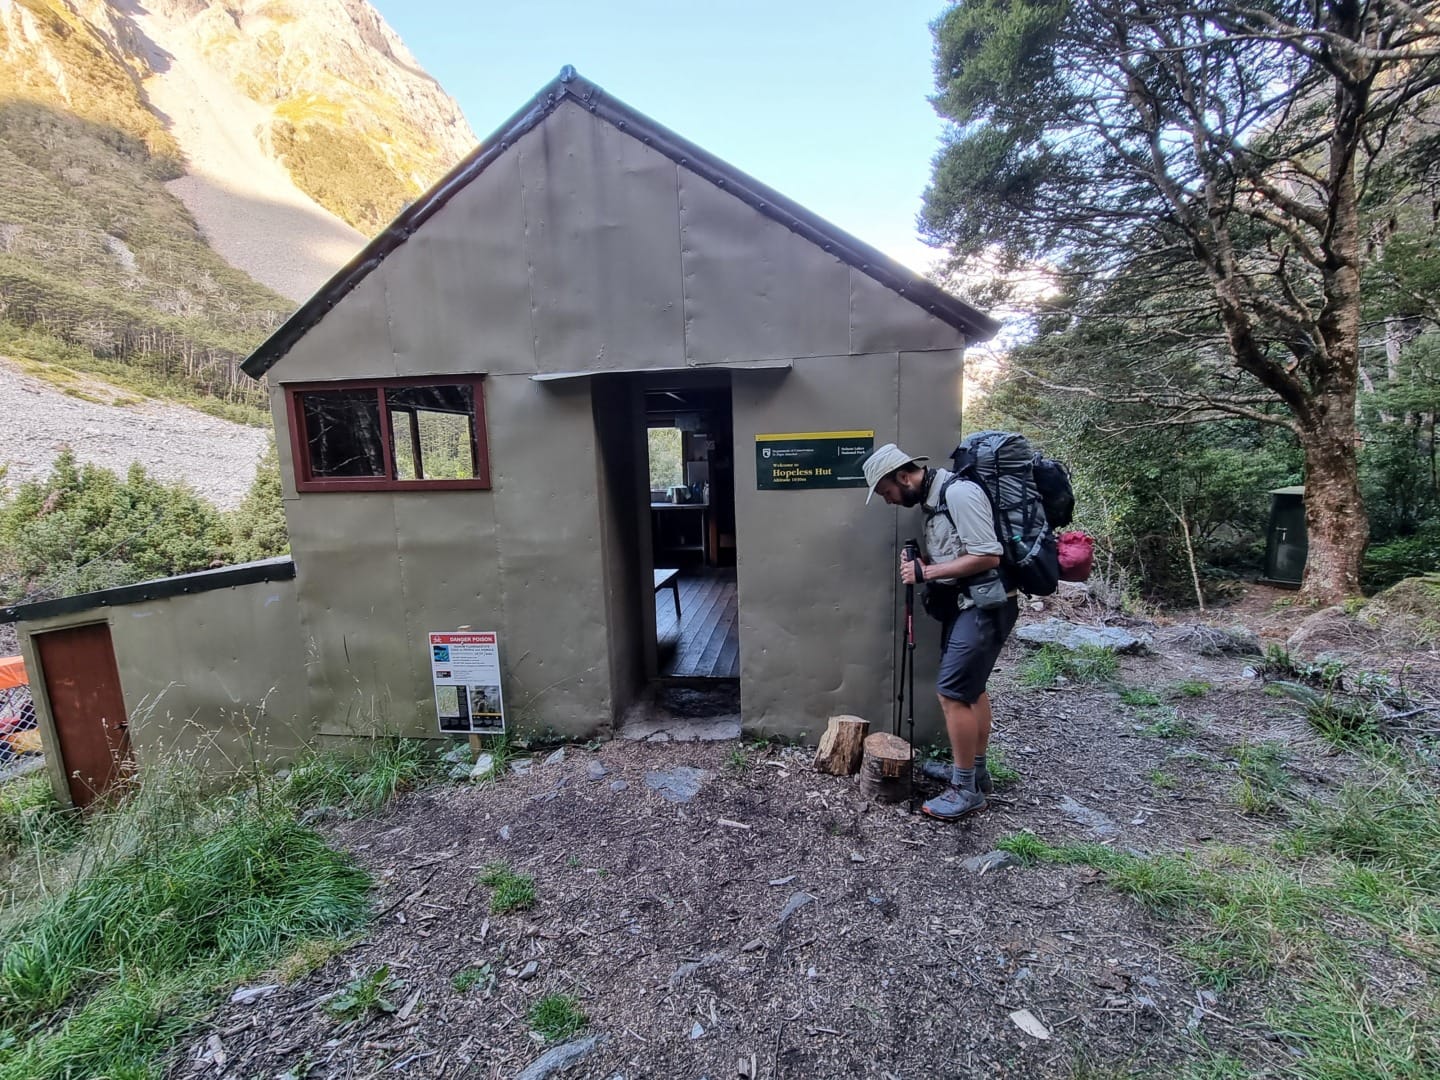
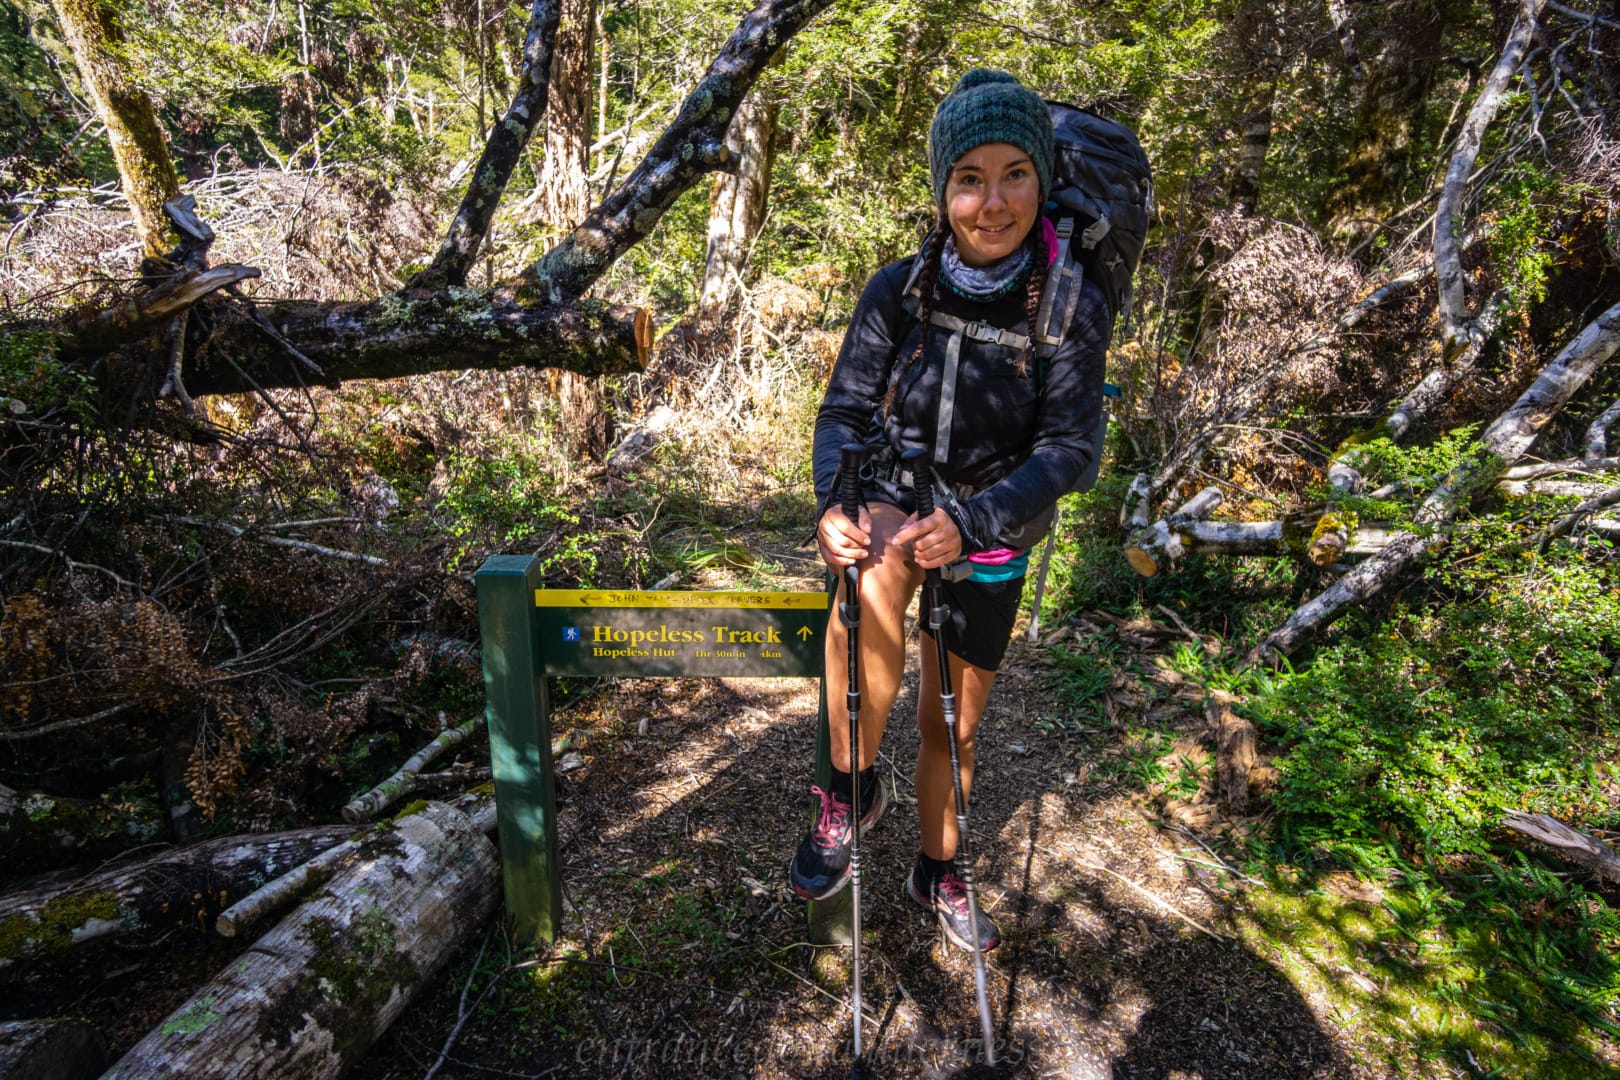
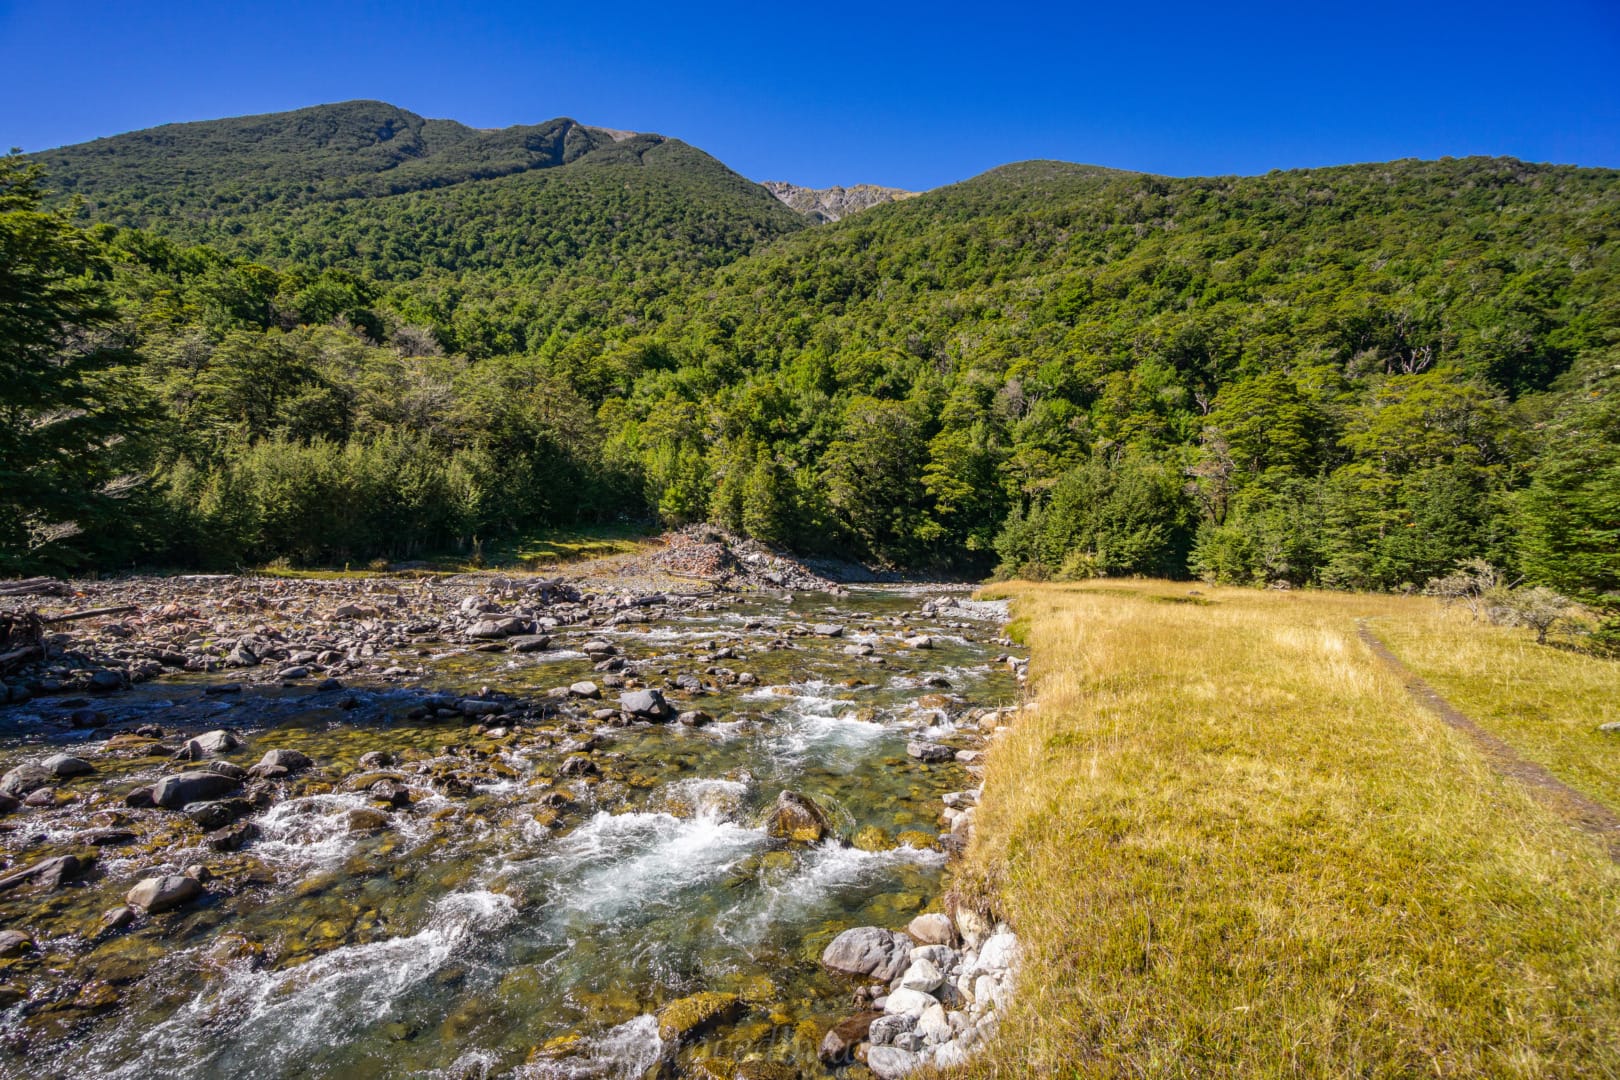
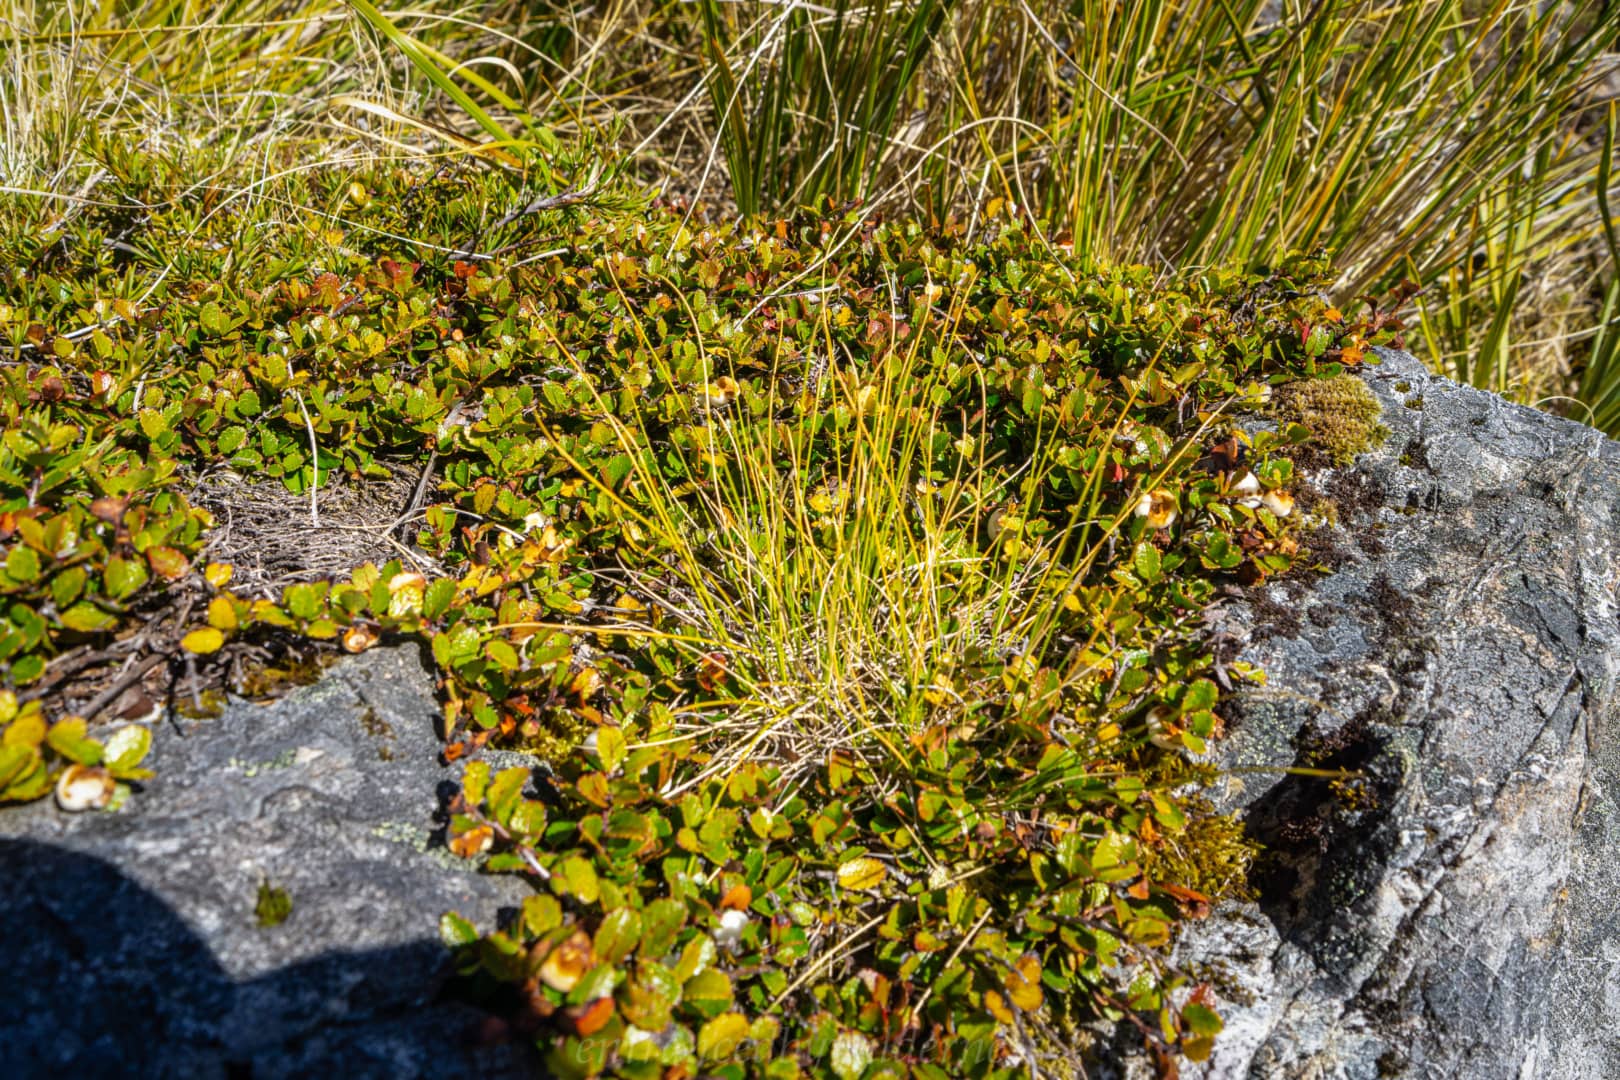
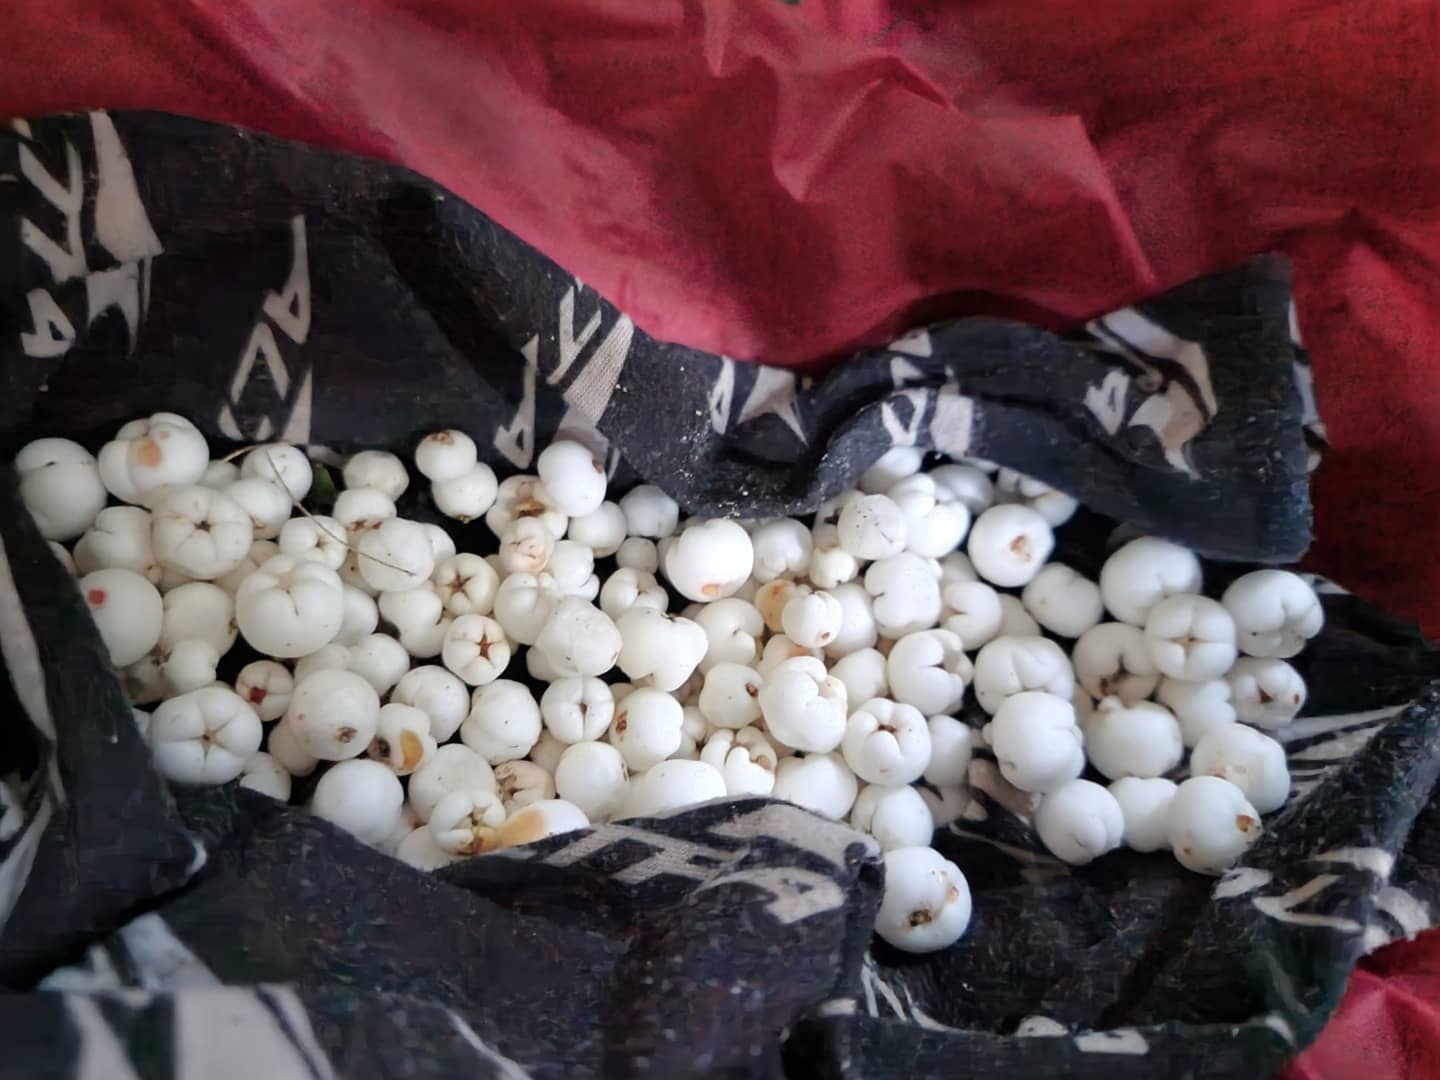
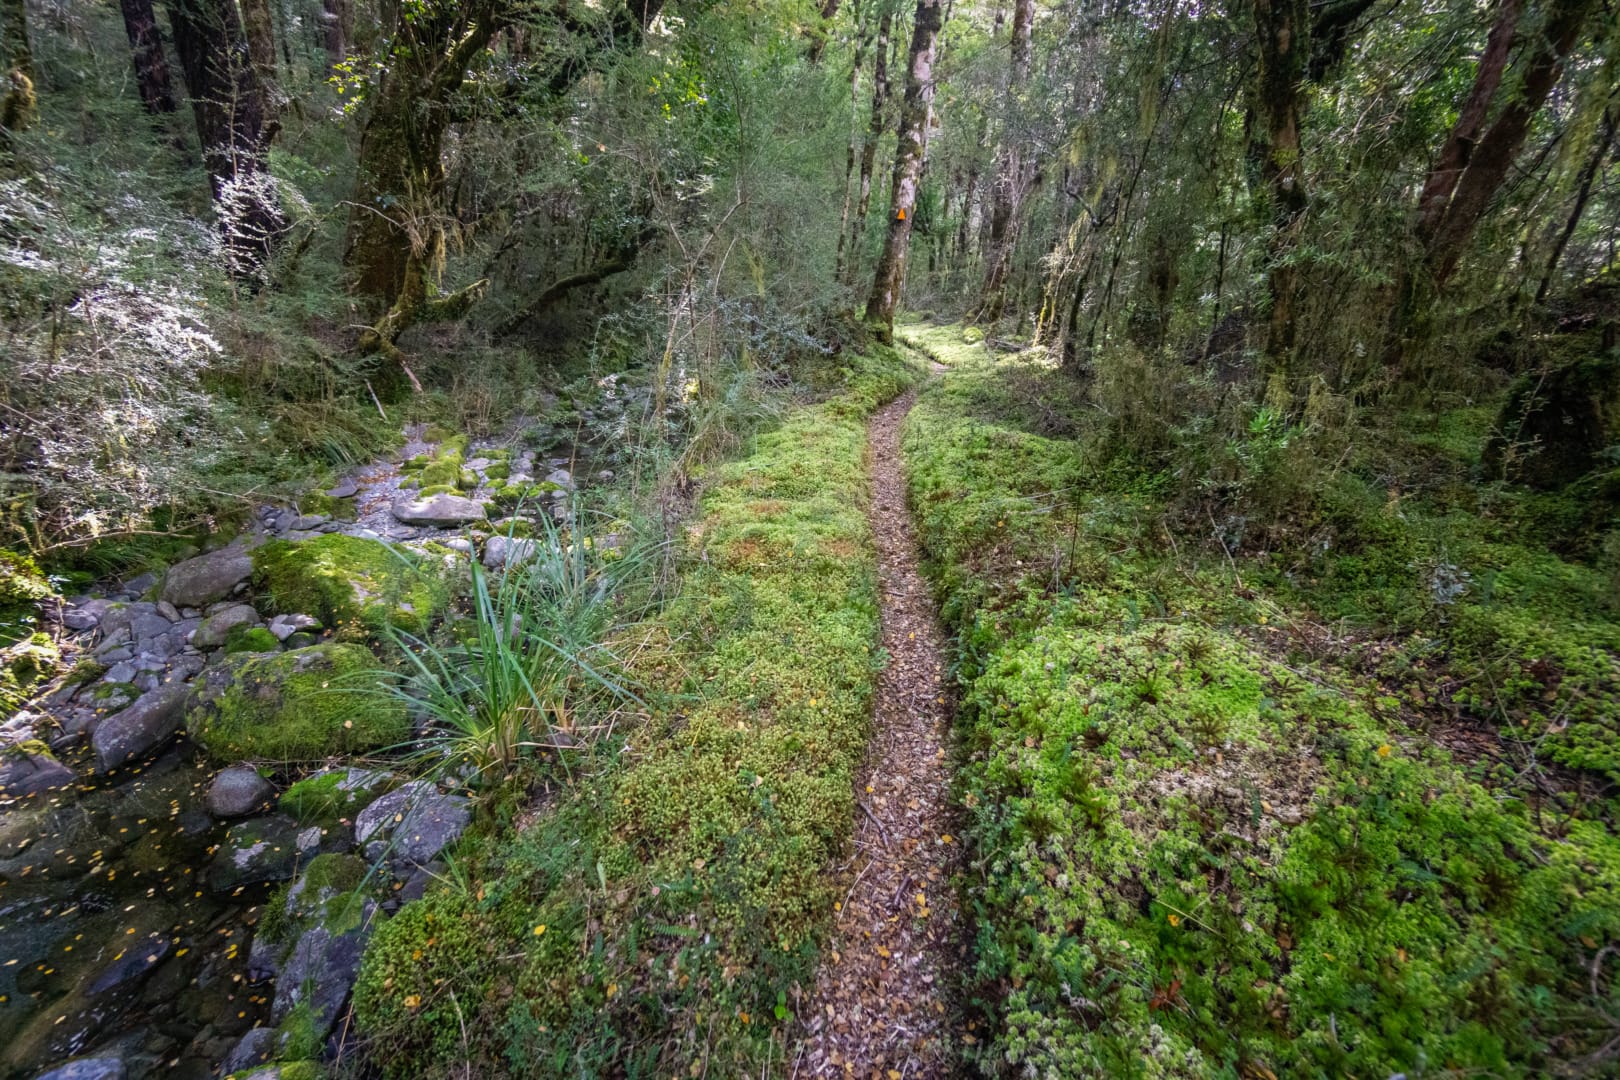
Once in the lower valley, we made our way for Hopeless hut in the forest. Surprisingly, the track is marked once you reach the forest all the way to the hut. There was a sweet aroma in the air here – we couldn’t pin it at first, but later discovered it was the snow berries around!
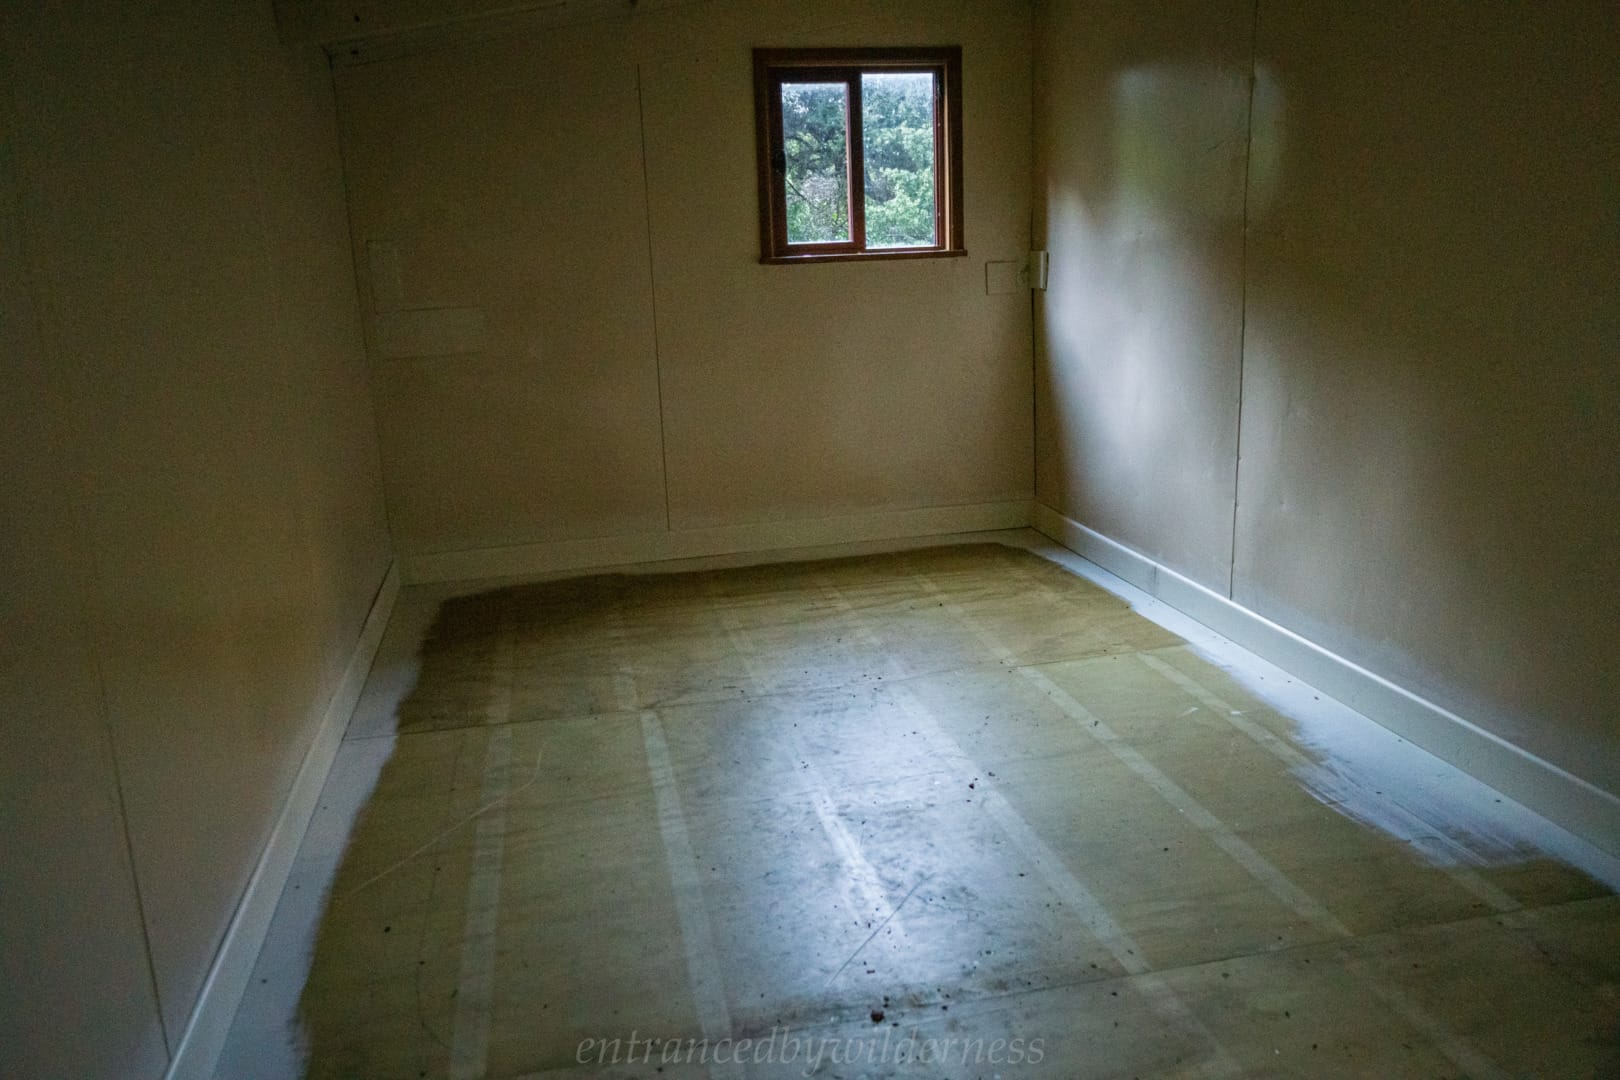
We were hoping for the hut to ourselves, but when we arrived, there was a guy from the UK also staying there for the night. This was fine as he was good company in the end. This would be my second night staying in this cute little hut! The vegetation around the hut had been more noticably cleared this time though, which was nice for light!
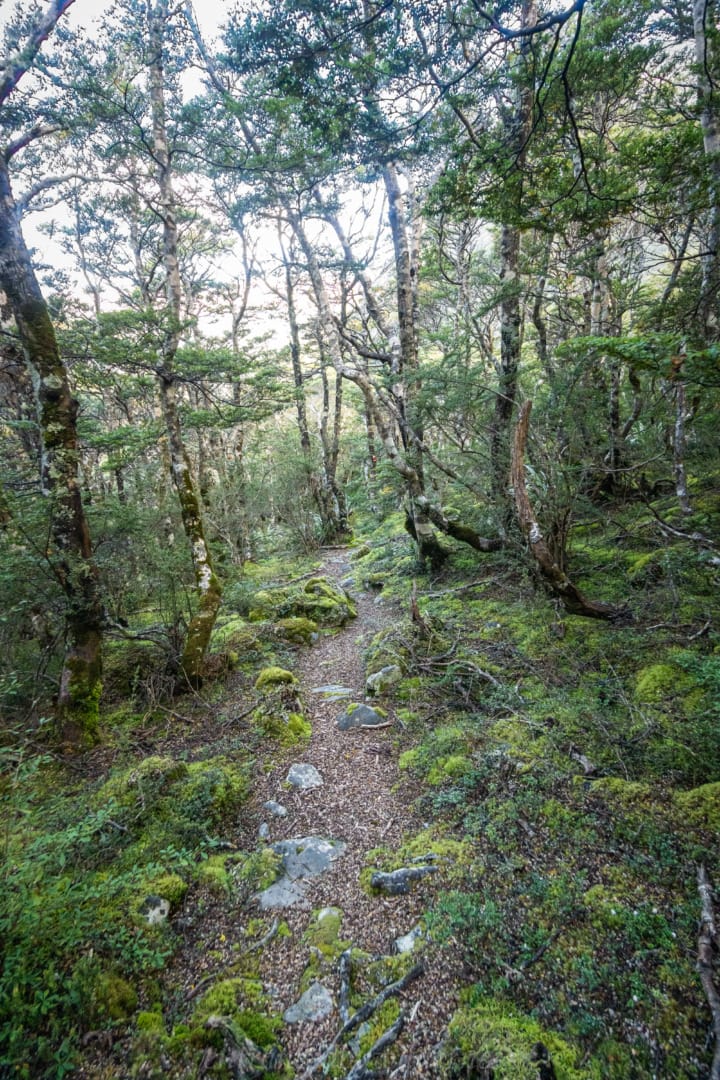
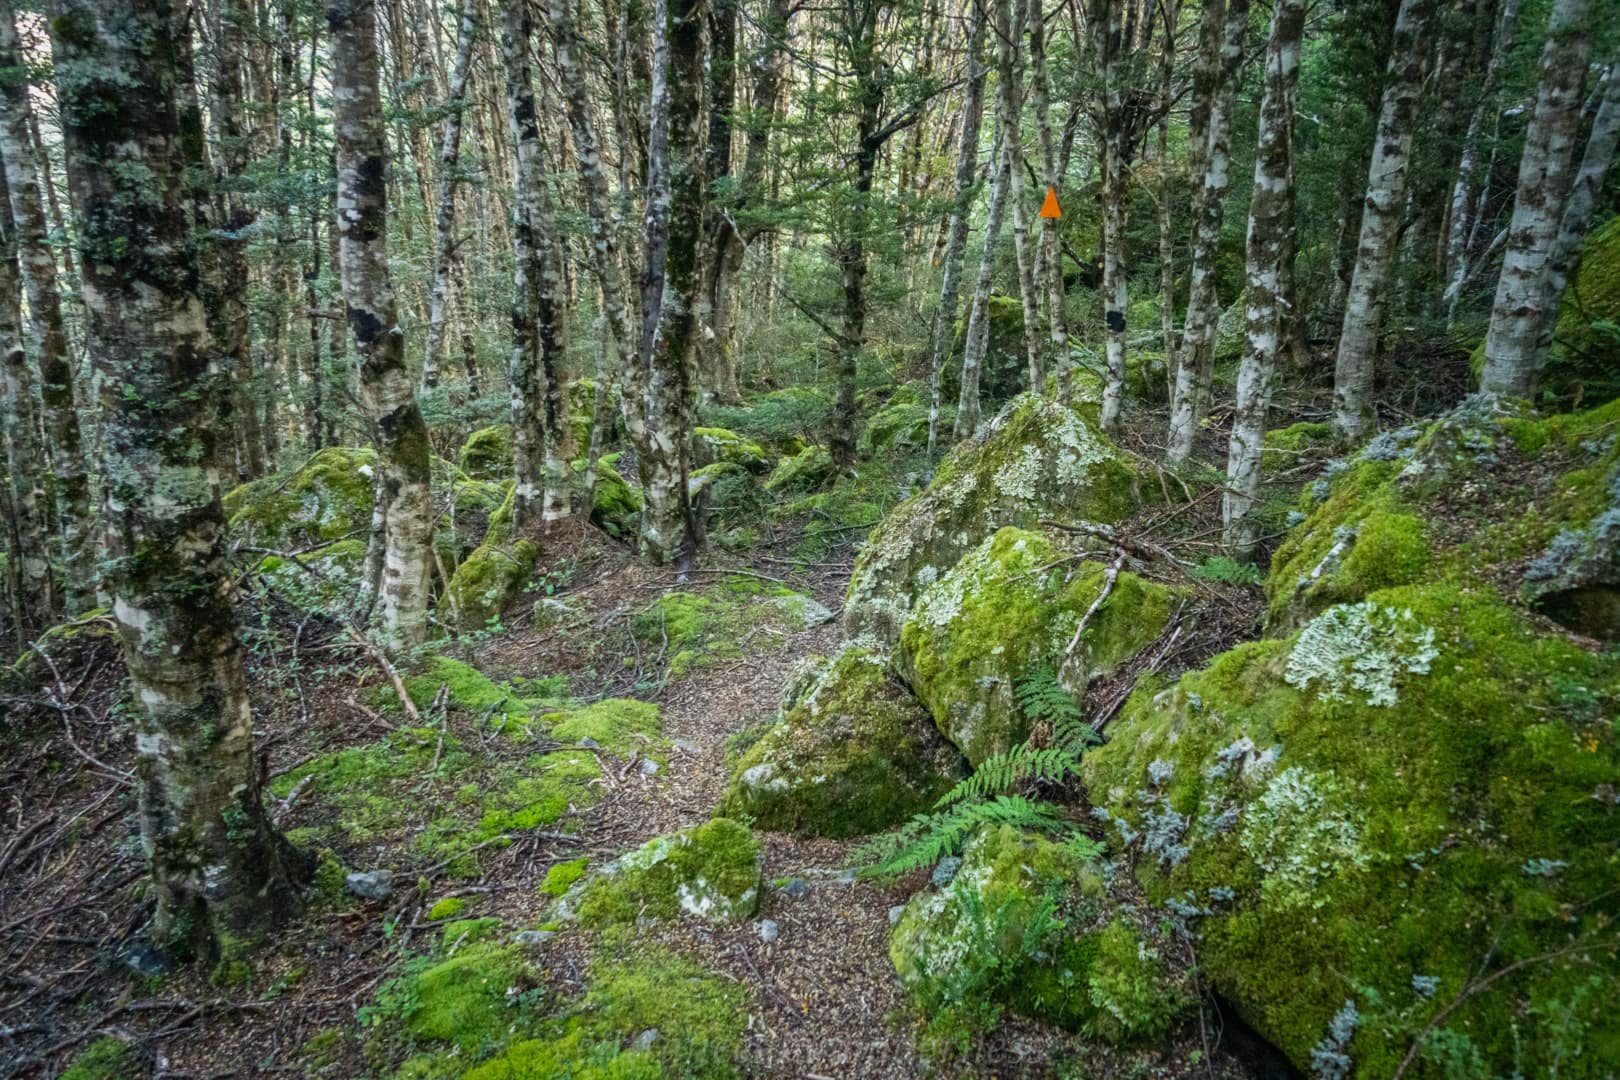
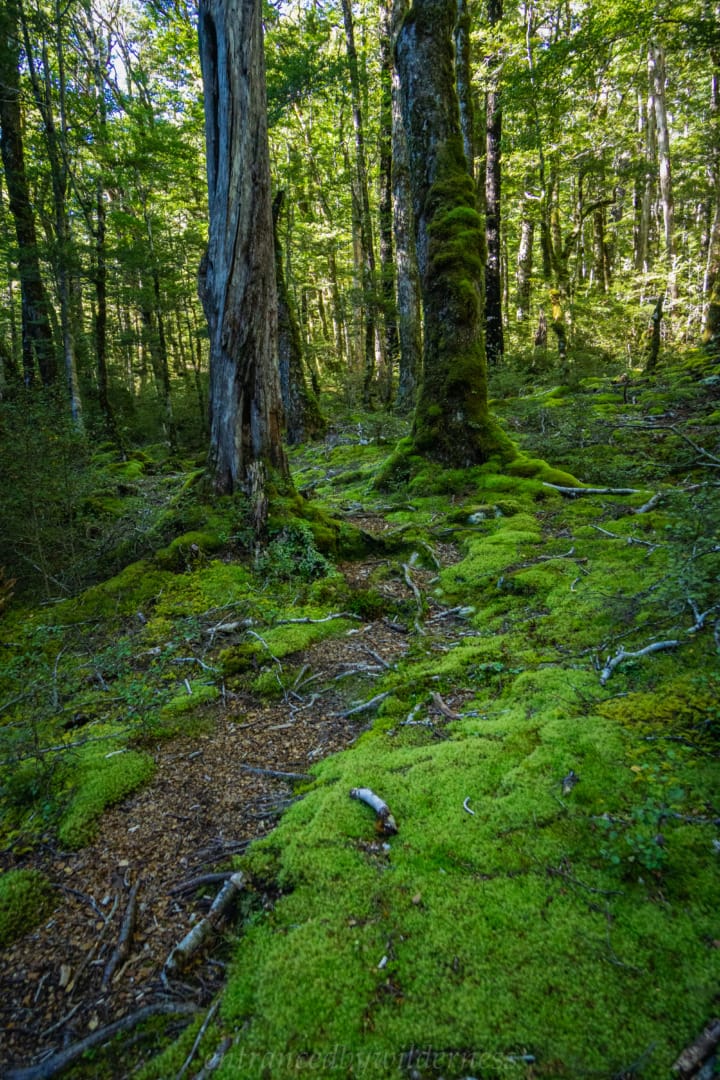
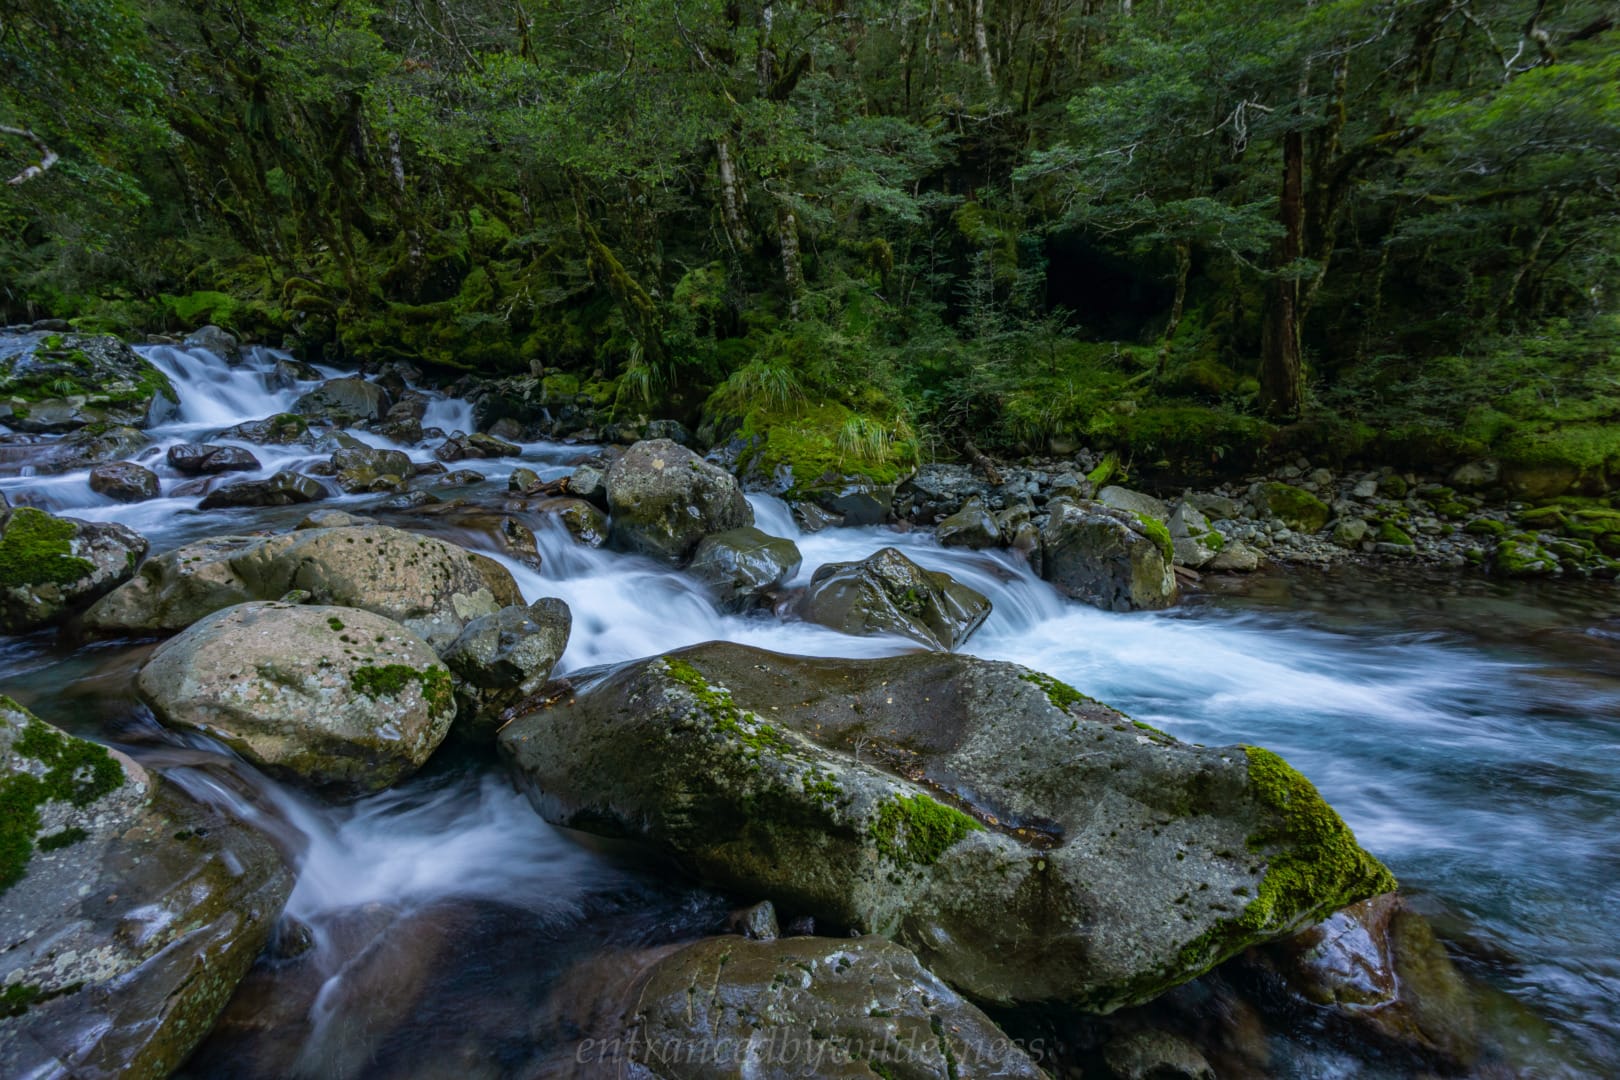
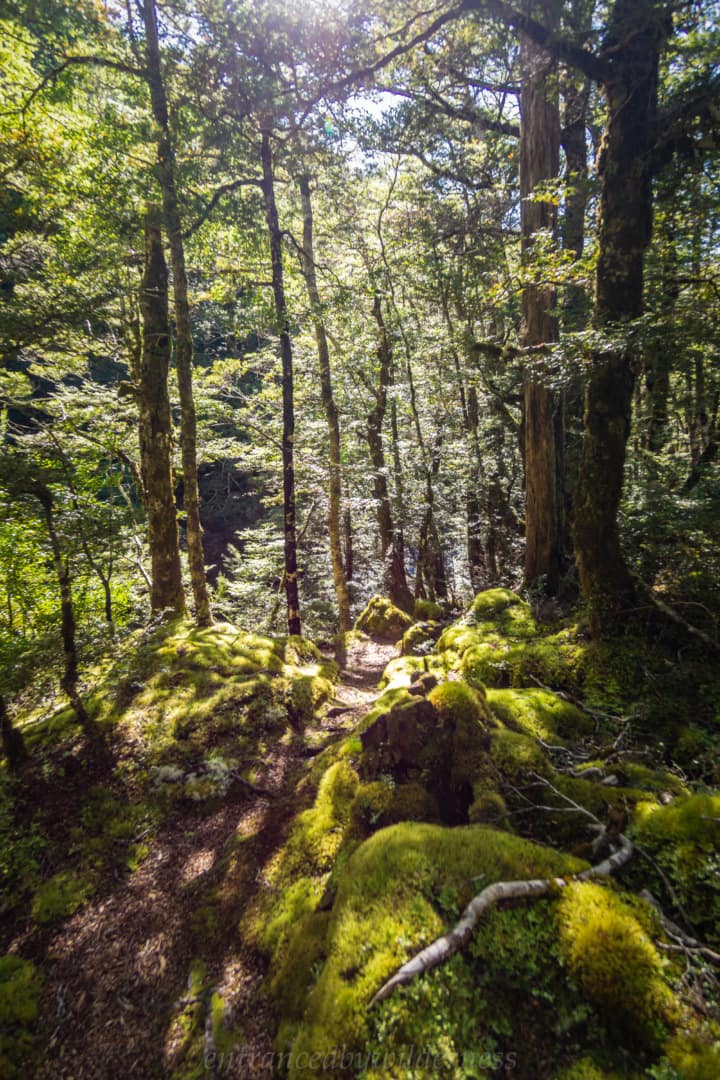
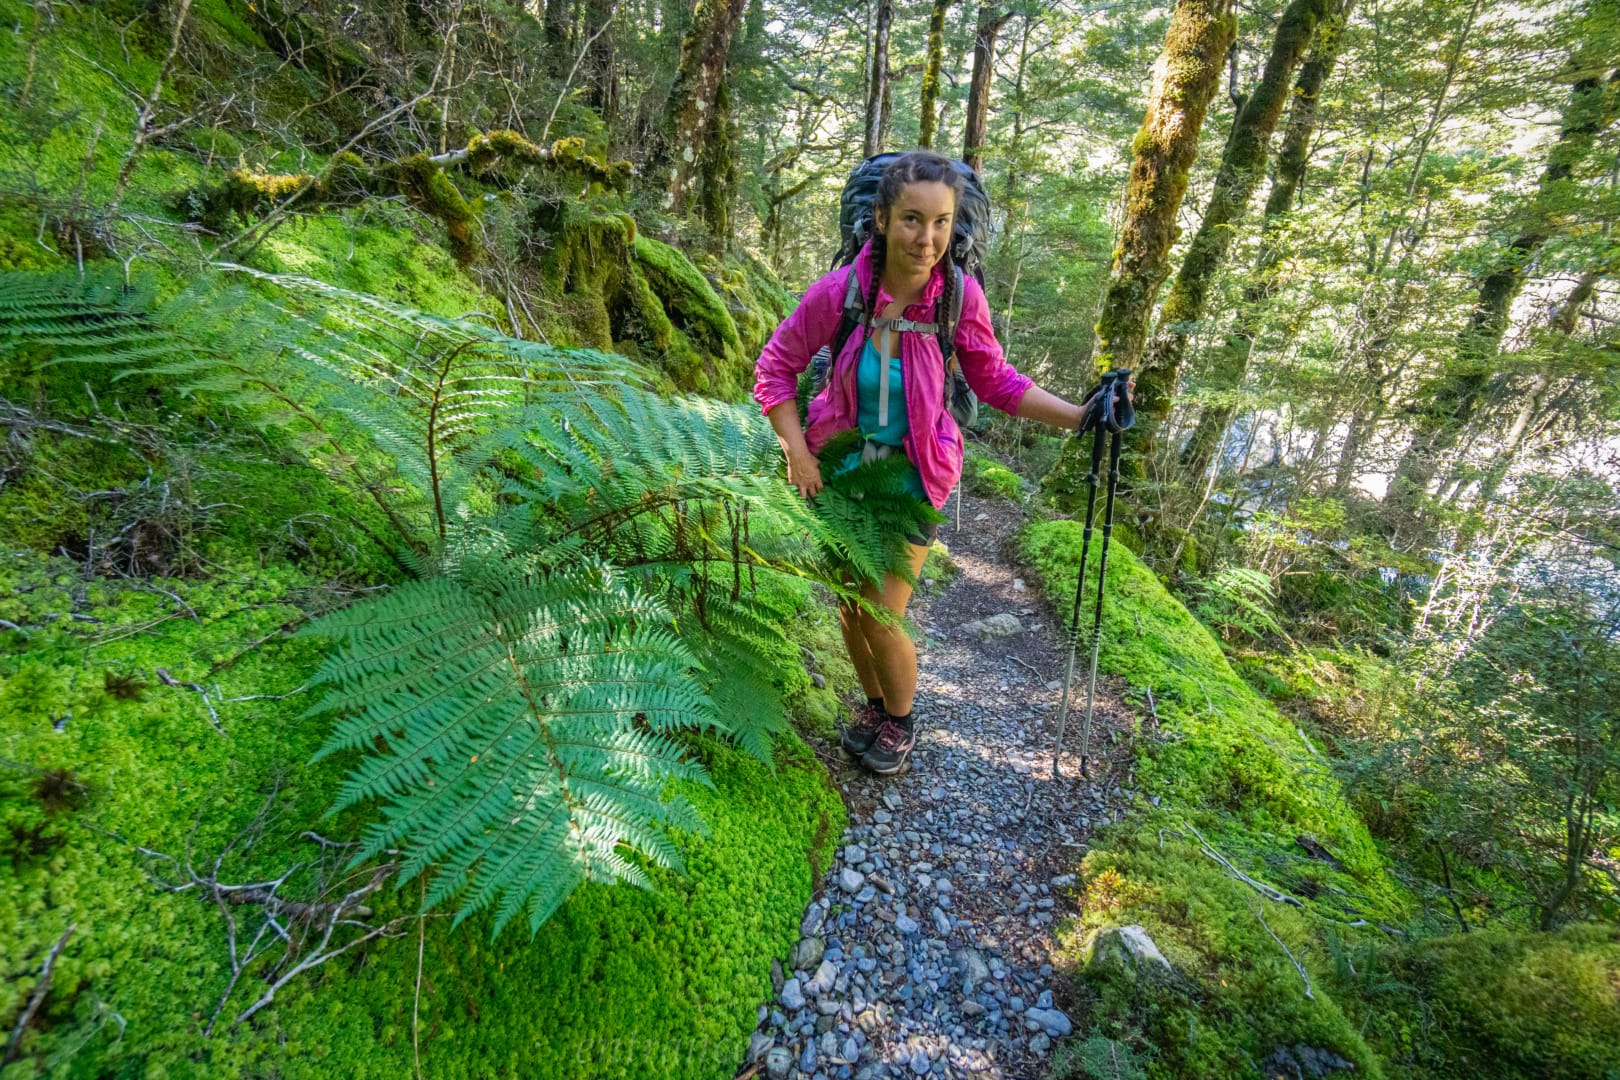
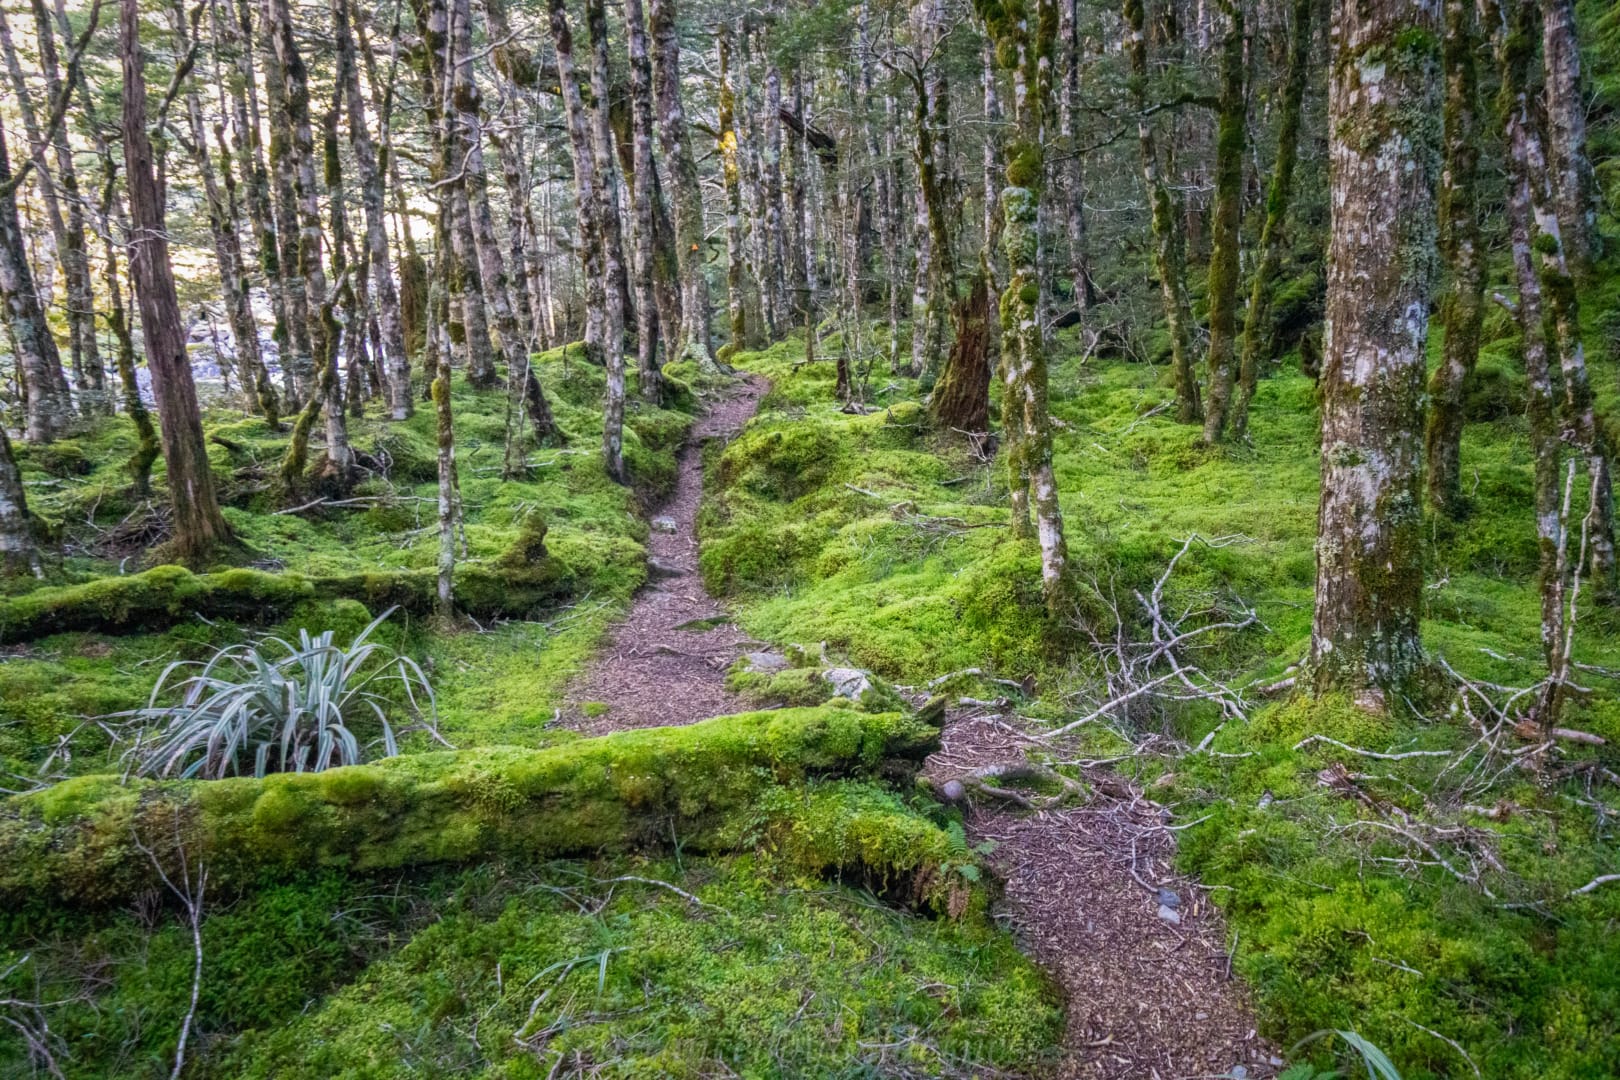
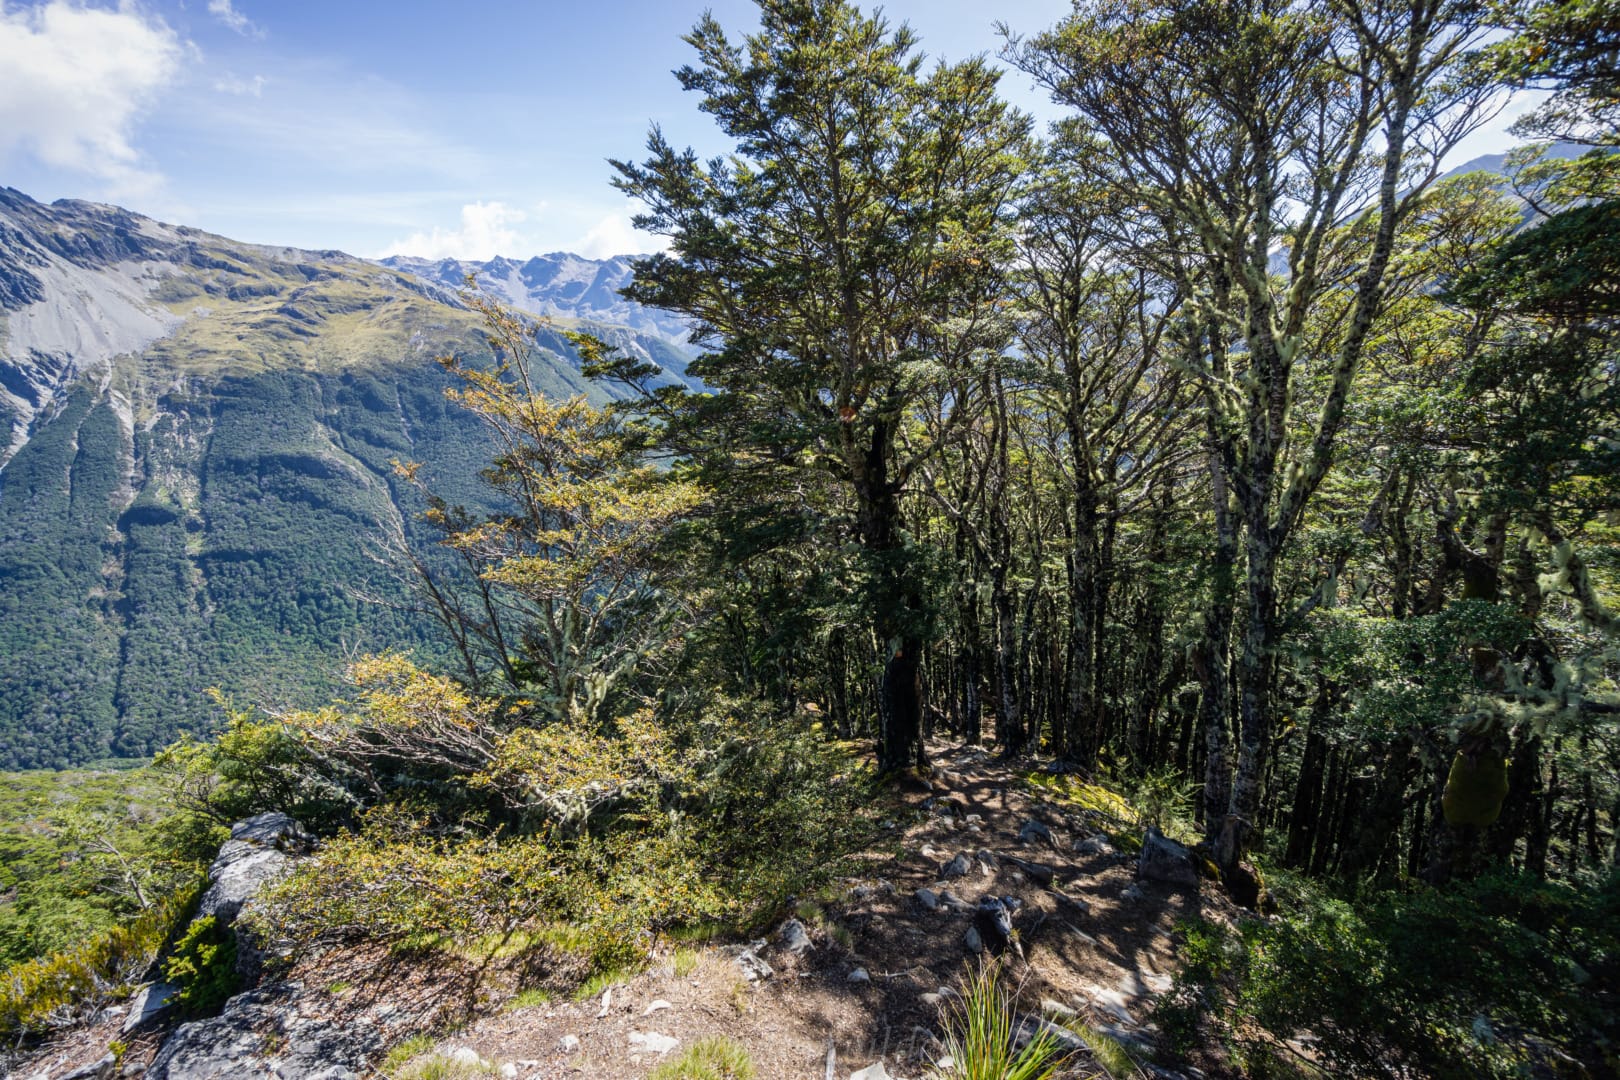
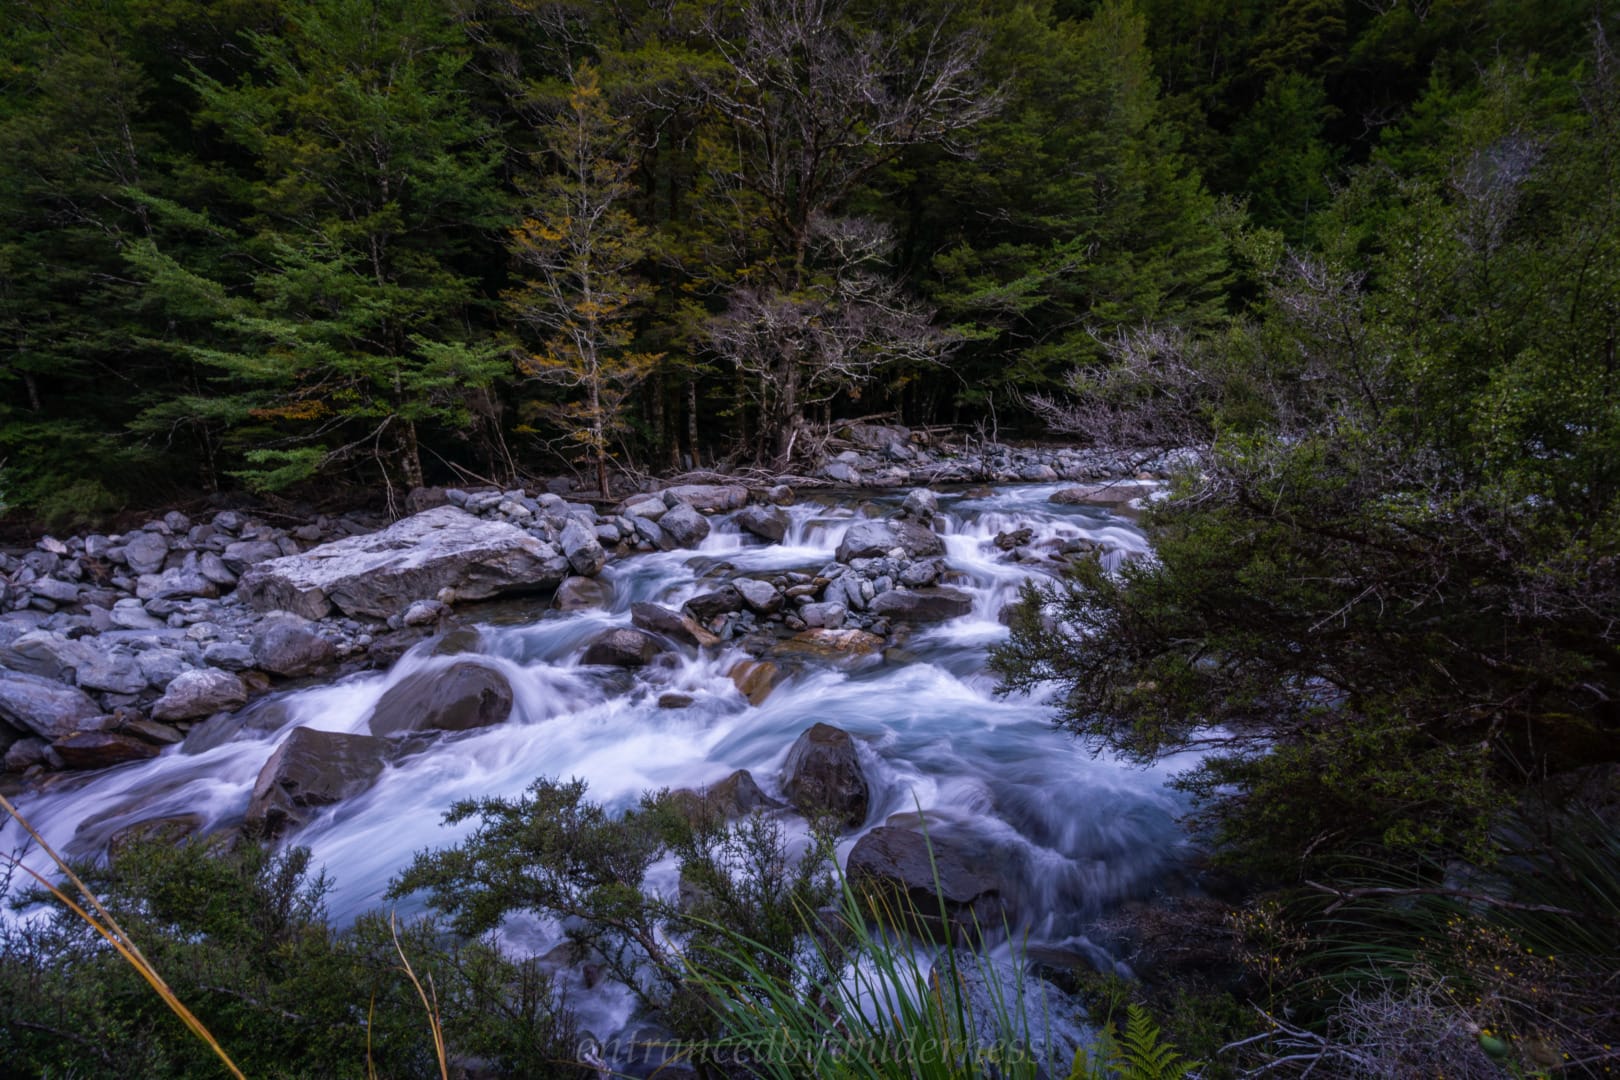
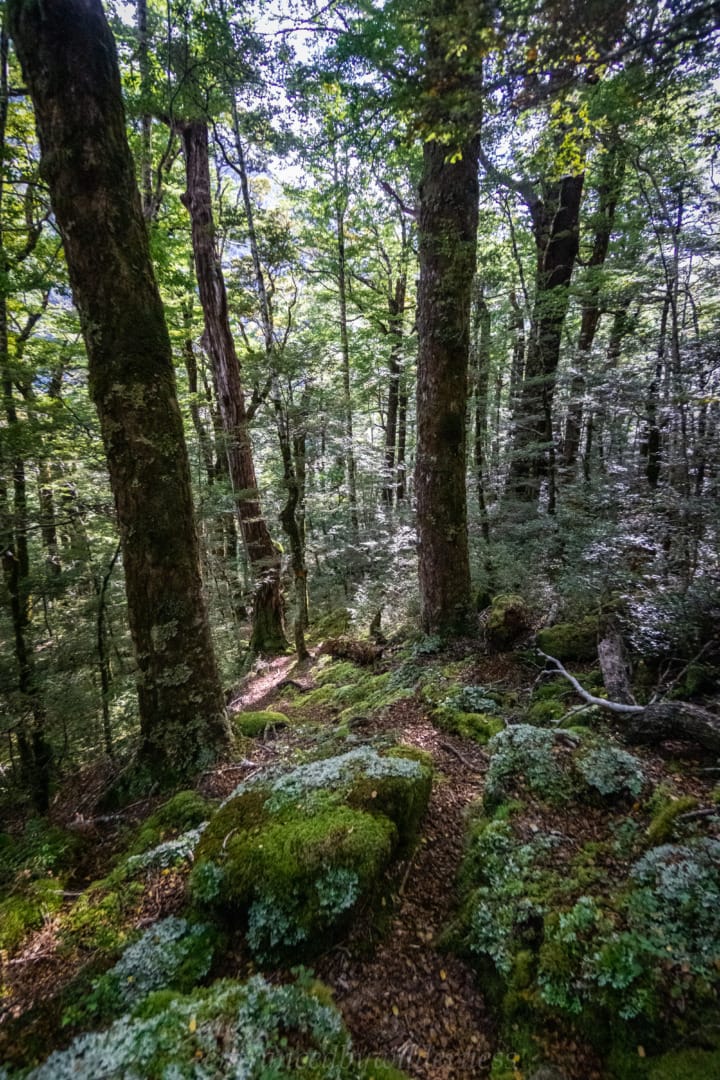
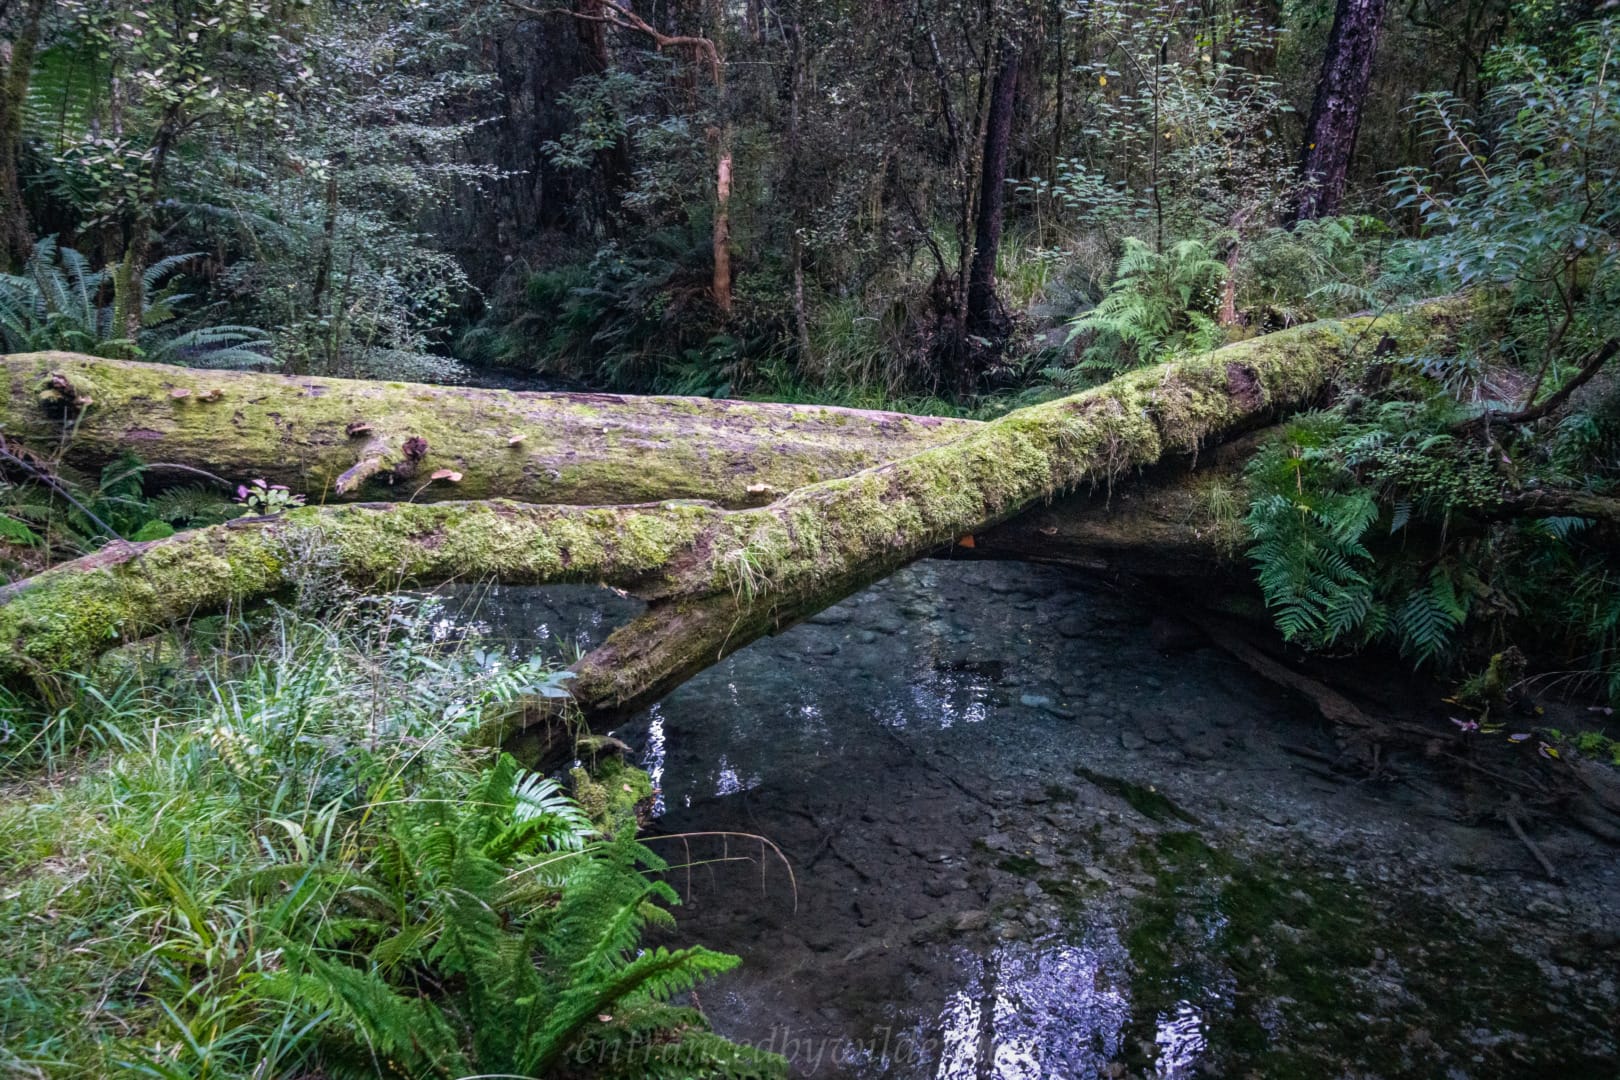
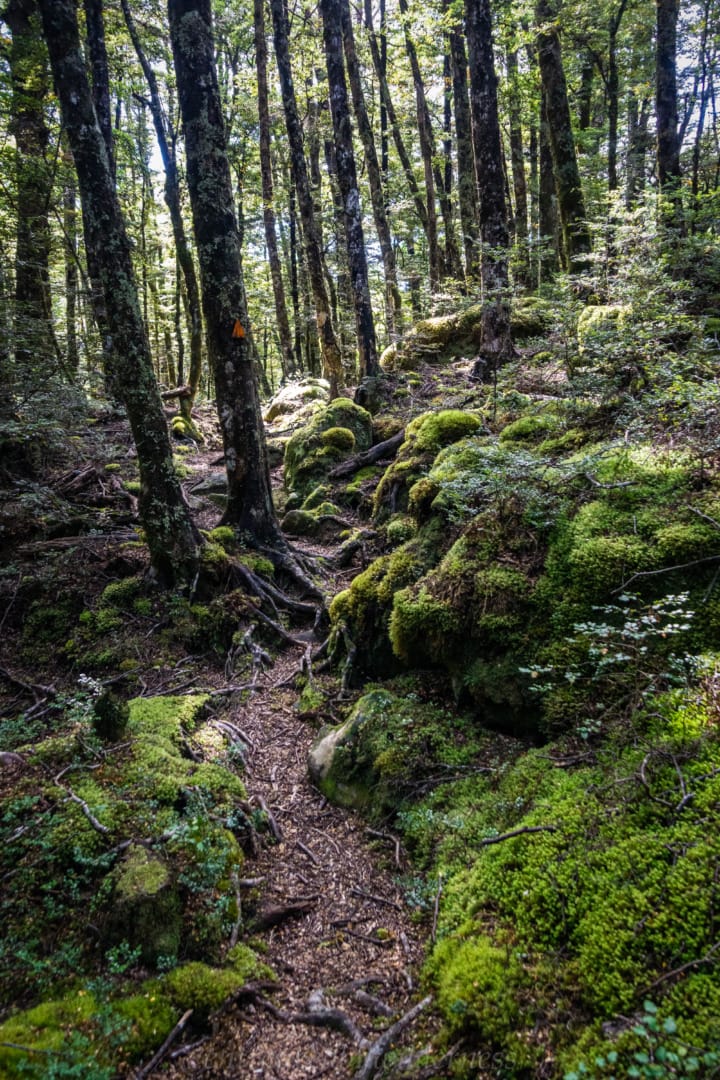
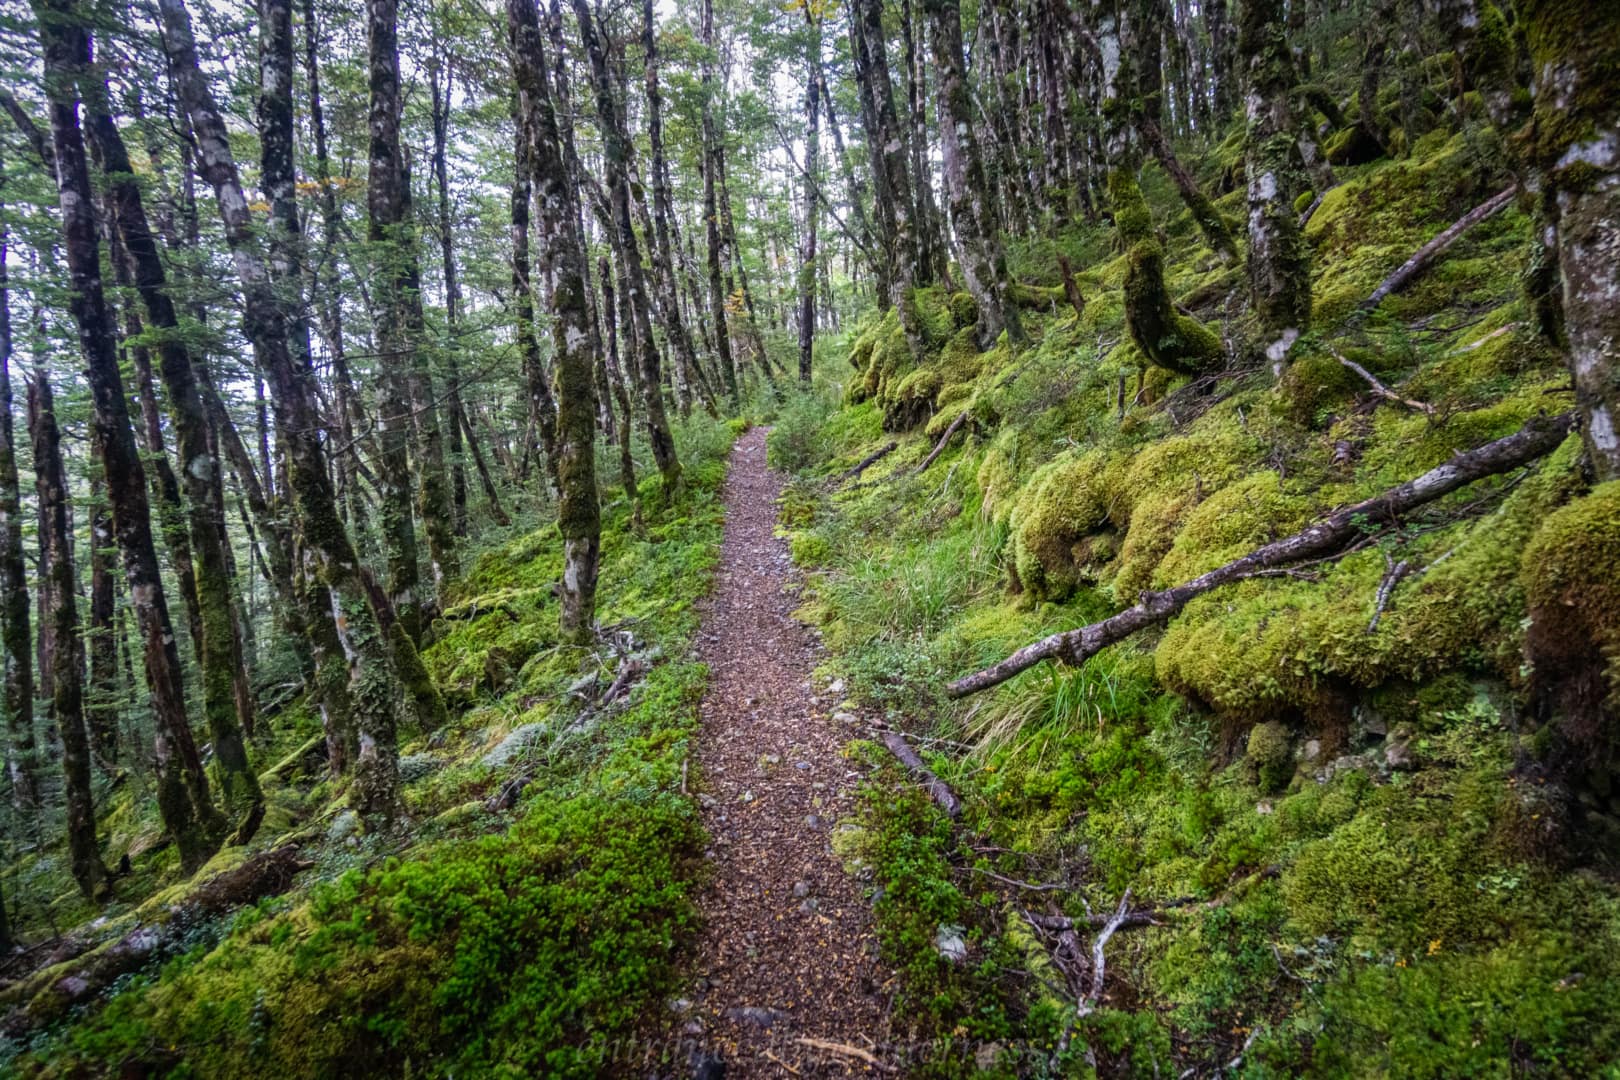
The next morning was cold, but breakfast warmed us up a little in the hut. We longed for the sun to reach the valley whilst hiking through the forest. The Hopeless track is always gorgeous though, with its beautiful mossy sections and great creek views.
After an hour or so, we reached the junction of the (much wider) Travers Trail, and headed upstream towards John Tait hut.
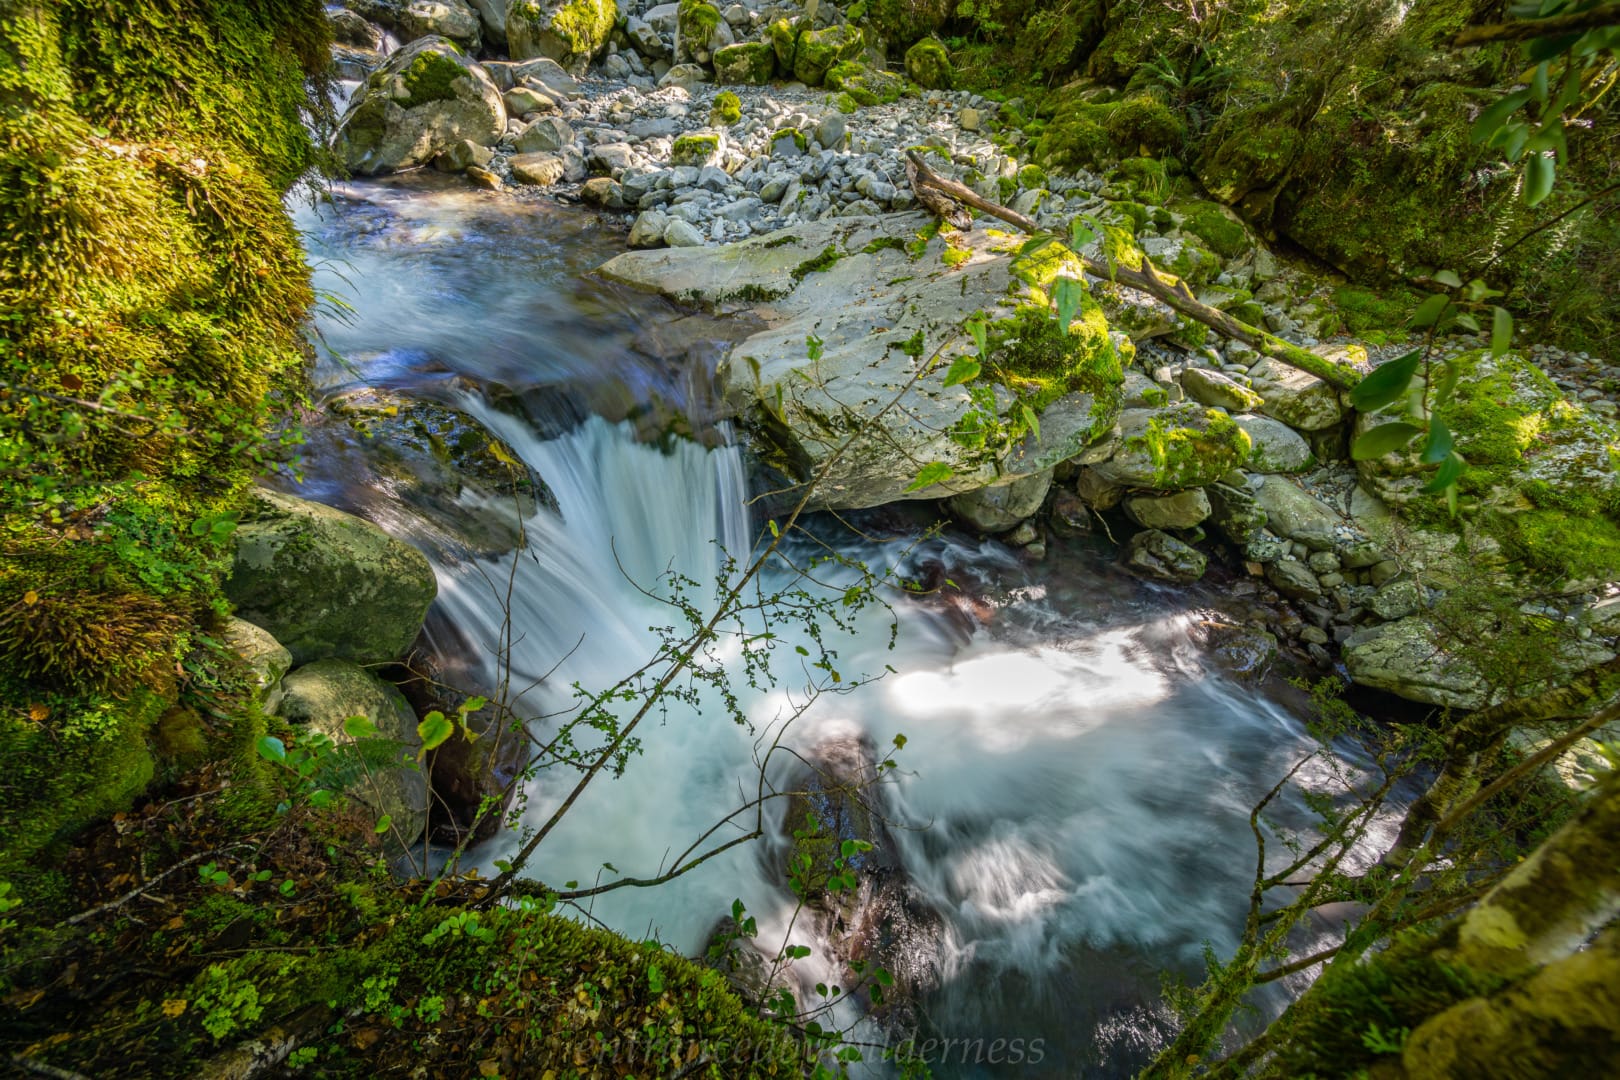
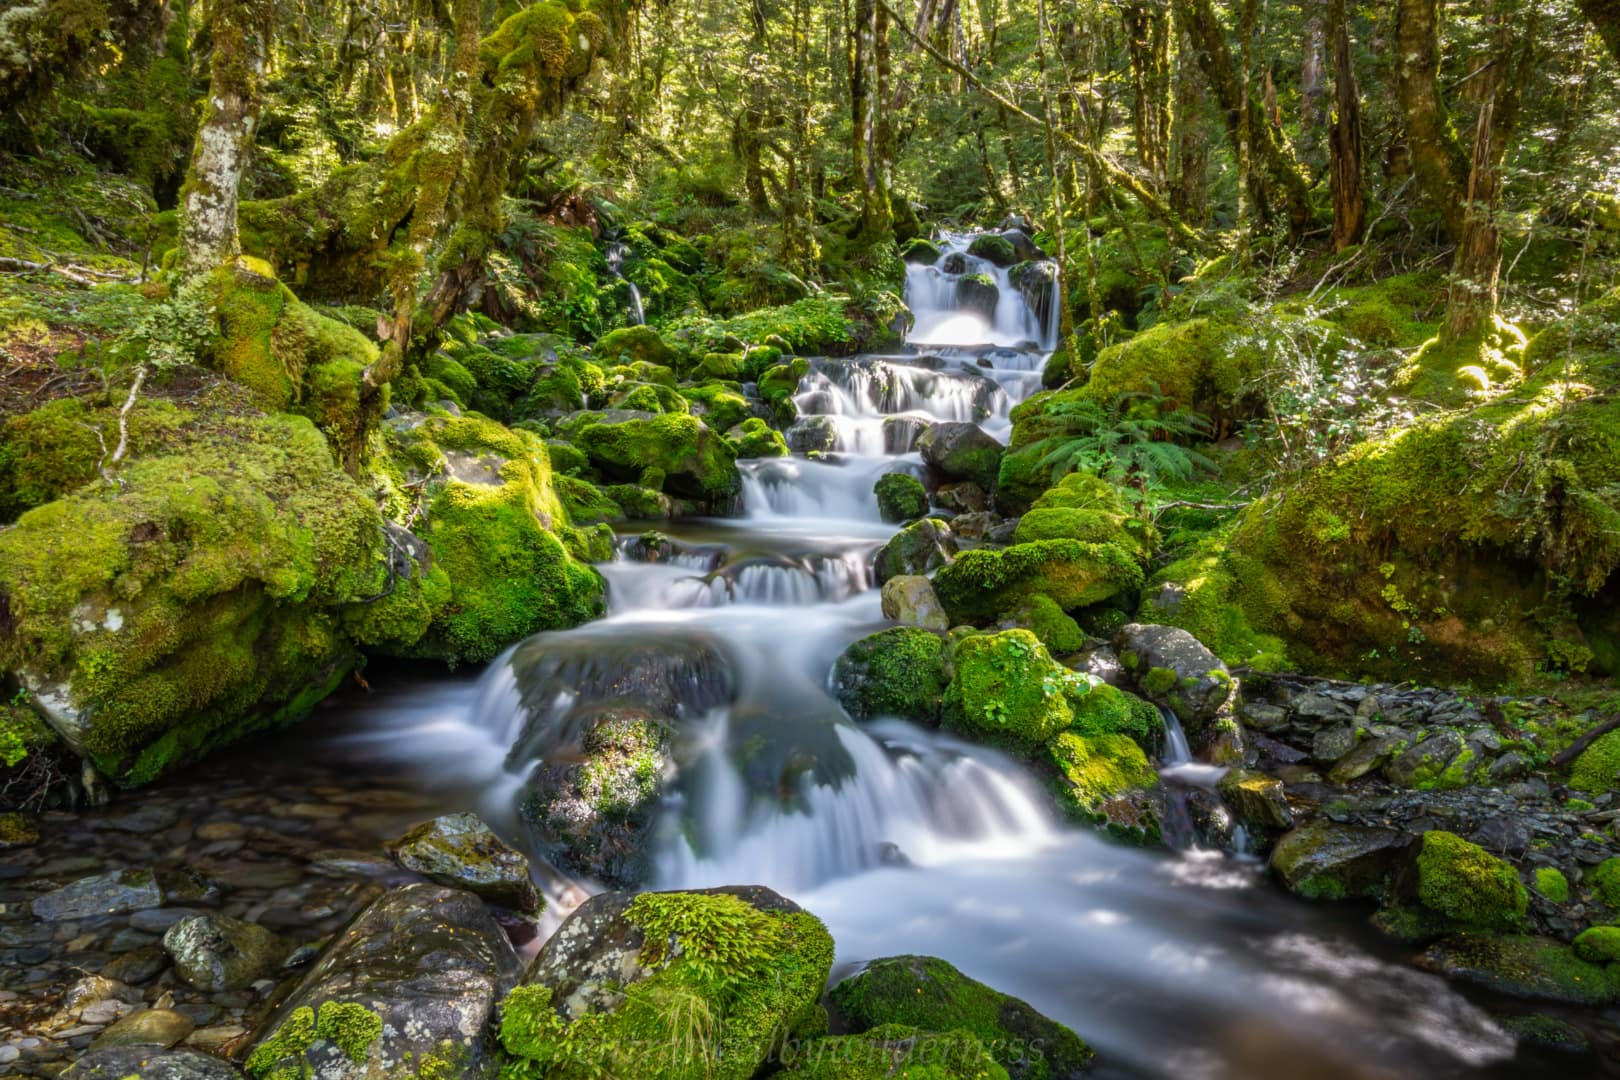
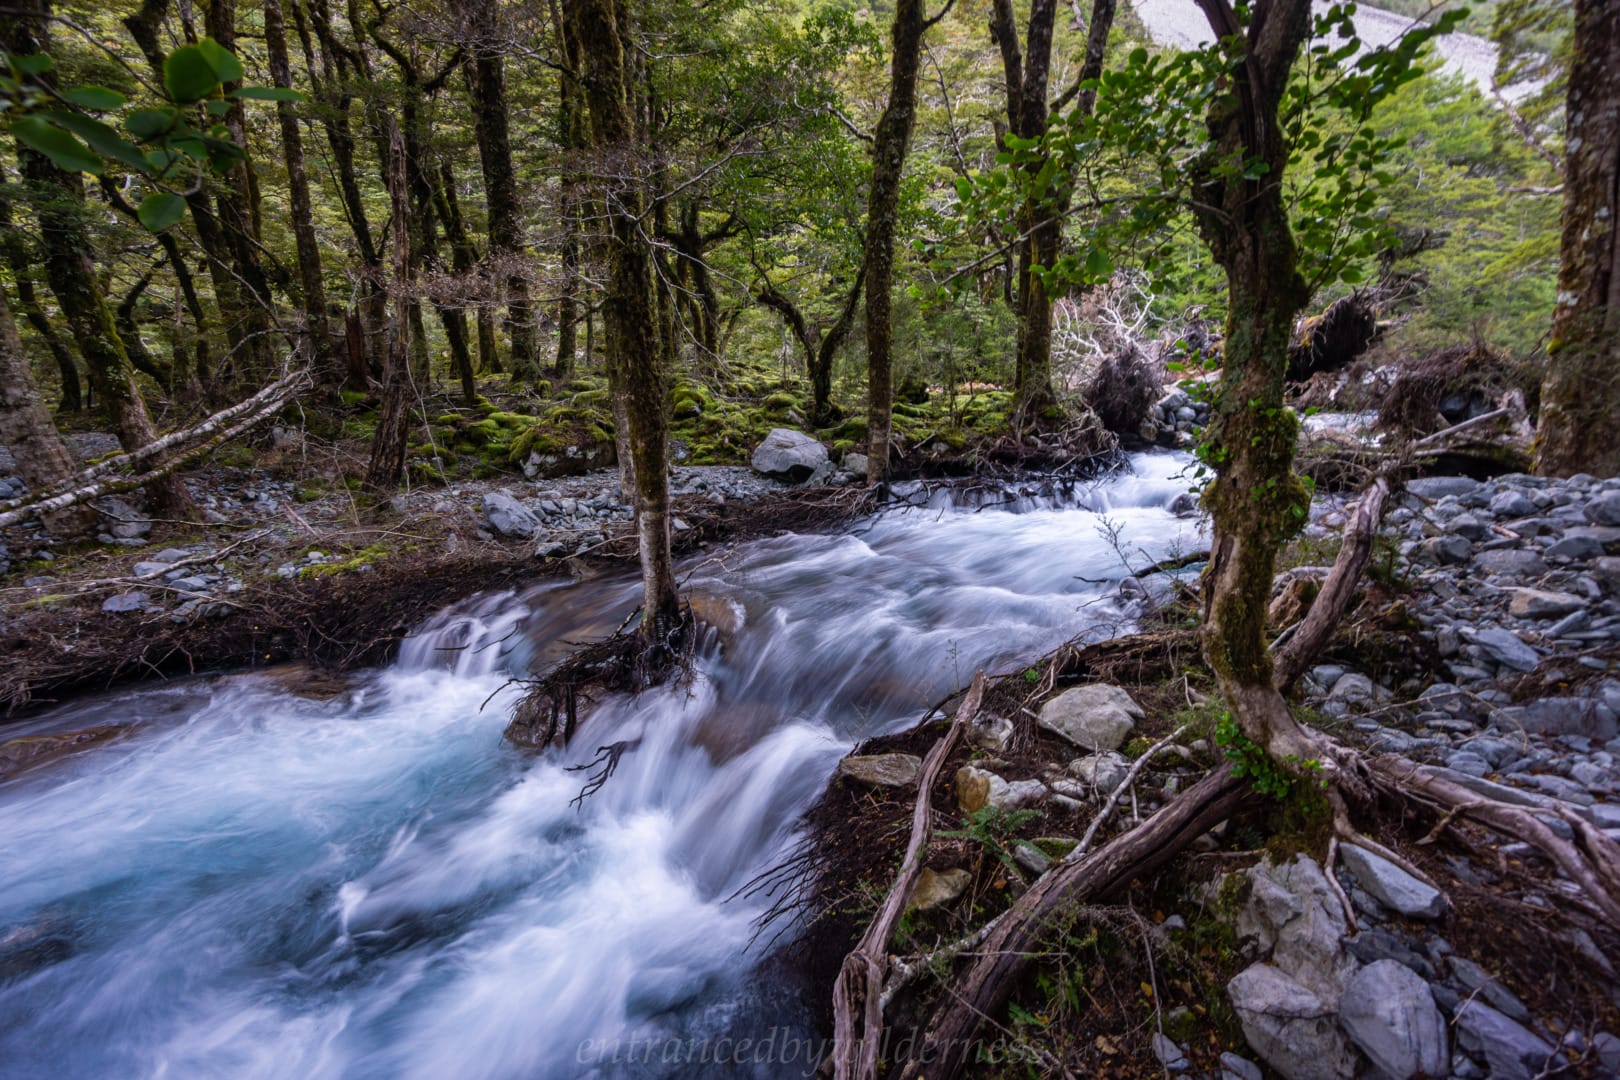
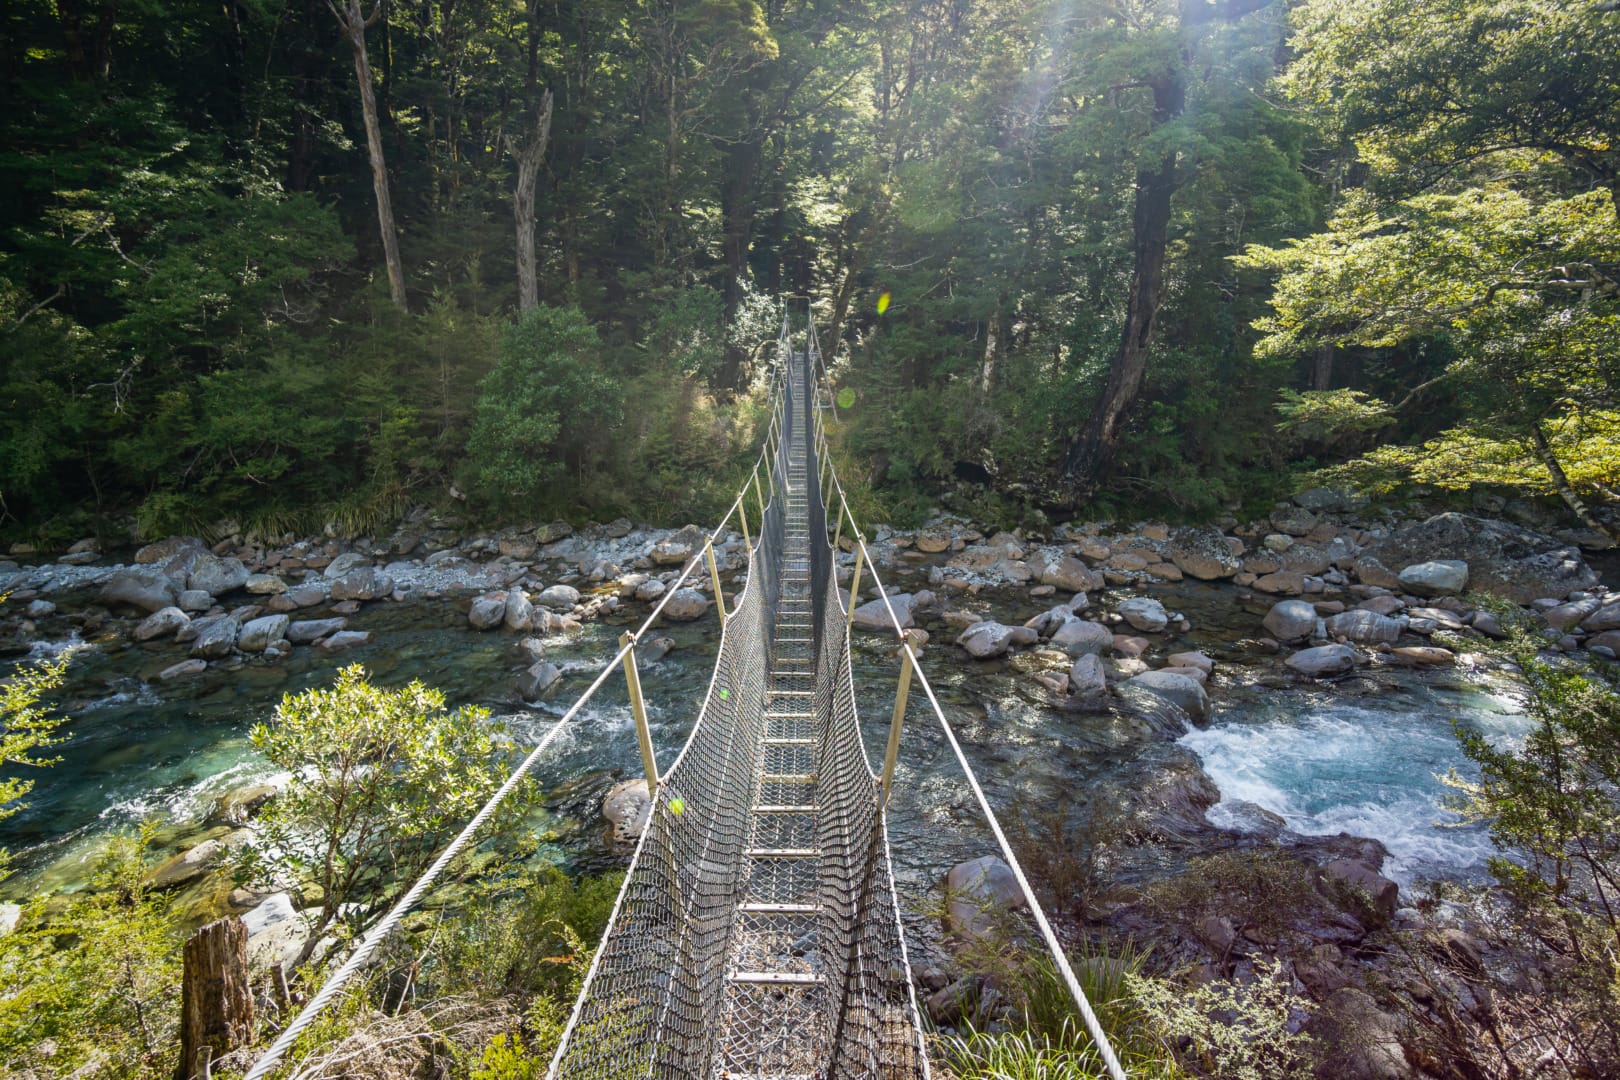
This section of the Travers is beautiful, with a cute little side stream by a bridge, right before John Tait Hut. I remember loving this side stream so much on my last trip here i even had a canvas print made from it!
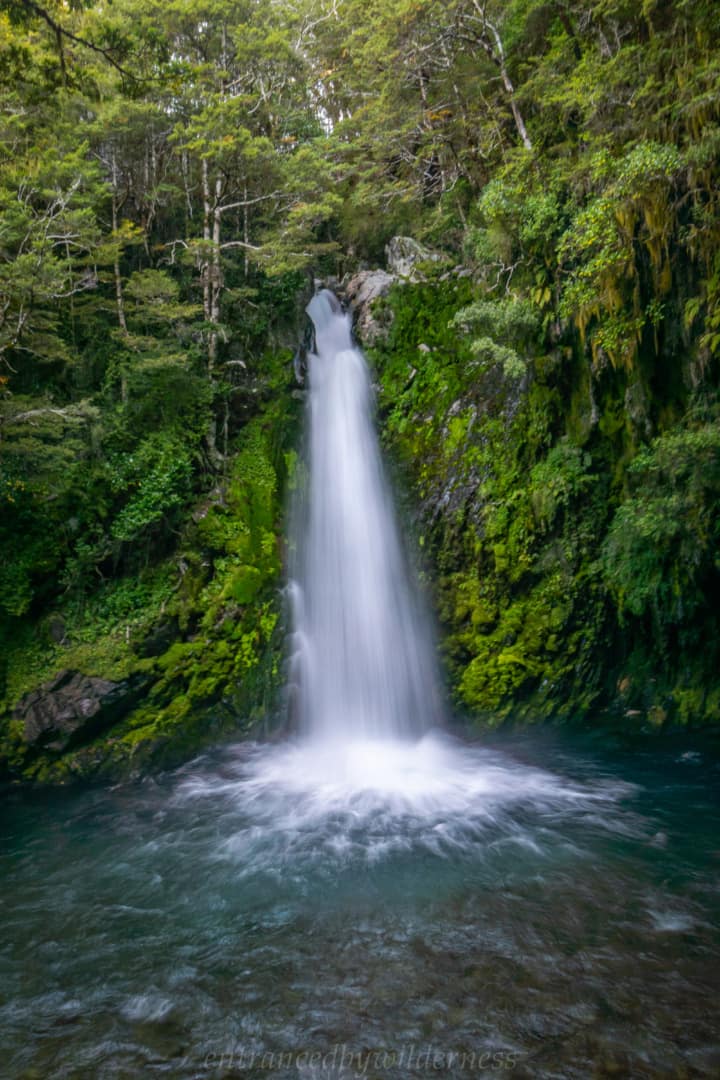
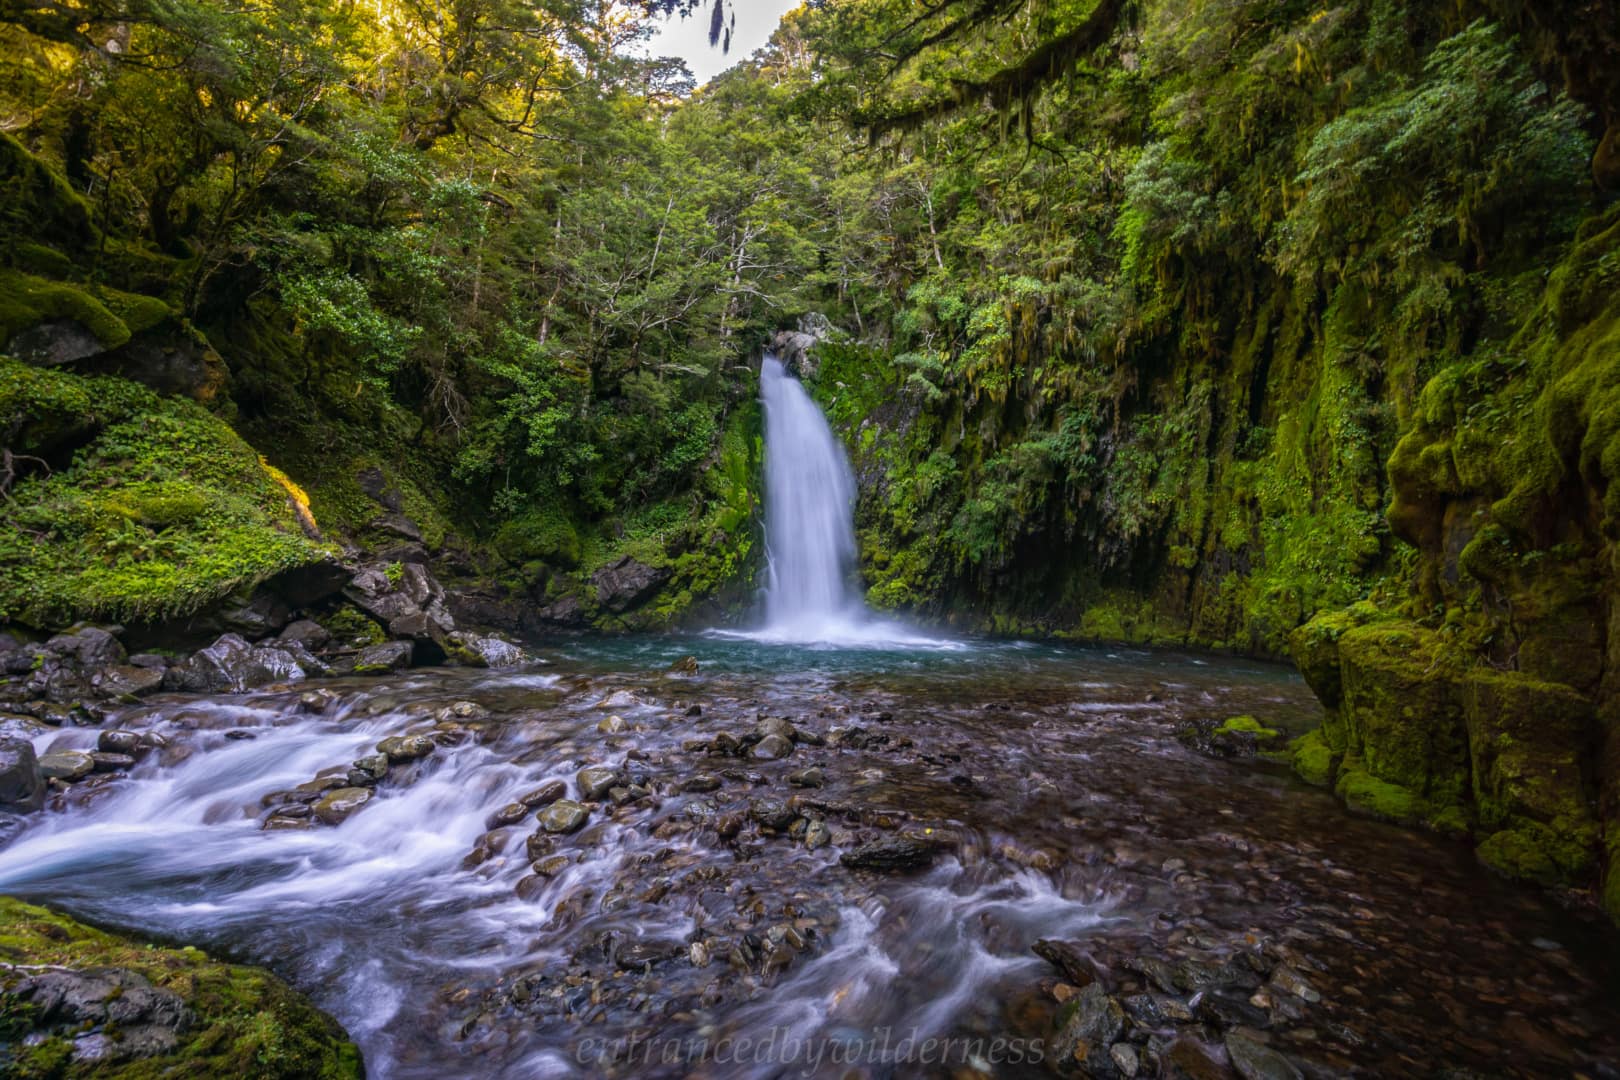
After about 20 minutes of hiking from John Tait hut heading upstream, we reached Travers Falls. The beauty of this waterfall is that it’s only small, but so powerful with the amount of water coming over it.
The final stretch up the Travers valley led us to Upper Travers Hut. We briefly went inside, where about five Te Araroa hikers were. I really wanted to tent camp though, and set up in the single tent space available in the tussock. I do question my decision for doing this, as it was cold that night!
Like the Hinapouri tarn night, I wished I had my warmer winter gear with me. I opened the tent in the morning to find frost everywhere, and it was feeling a little cool in the morning. We sucked it up and had a quick breakfast before packing up. Today, we had the goal of reaching Blue Lake. Our first target was Travers Pass. We found a patch of snow berries along the way, and decided to pick some for our breakfast oats in the morning.
Travers pass isn’t too hard at this time of the year. From this direction, it’s basically a 100m evelation steep grunt up, followed by an easier 200m of elevation gain.
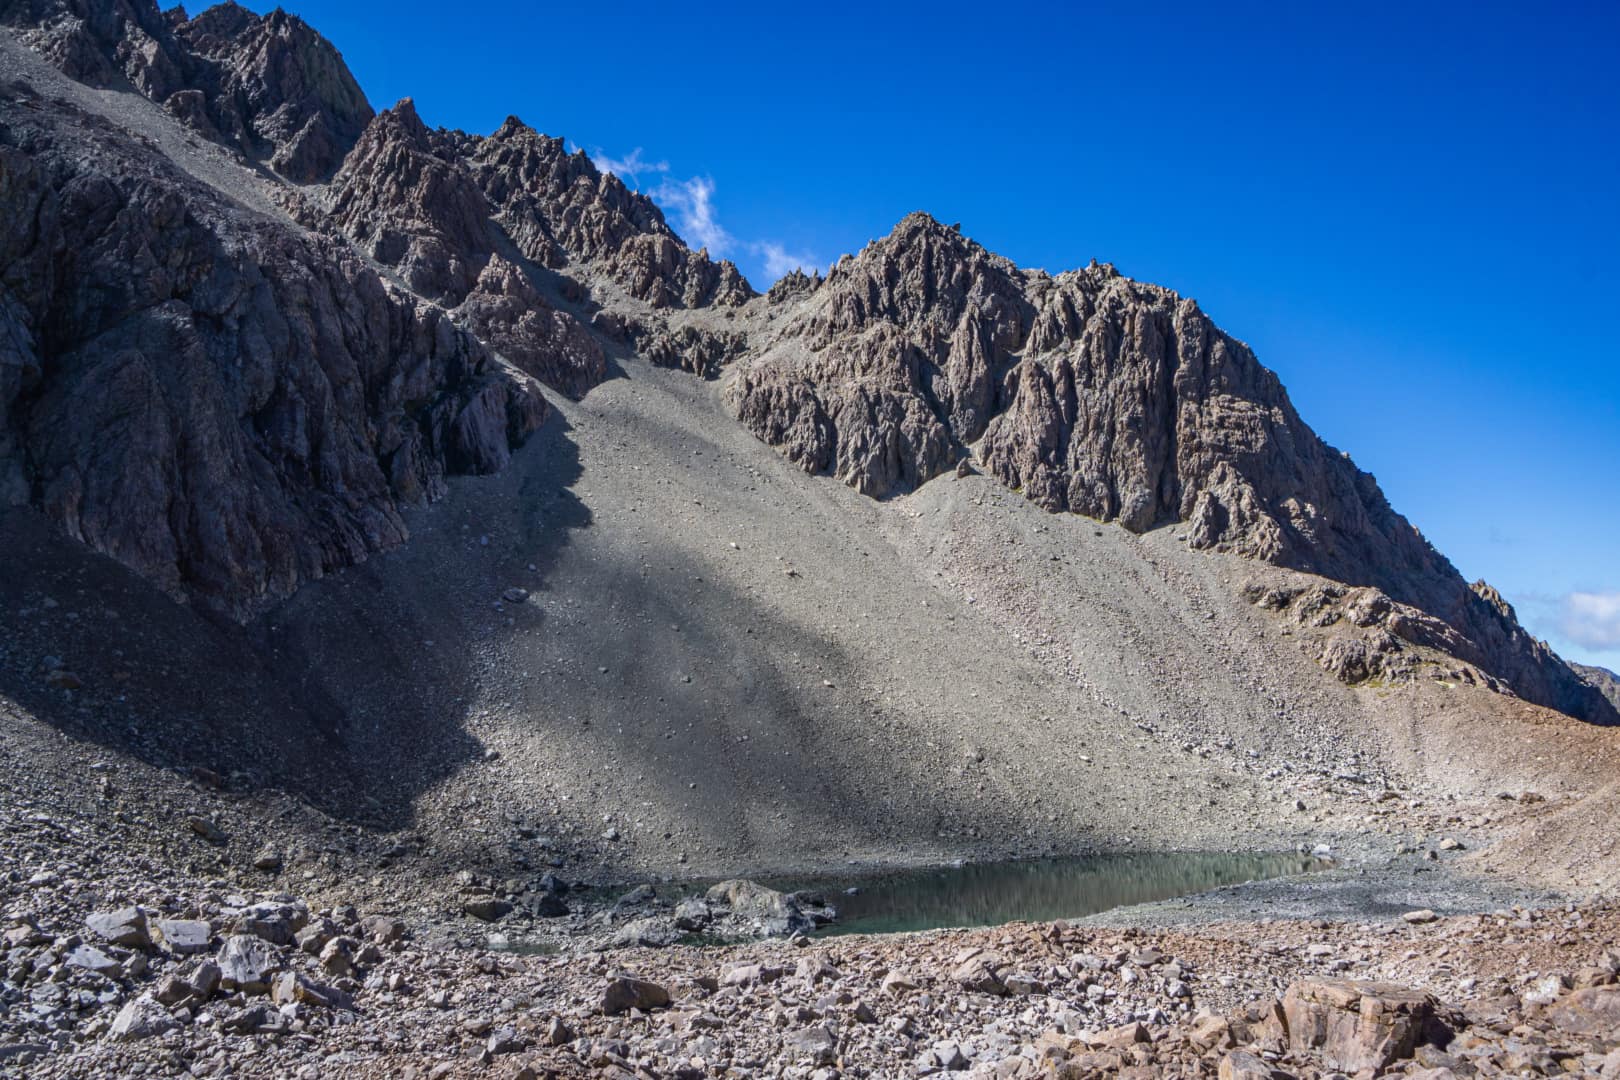
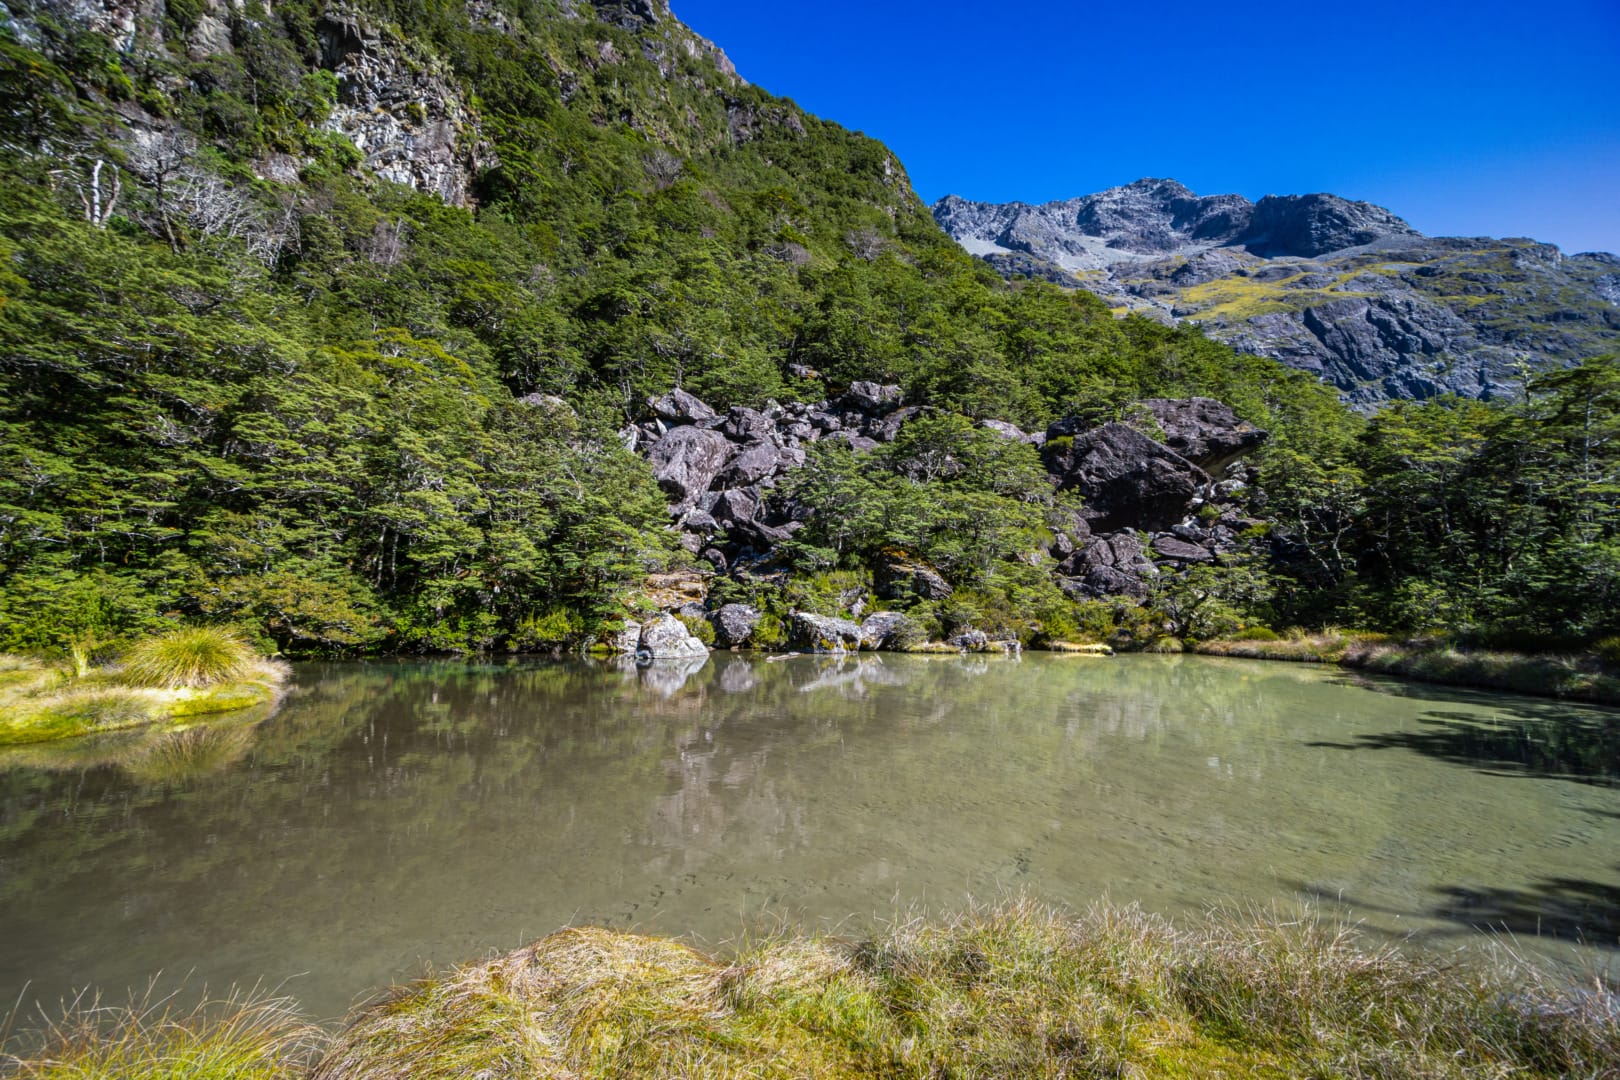
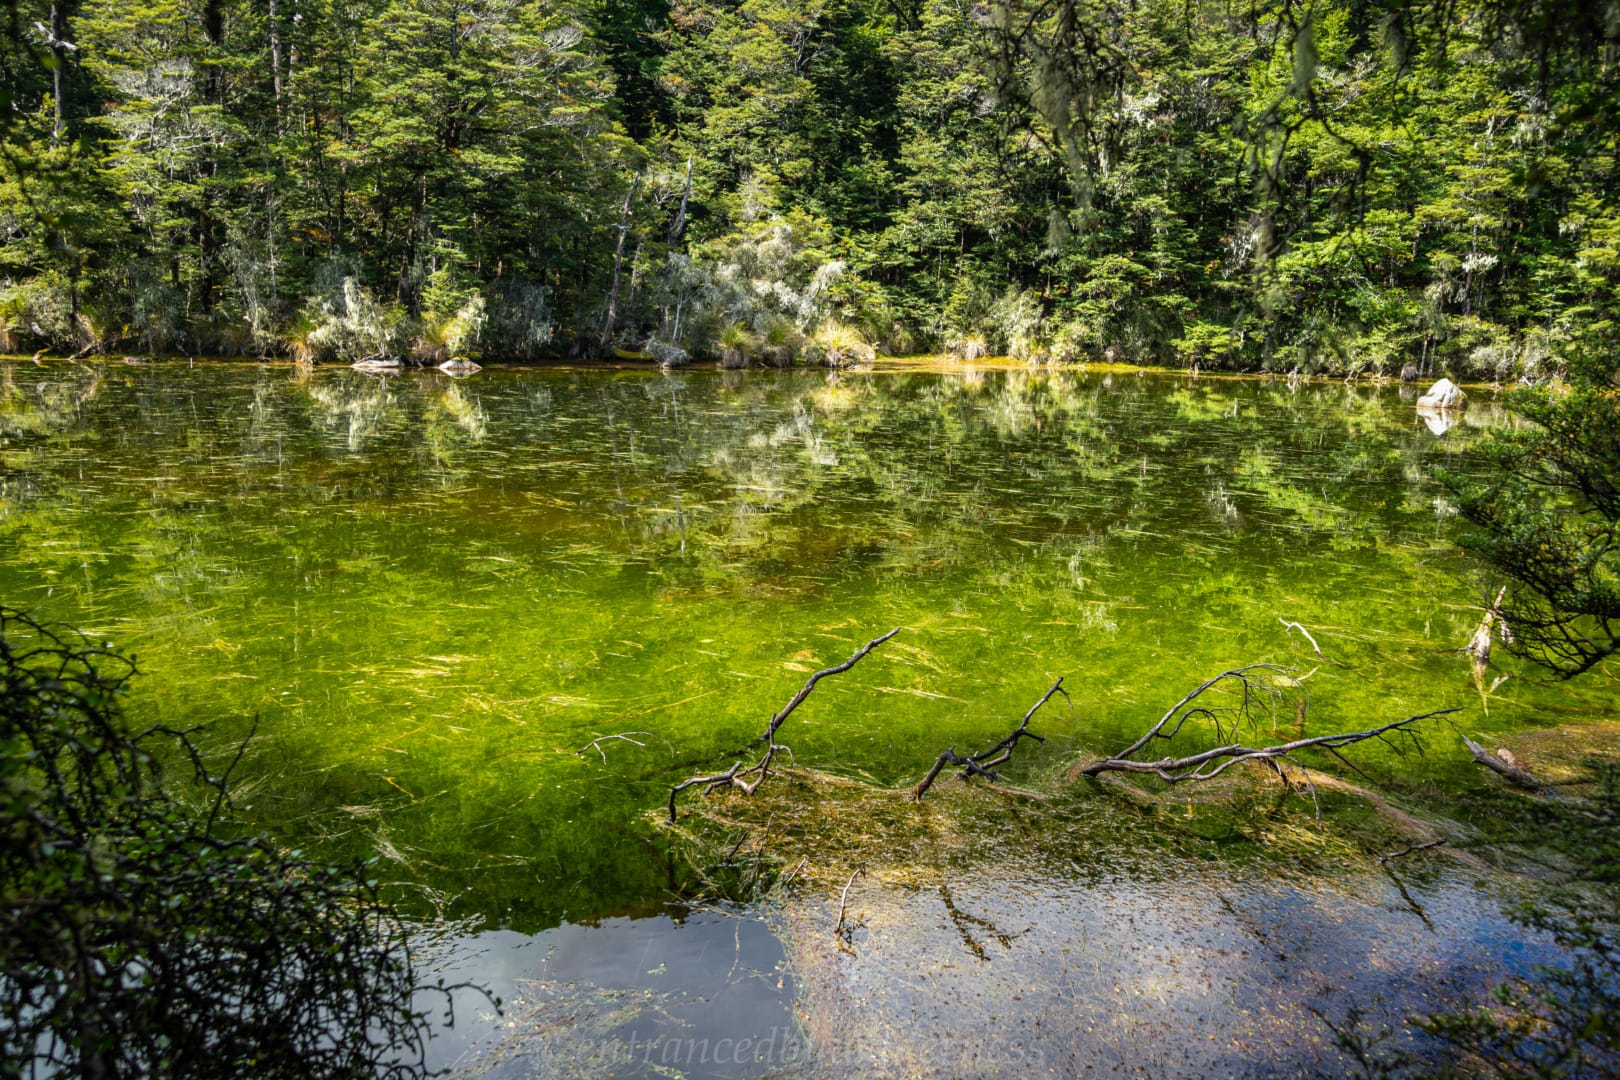
After reaching the pass, we decided to take a side-trip to the tarn located below Rainbow Pass, not far off the trail. This was more of a curiosity thing. It was a nice tarn with a small rock island in the middle. Potential camping as well (a cleared tent site shown in photo).
After our detour, we regained the trail and began the descent off Travers Saddle. It should be noted the route here is not the same as the NZ Topo marked route. The trail here actually follows from the 1500m contour on the forested spur right before the steep downhill section, and rejoins the mapped route at 960m.
This part is a downhill grunt, but pretty straightforward. There is a crazy-skinny deep gorge after the main descent, which you cross with a small bridge. This gorge continues for longer, but broadens out 1km further. Don’t look over the edge when you get to 800m unless you want to poo your pants!
We arrived shortly after at West Sabine Hut, but due to it being quite crowded, we quickly decided to push on and see if we can make it to Blue Lake Hut. It was getting late, and I was a little sceptical of us reaching there, but we could always tent camp should it get dark.
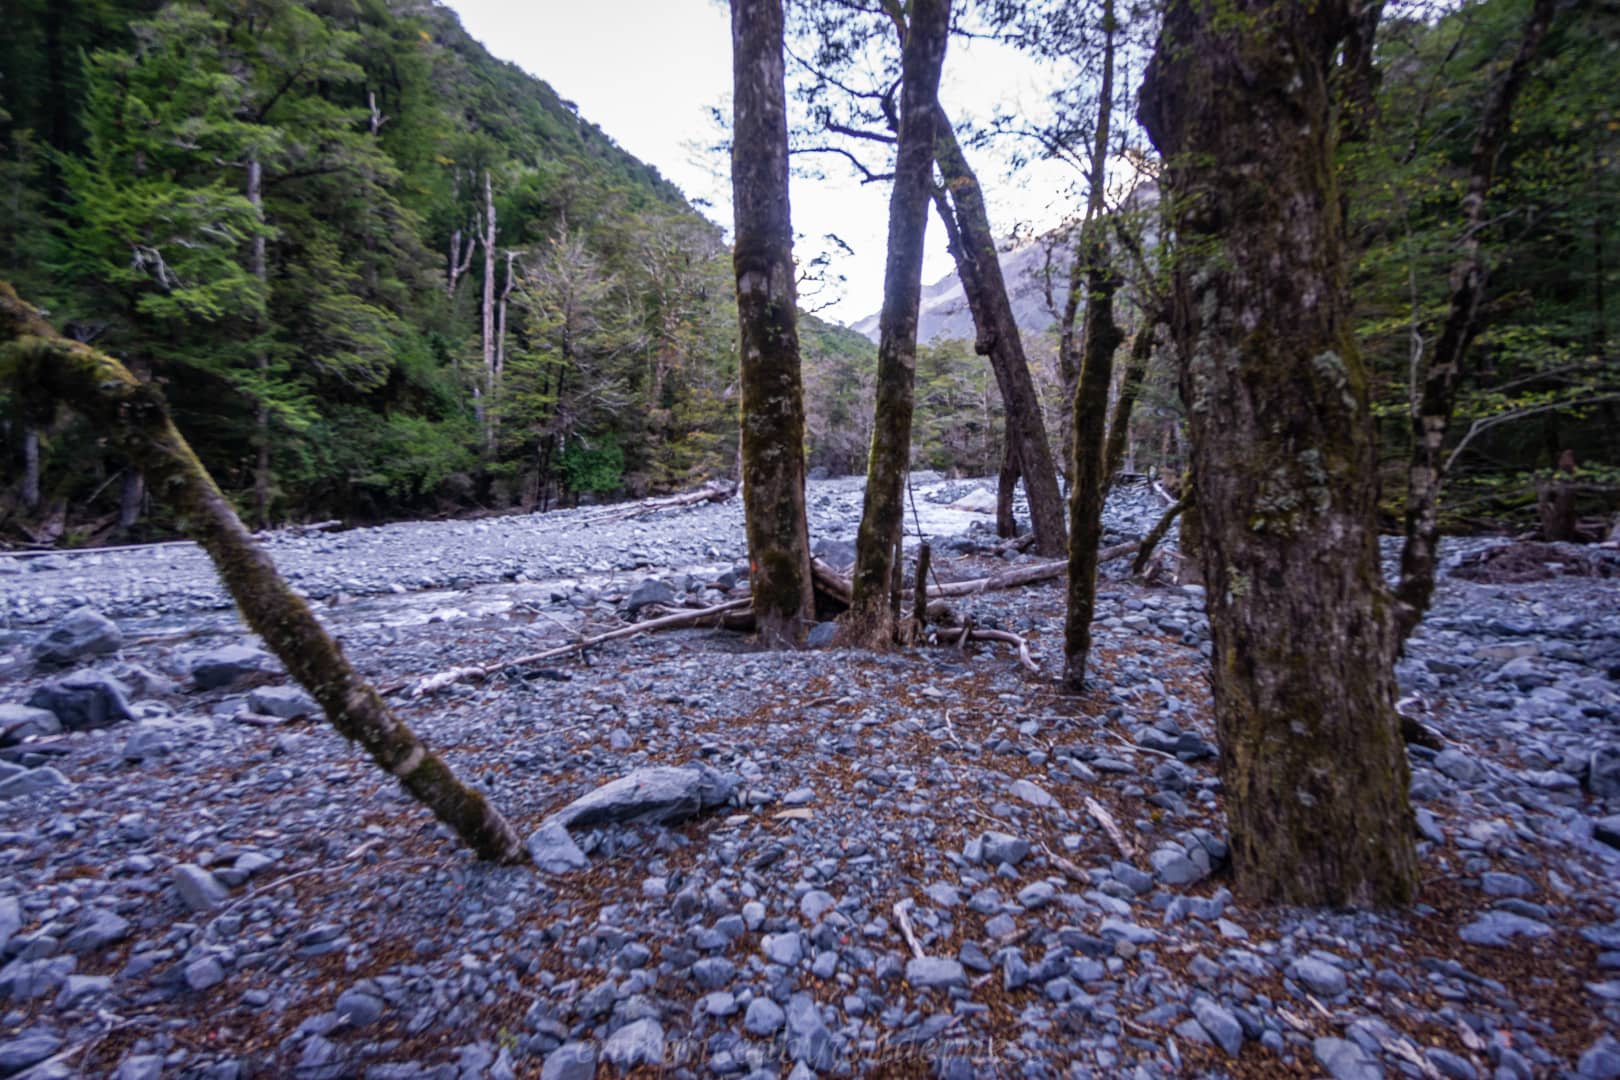
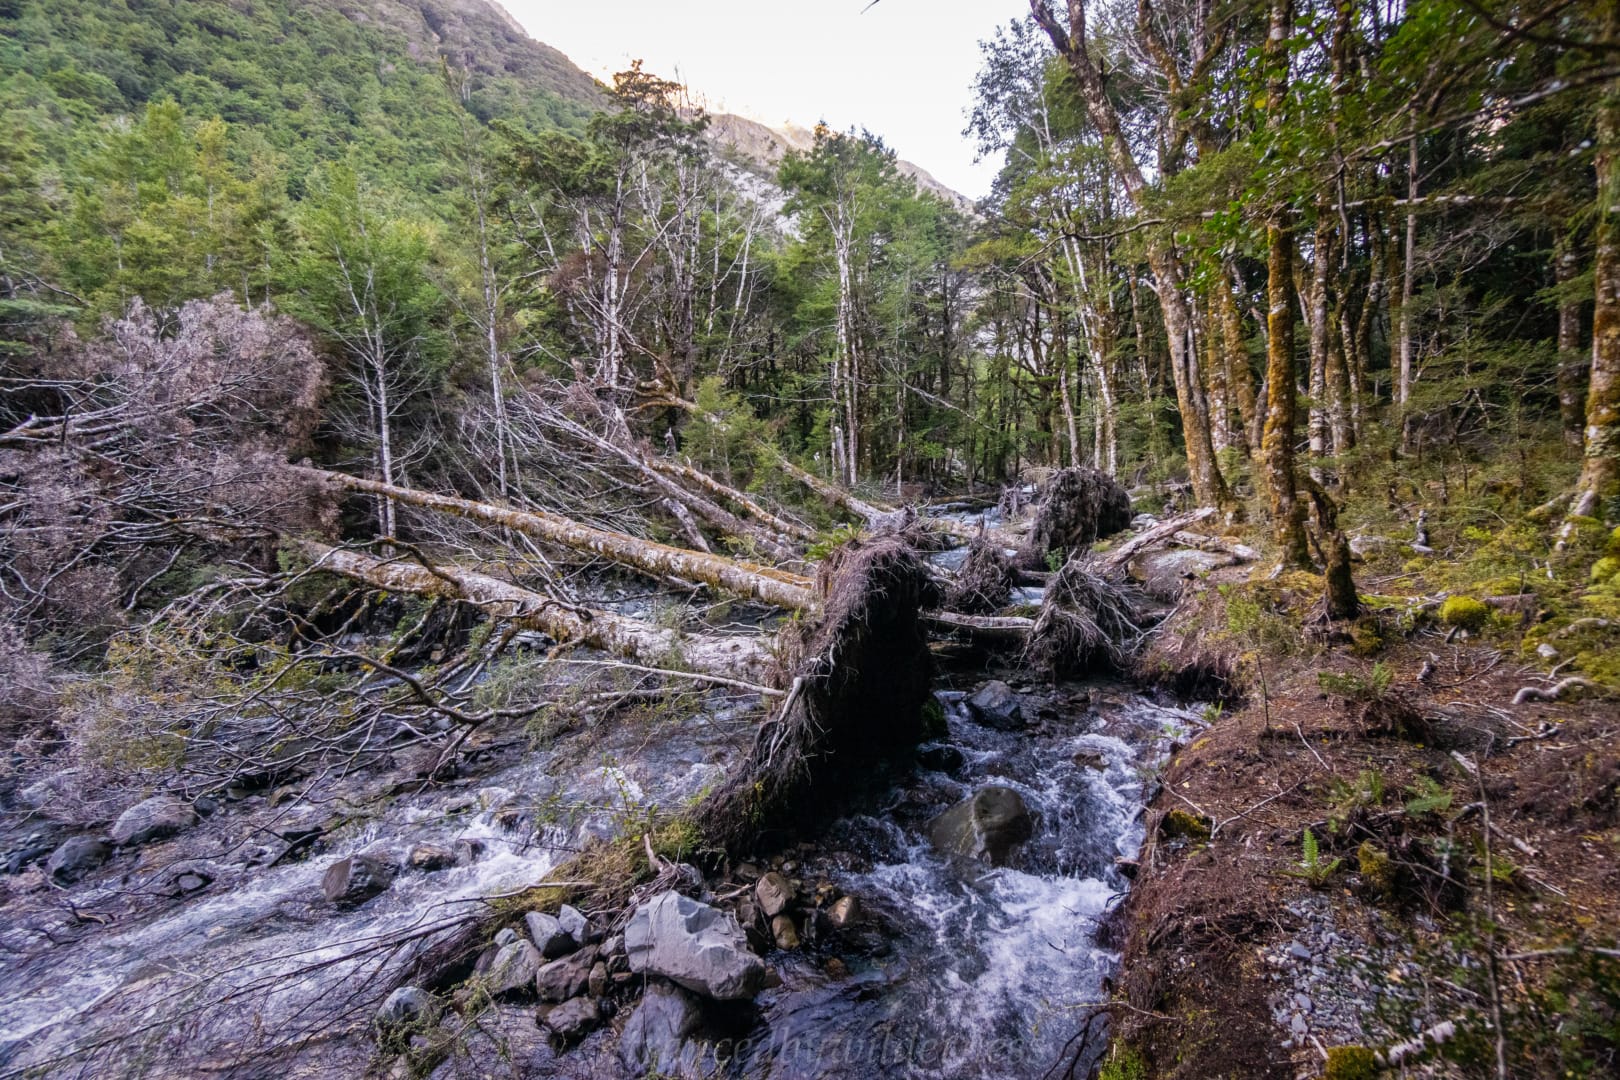
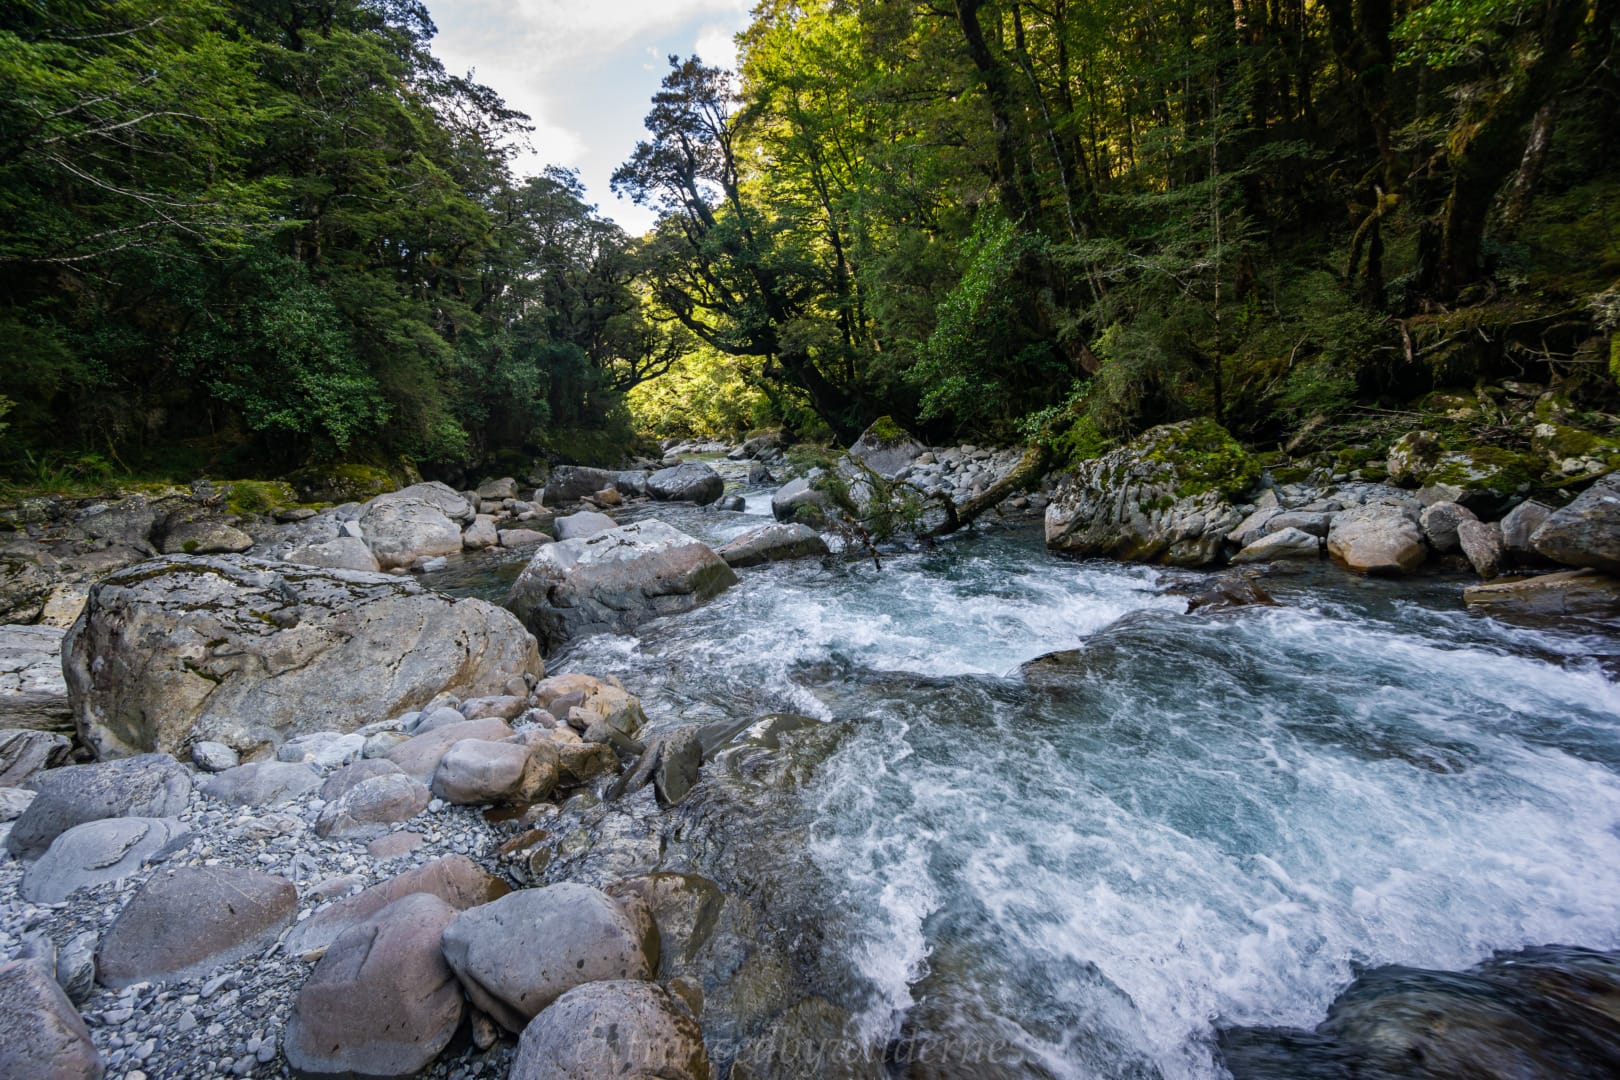
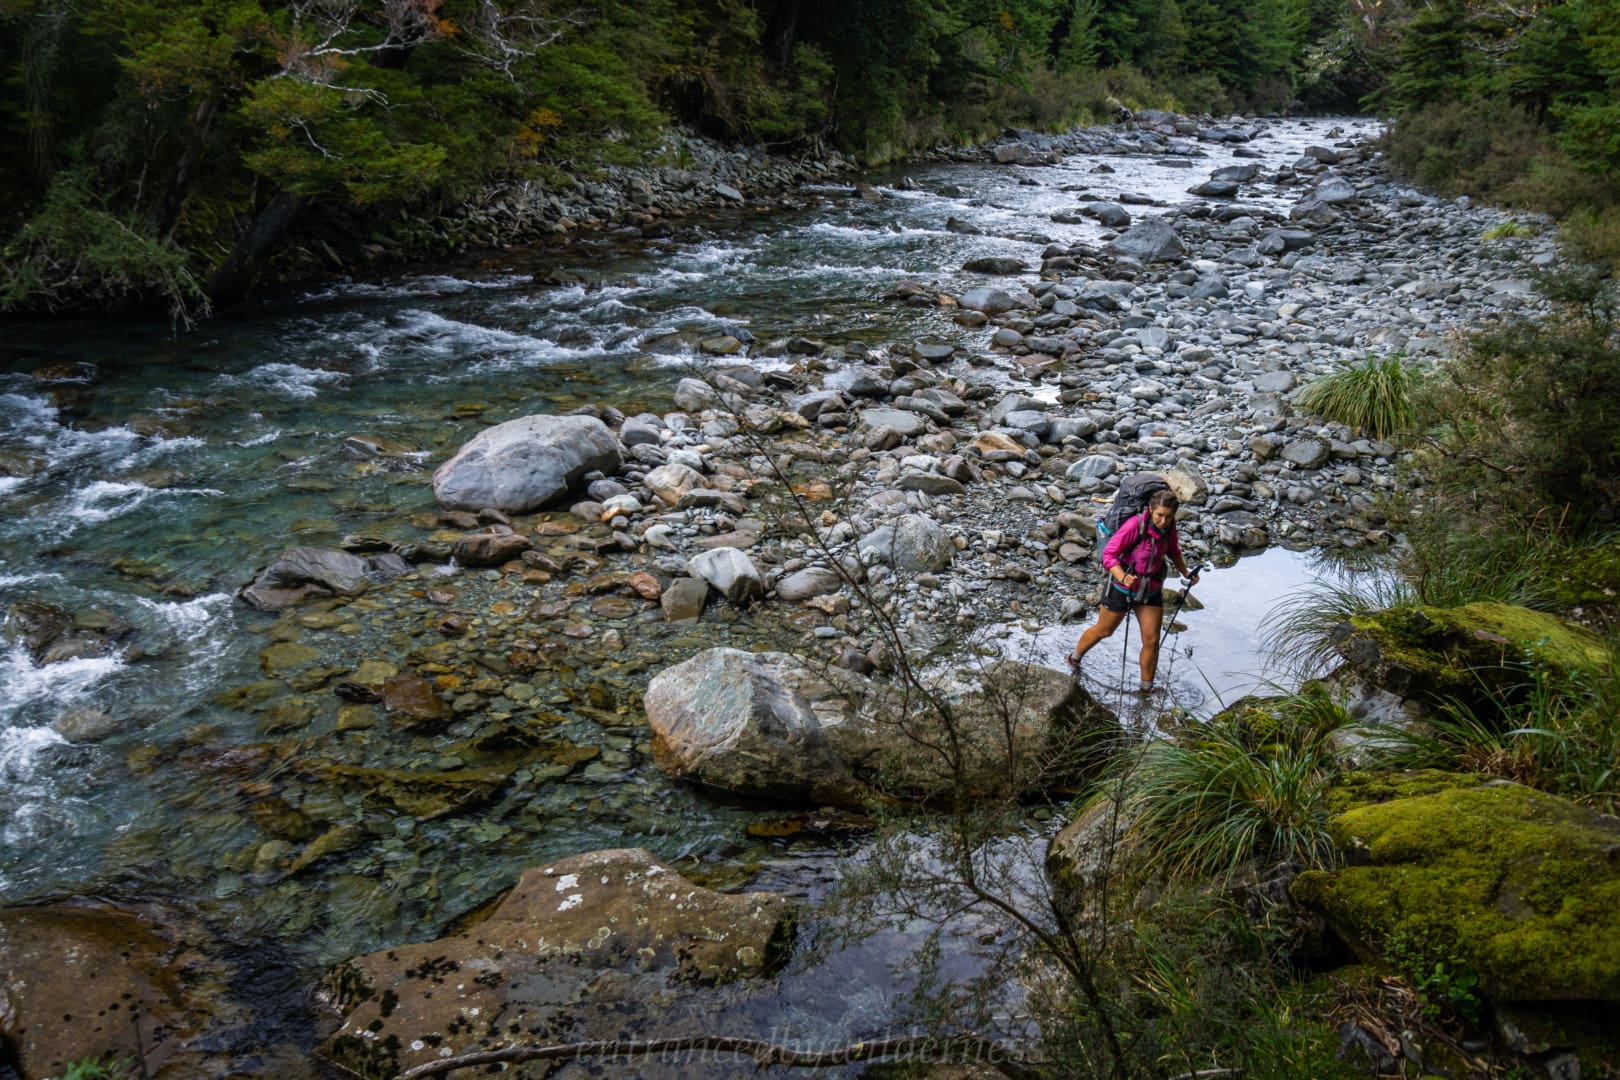
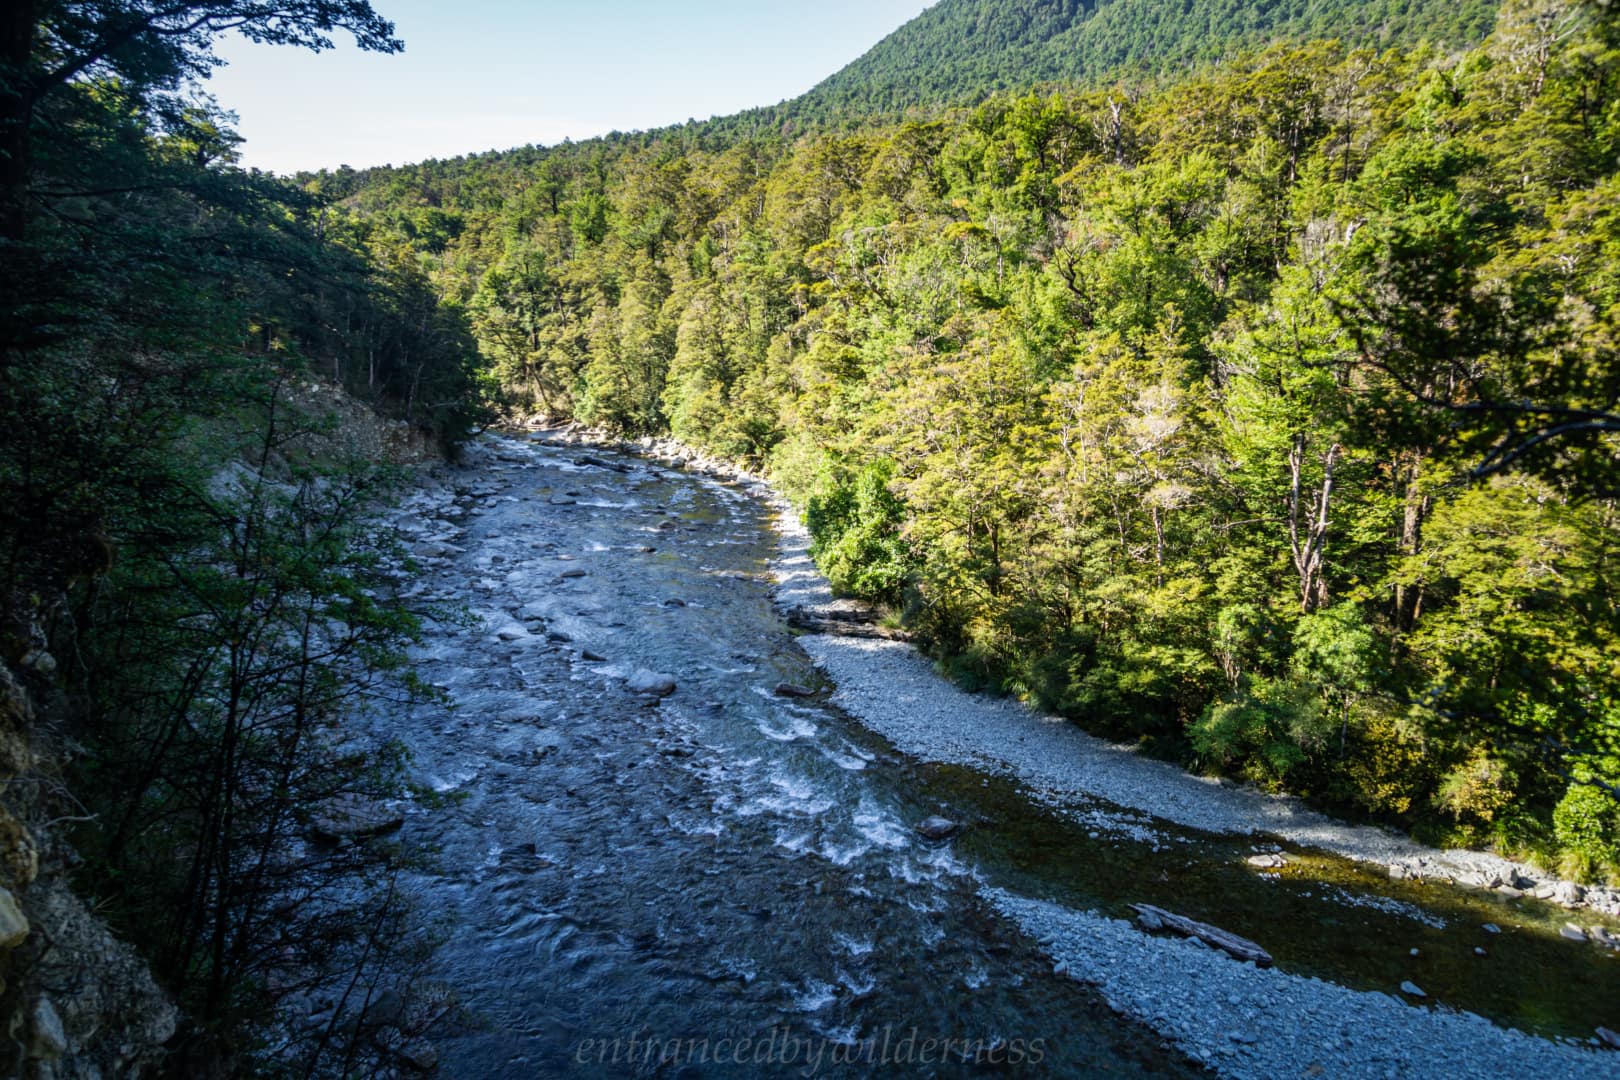
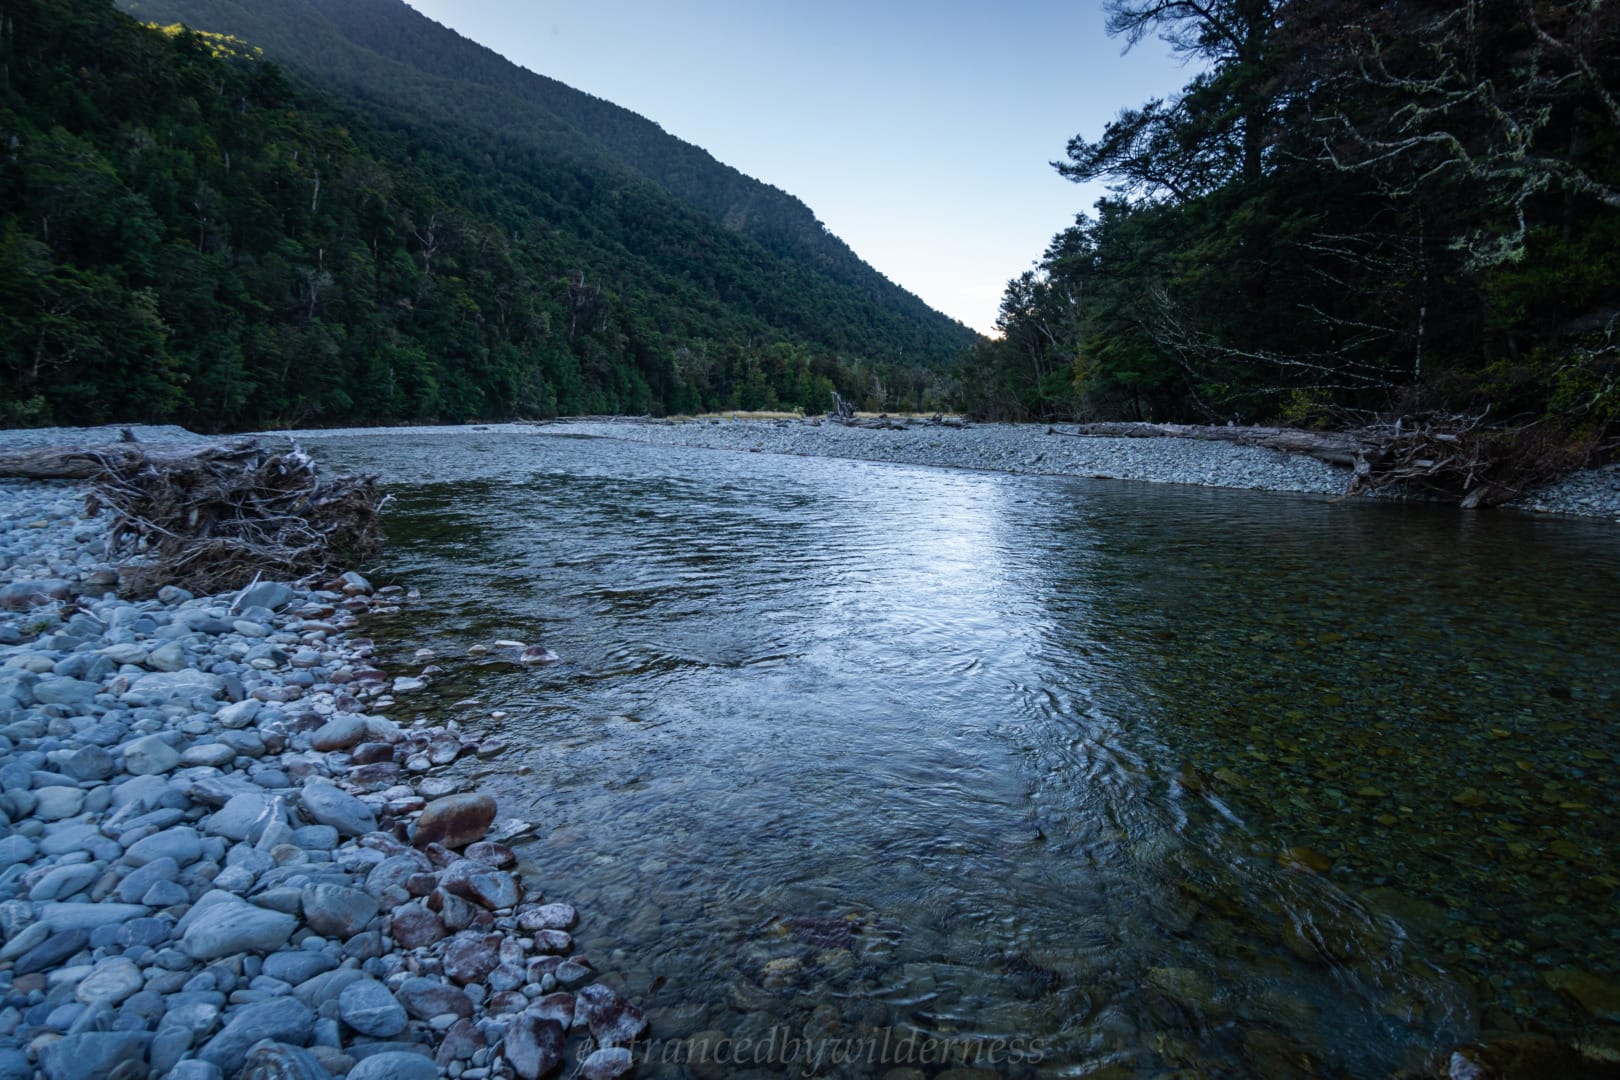
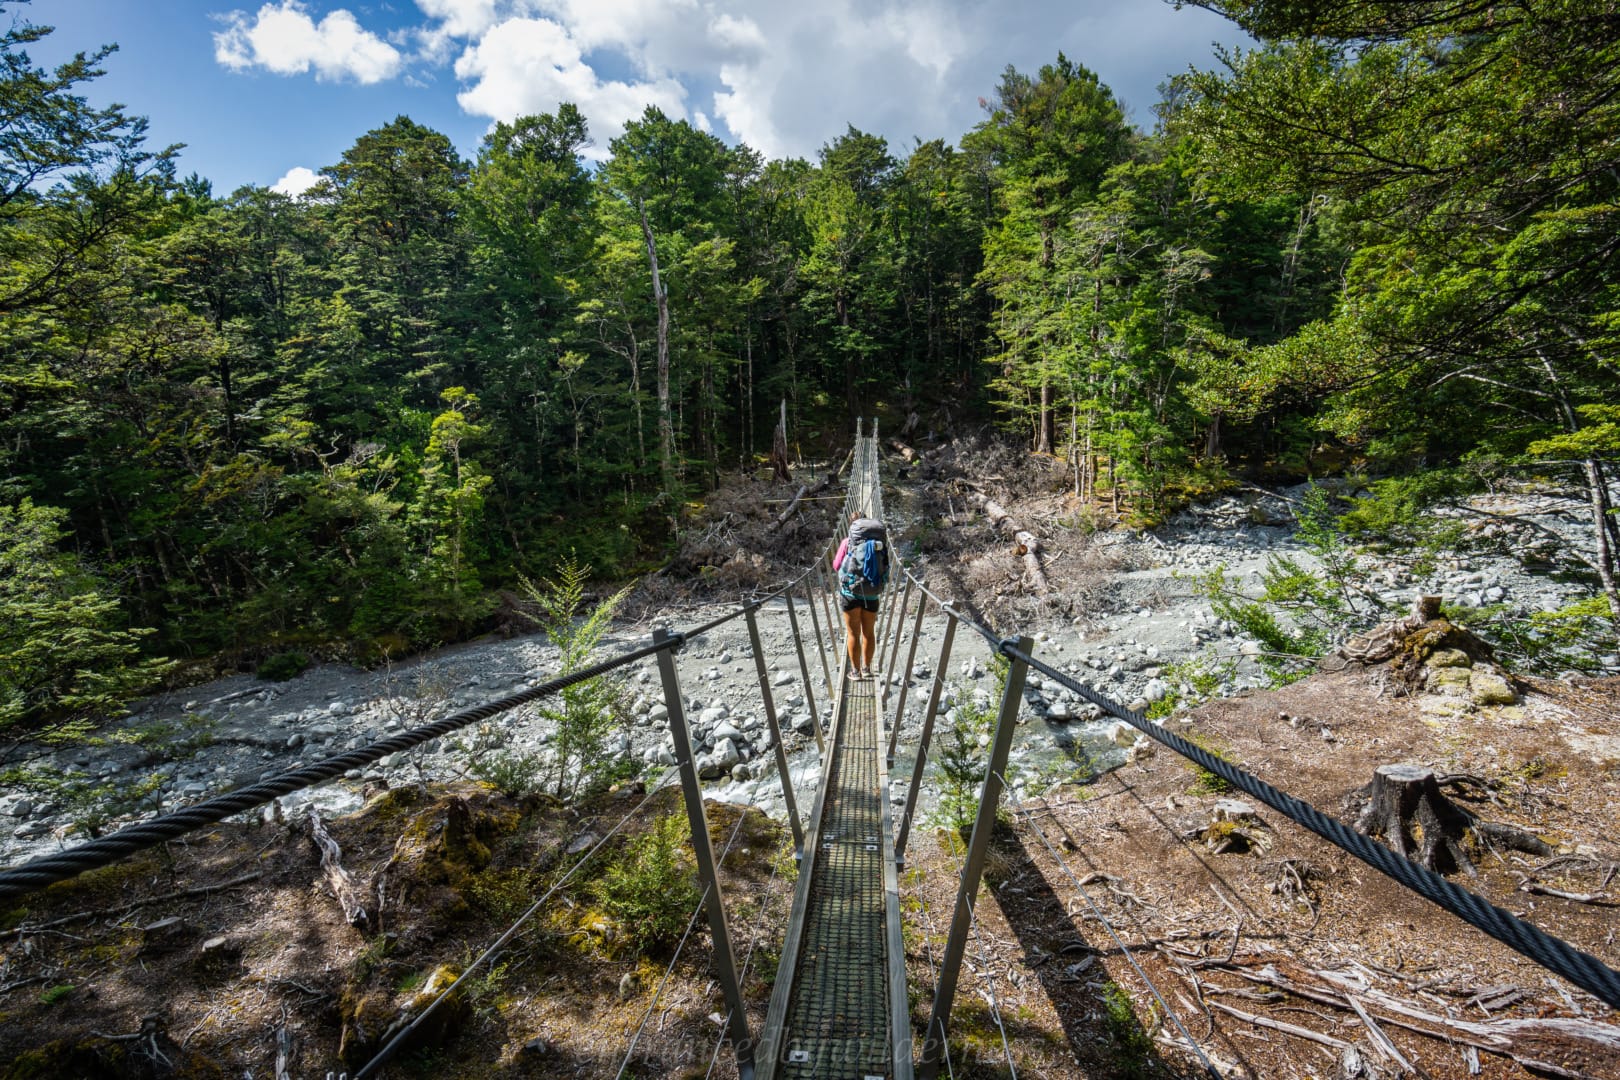
One thing I didn’t anticipate, was the amount of flood damage on the Sabine River! Last time I was here, it was a continuous trail, but now, it was covered in slips, treefall and at times, it was easier to just walk in the rocky river bed. It was actually quite surreal – there was one part with a few trees holding on in the middle of the river as it had diverted from its regular path.
As we pushed on, we began to realise that time was running away from us, and we needed to camp. Night hiking in Beech forest is not ideal with all the roots! We started scouting out locations, but there really isn’t many locations to tent camp on dry flat ground. Along the way, we found a huge patch of sweet smelling snow berries, and picked some for our breakfast oats.
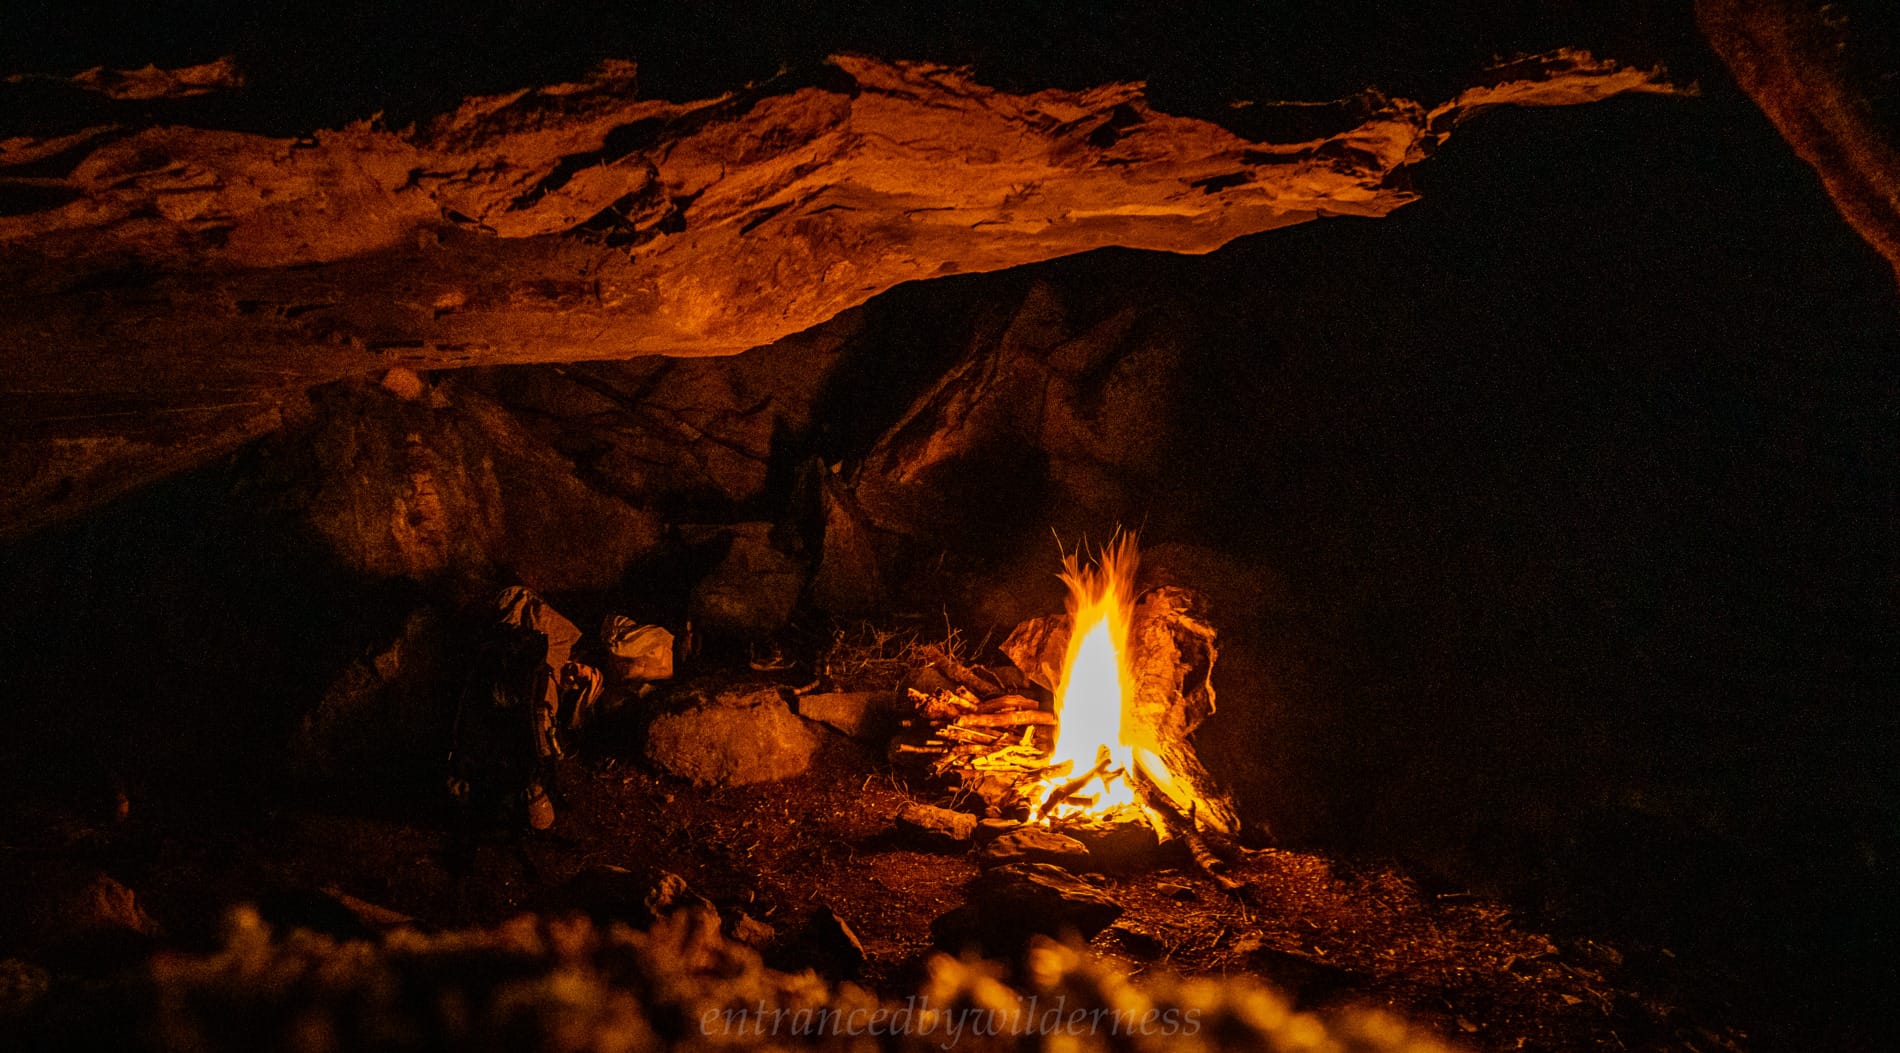
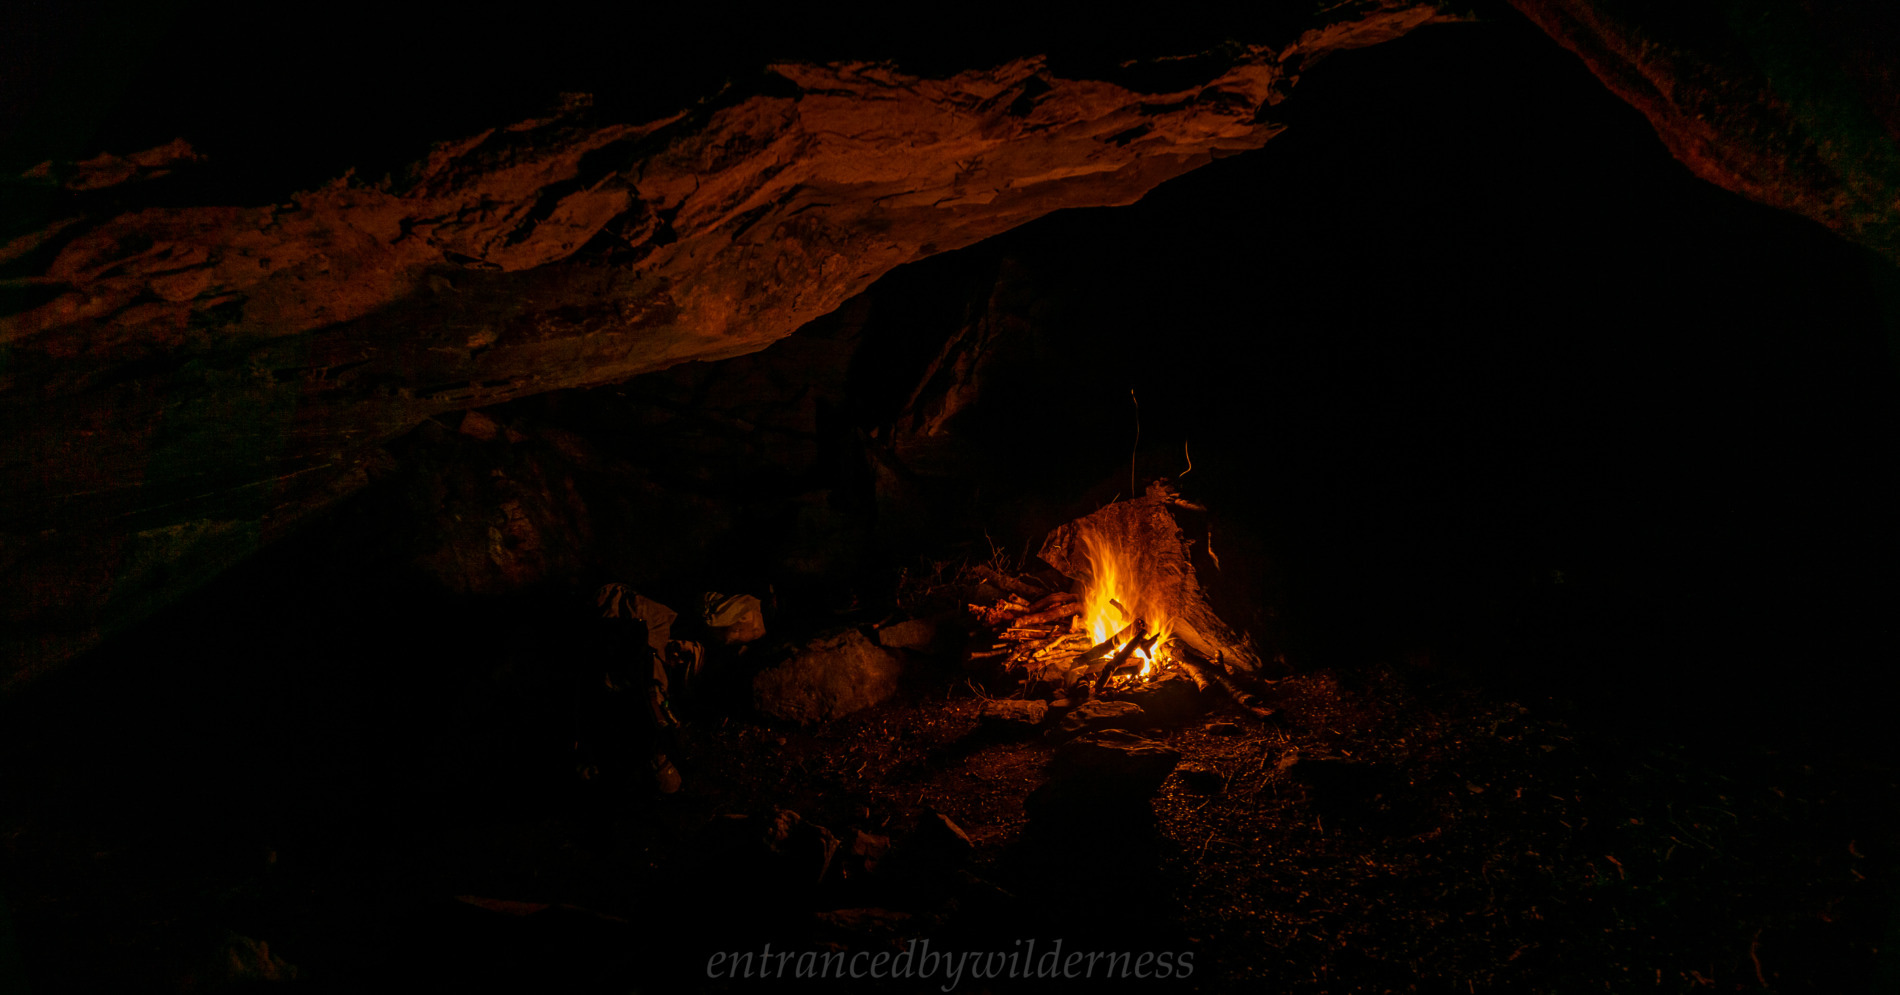
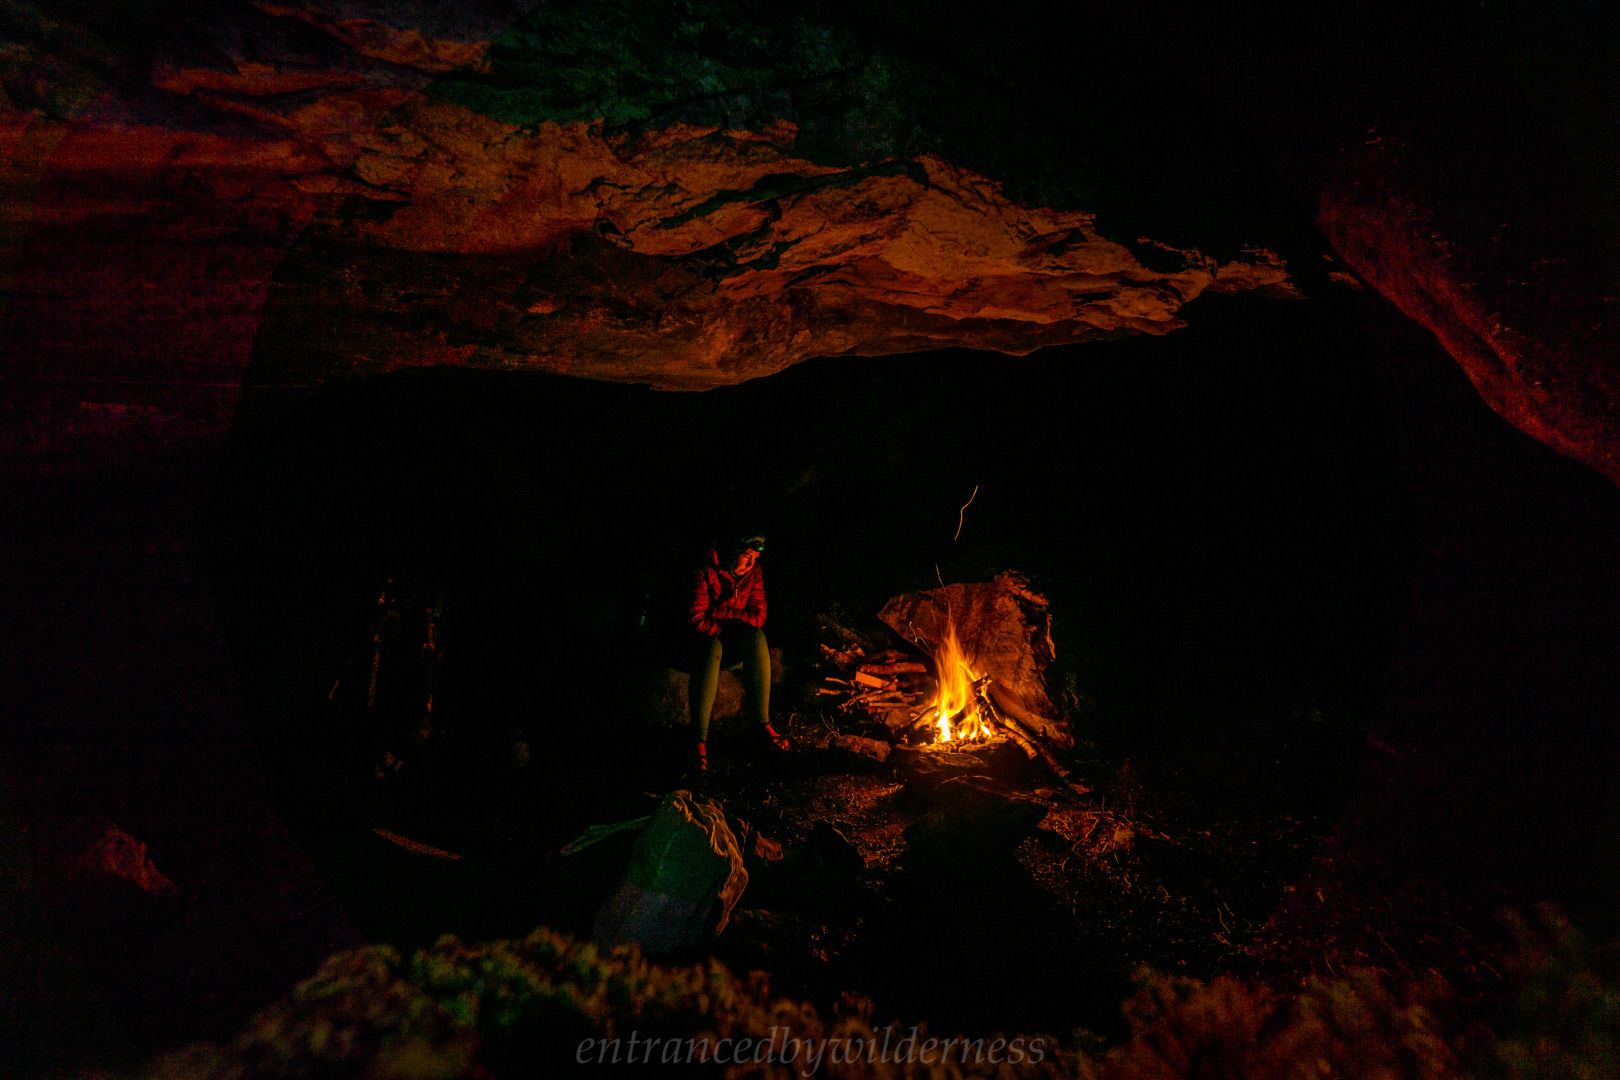
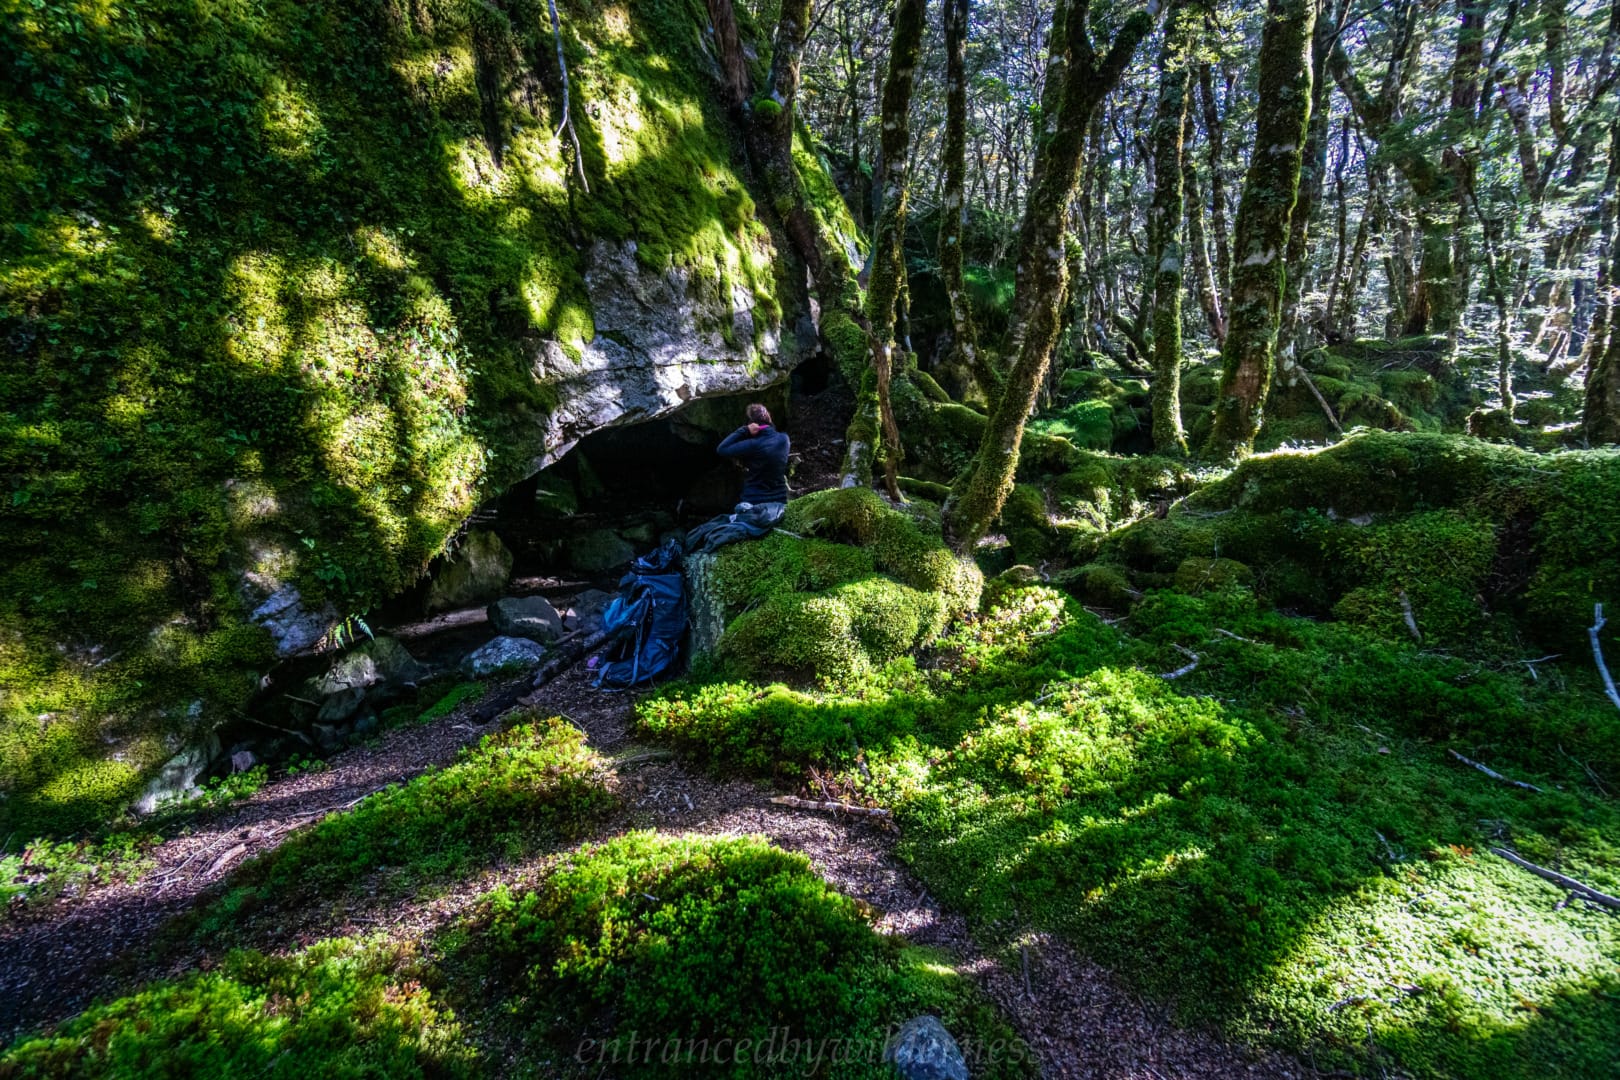
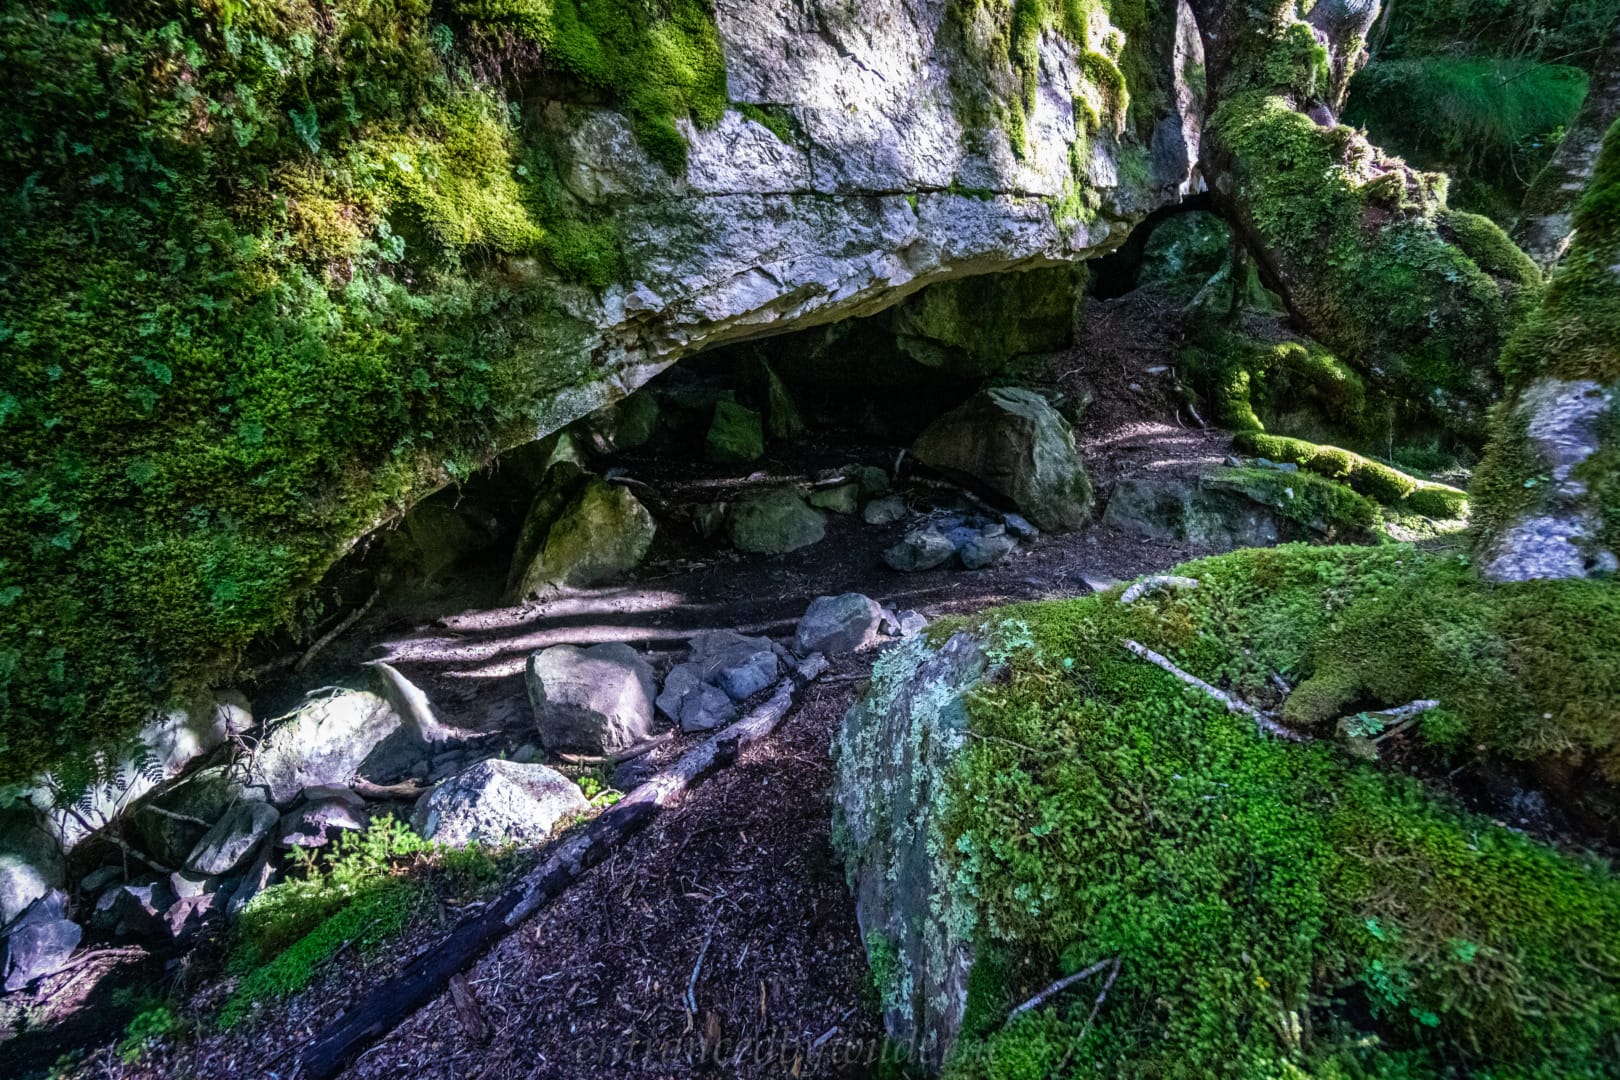
Blue Lake Trail Rock Bivvy
Whilst hiking, I had remembered a rock bivvy further up the trail, but not exactly where it was. Within minutes though, we found it, and after some convincing to get Alise to camp in a cave, we stayed!
After collecting dry wood in the limited light remaining, we made a fire and had a rather relaxing dinner and a cheeky beverage (rum) after the solid day of hiking. After dinner, we put up the tent in the cave to hold a bit of warmth in the chilly evening. It was a really nice evening in the end, and god to see Alise agree it was a good decision!
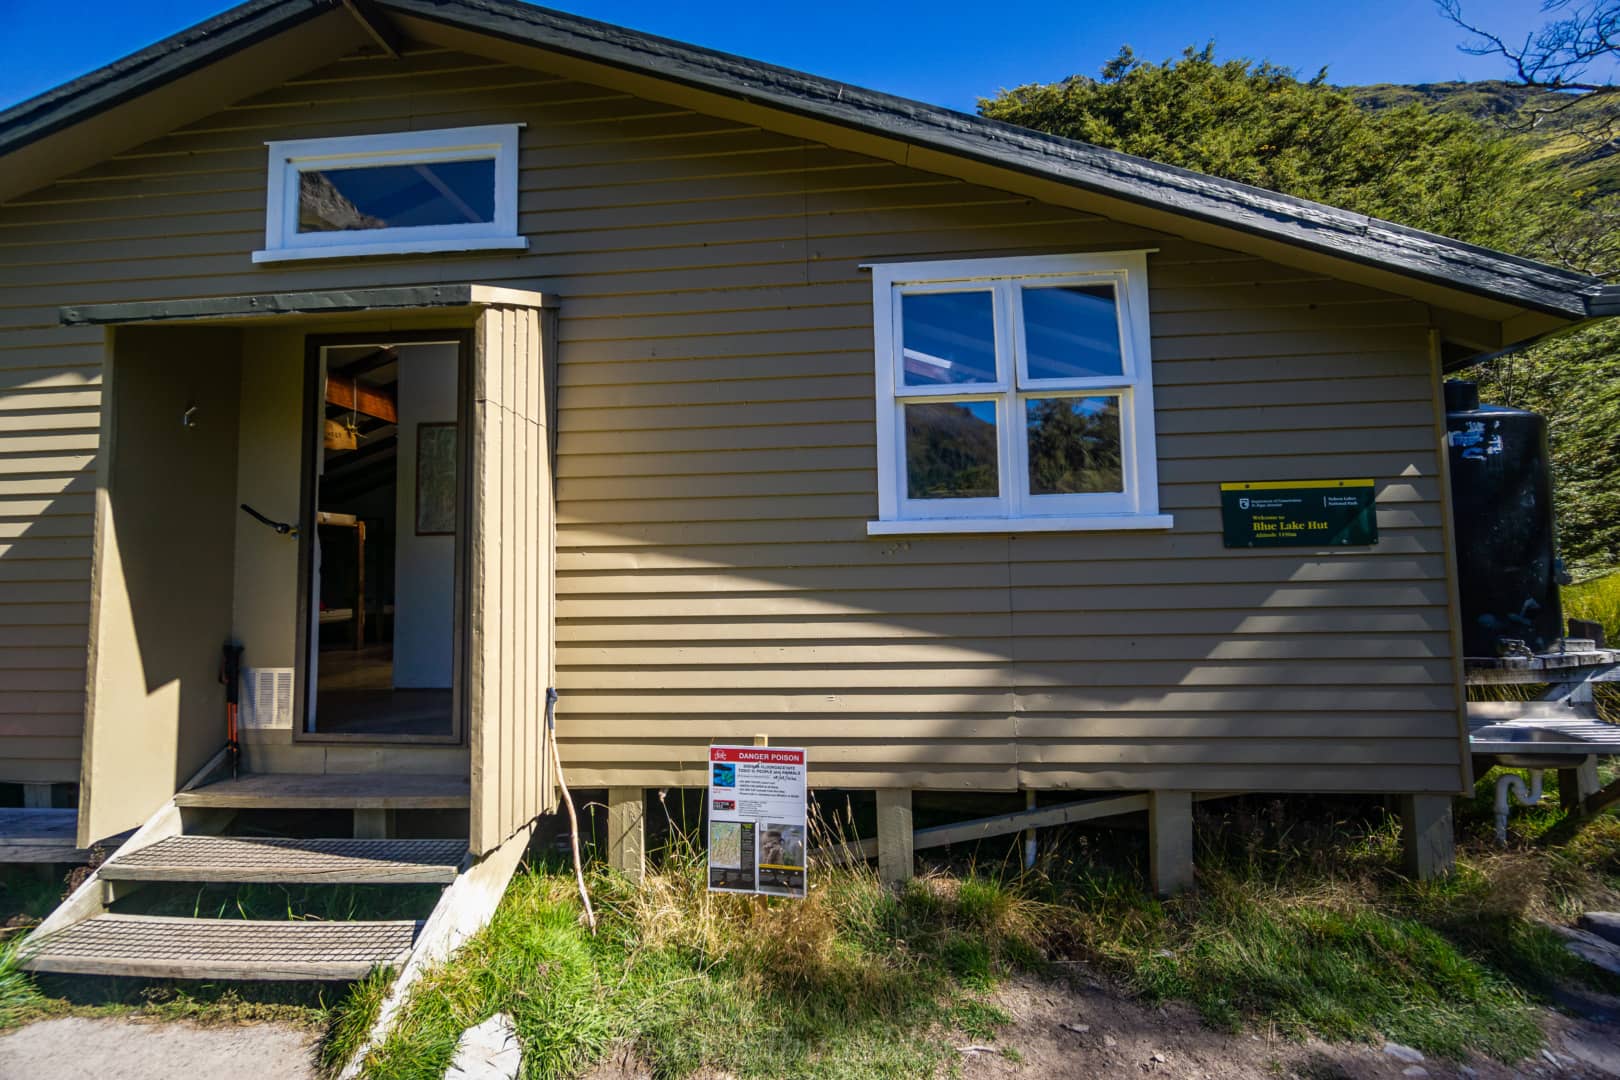
Day 5 – Blue Lake Trail Rock Bivvy to Blue Lake Plateau
We had a nice sleep-in in the morning. When cooking breakfast, a hiker passed us and was envious of our camp in the cave after staying in the crowded Blue Lake hut the previous evening.
I realised today that the original plans of Waiau Pass/Thompson Lakes was far too ambitious with our pace, so made the call to instead tackle Moss Pass, near Blue Lake.
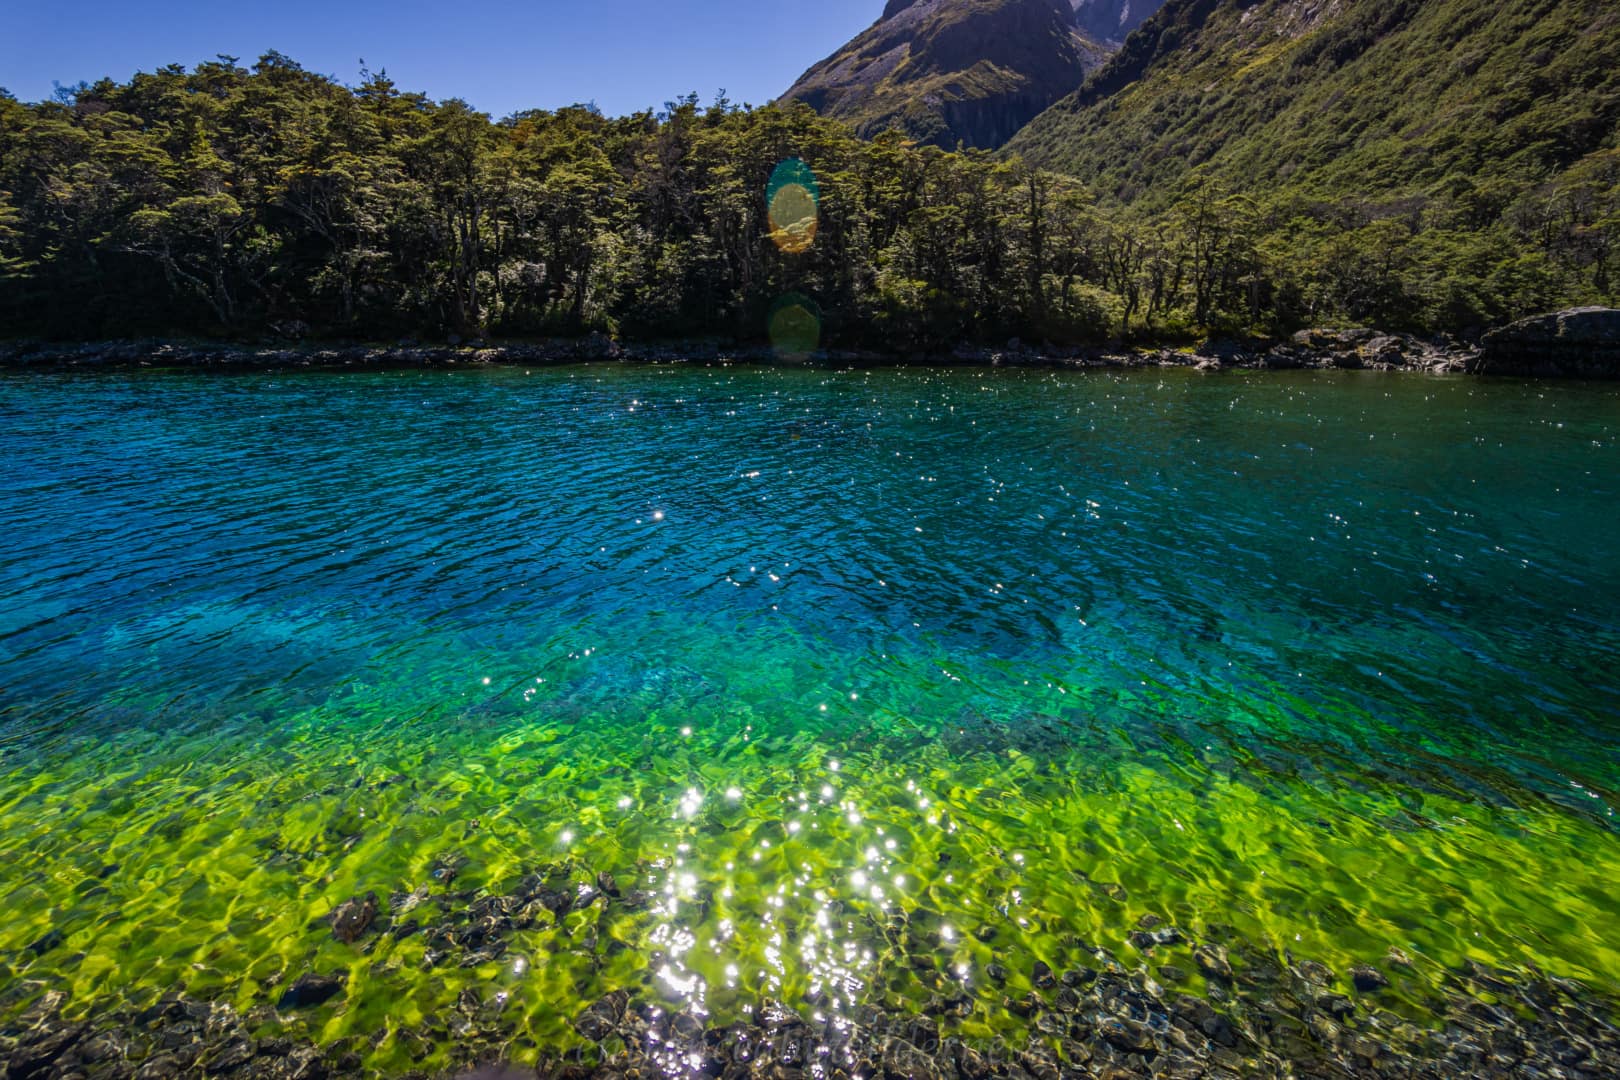
We eventually set off on the final short stretch to Blue Lake. You can actually see Moss Pass at the top of the range when on the final short ascent to the hut!
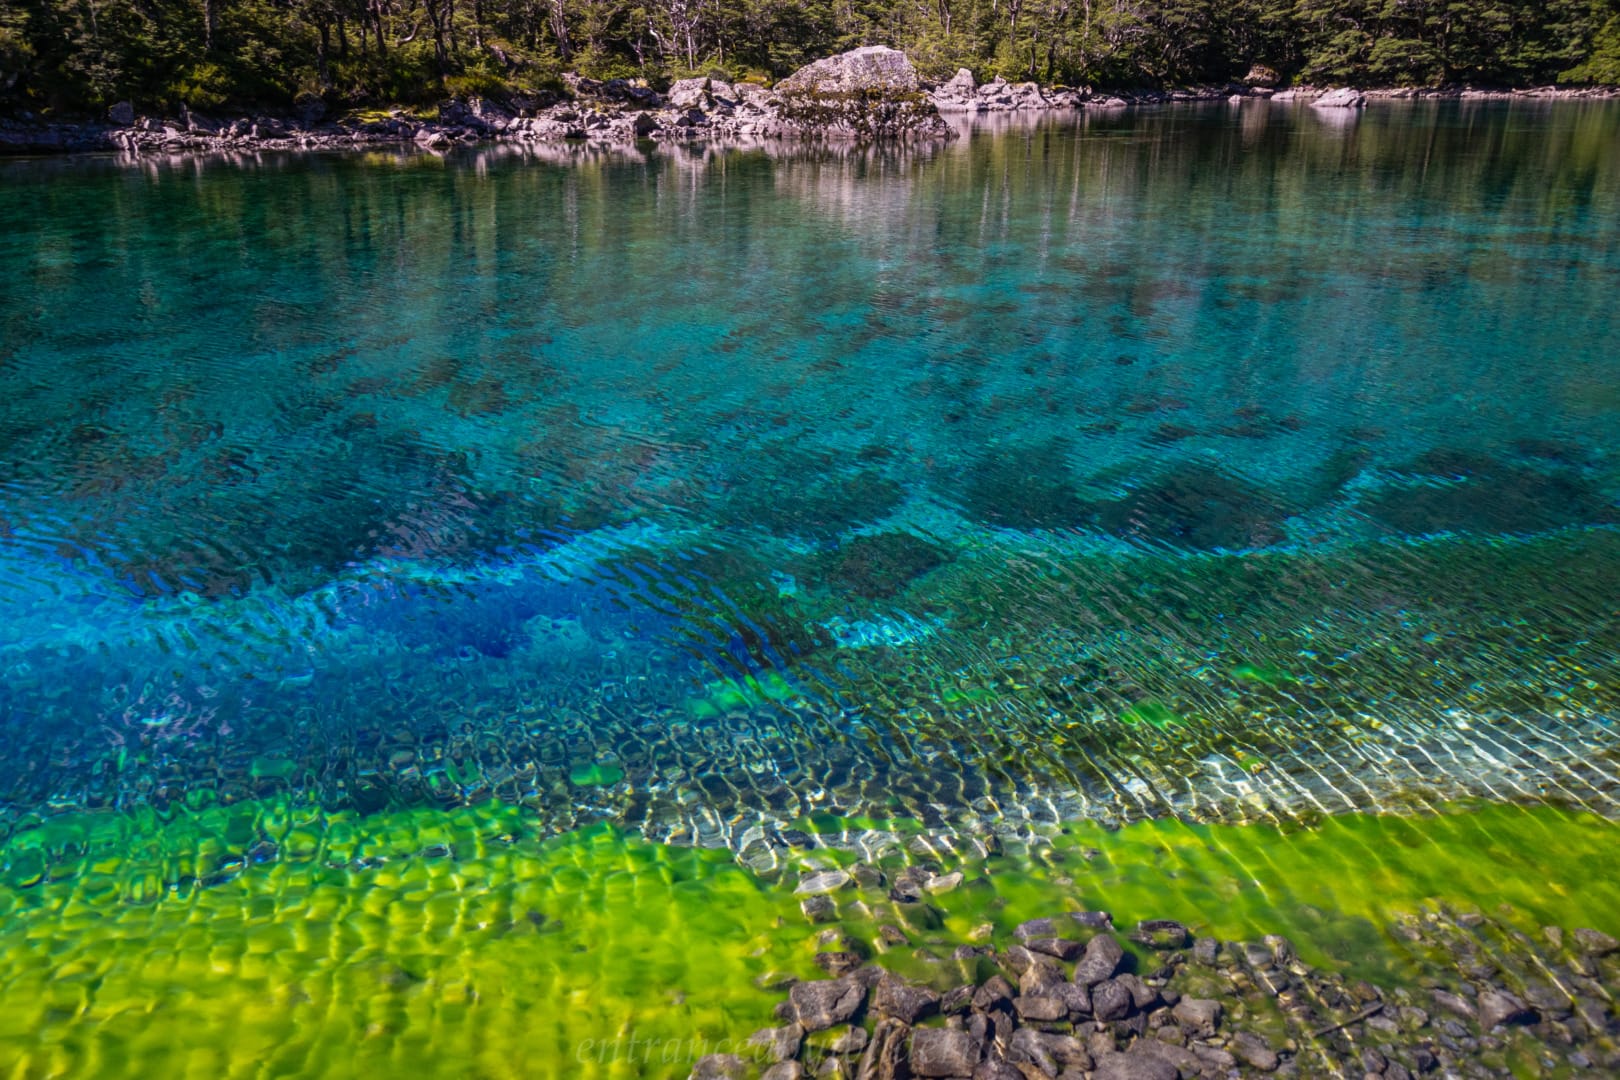
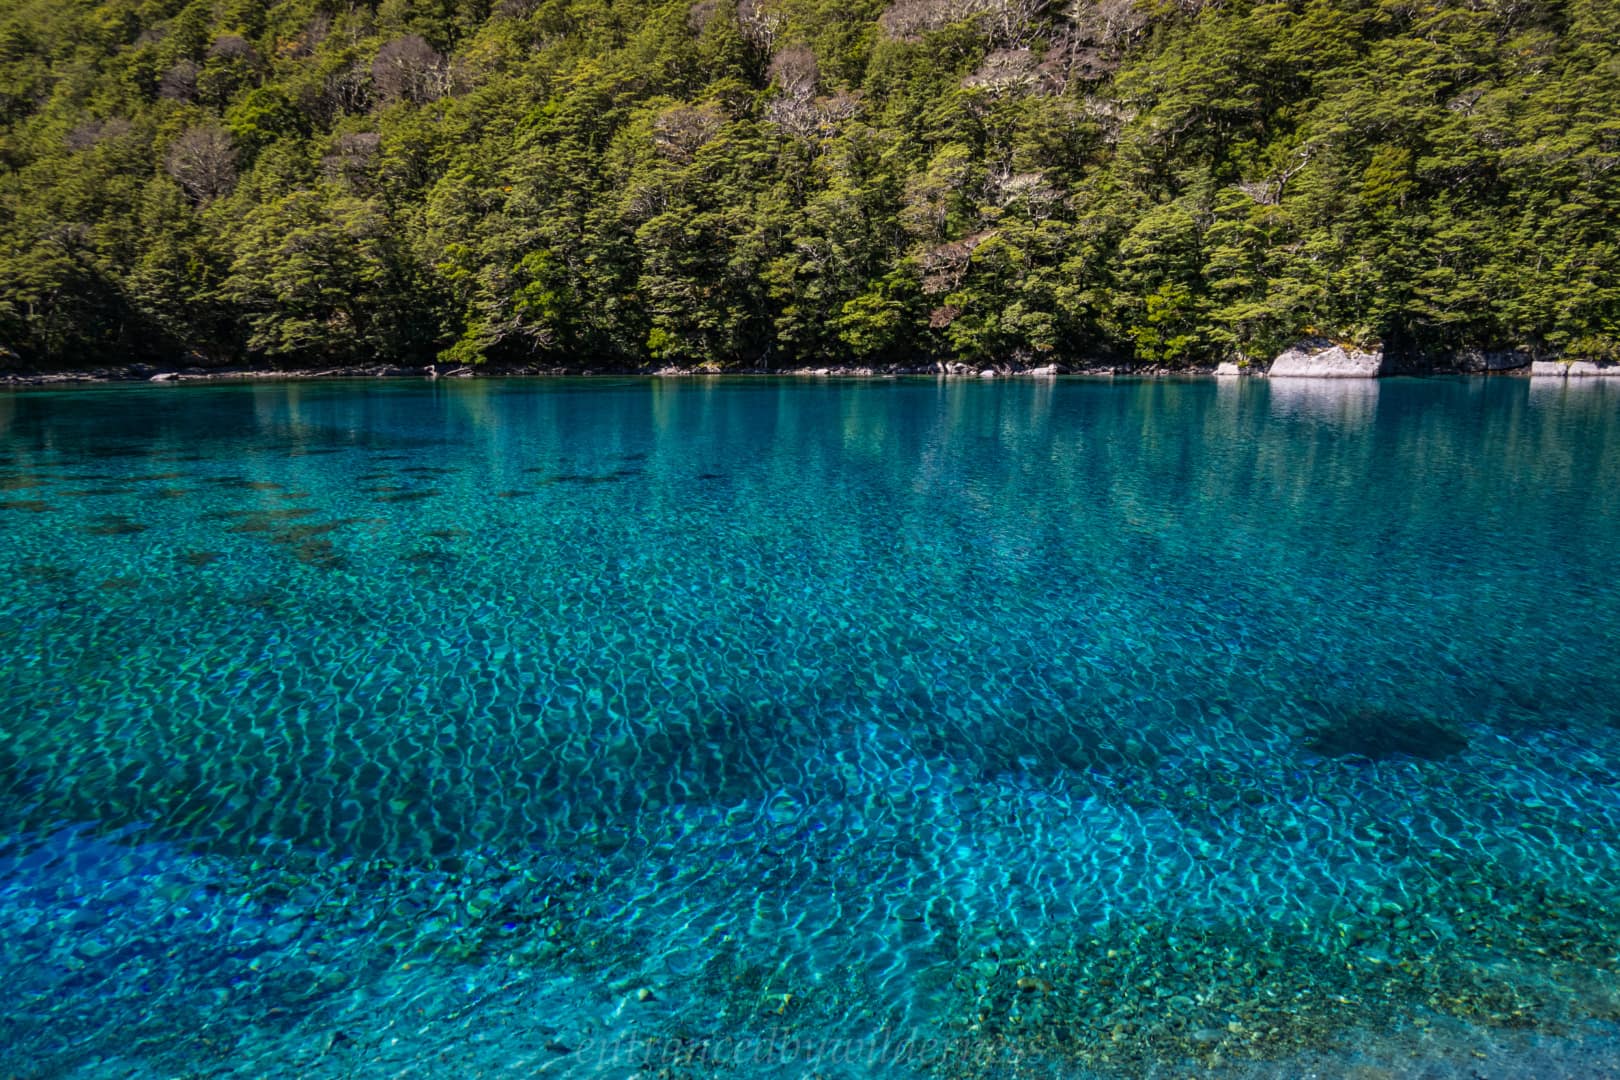
Blue Lake was as pretty as the first time i had seen it. There was a cool breeze adding some ripples to the surface, which took away a bit of it’s ‘glassy’ look, but all the same, it was stunning!
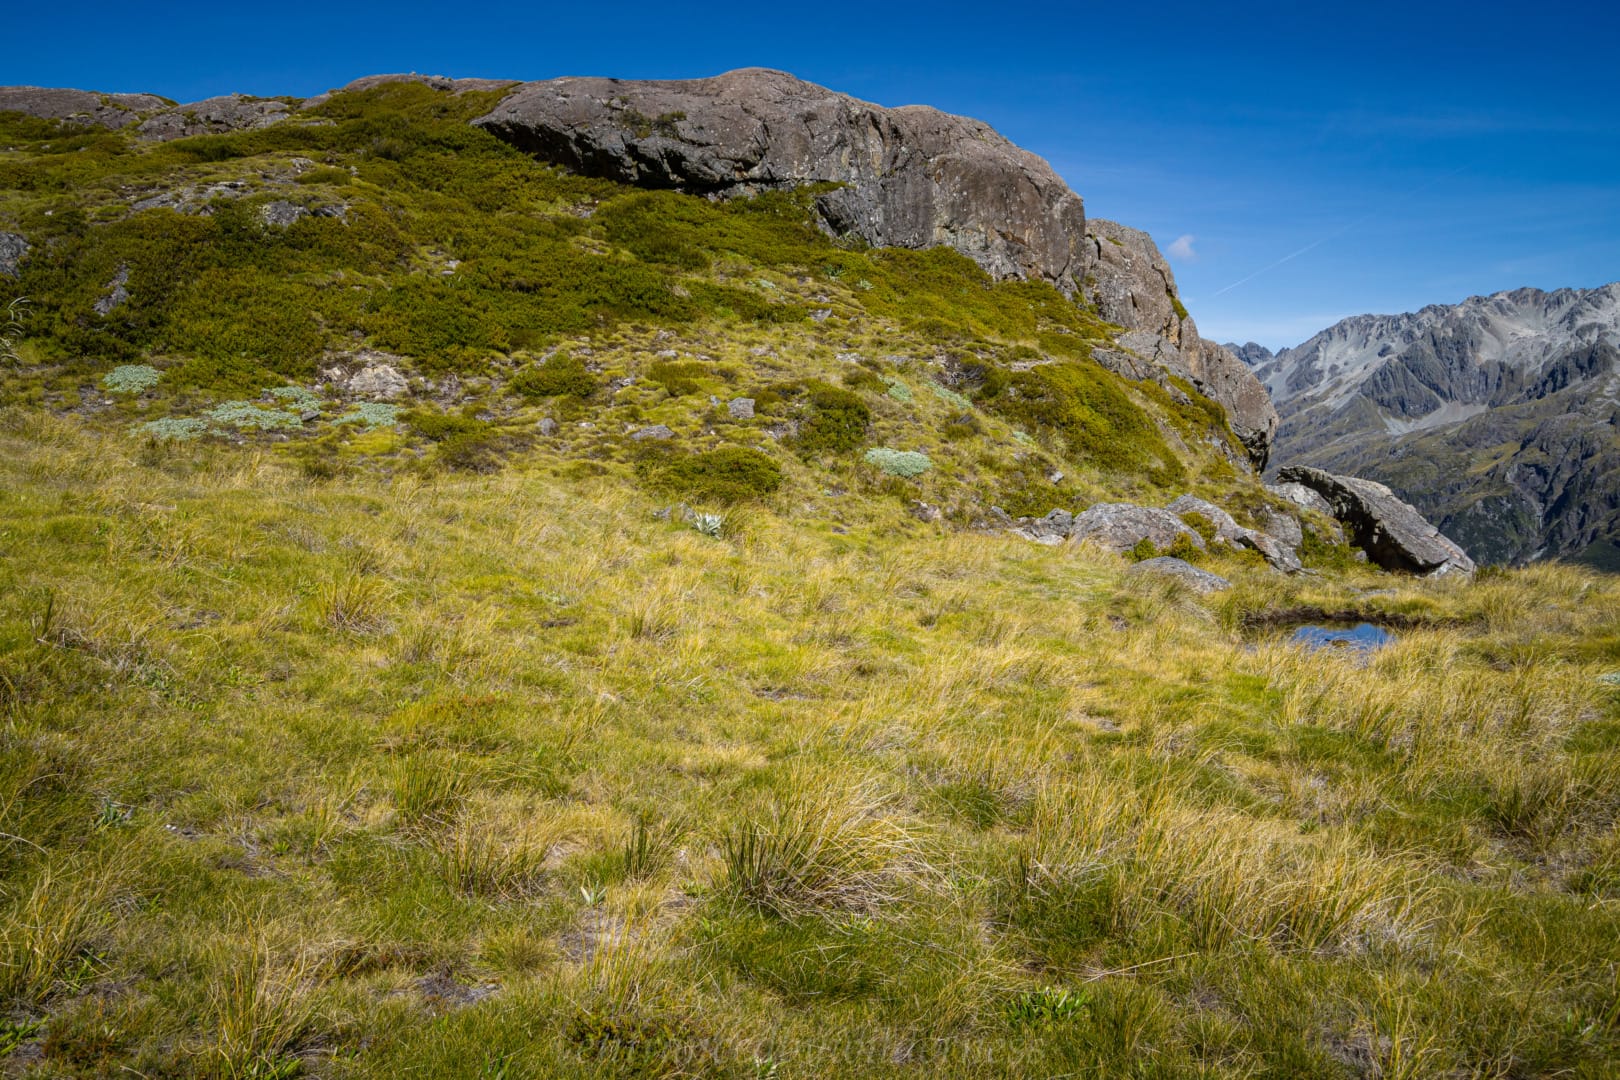
We had lunch by the lake and contemplated where we’d stay for the evening. I didn’t really feel like staying in a crowded hut, and liked the idea of camping up on the plateau above, which also made tackling Moss Pass easier the next day. I think Alise reluctantly agreed for this, but really wanted to stay in the hut haha!
The plateau is only 200m above the hut and after a short slog up the slope and wading through some long tussock, we reached a relatively flat area by a tarn, and decided it was a nice palce to set up camp. We both filled up water and had a quick wash in the freezing cold tarn before preparing dinner. The view over Blue Lake, and the ranges surrounding it made me relax and soak in the nature all around me. What a stunning part of the world we’re in!
Thankfully, it wasn’t as icy cold as the previous nights, and we slept well. We made breakfast with the last of the snow berries we picked and planned our day. Today, we’d head over Moss Pass, and down to George Lyon Hut.
Instead of re-joining the marked route directly, we headed more directly to the pass via the marked stream. This was straightforward aside from some boggy sections, speargrass, and the occasional loose stone.
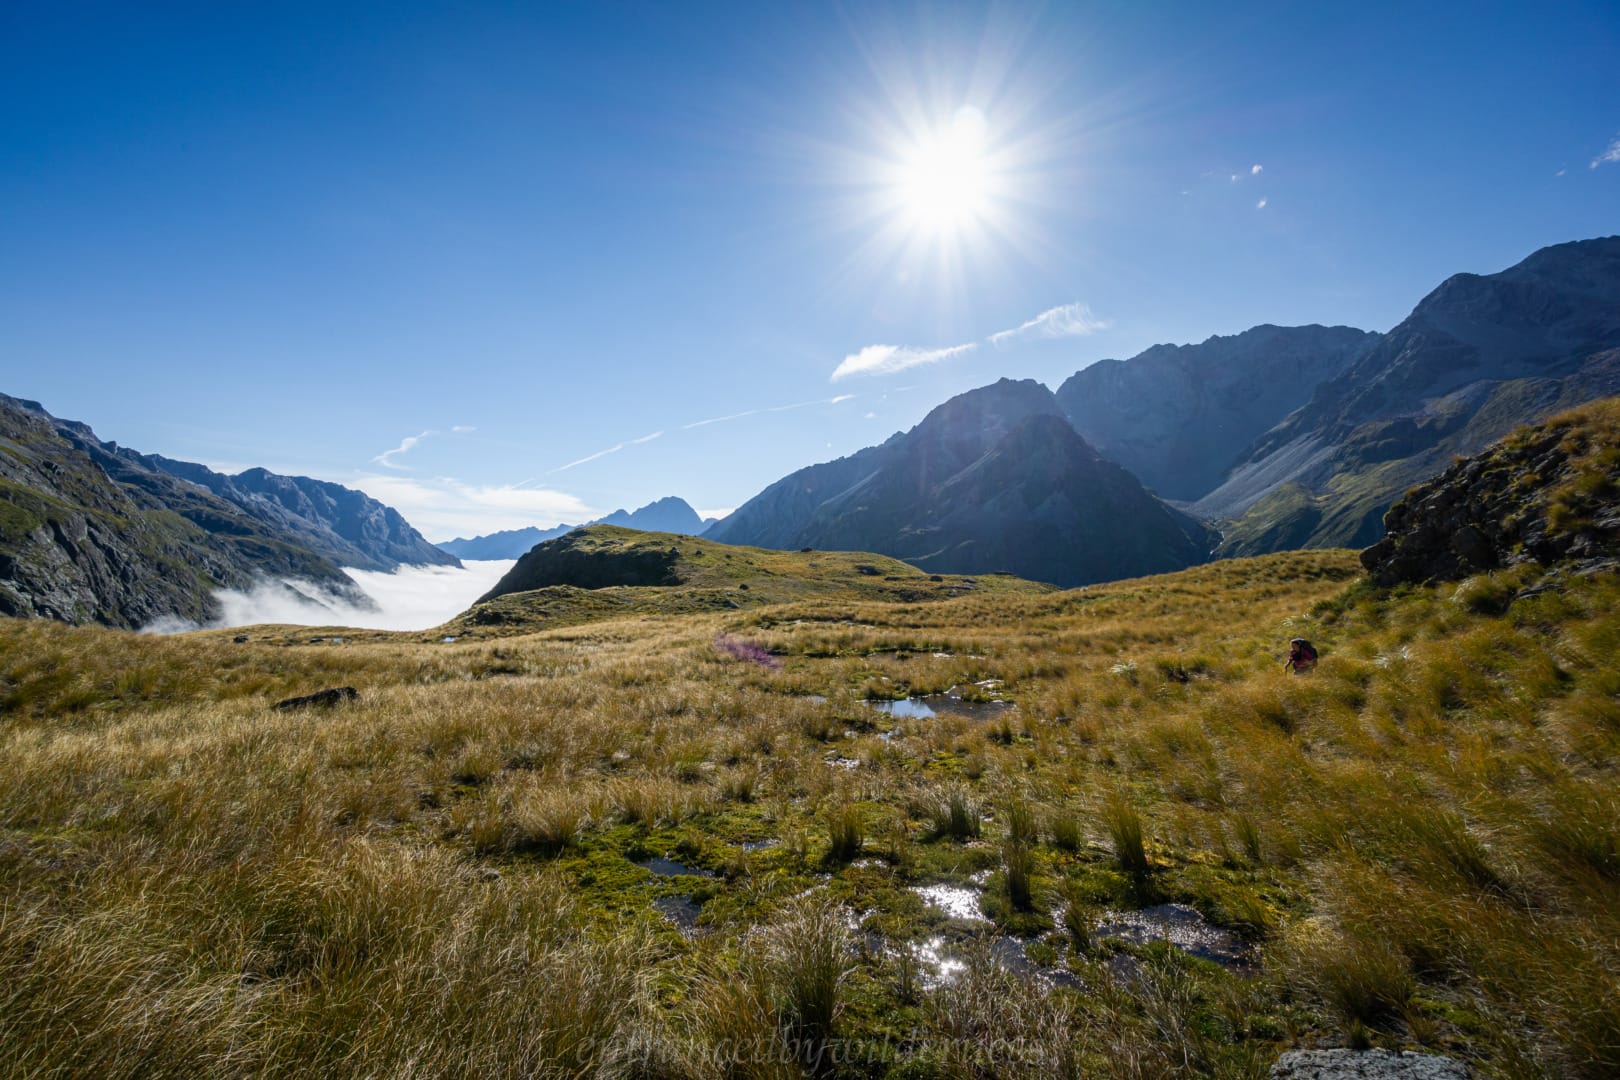
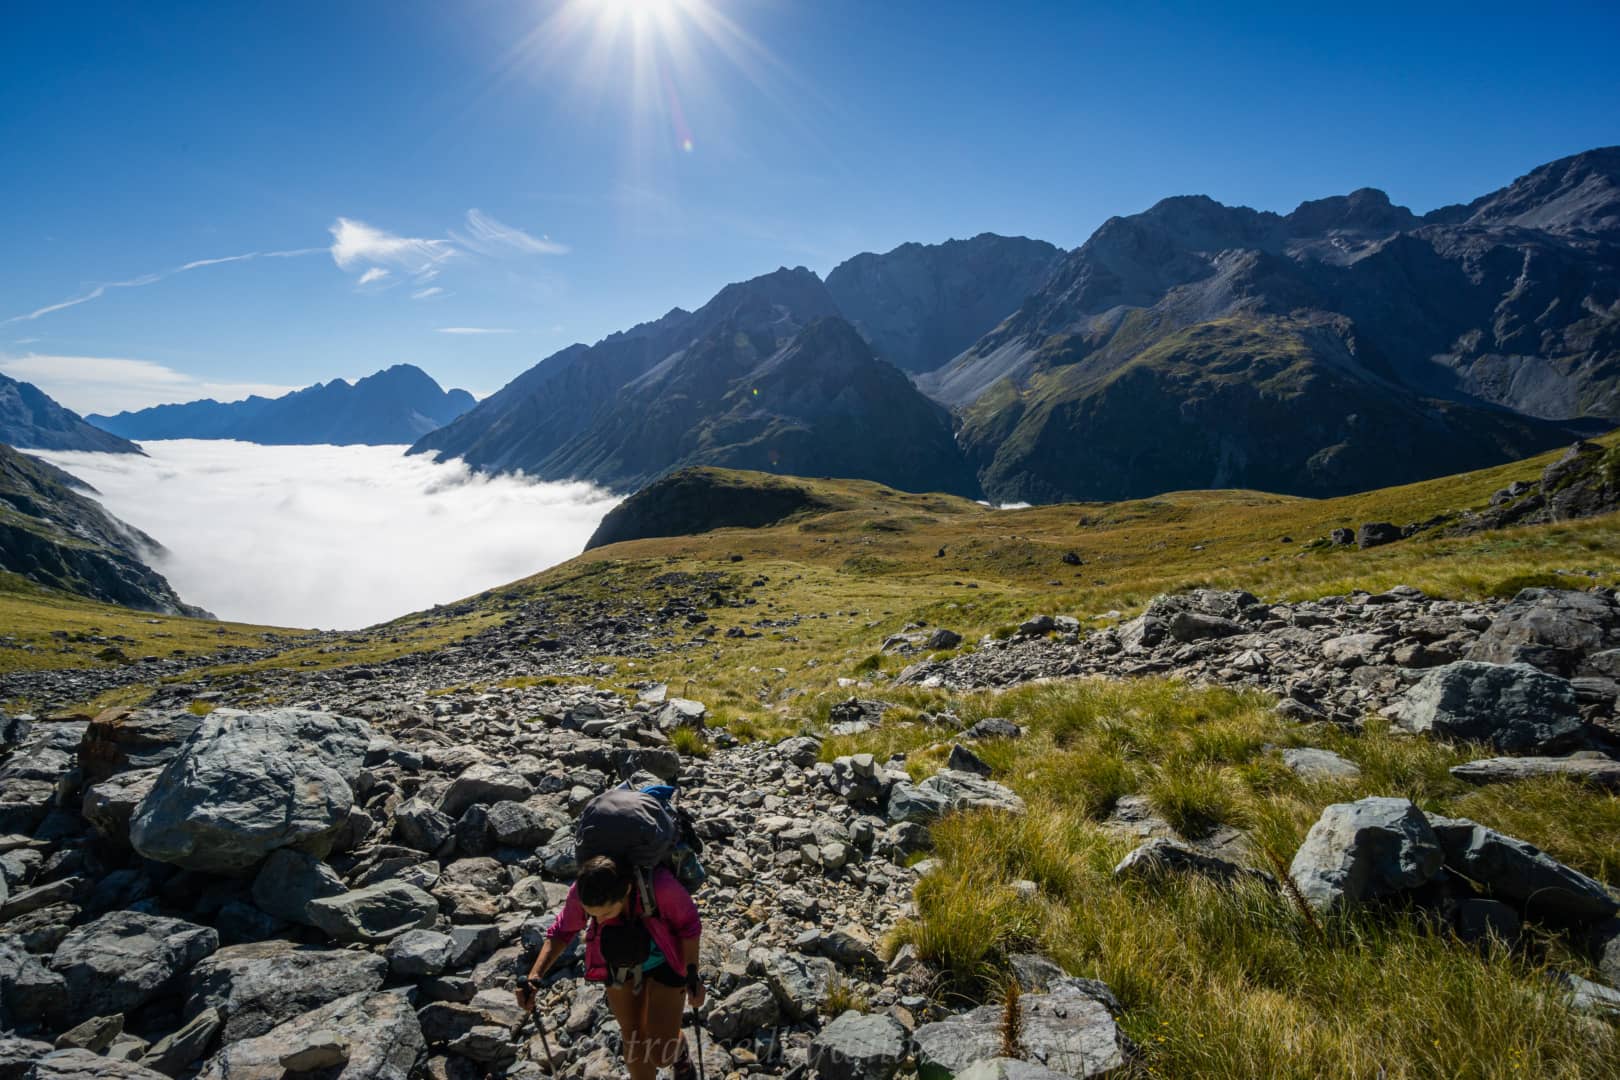
Below us, the fog cover was lifting from the Sabine valley, and it felt like it would eventually come higher. Thankfully though, it remained in the valley, and we had clear views and more greaet weather (seriously.. so much good weather!).
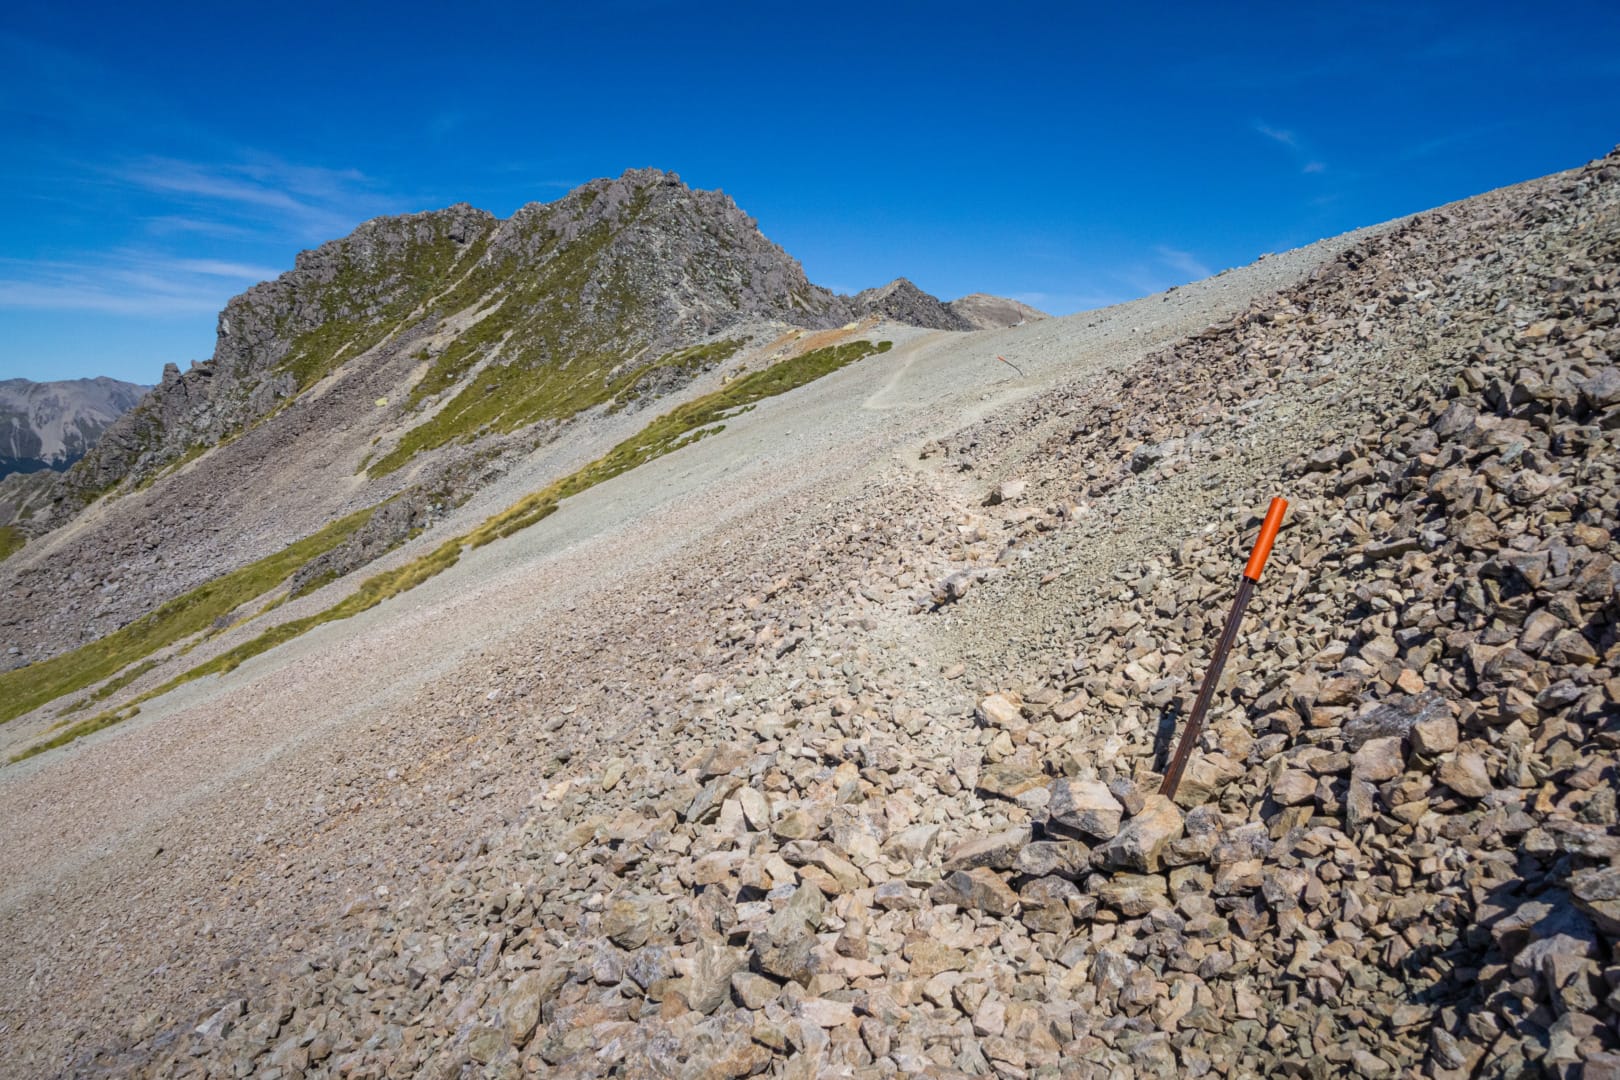
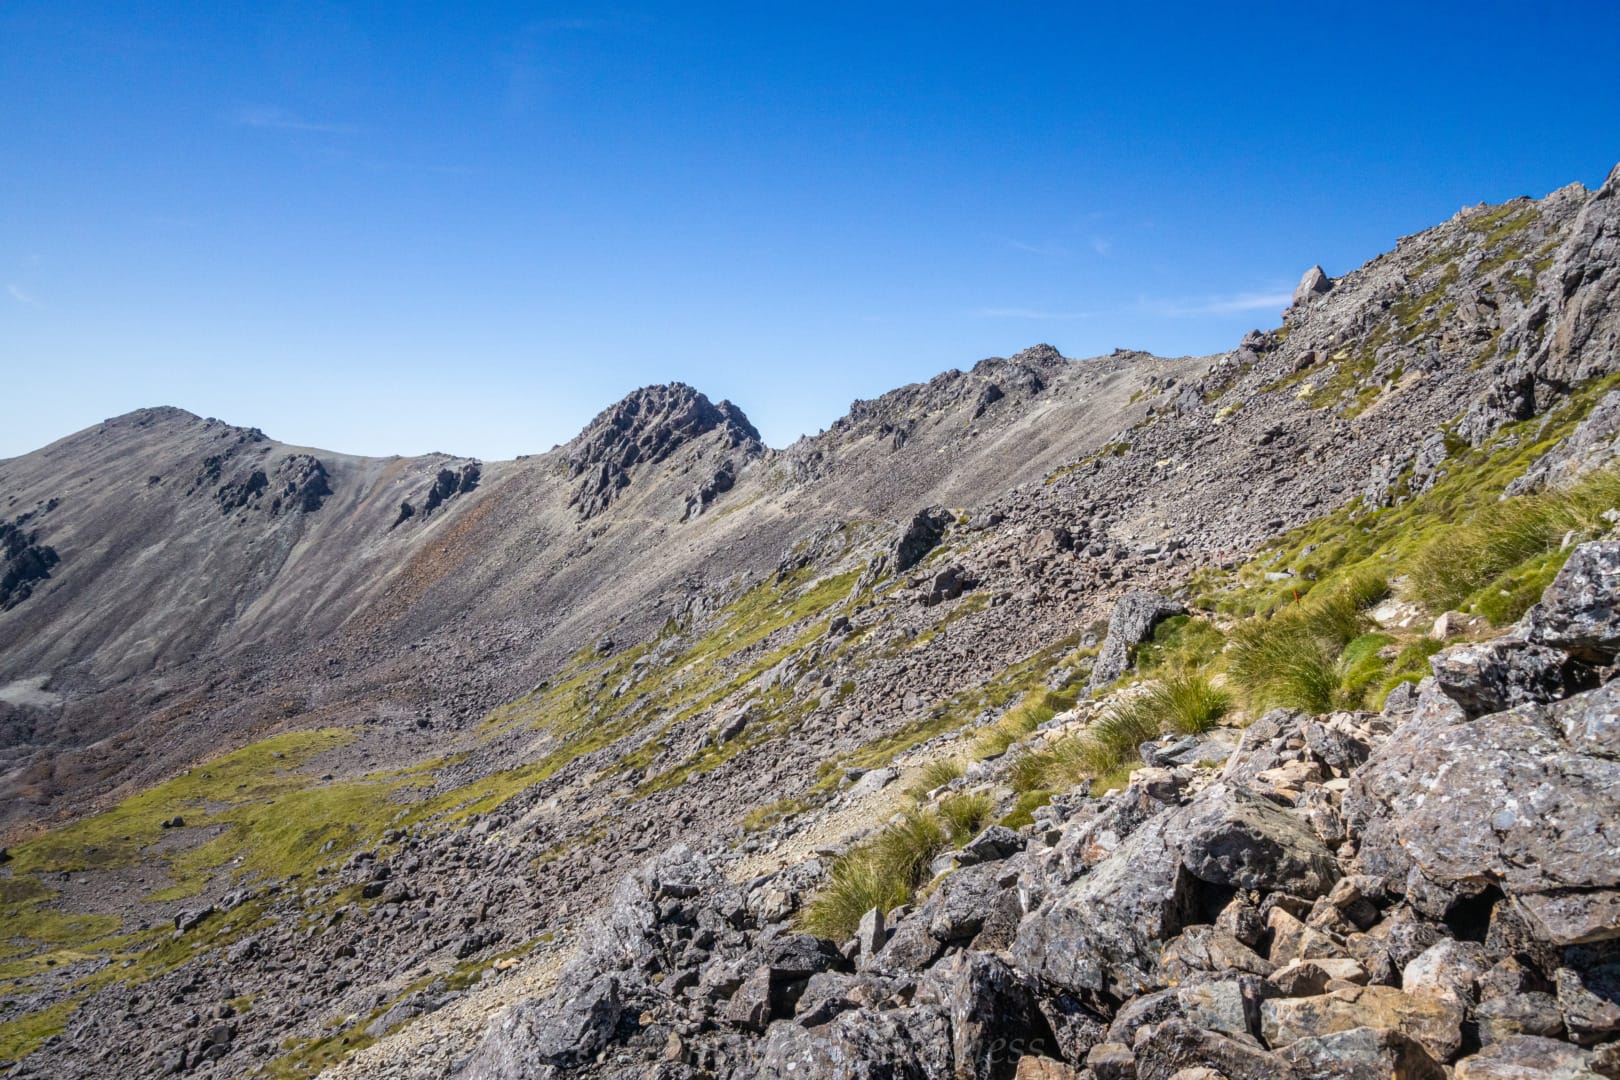
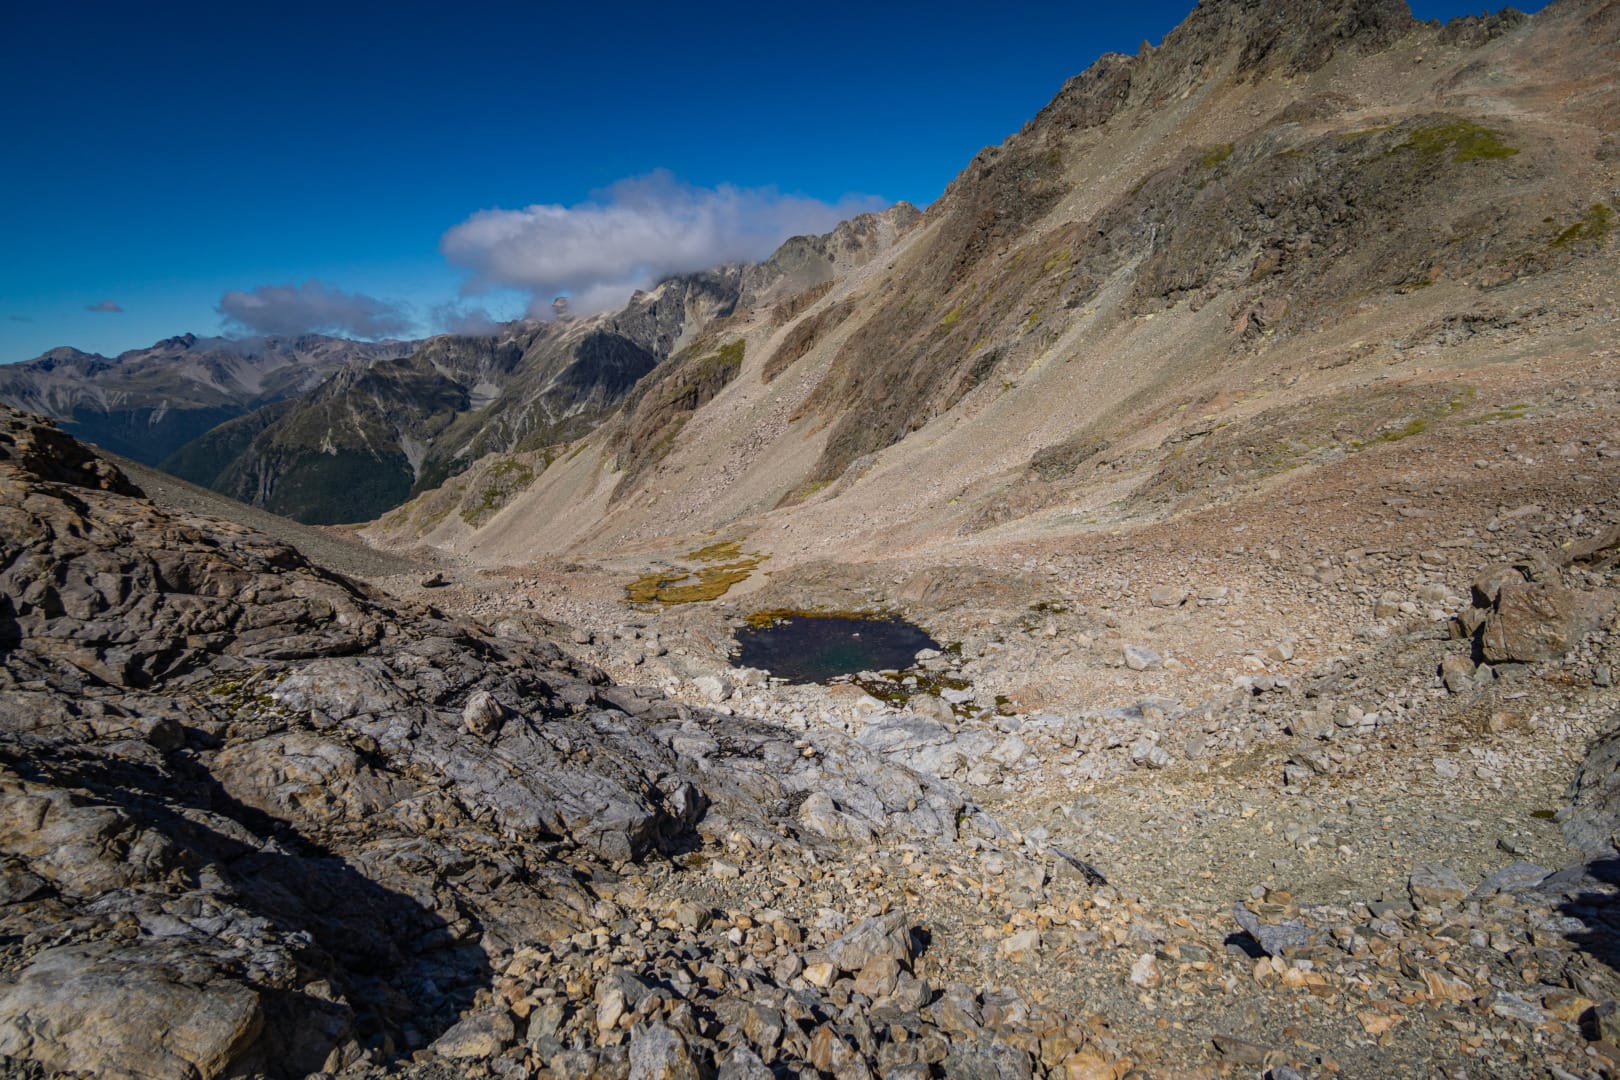
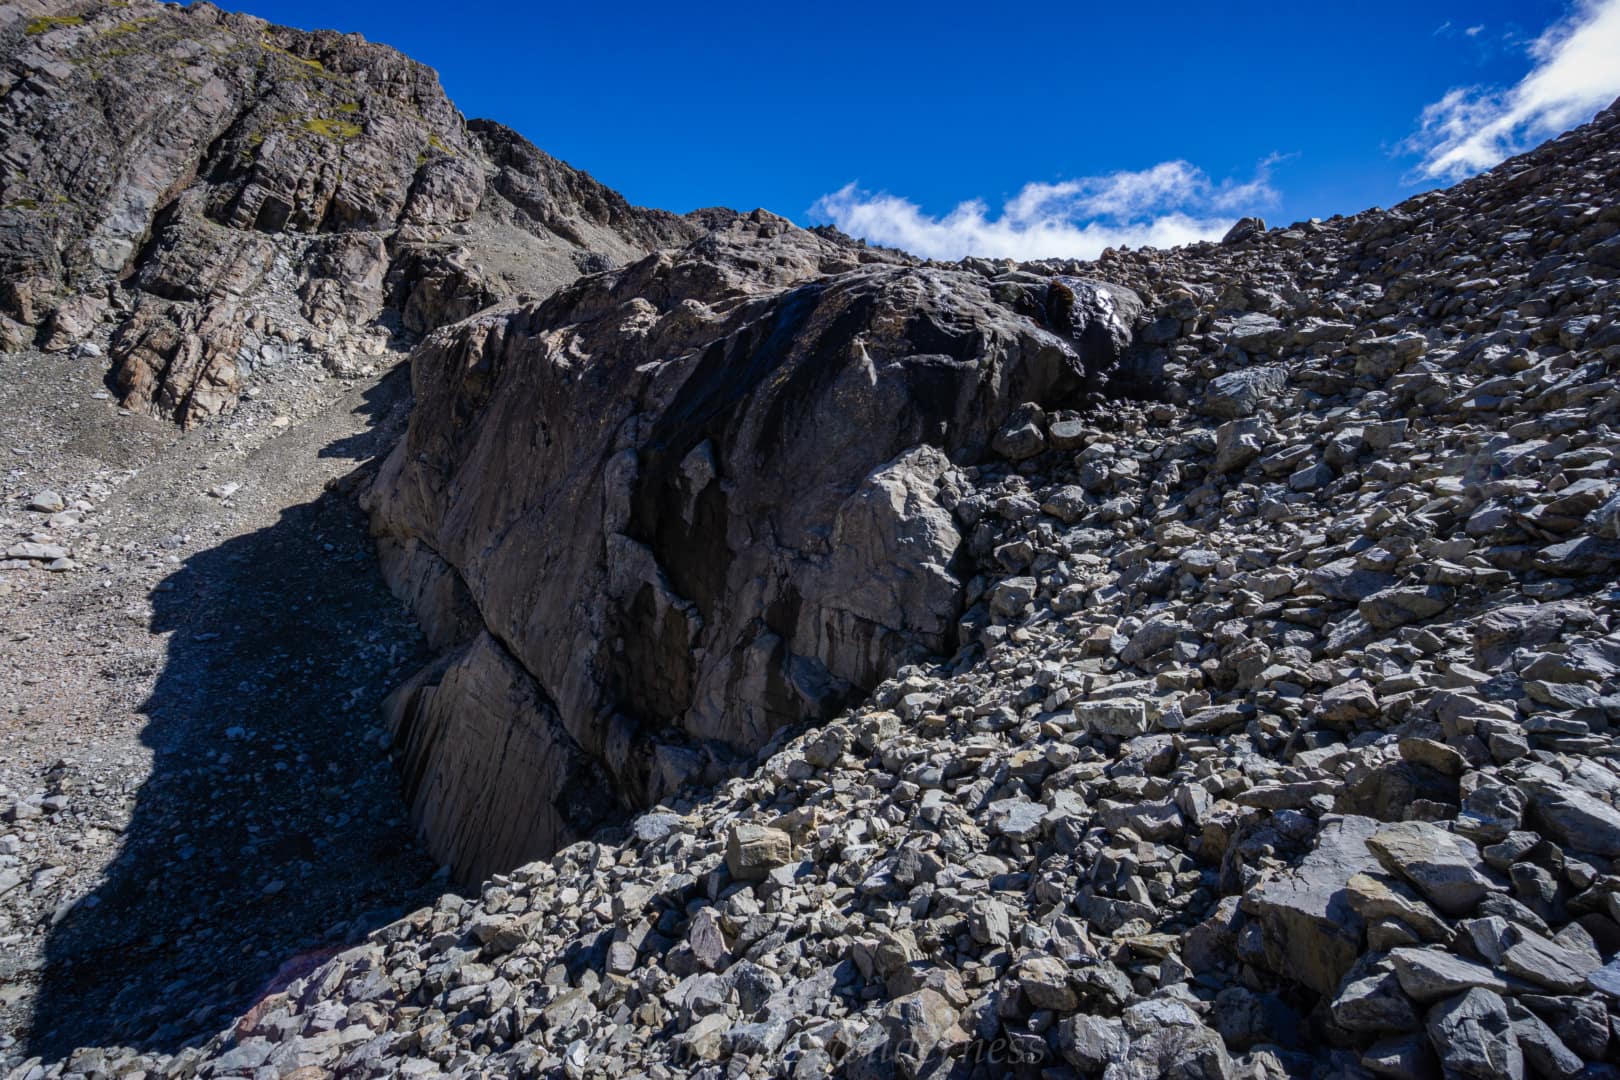
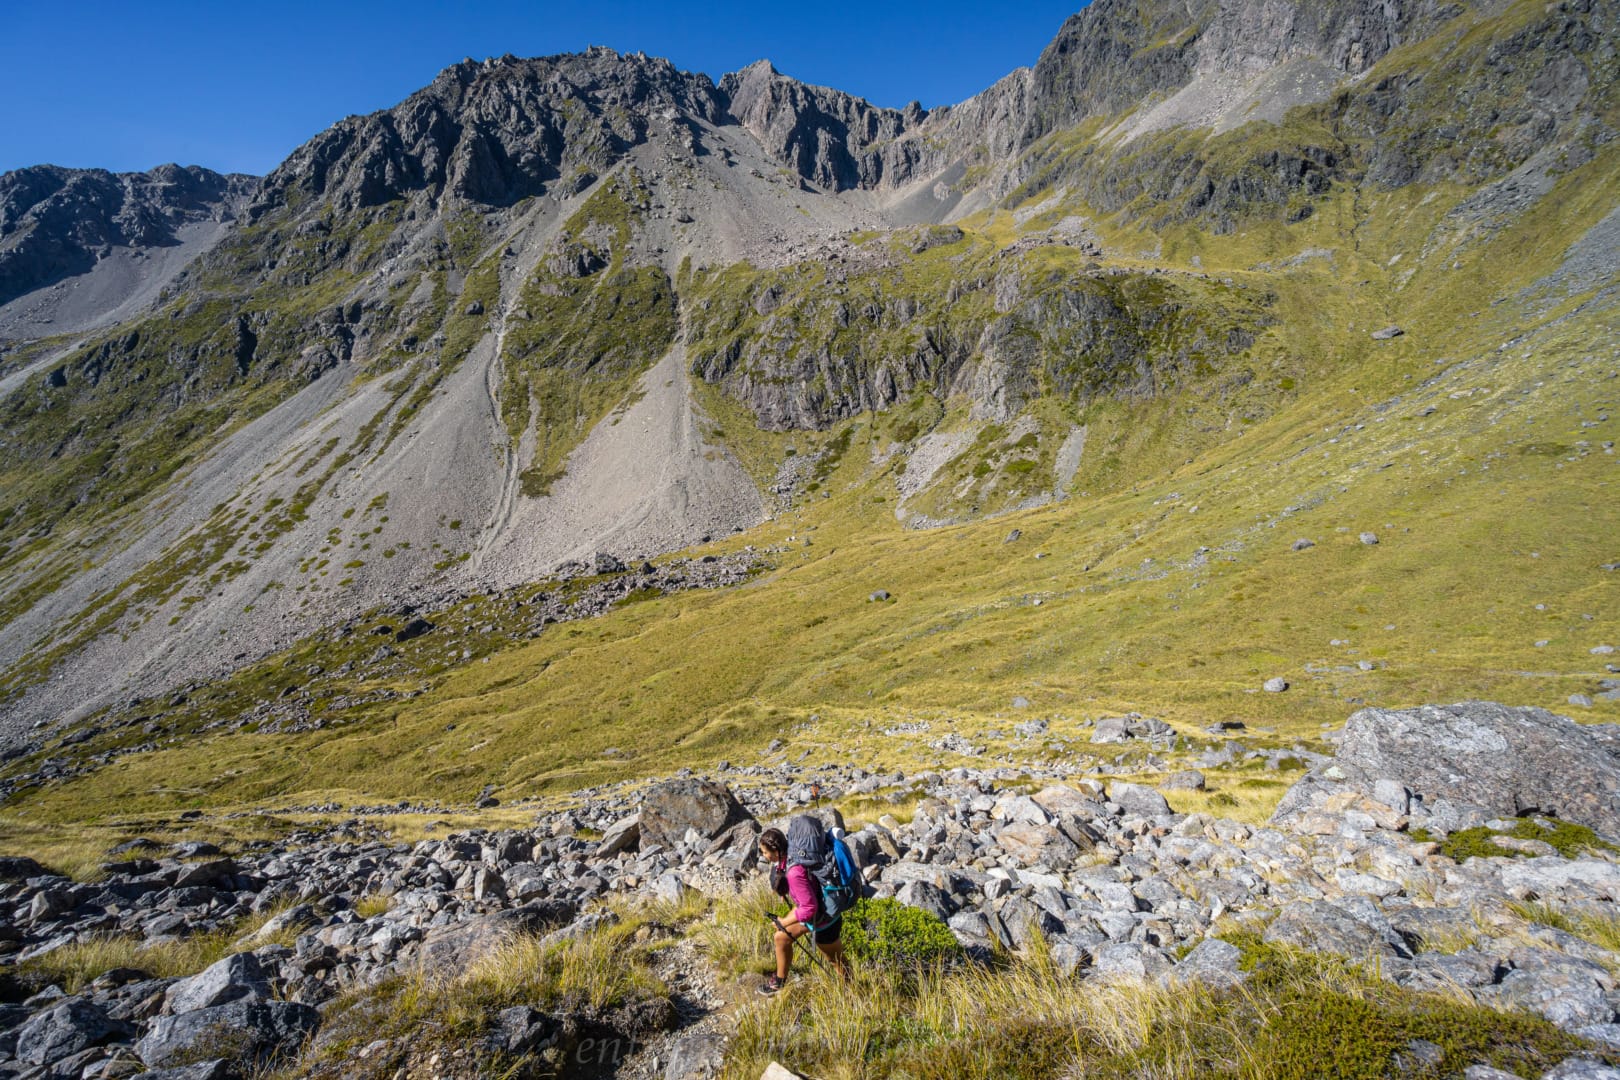
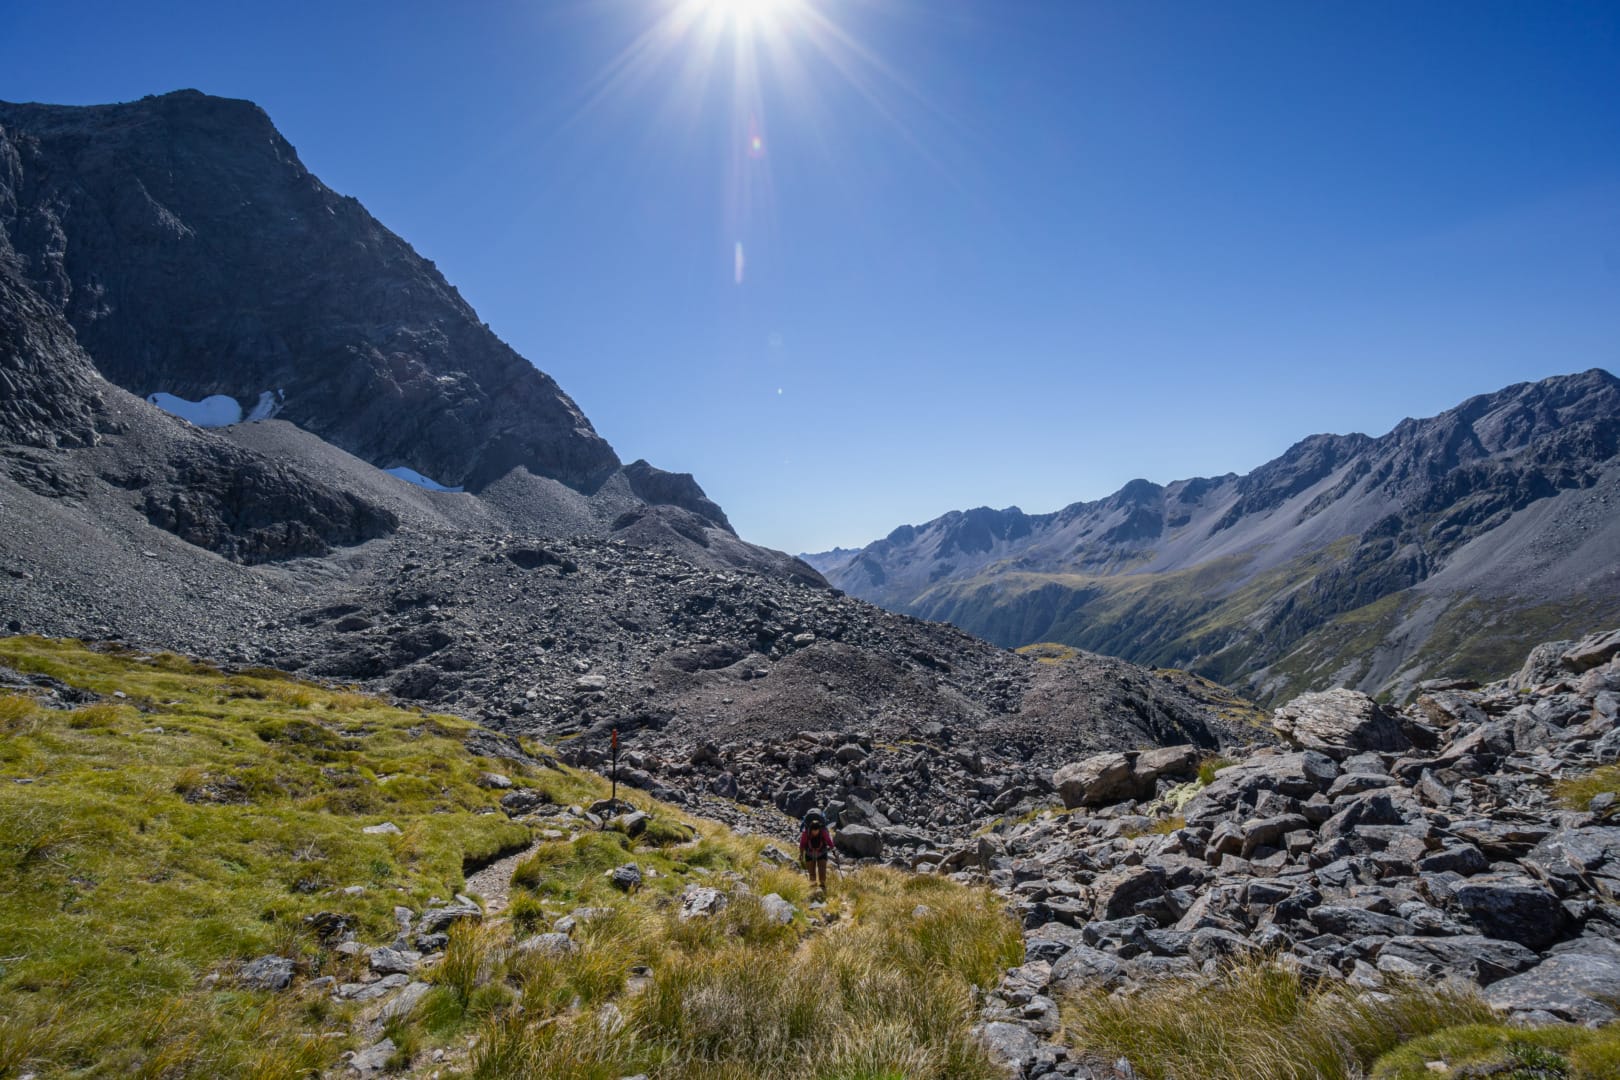
Moss Pass
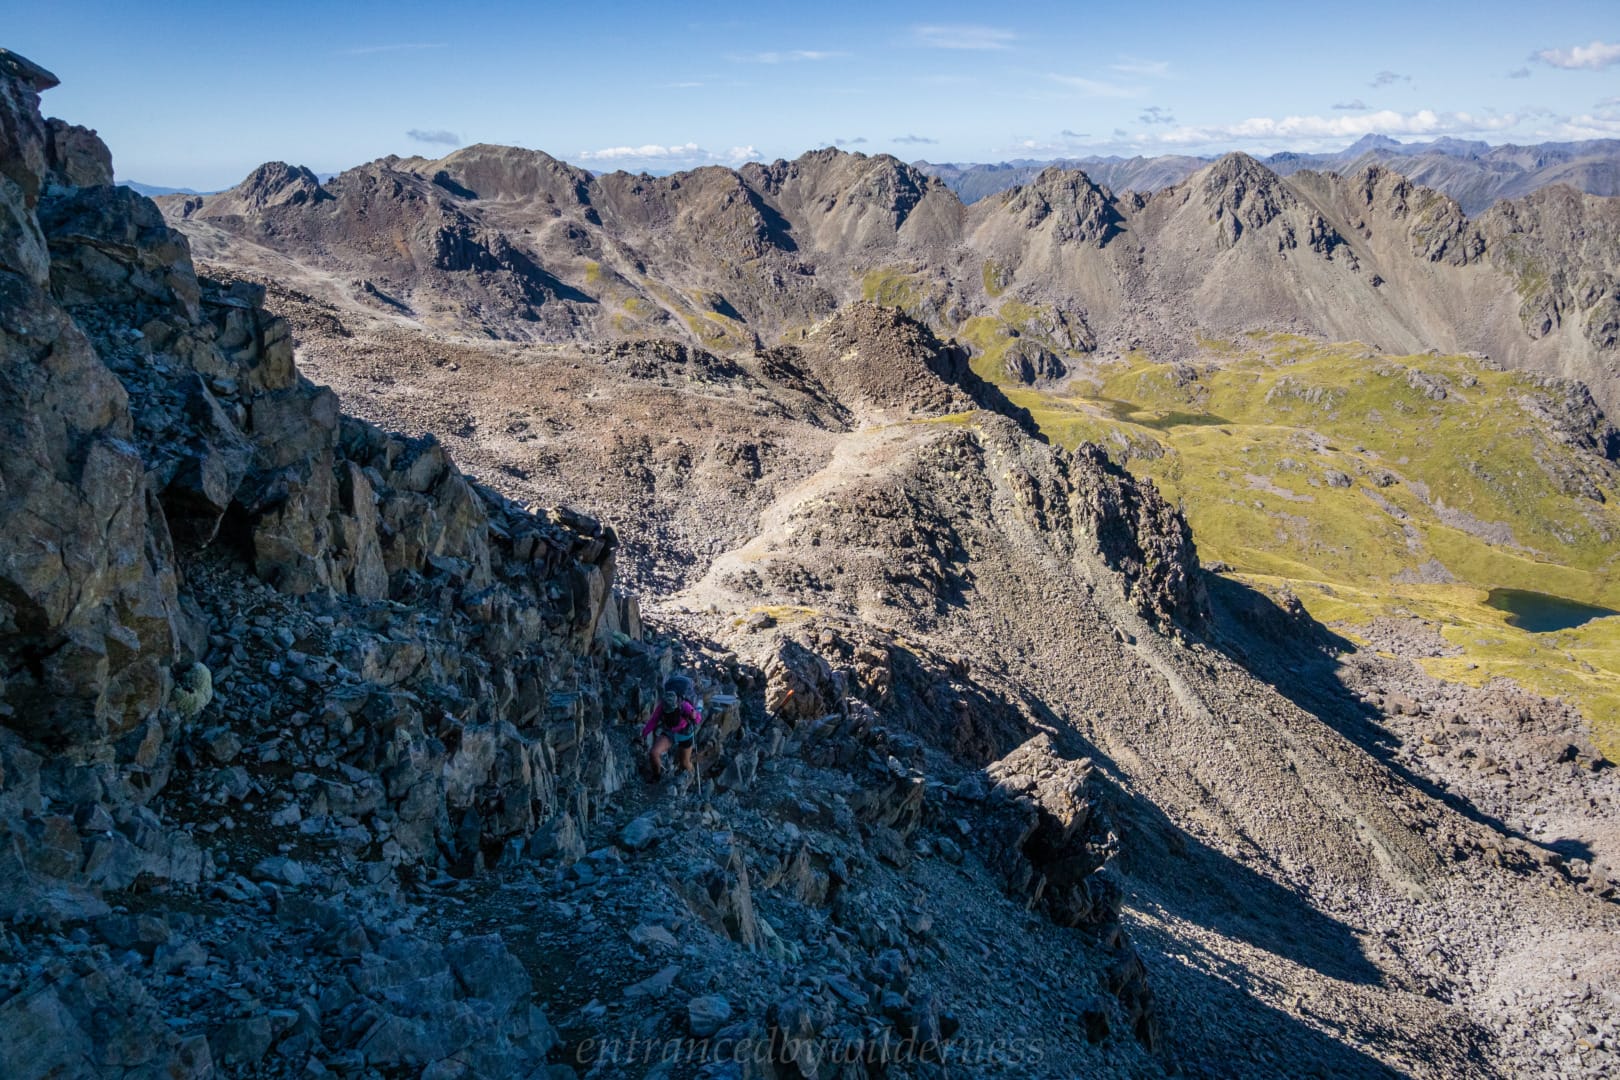
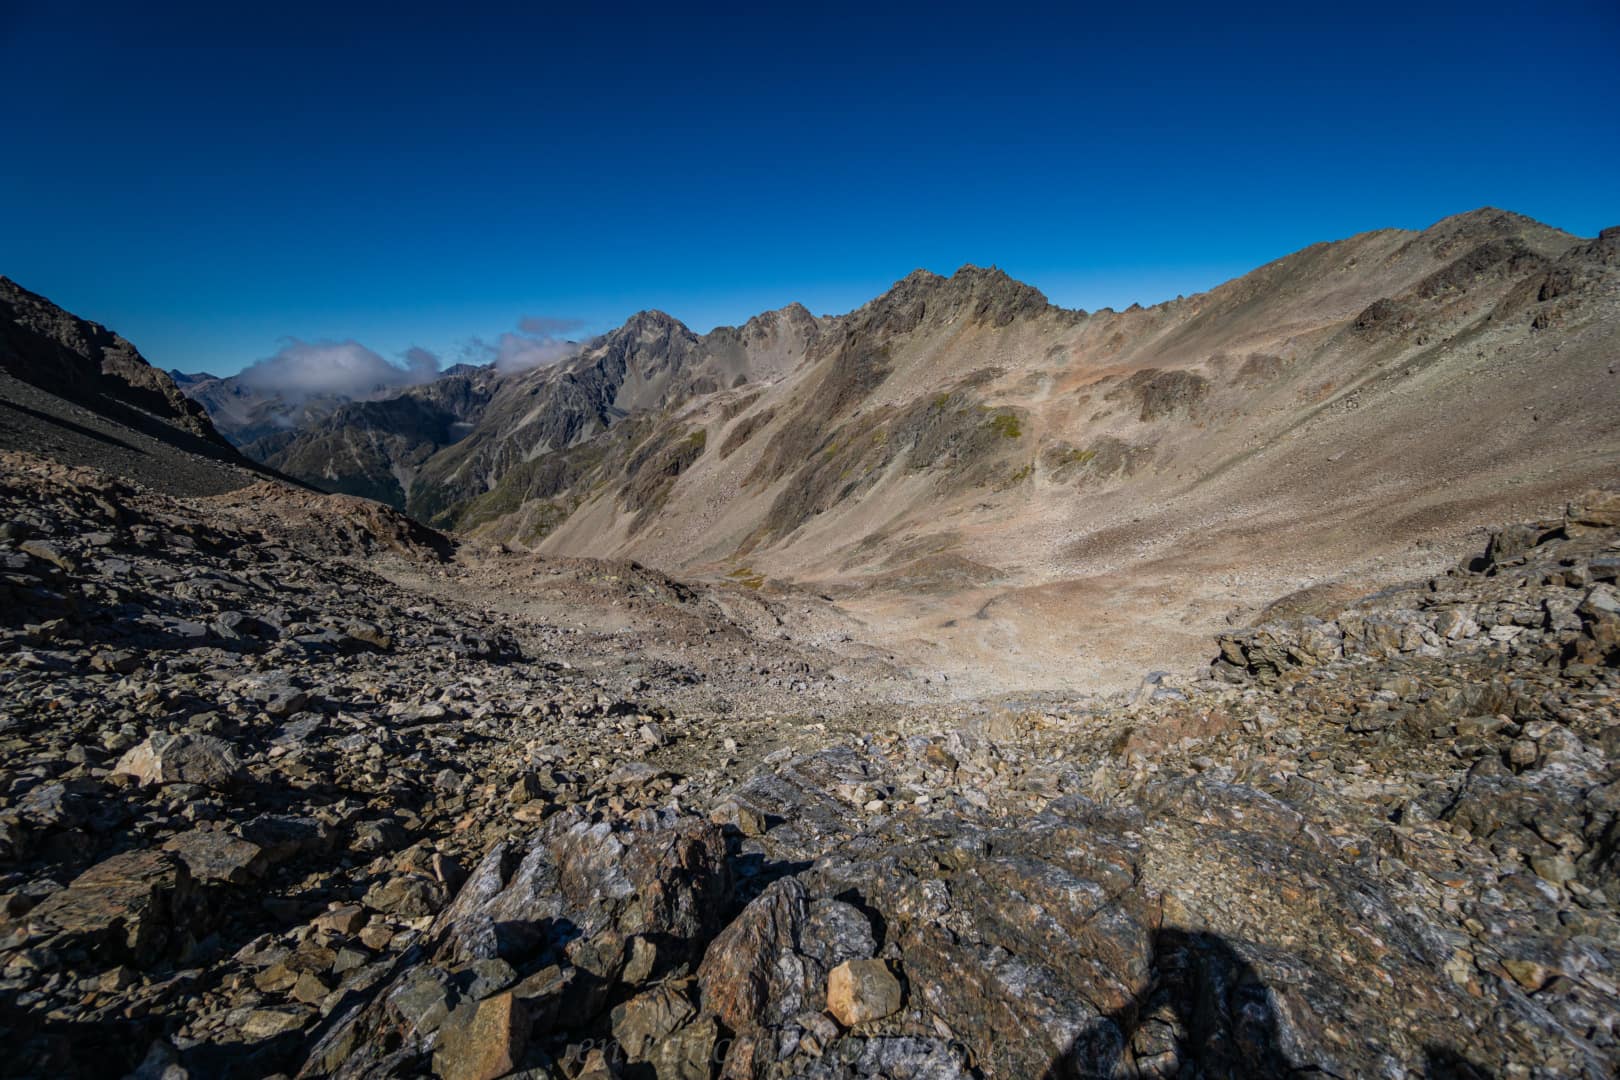
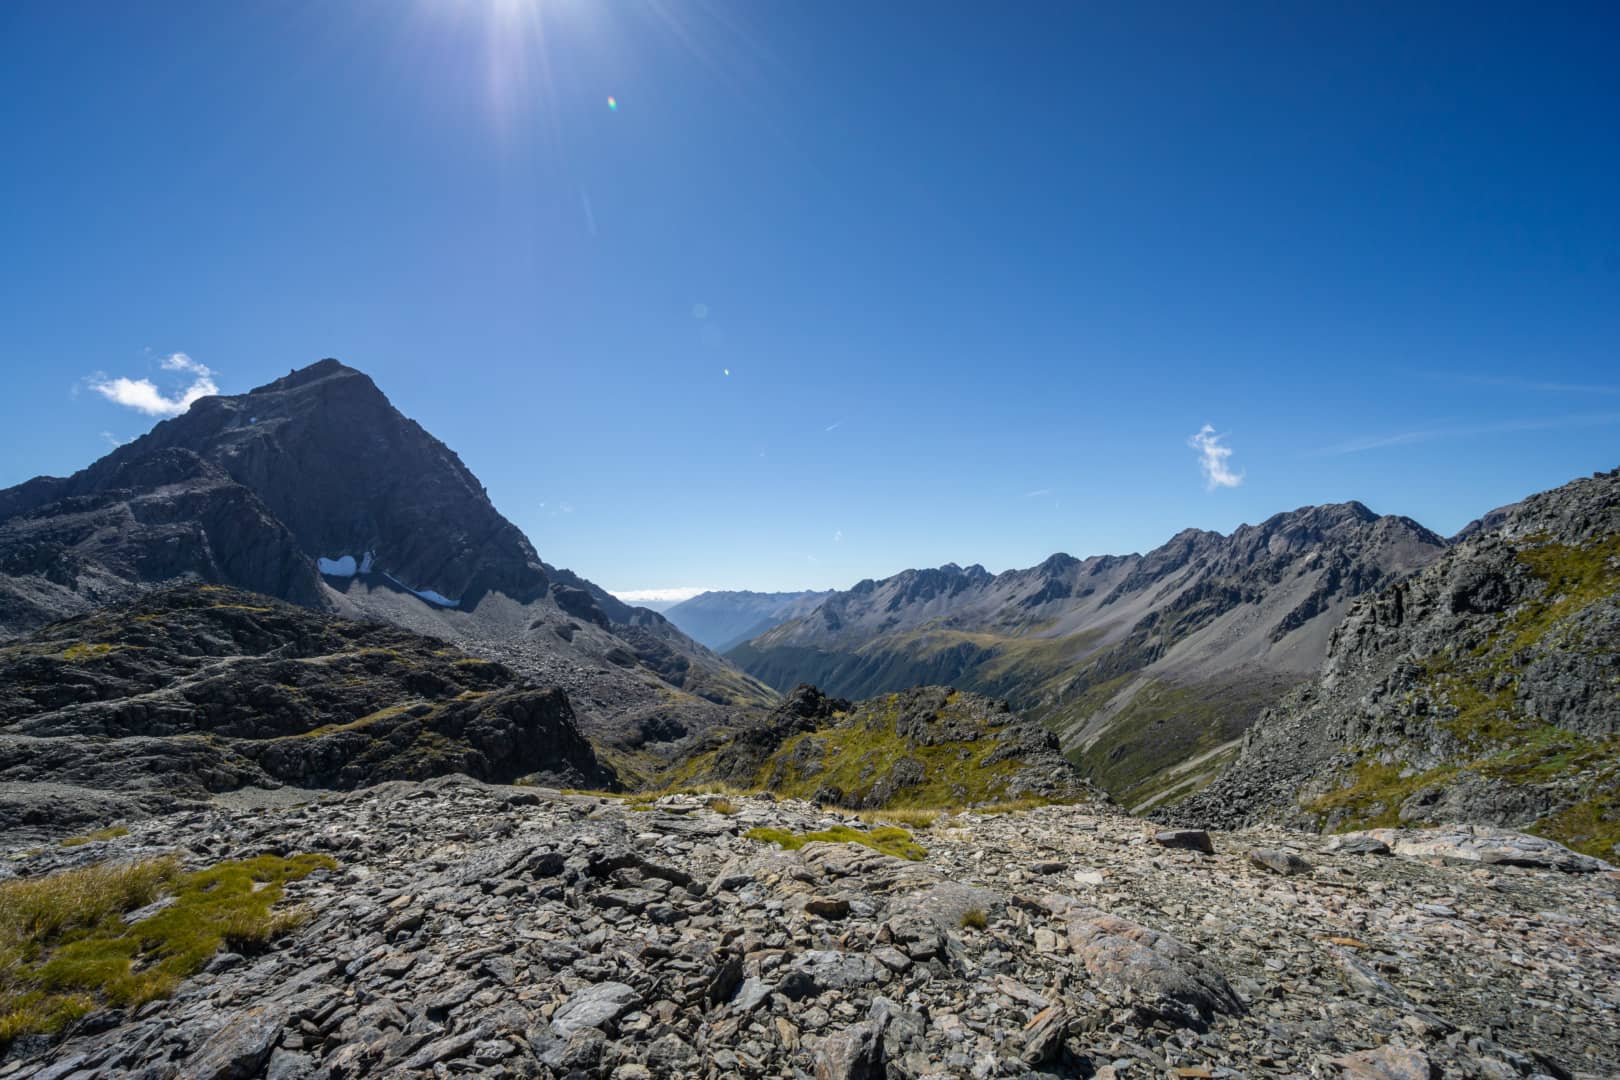
The climb up was easy at first, but it got daunting between 1650 and 1750m elevations. It steepens and narrows here into a rock-walled gully. There are several places to clamber up large rocky sections with loose scree for footing. A fall here would not be pleasant! However, we made it up and were rewarded with new views into the D’Urville Valley! On top, we met a girl who had come up from the other side and had a brief chat over a snack about conditions, etc.
After some food and hydration, it was time to descend into the D’Urville Valley. The way down looks daunting and bluffy, but the route navigates you down a safe path sidling down to the left side and away from the bluffs. There were no major obstacles here. I was looked at potential camping here (for future trips), but there wasn’t really flat sites that were ideal, but you could definitely set up a tent in some places on rough ground.
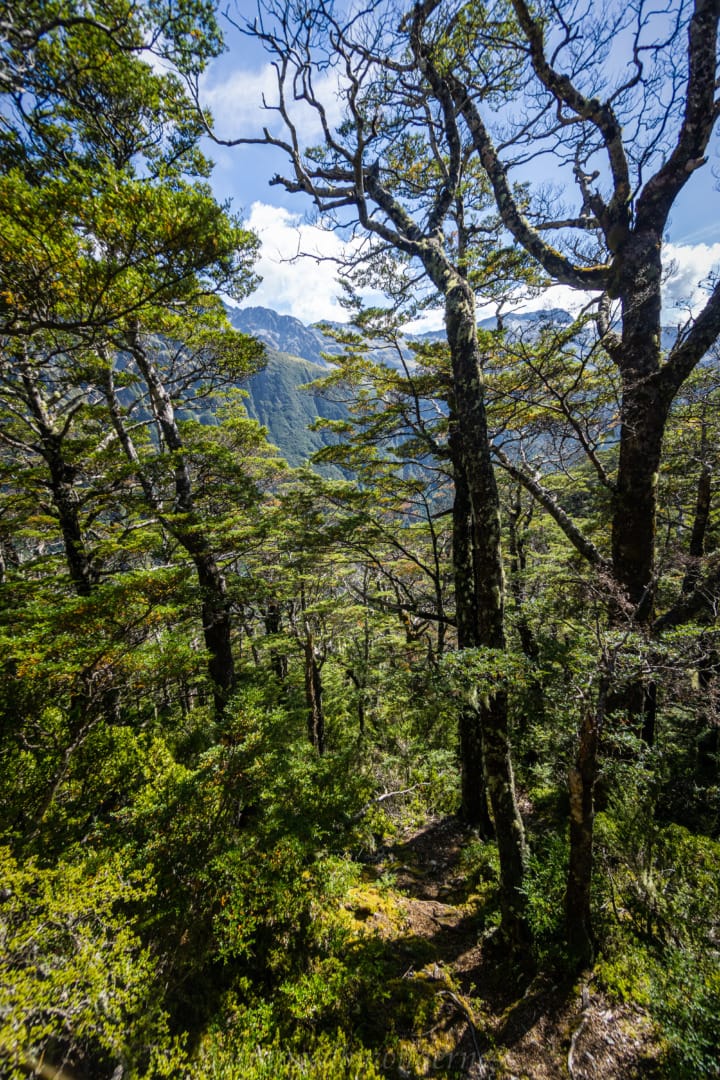
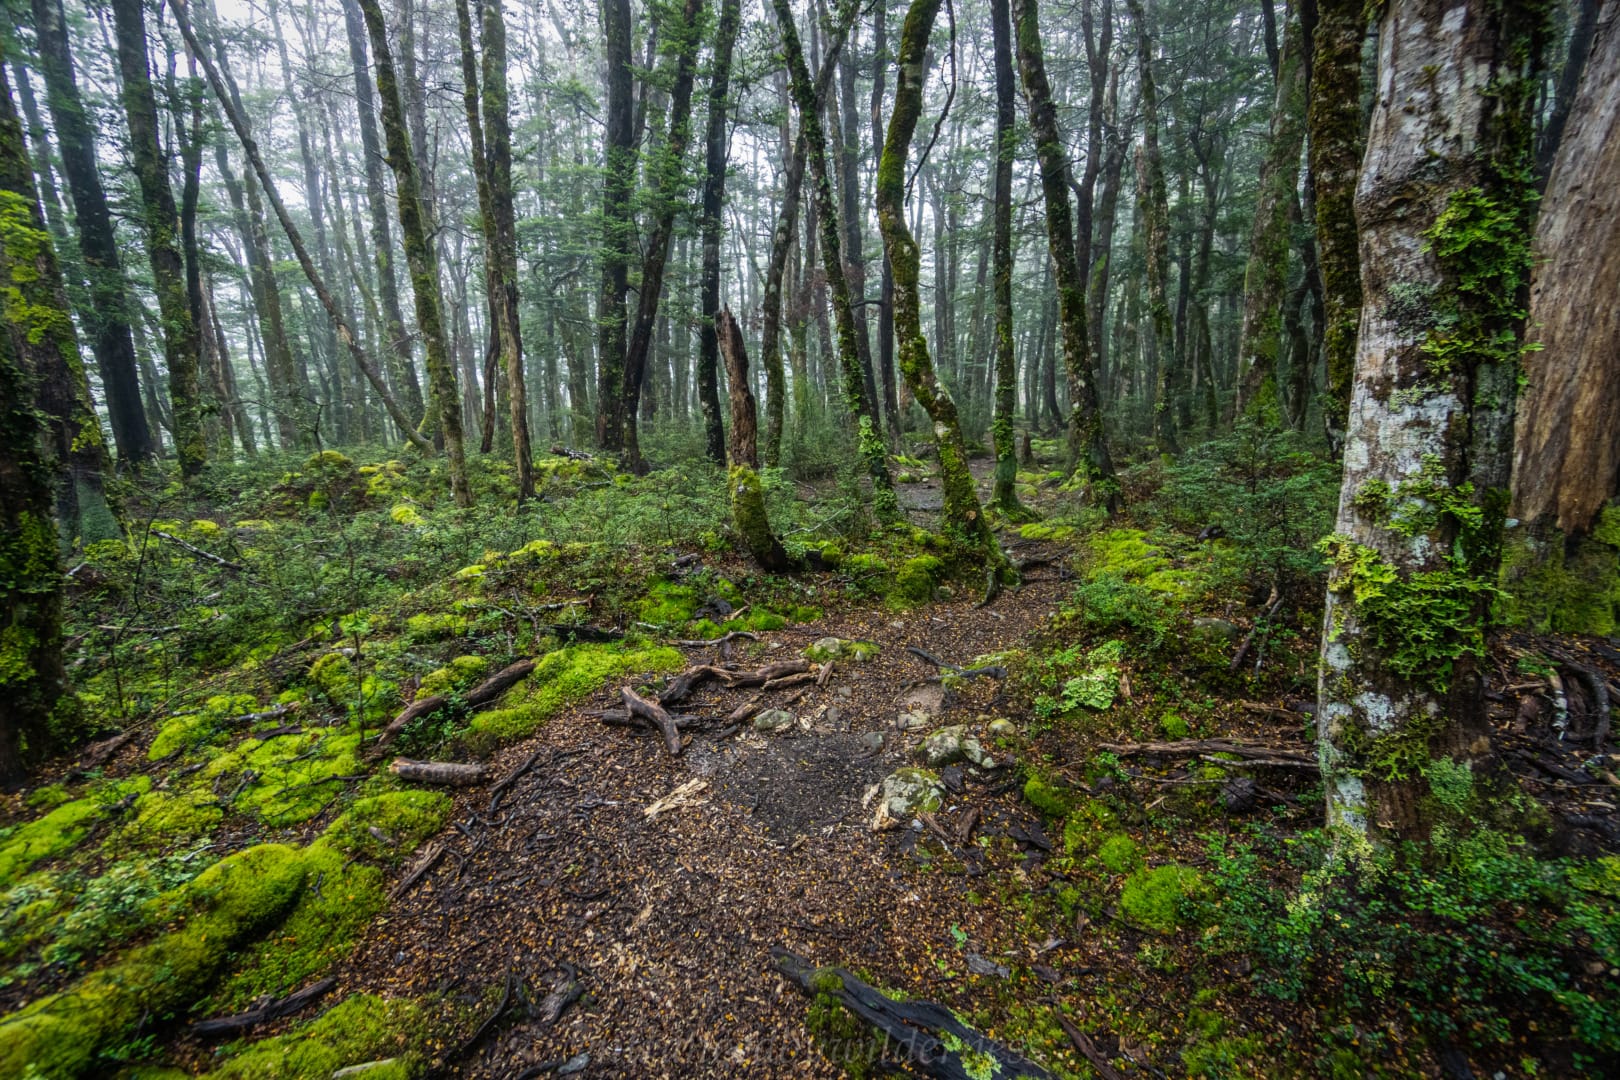
The route through the forested section was slow-going. It was very lush and wet, with lots of slippery rocks. You definitely need to take your time heading down this section, particularly where it steepens between 1100-1000m evelation.
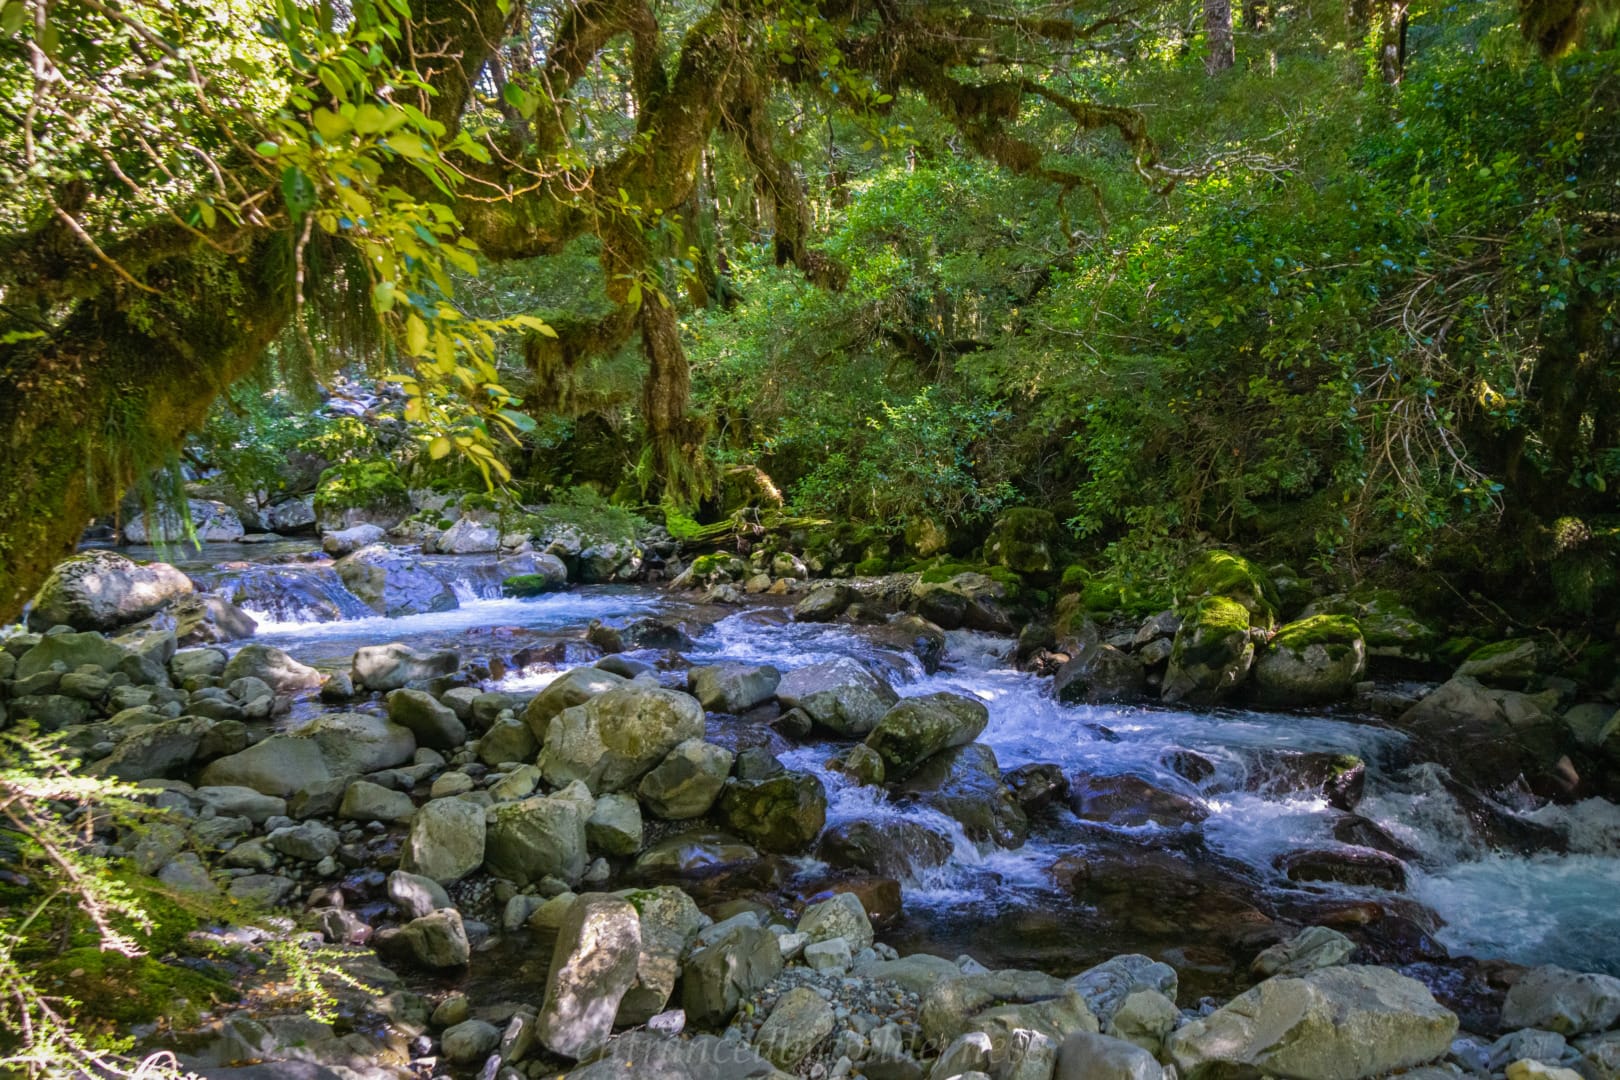
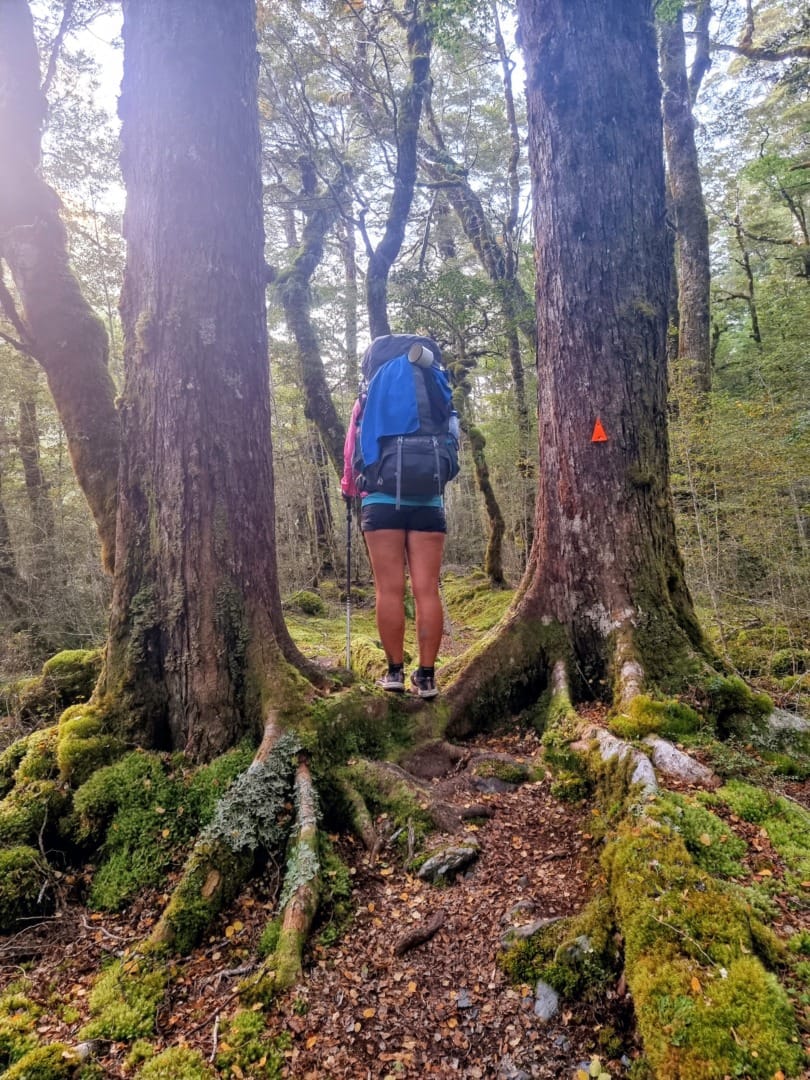
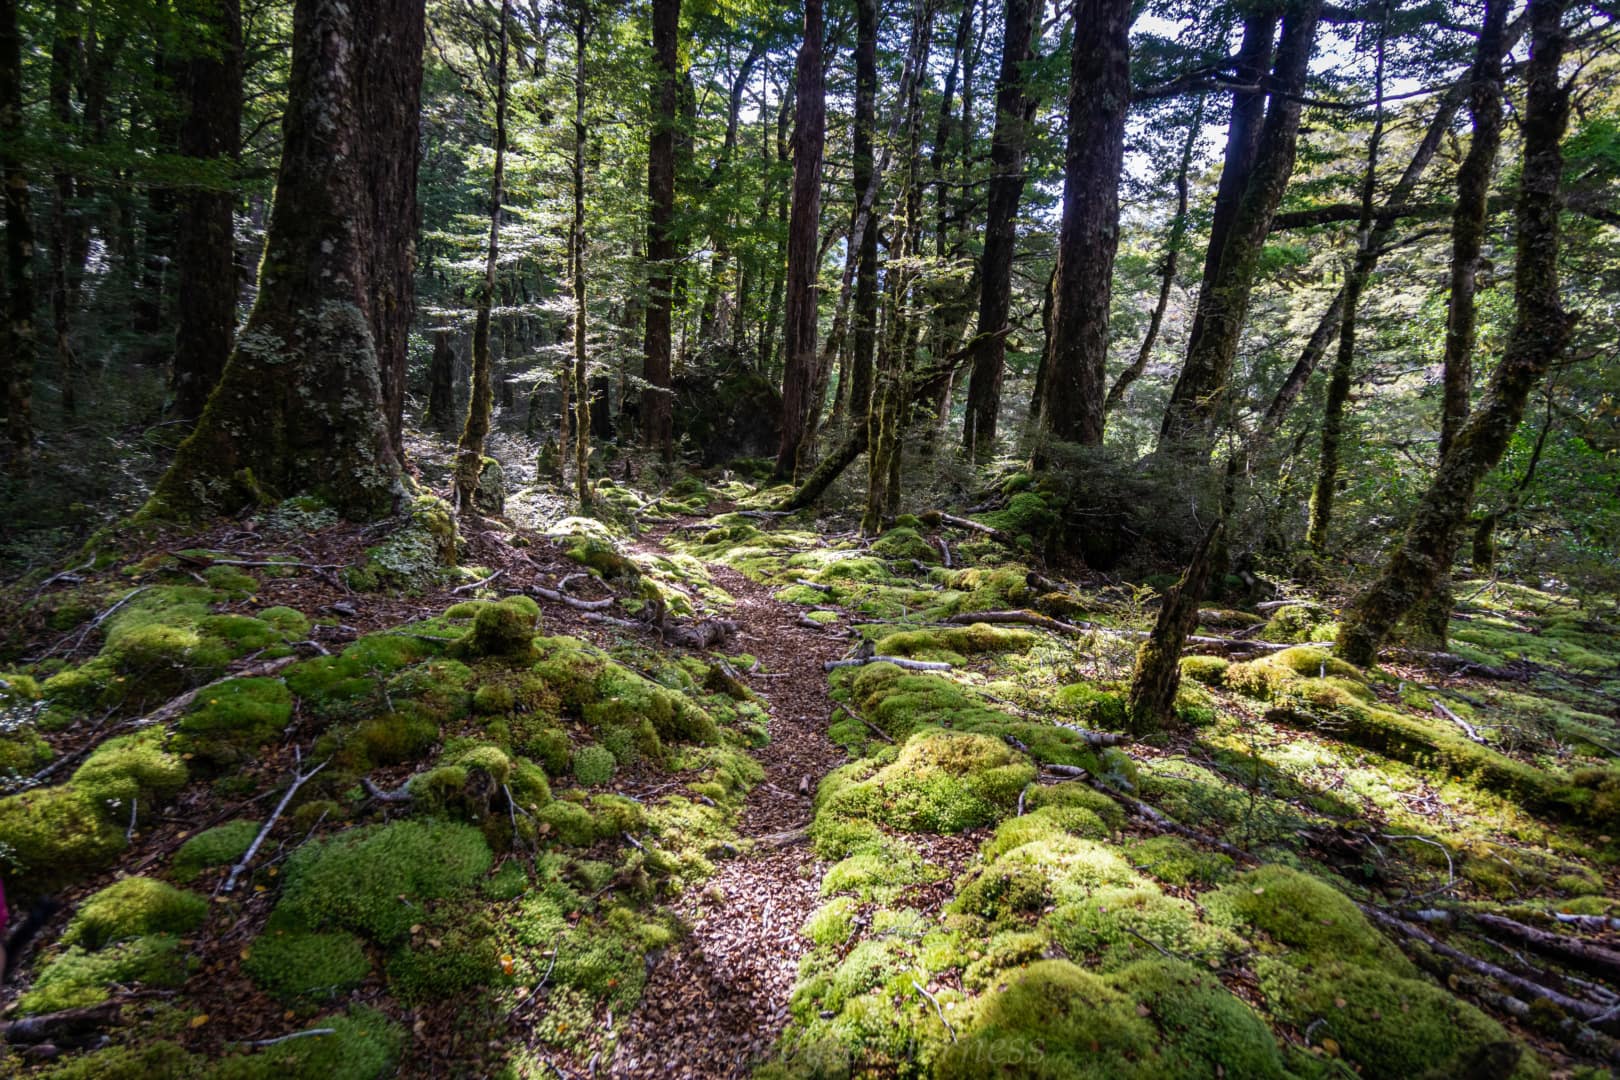
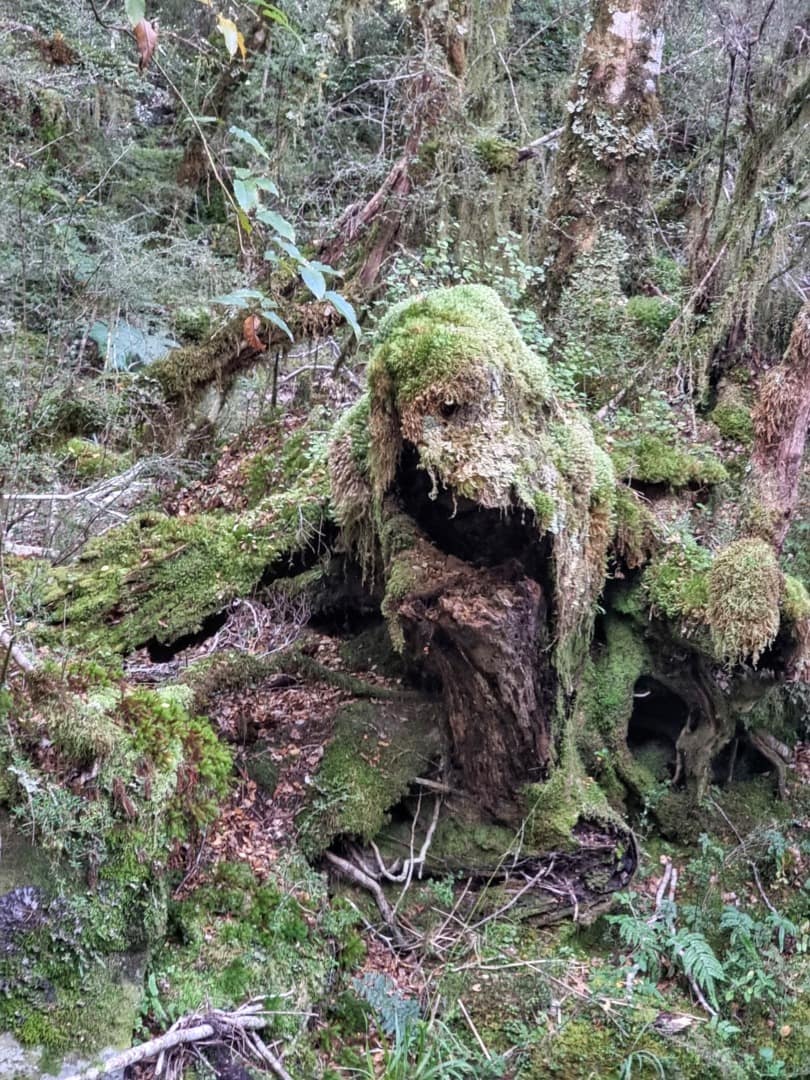
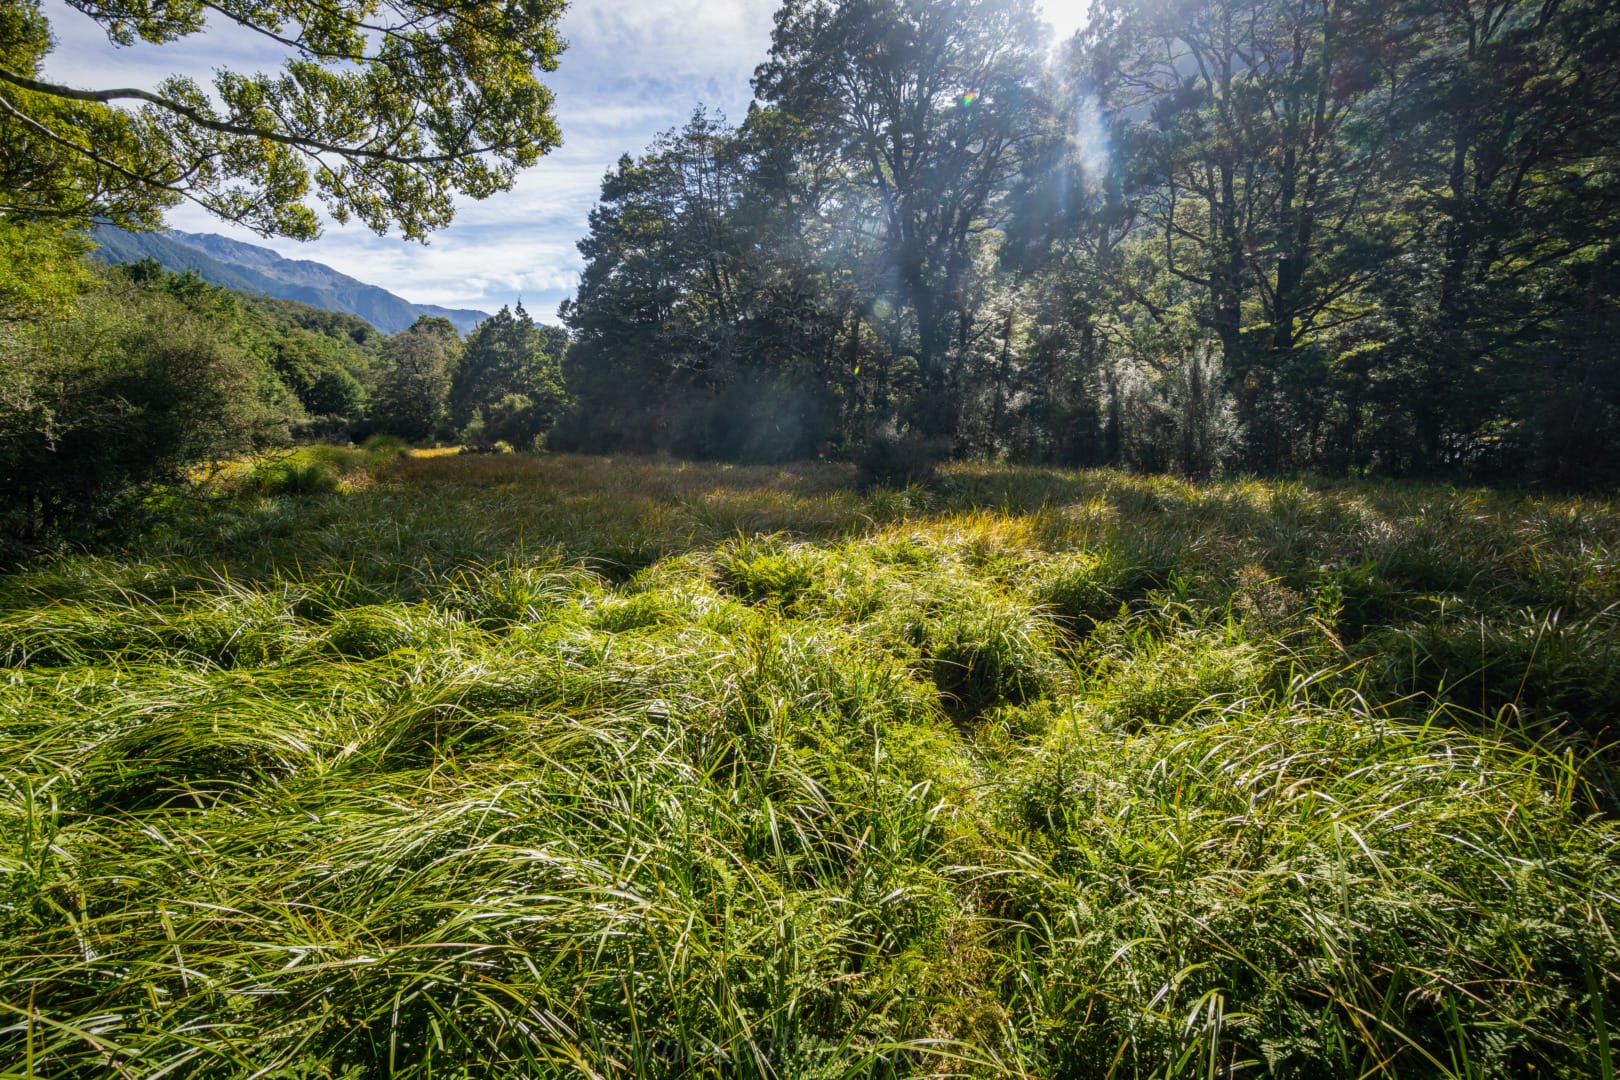
After the 1000m descent, we arrived in a stunning valley alongside the D’Urville River. The moss was some of the lushest i’ve seen!
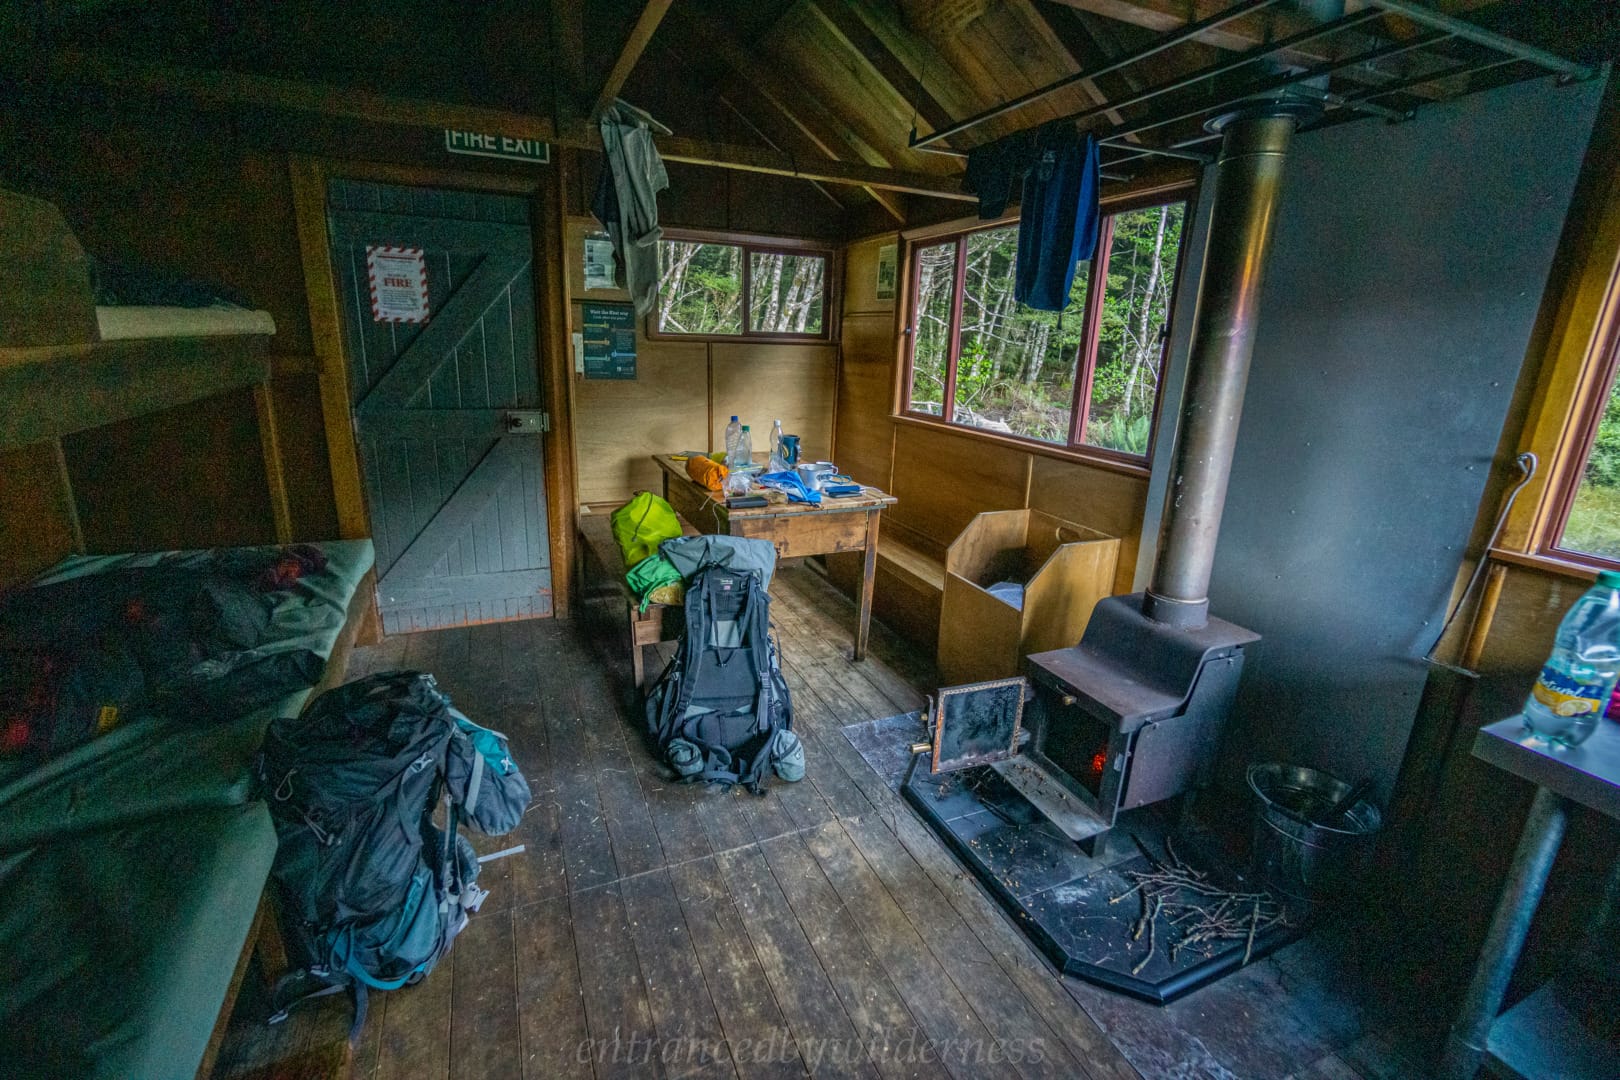
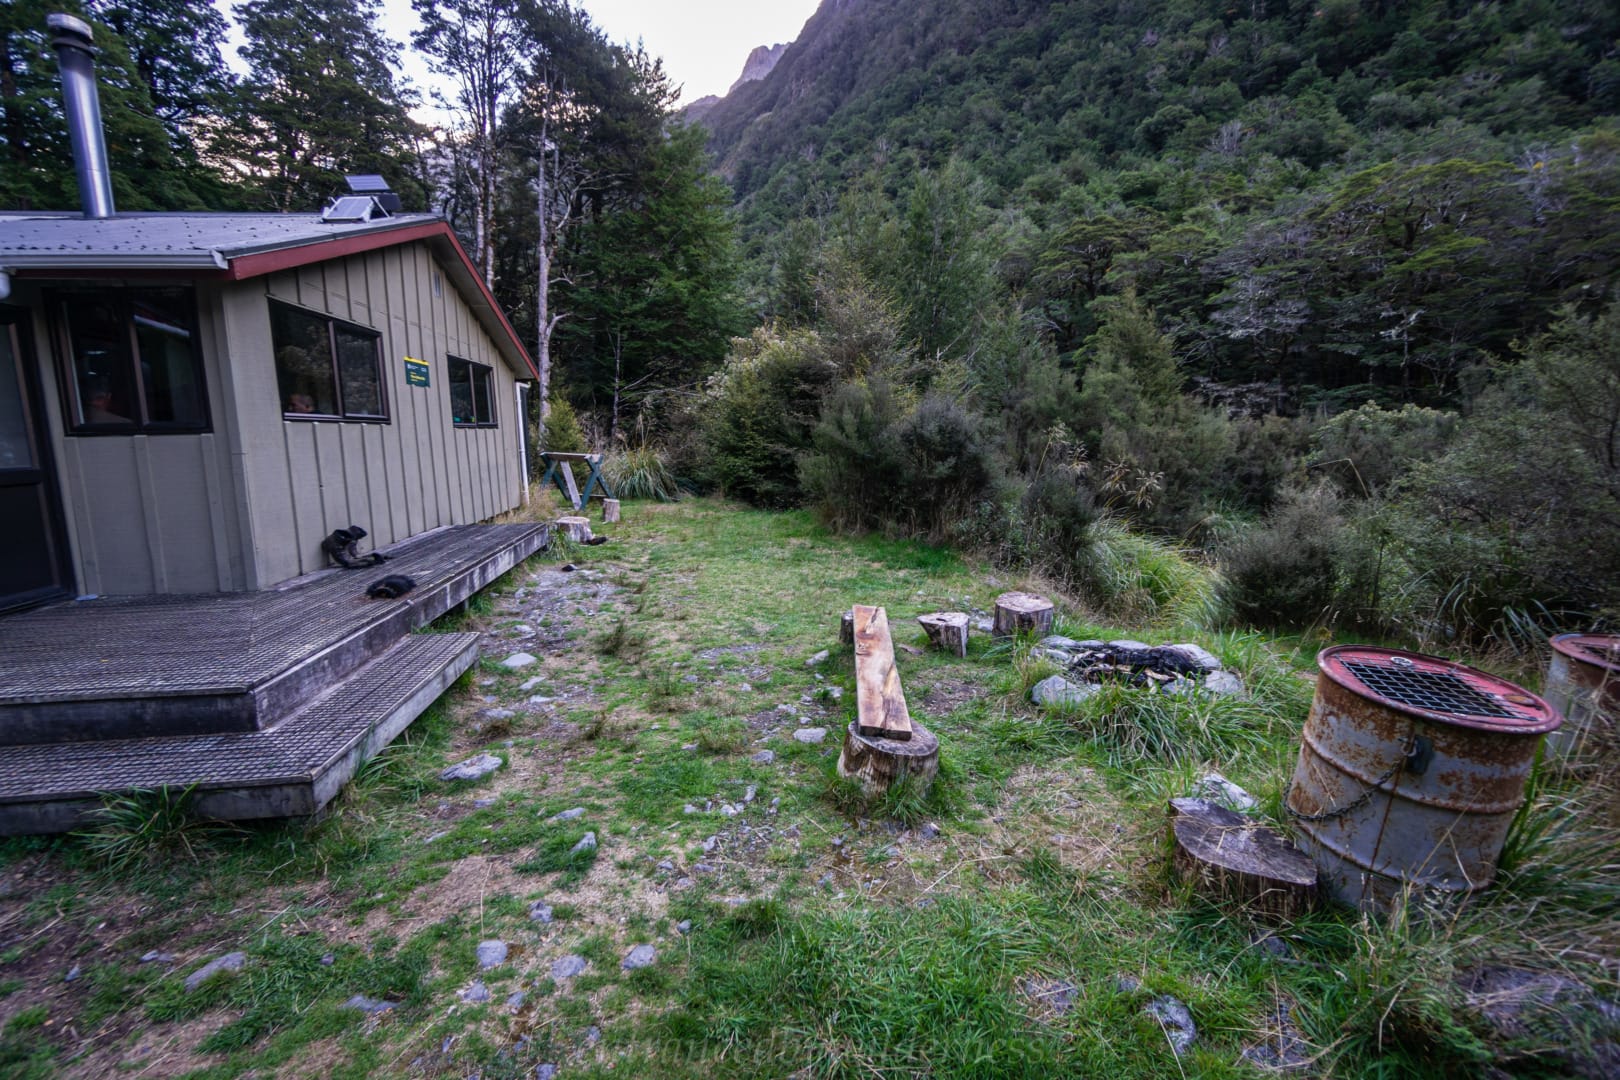
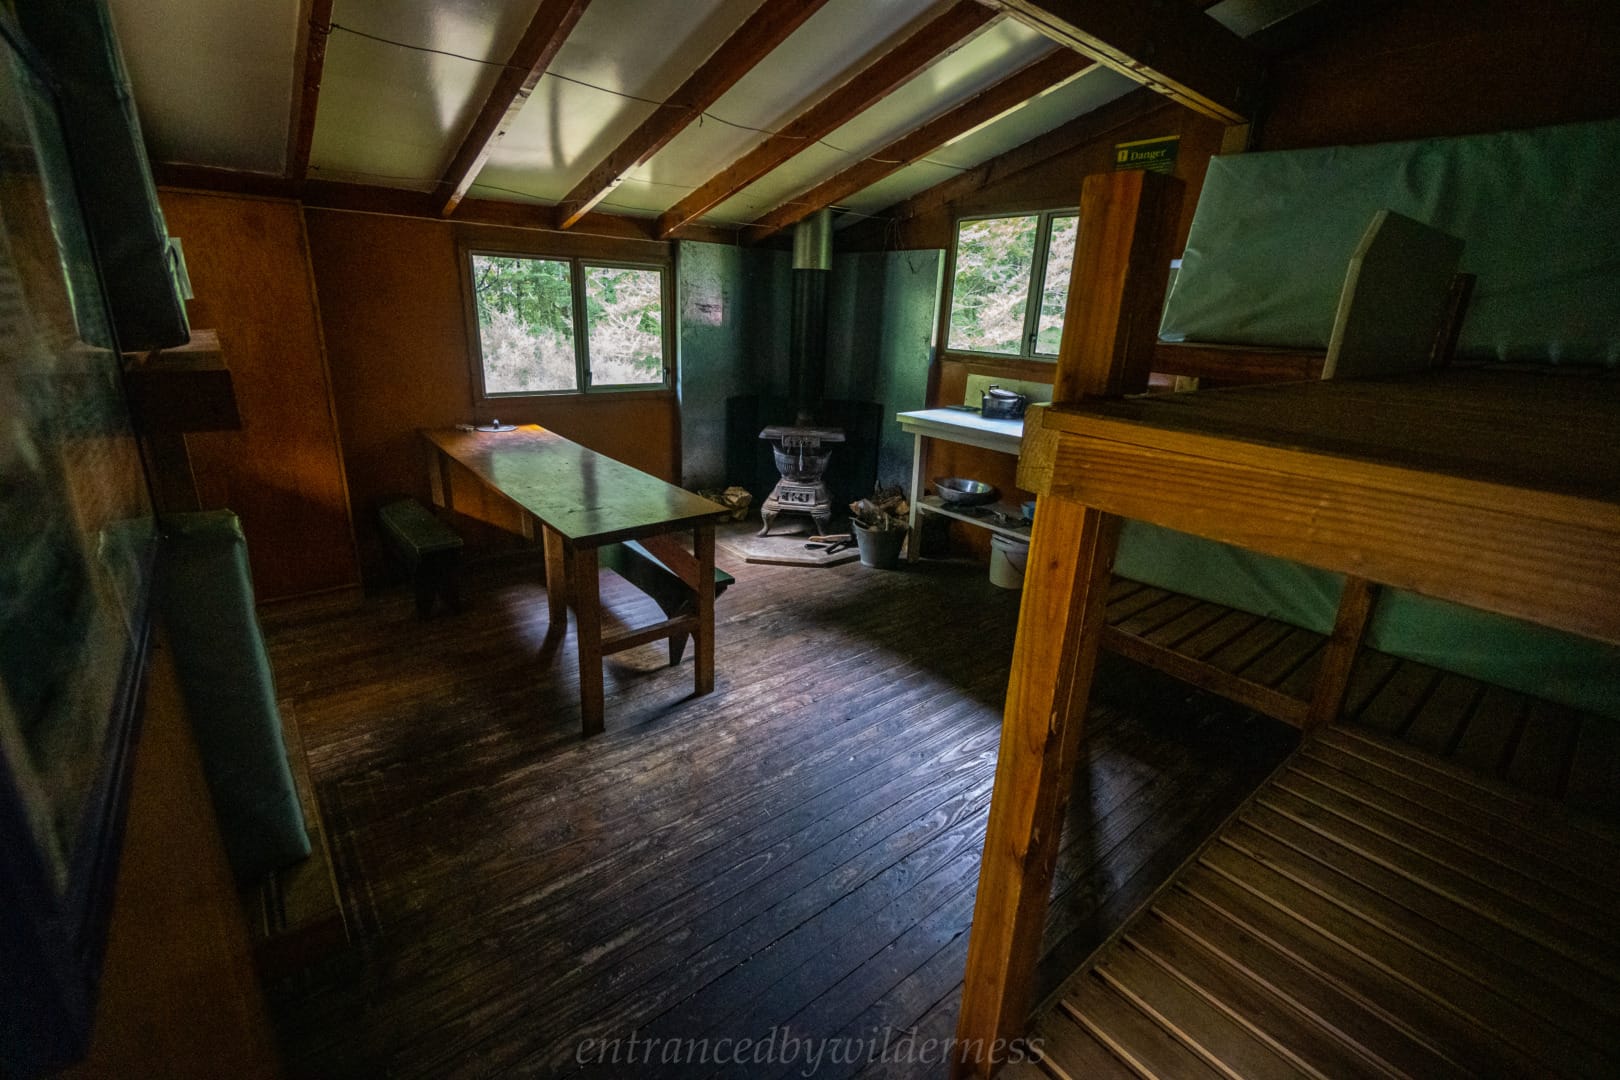
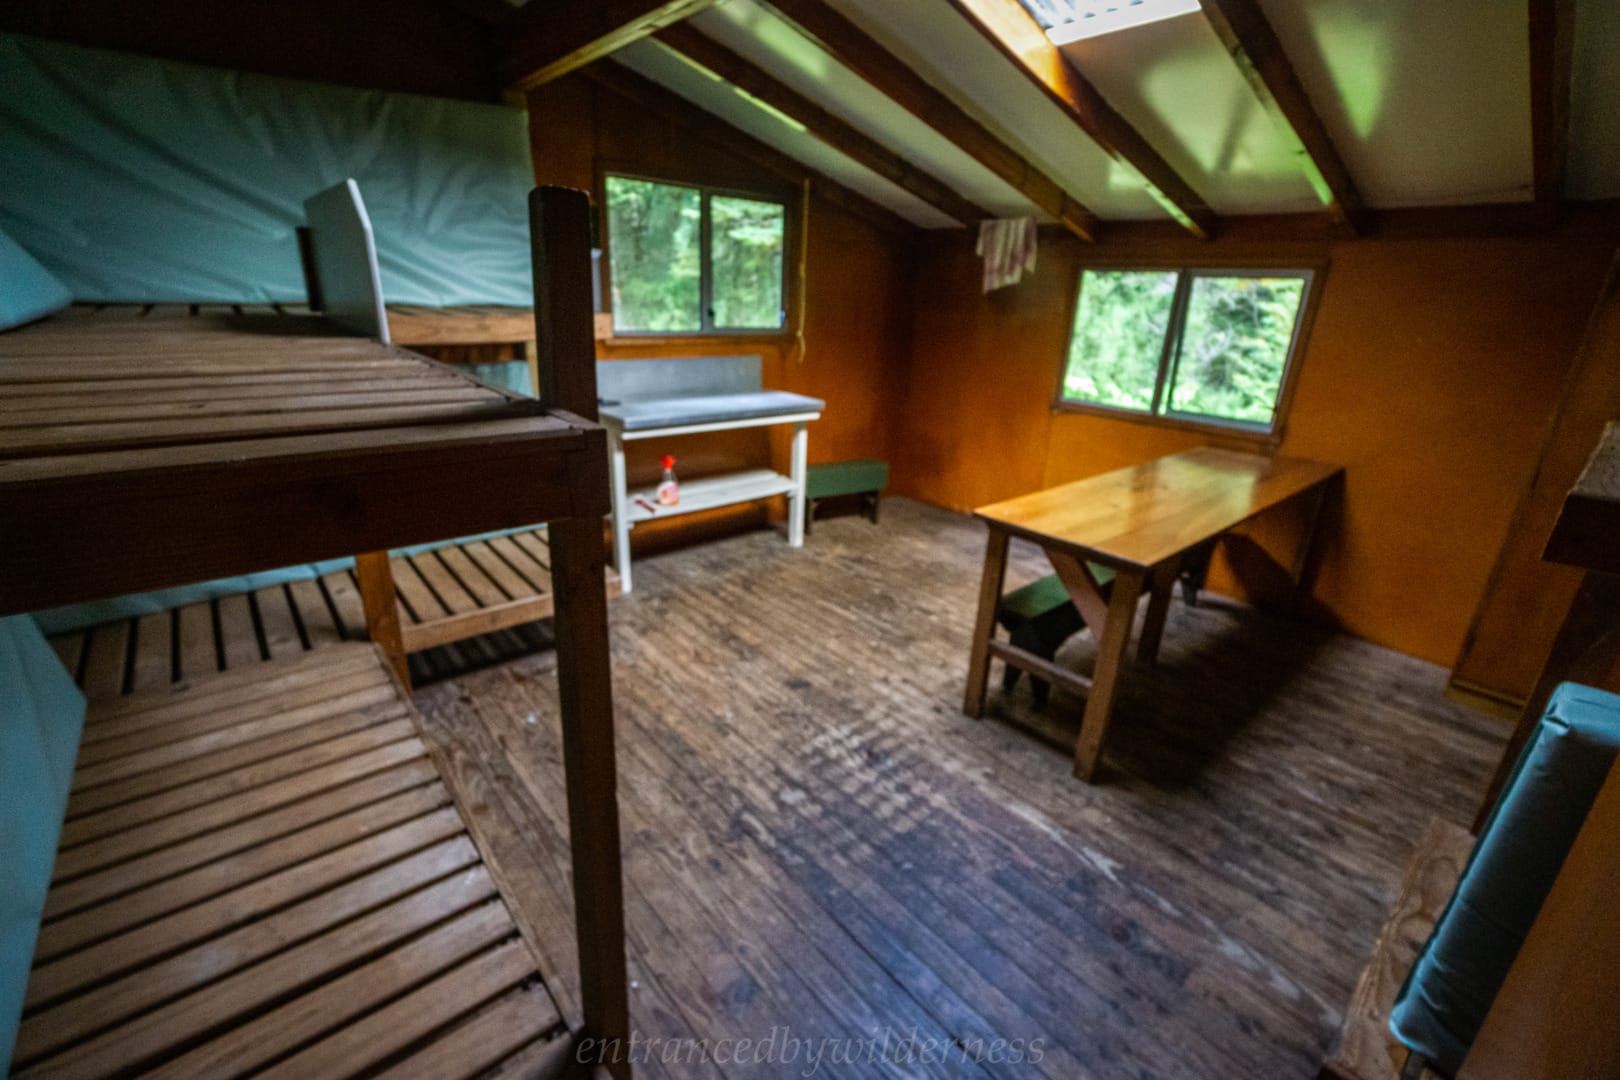
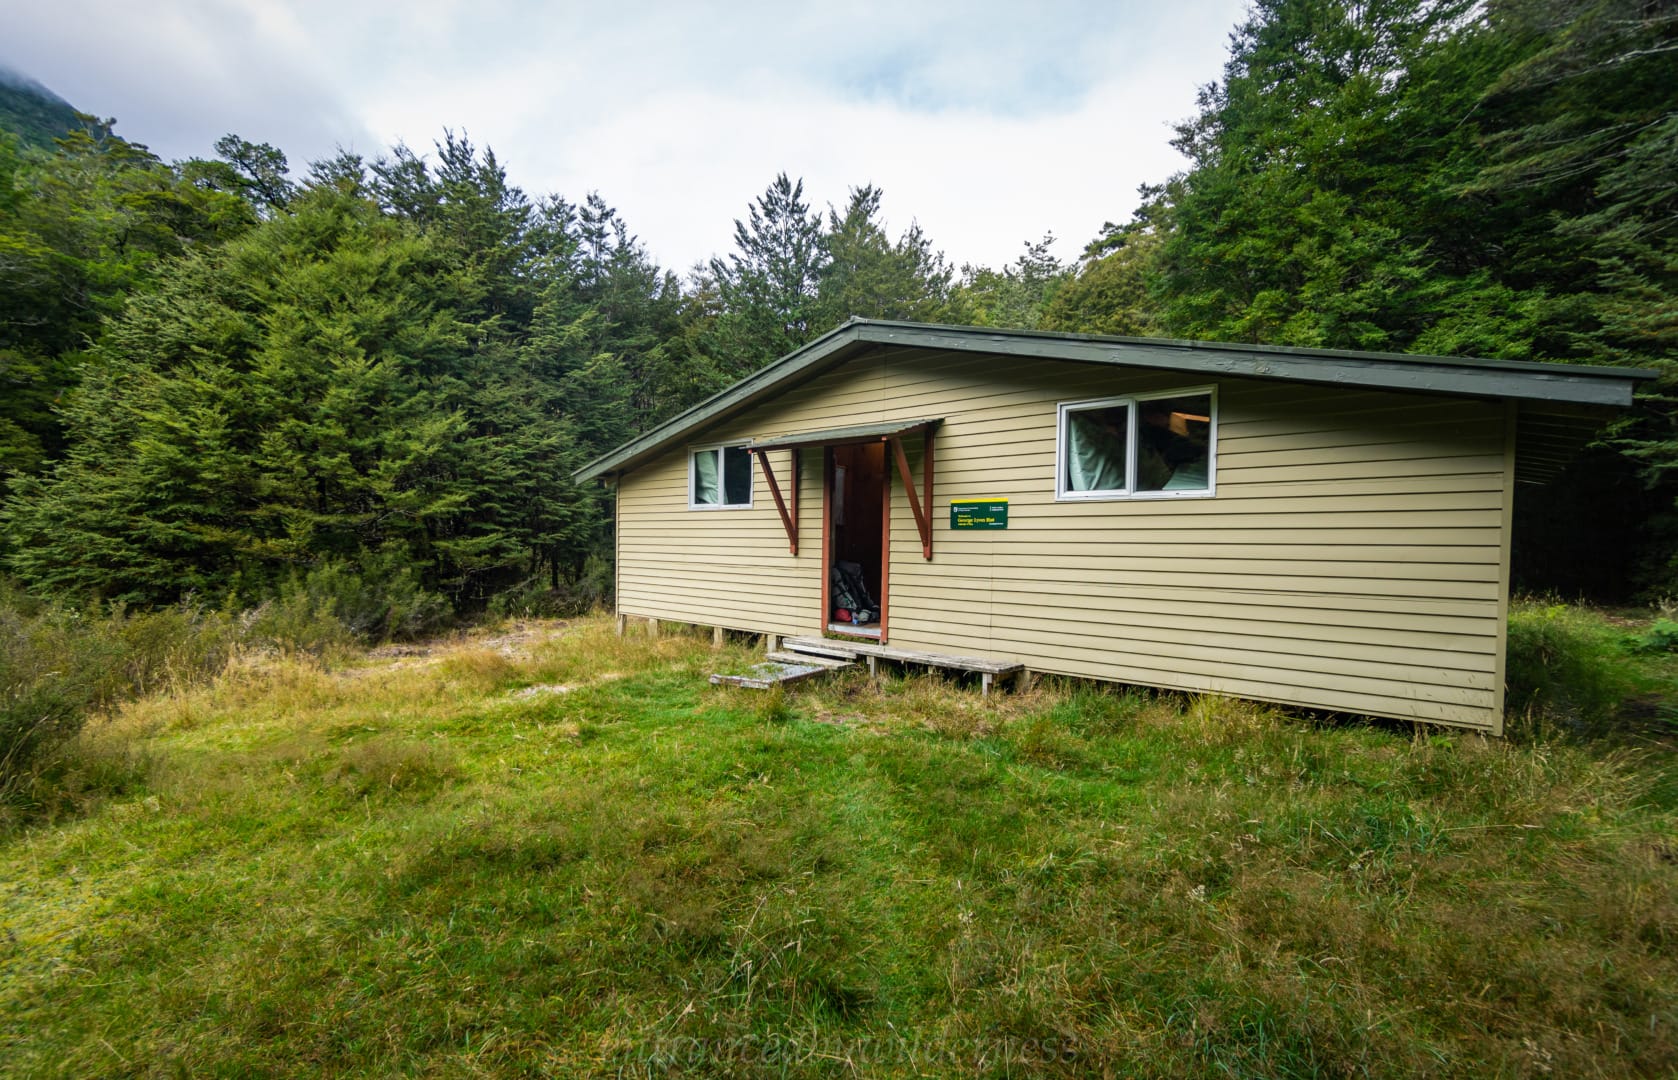
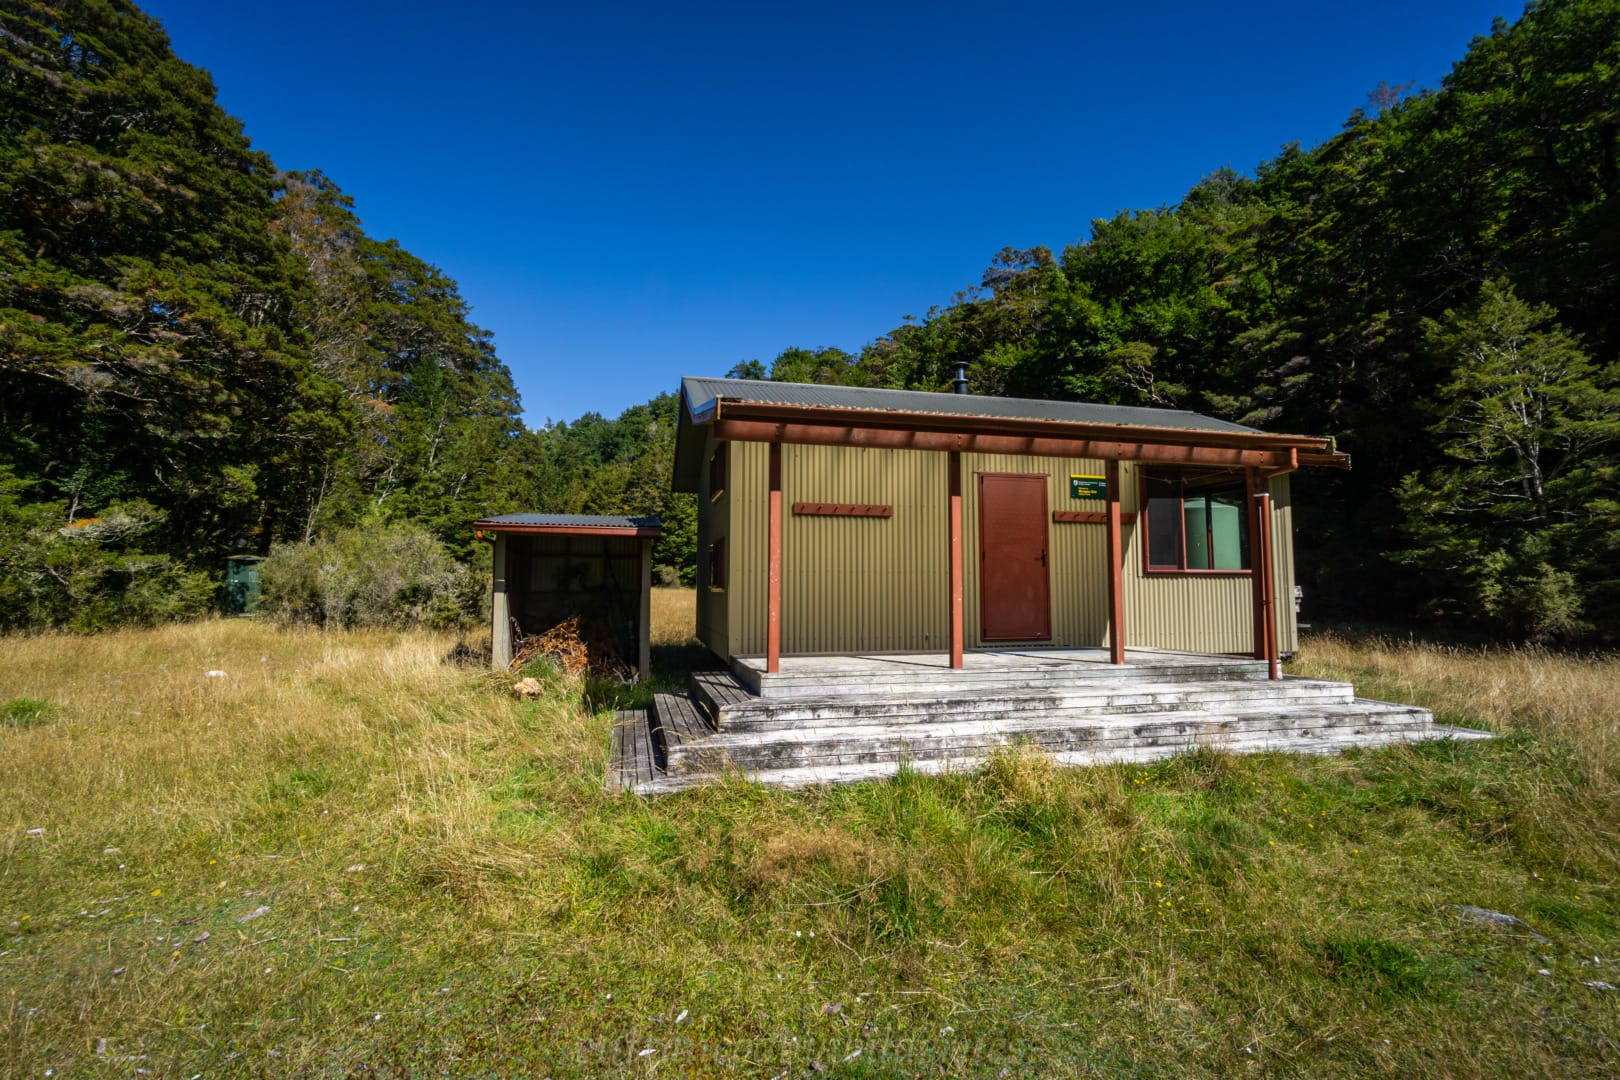
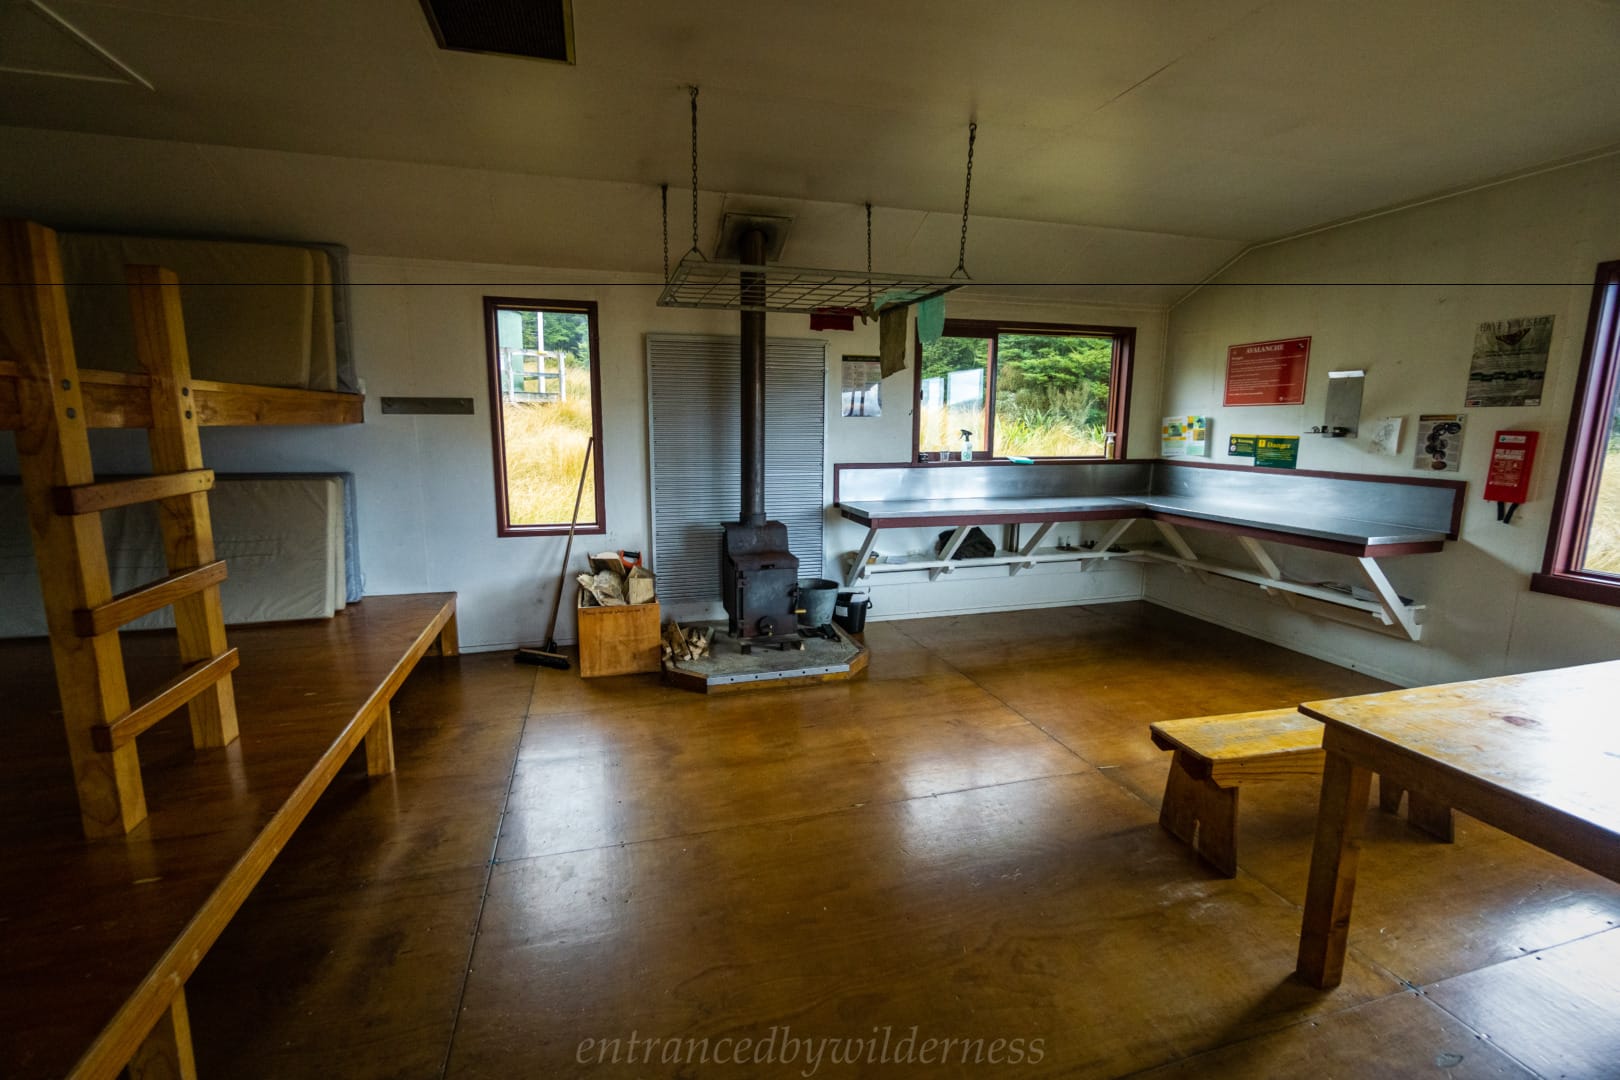
Eventually we arrived at George Lyon Hut, and to our surprise, were alone there! We learned via the history of the hut that George Lyon hut was formally called Ella Hut, after Mt Ella nearby, but it was changed to an important figure in the regions’ history.
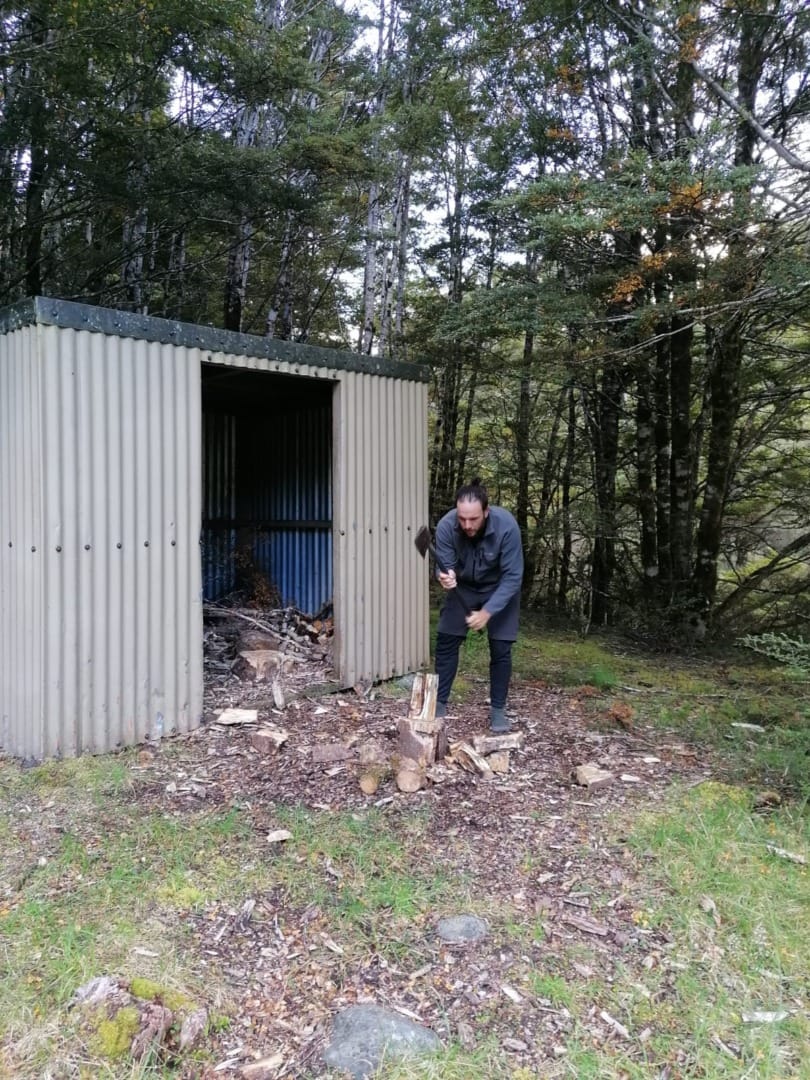
The hut was awesome, it was an older design with two separated rooms with a pot-belly wood stove. I was sure to get some firewood ready for that! We then had a wash in the river before escaping the sandflies back in the hut. We made a decent dinner with the last of our ‘not-so’ fresh ingredients, along with a yummy pudding for desert.
Realising we were cruising a bit much, we knew today would have to be a large day. We weren’t sure if we’d stay at D’Urville Hut, or just camp on the river somewhere. This would be only the second day that didn’t require any major ascents or descents, so distance would be easier to come by.
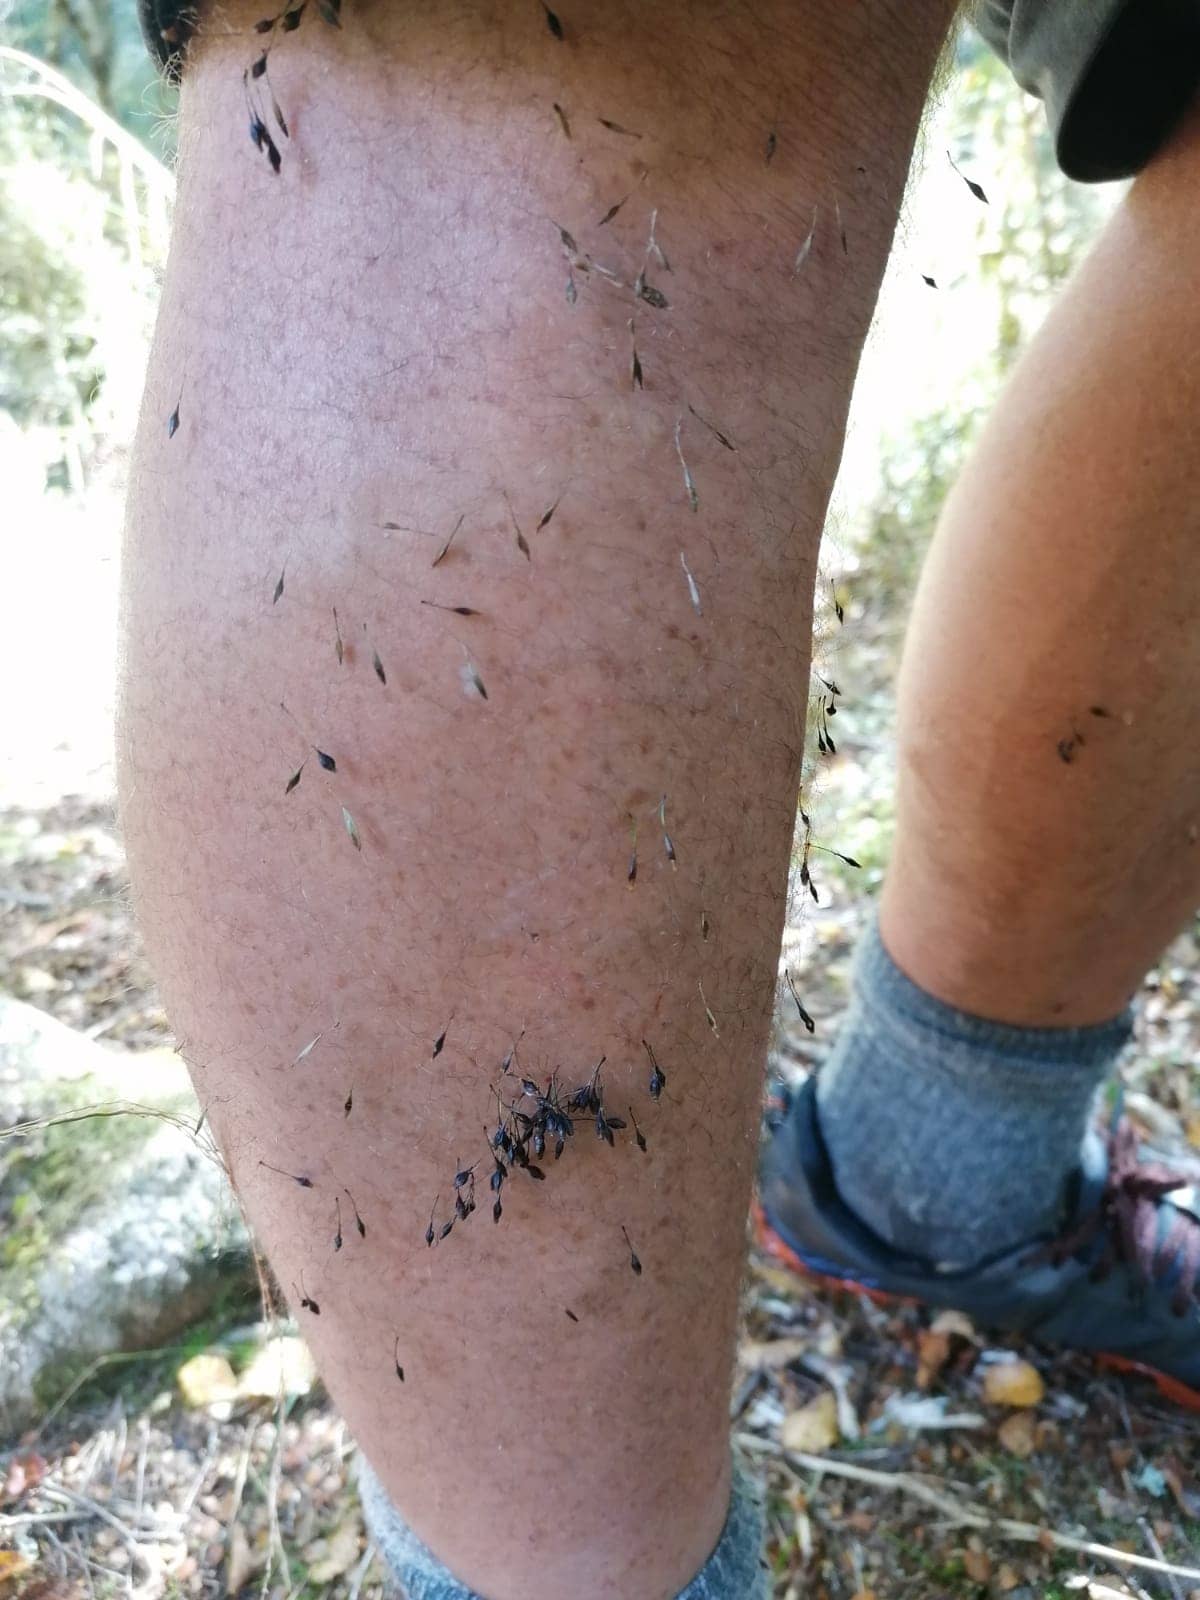
The track was mostly in good condition, and the only thing that was challenging was dodging bloody Hook Grass. The worst part about this grass is that it LOVES hairy legs. So Alise was just laughing at me the whole time when it got me.
Morgan Hut
We arrived a few hours later at Morgan Hut. This was a newer, but less homely hut further up the river. The one cool thing about this hut is the pebble chess board set onto the table!
We still had a ways to go, so we only had lunch at the hut before pushing on shortly after. We didn’t stop much in this section and made good distance. However, time was running out, and D’Urville Hut seemed too much of a detour, so we started to keep an eye out for a nice camp spot.
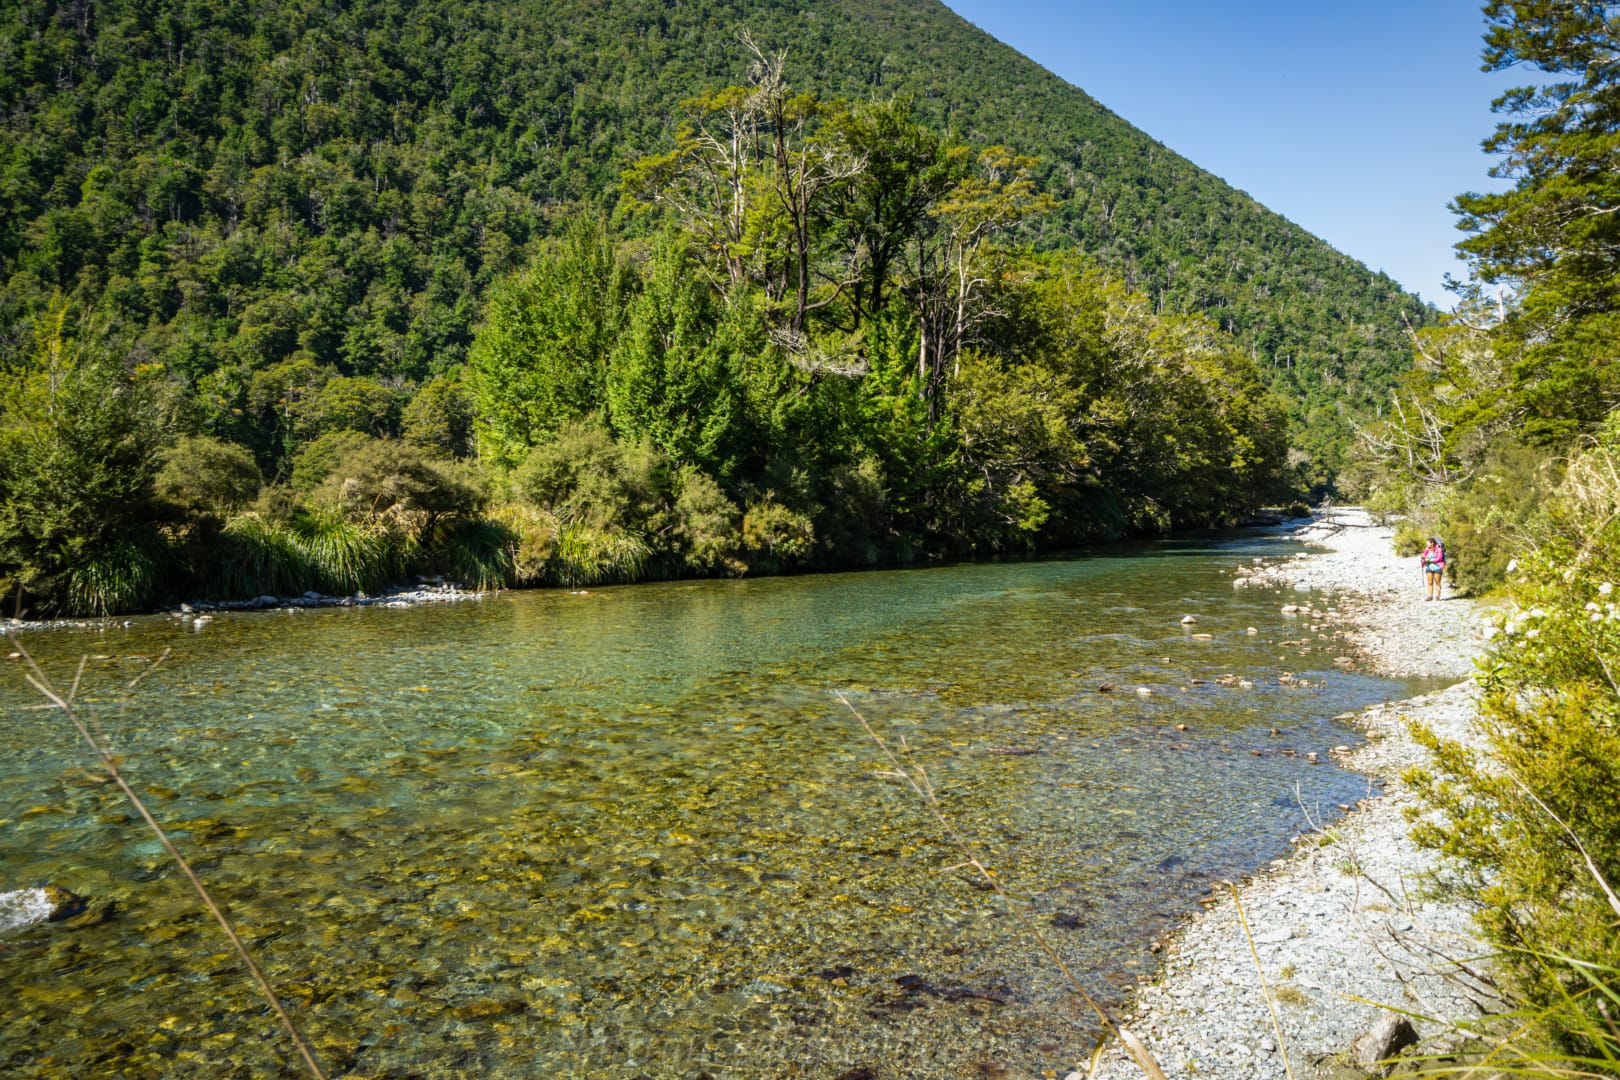
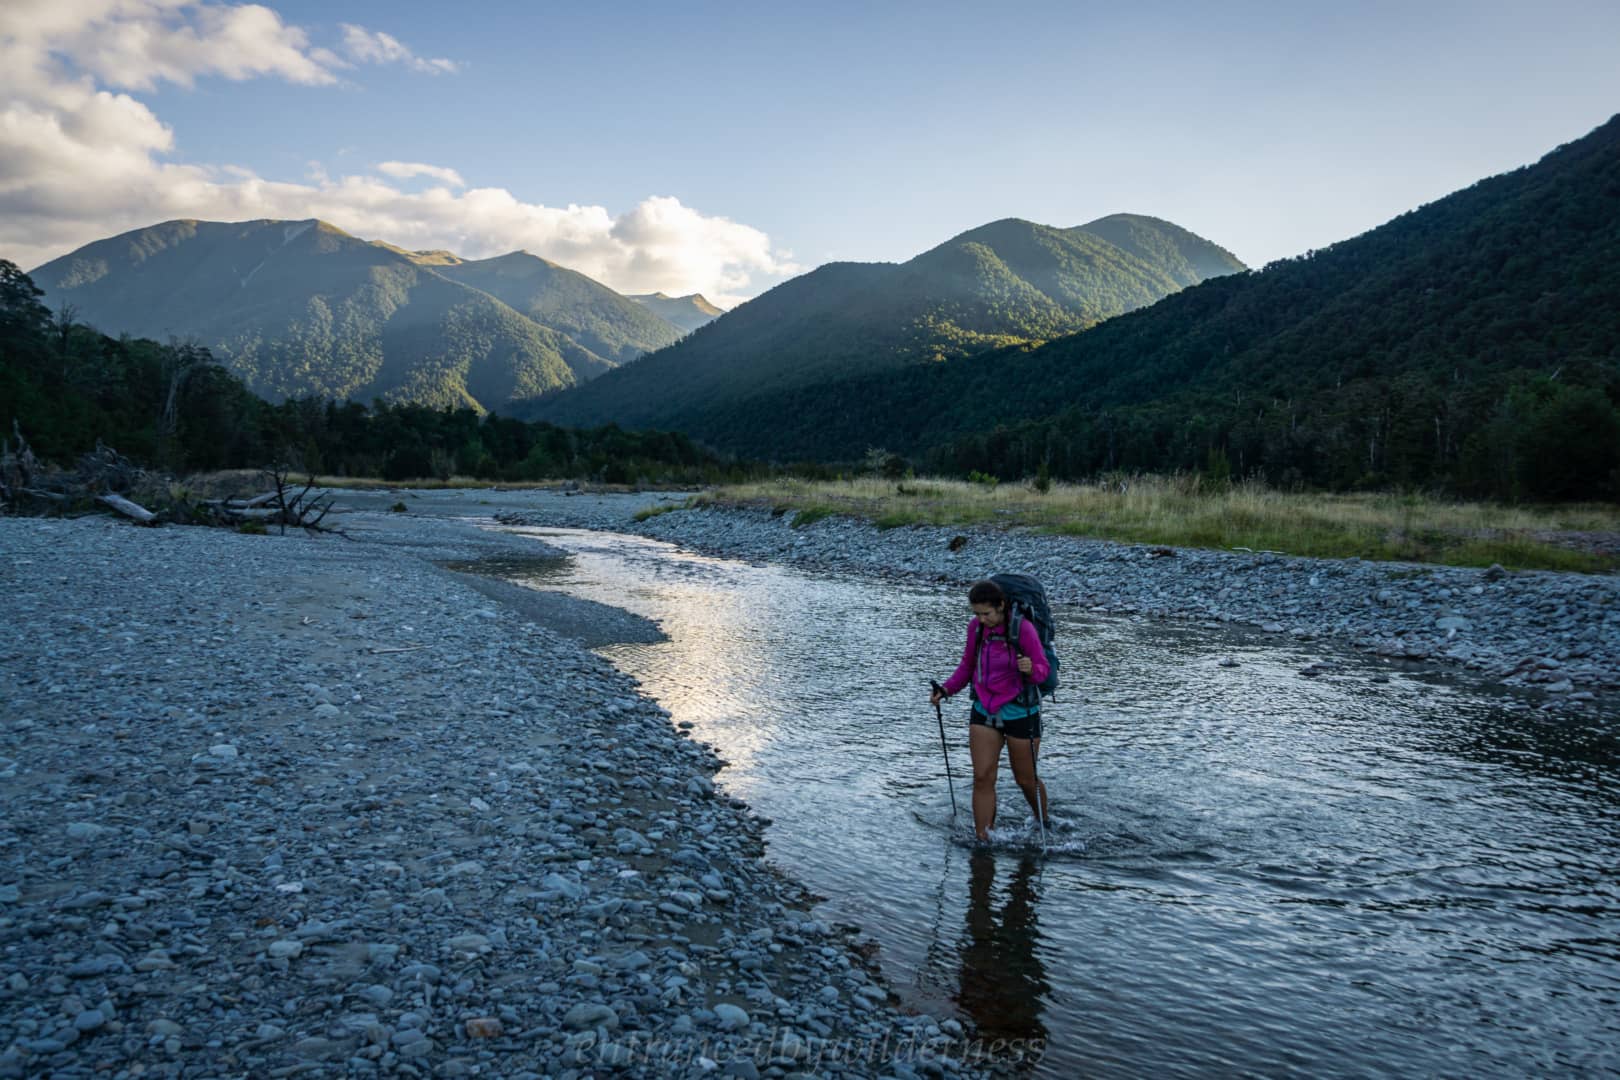
Crossing the D’Urville River
To save a pointless climb, we crossed the river before reaching the Tiraumea Track turnoff, and zig-zagged up the river from there. Camping wasn’t really ideal in this area we found. There was a potential spot high on the bank near the track turn off, but we decided to push for another hour. It was dusk however, and i was a little worried we wouldn’t find anything else.
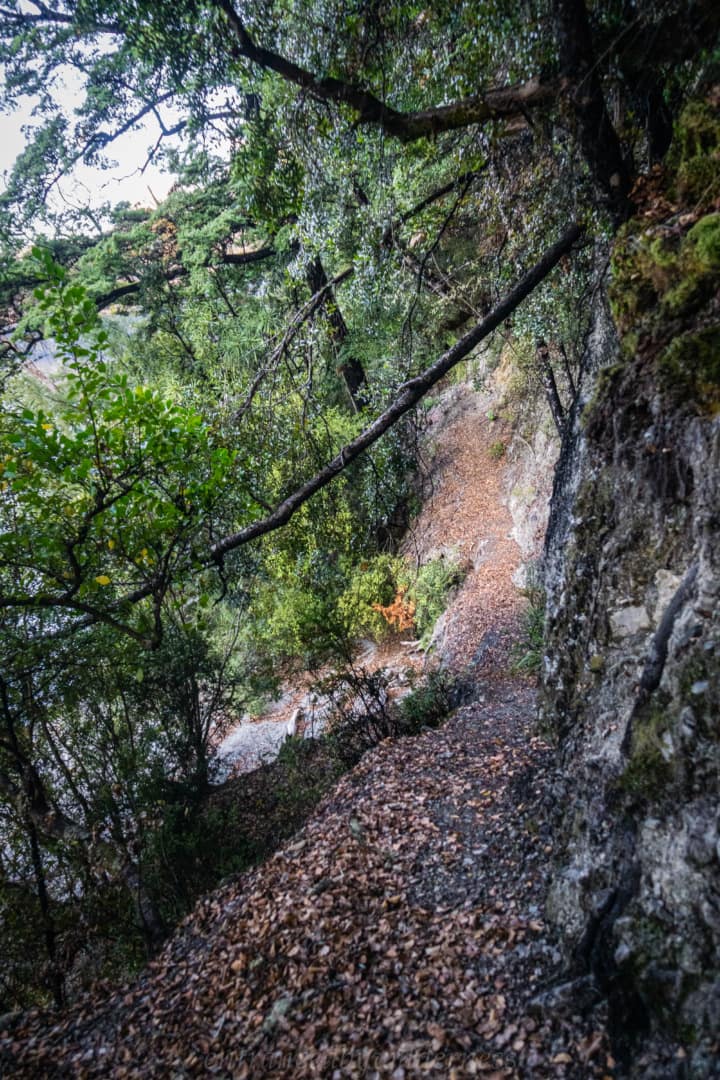
Let’s just say it could have been worse. The Sabine – D’Urville Track is pretty rough. It starts out with a deep slow flowing creek crossing after a couple of bridges, before the terrain steepens, and becomes slip territory. There were some thin parts of track here, and sometimes unstable. It wasn’t too bad in the end though. It was just slower than expected.
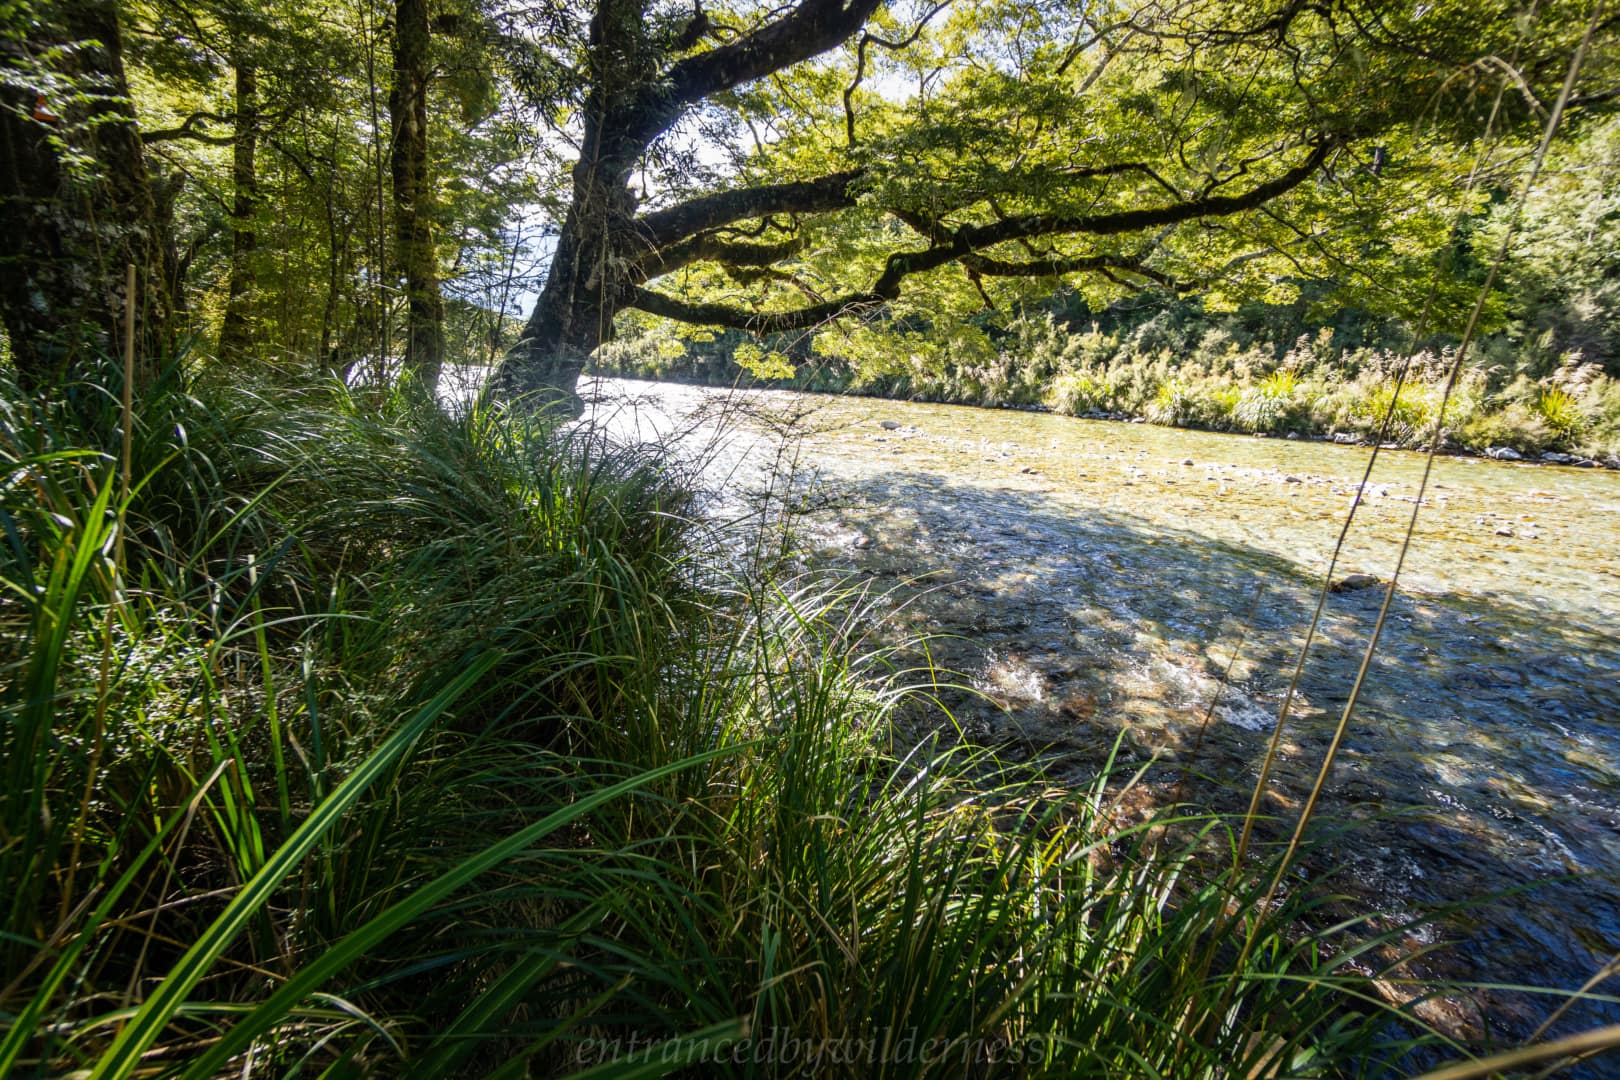
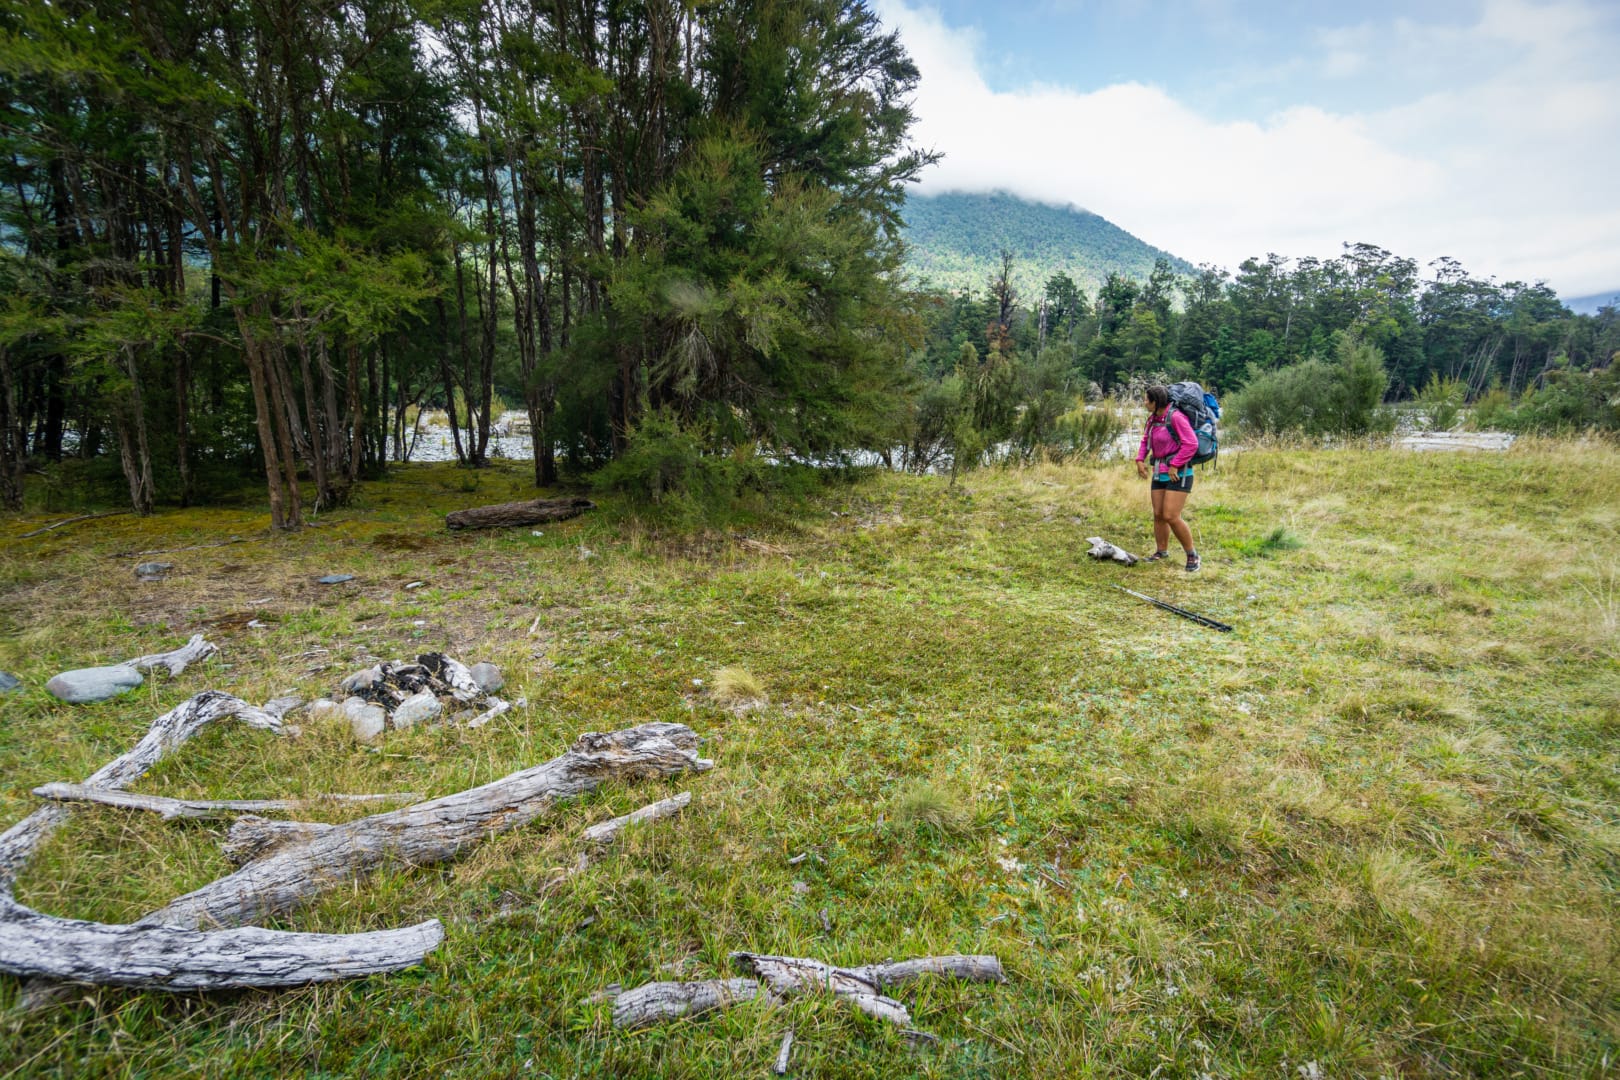
Camping by the Sabine River
By the time we reached the flat Sabine side of this track, it was endless forest with no real place to pitch a tent – sunset was done by this point. I then had an idea to camp where I previously camped prior to Sabine Hut in a clearing. We ended up heading into the forest off-track towards the river, and crossed it. Luckily, at this time of the year, it was low flow and easy. We made it to the clearing and set up exactly where I camped before! Finally, we could relax after the huge day!
The next morning, we passed Sabine Hut. Surprisingly, it appeared to have been empty the previous night. “Oh well” we thought, banking on there being people staying there when deciding to camp.
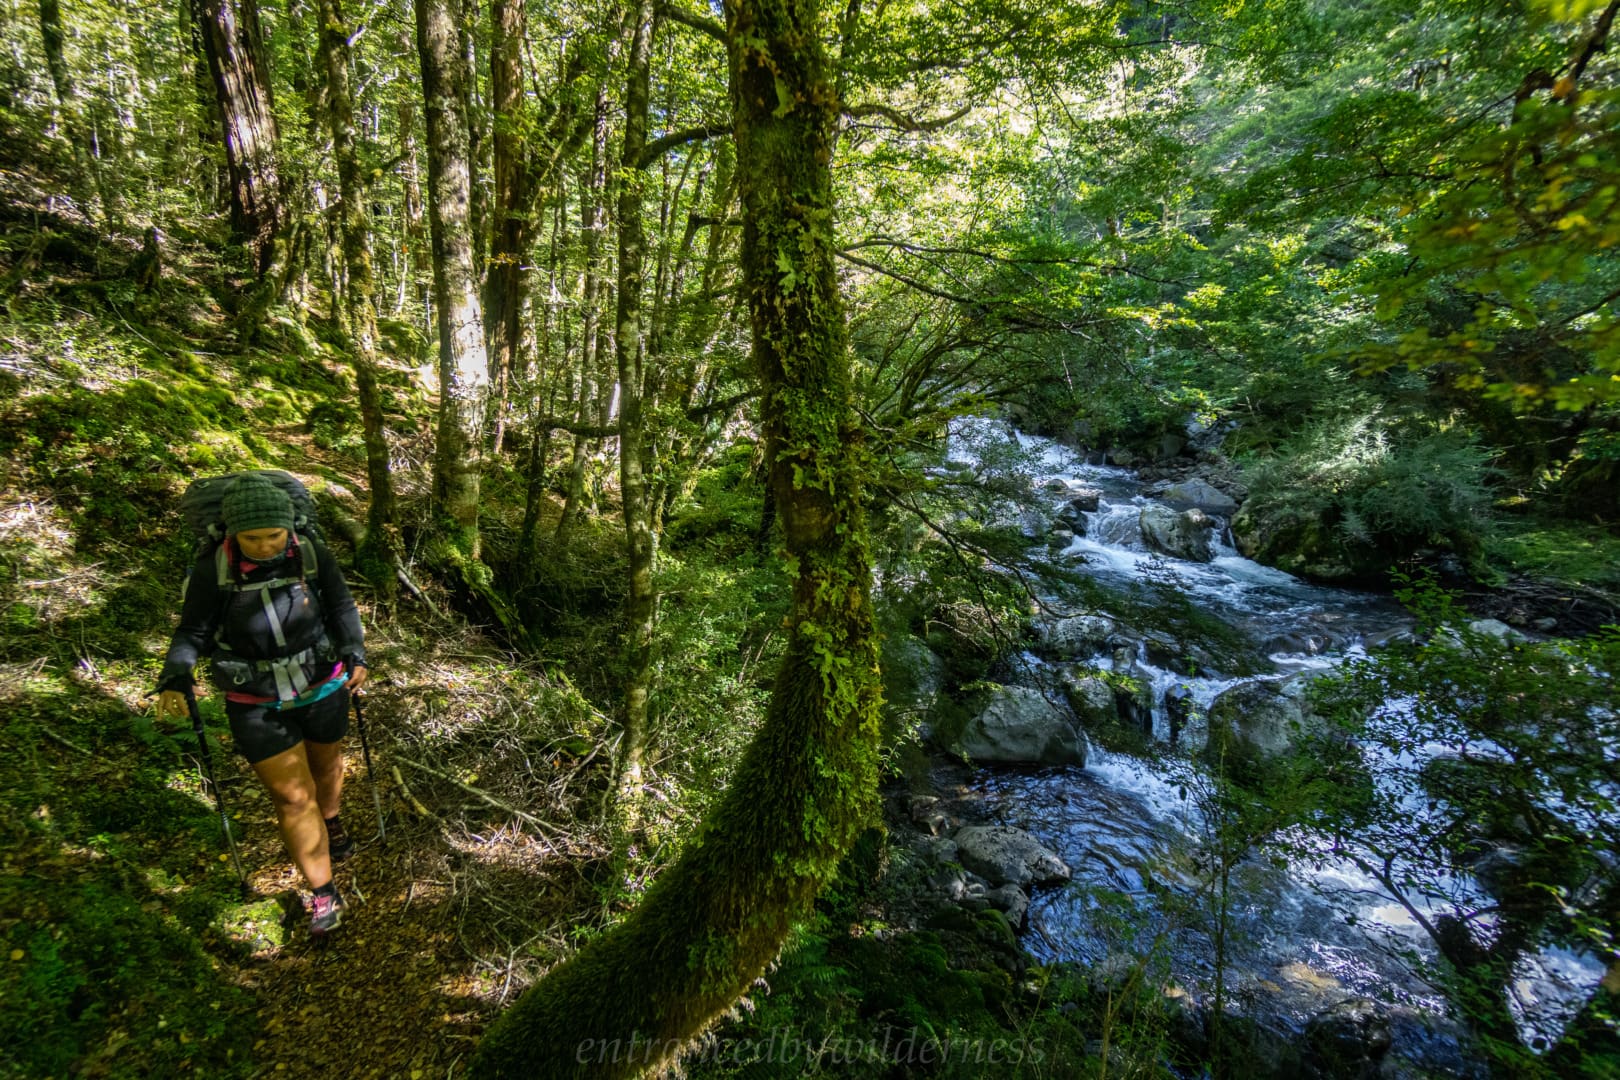
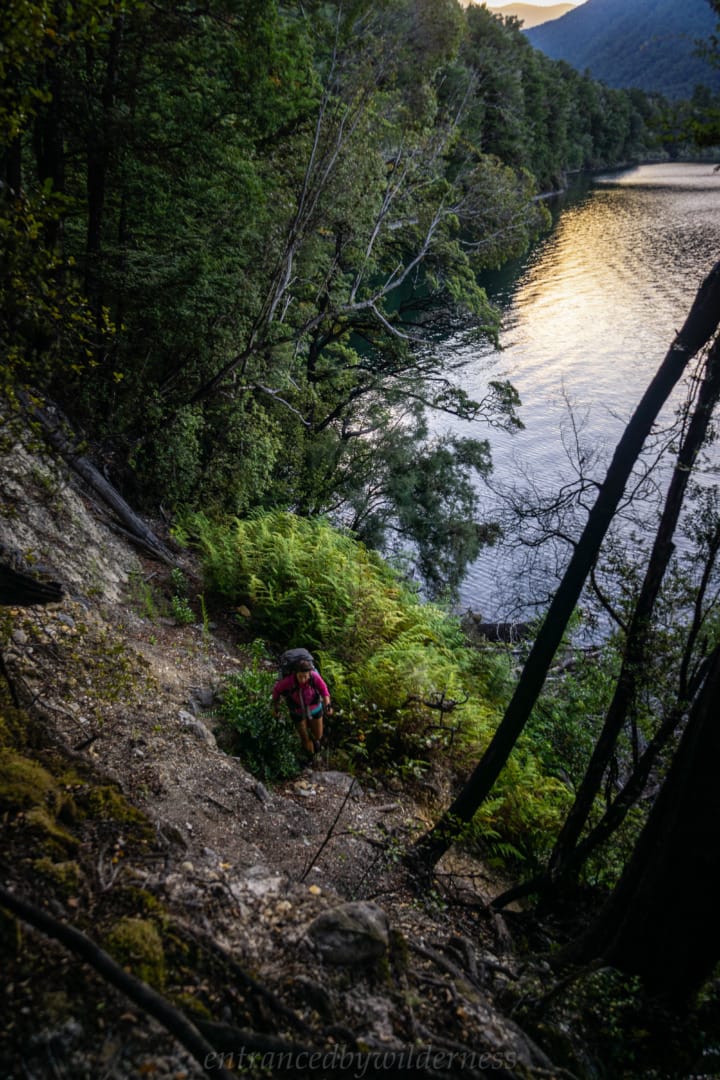
It was from here on the previous trip I did, where I hiked up the steep Cedric route to reach Angelus Hut. However, on this trip, we completed the lesser walked part of the original Travers-Sabine circuit towards Speargrass Hut.
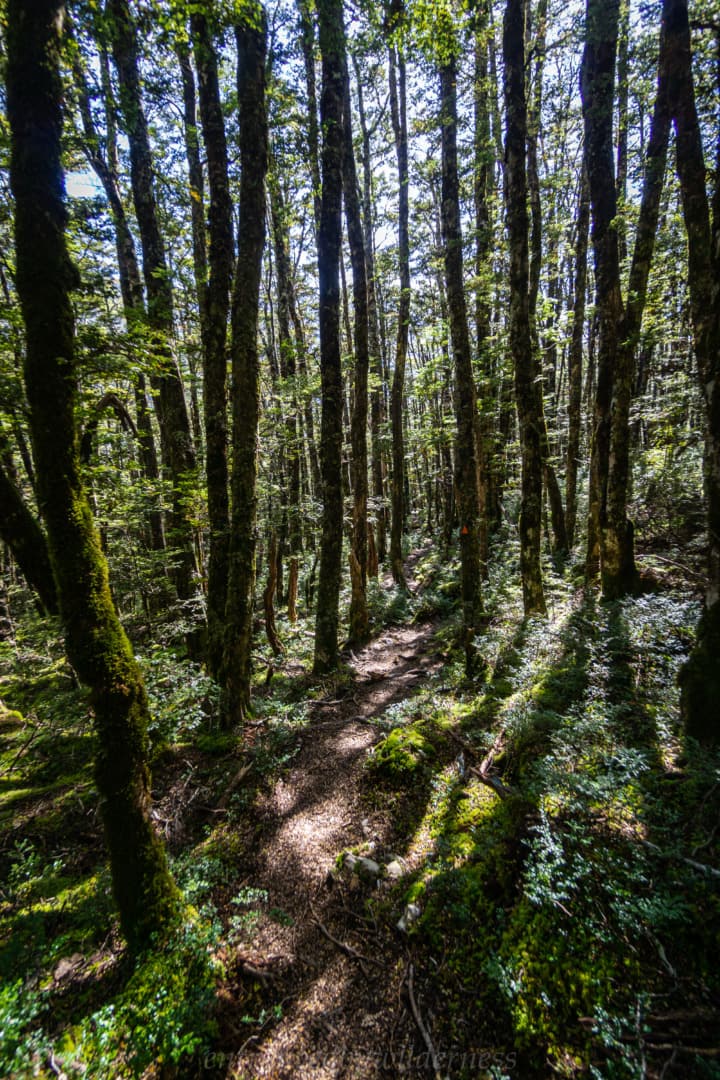
The track was pleasant, and nicer than I expected. This was a good moment of hiking to ‘look up’ more, as the track was more defined in most areas. New Zealand hiking often has you staring at your feet a lot to not trip!
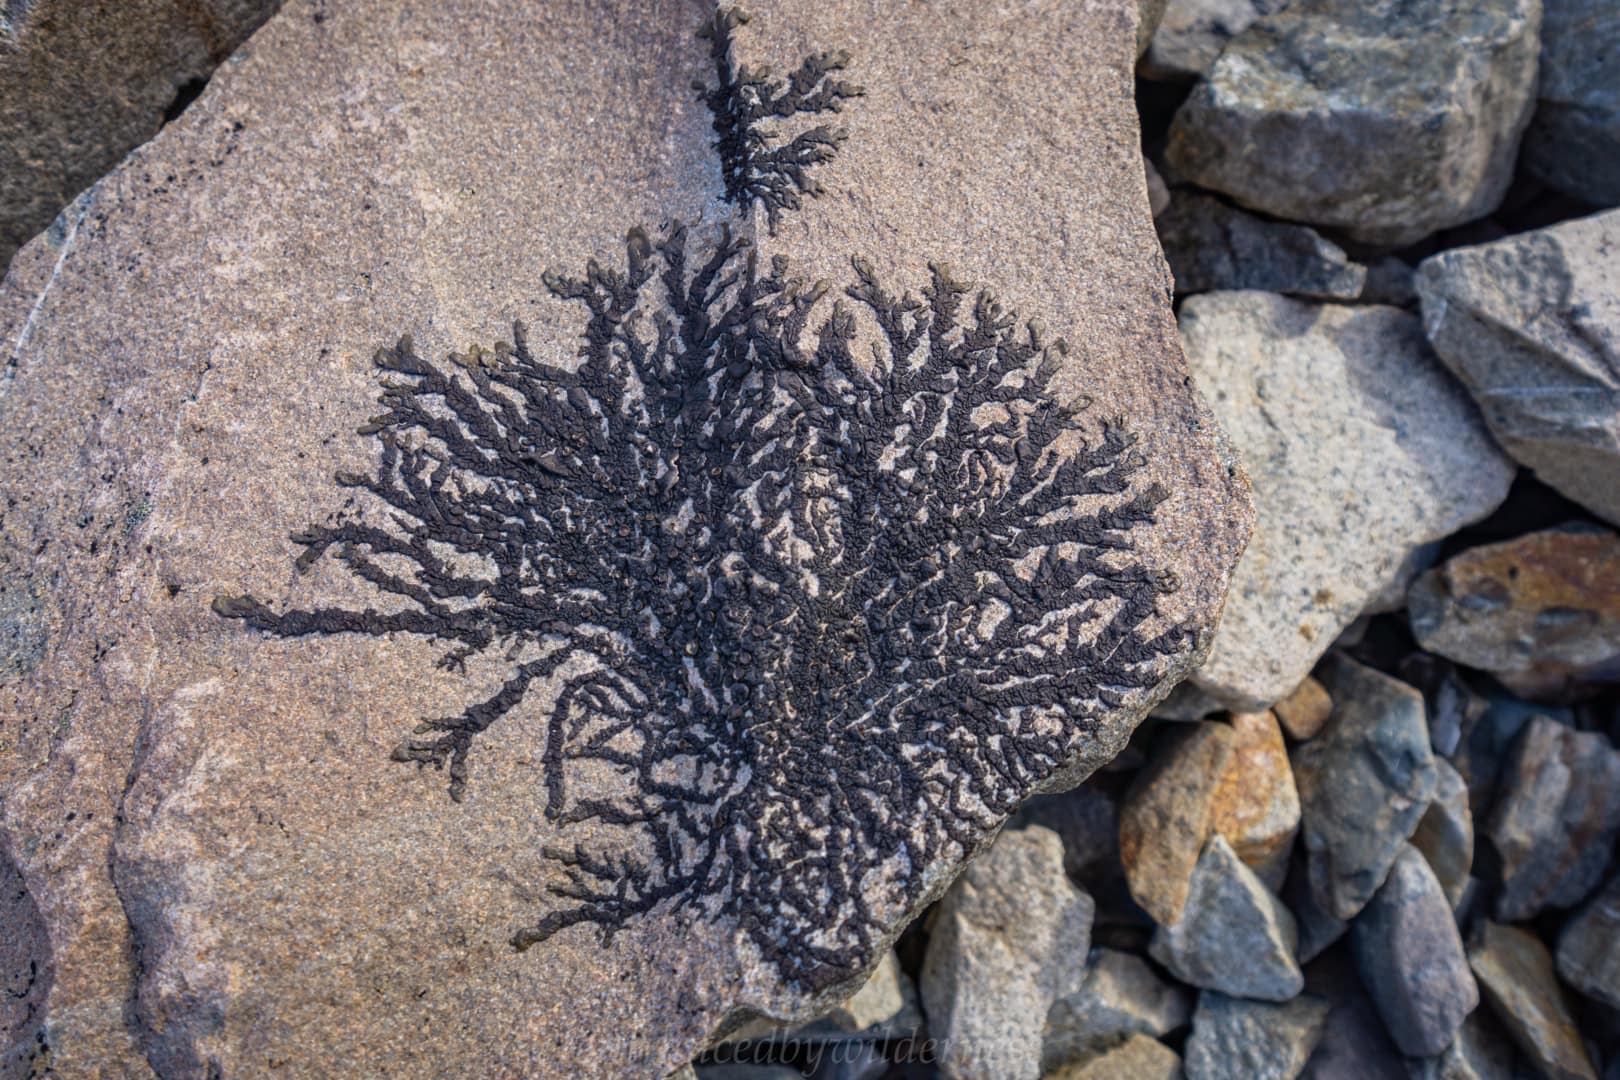
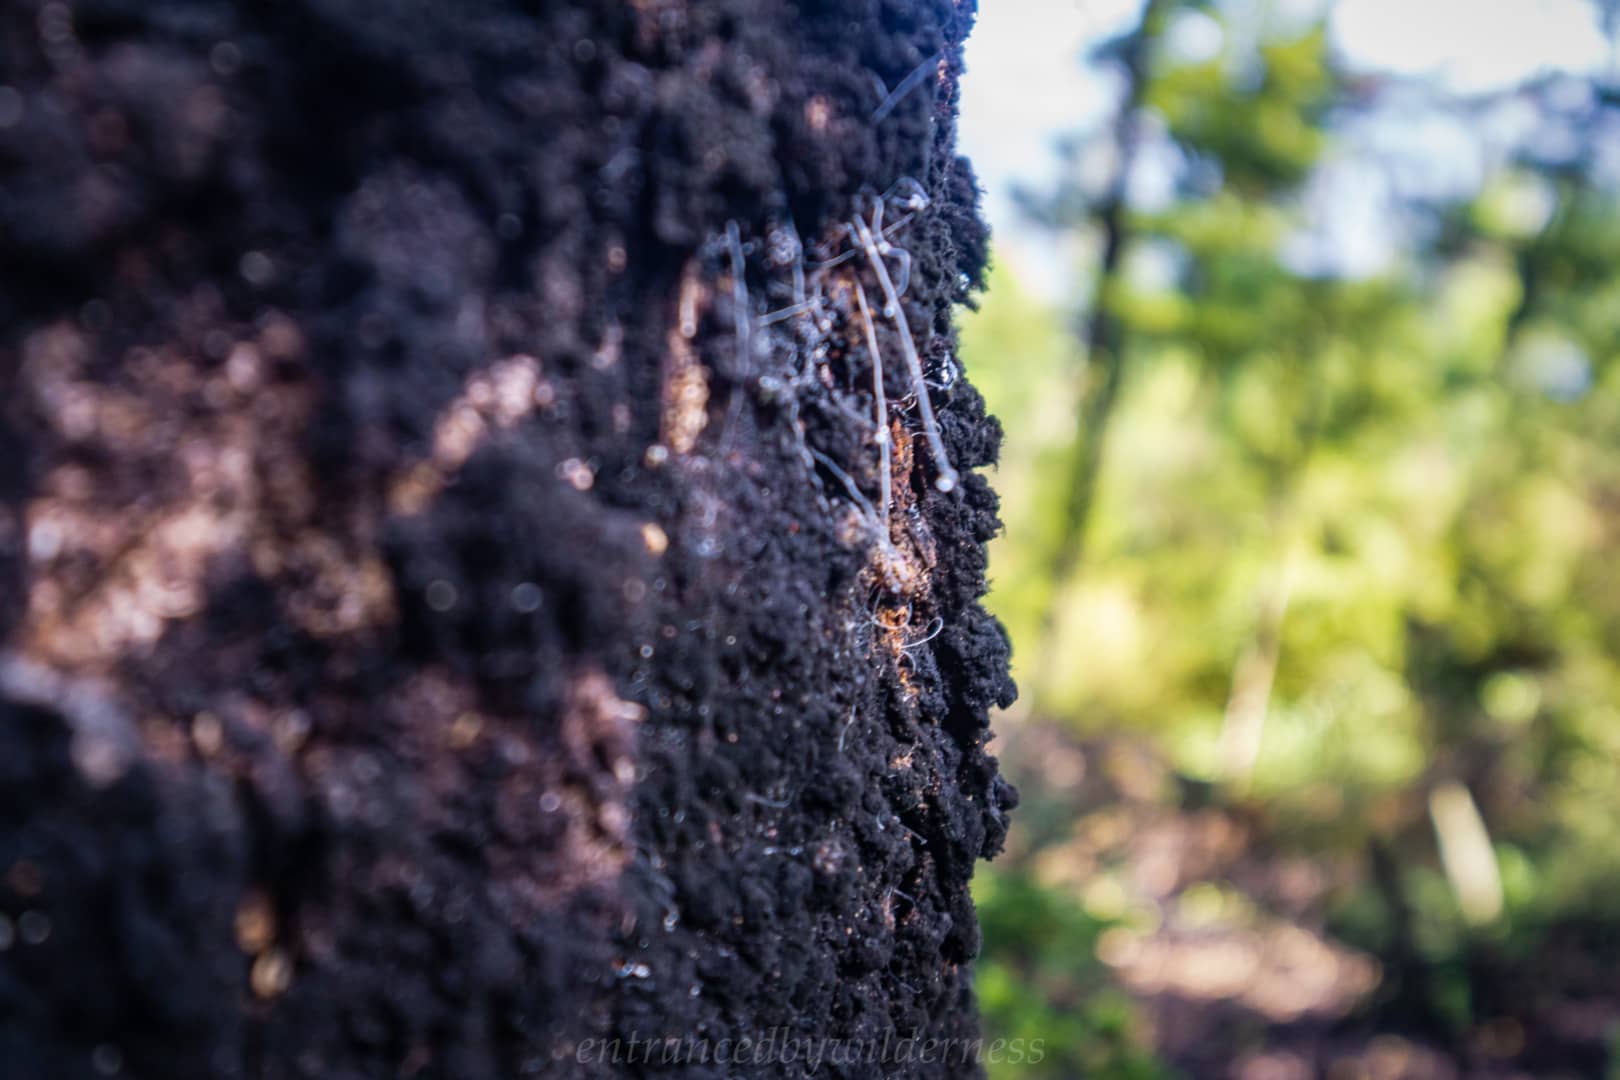
We passed some large Beech trees with the sooty black mould fungus covering them. Alise had heard from someone, that if they had ‘thread-like’ structures poking out with a droplet on the end, you can taste it, and it’s sweet. We tried many of them, and surprisingly, yes, like a sweet honey!
It was only later on, after doing research, I realised these thread-like structures are actually Aphid beetle butt tubes poking out, leaking the substance we had been tasting…. YUUUUUMMMMO!!!!
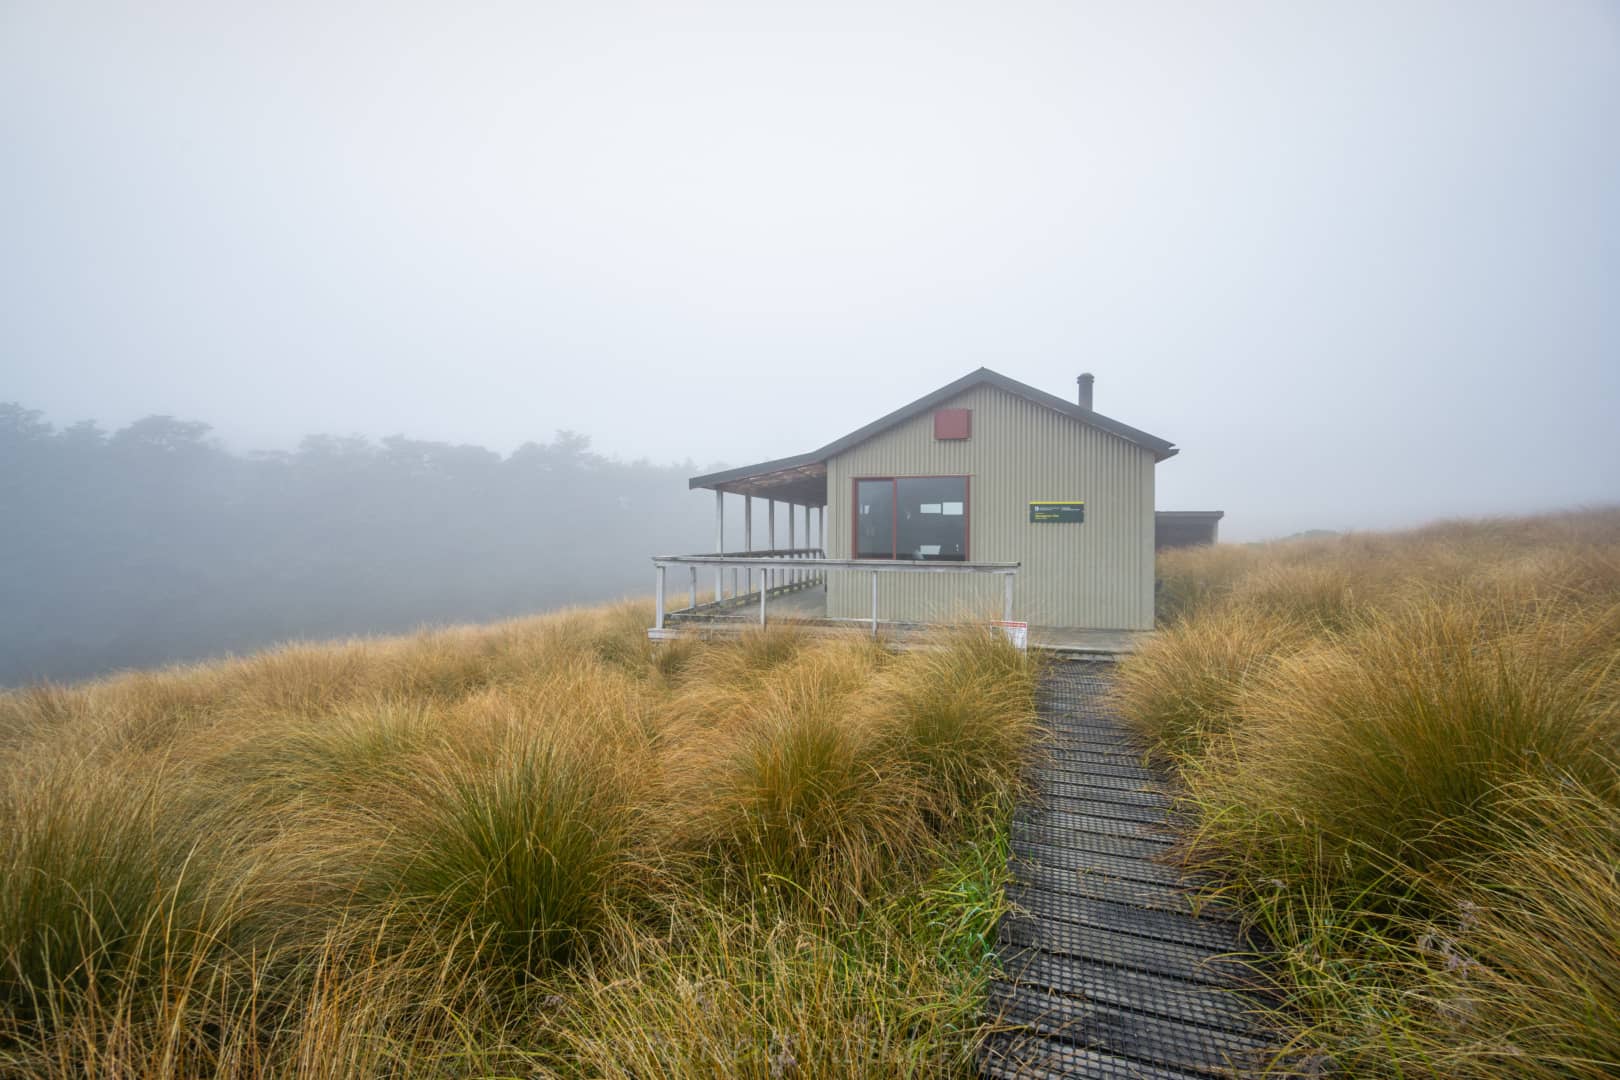
The weather looked fine all day – as it had been for ages now. However, in the last few kilometres to Speargrass Hut, we could see a dark cloud looming over the range. I didn’t think much of it at first, but it started to take over the blue sky and as we started the final climb before the hut, it started raining. We got soaked! Speed-hiking to the hut didn’t work, as we were drenched by the thick downpour.
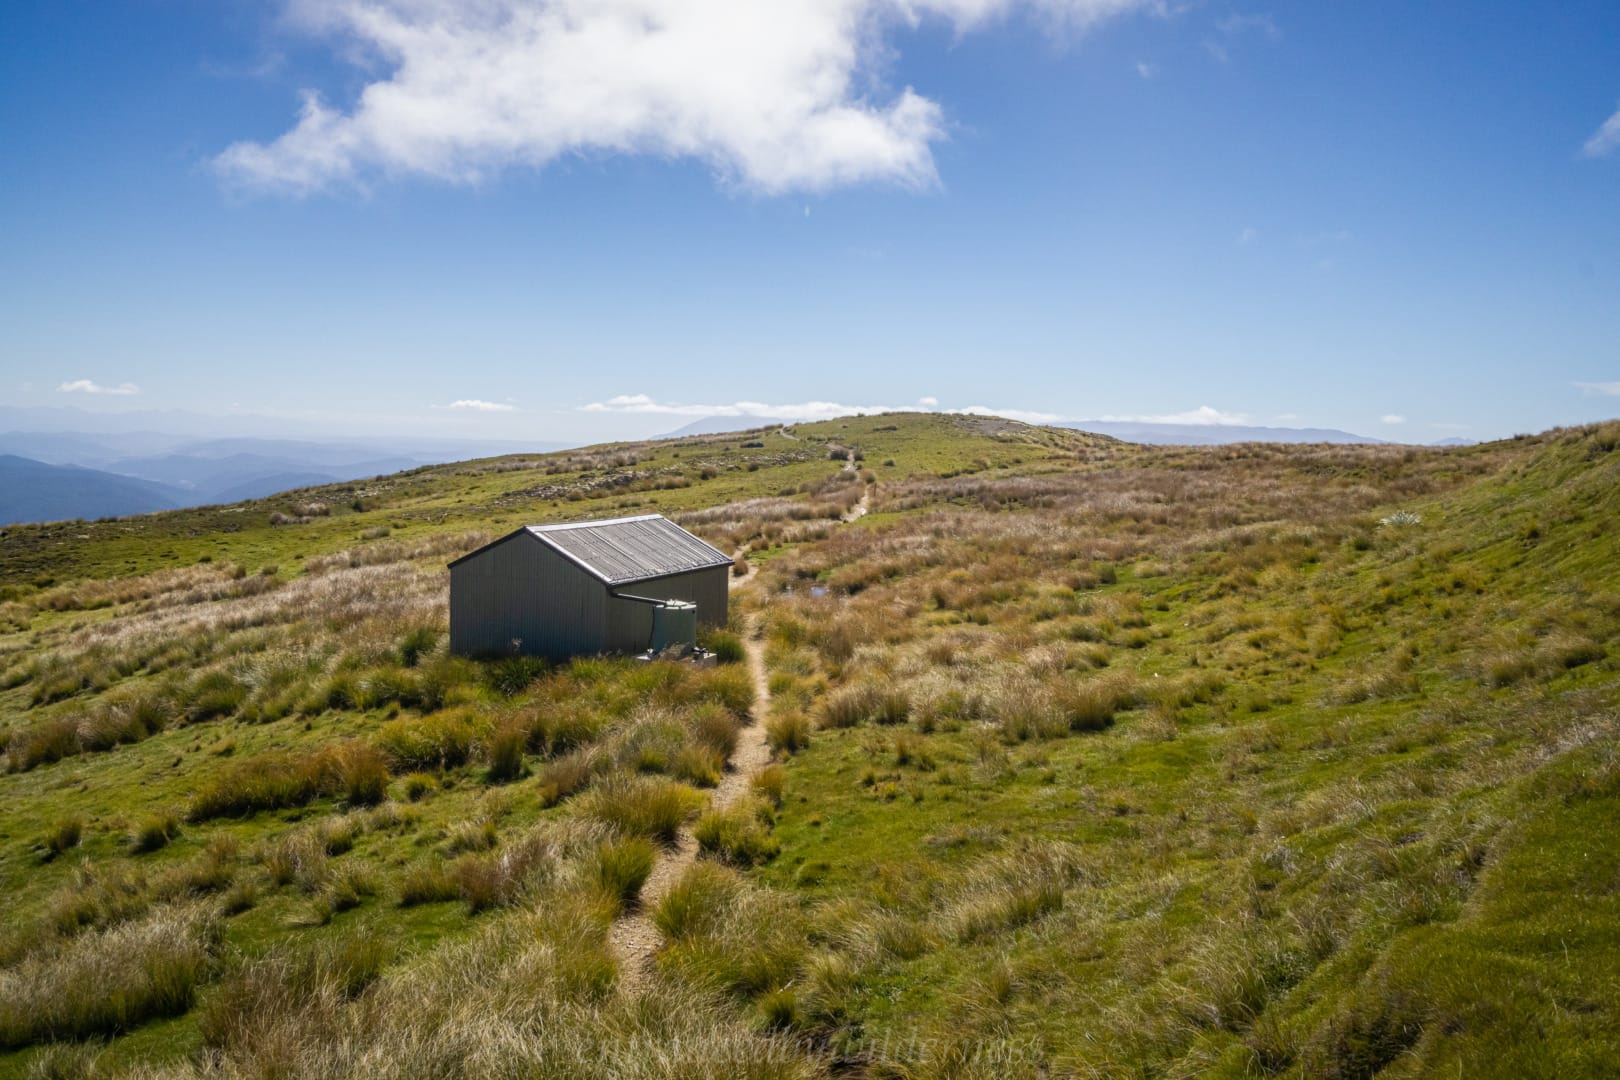
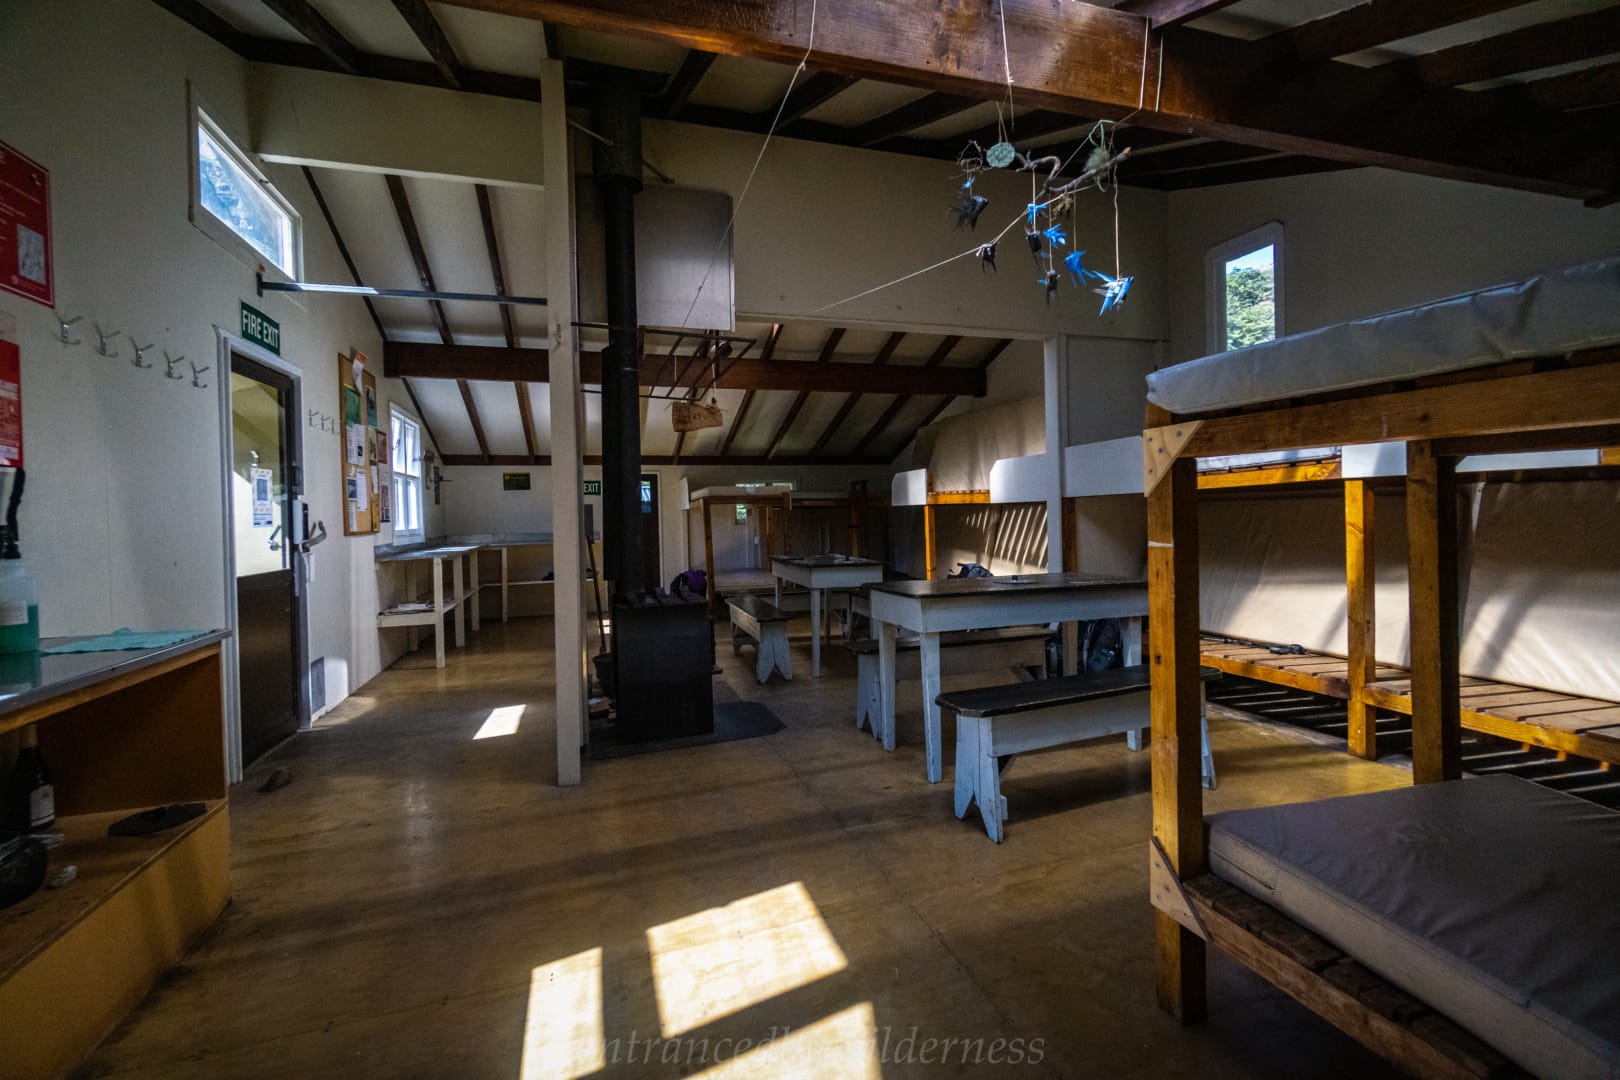
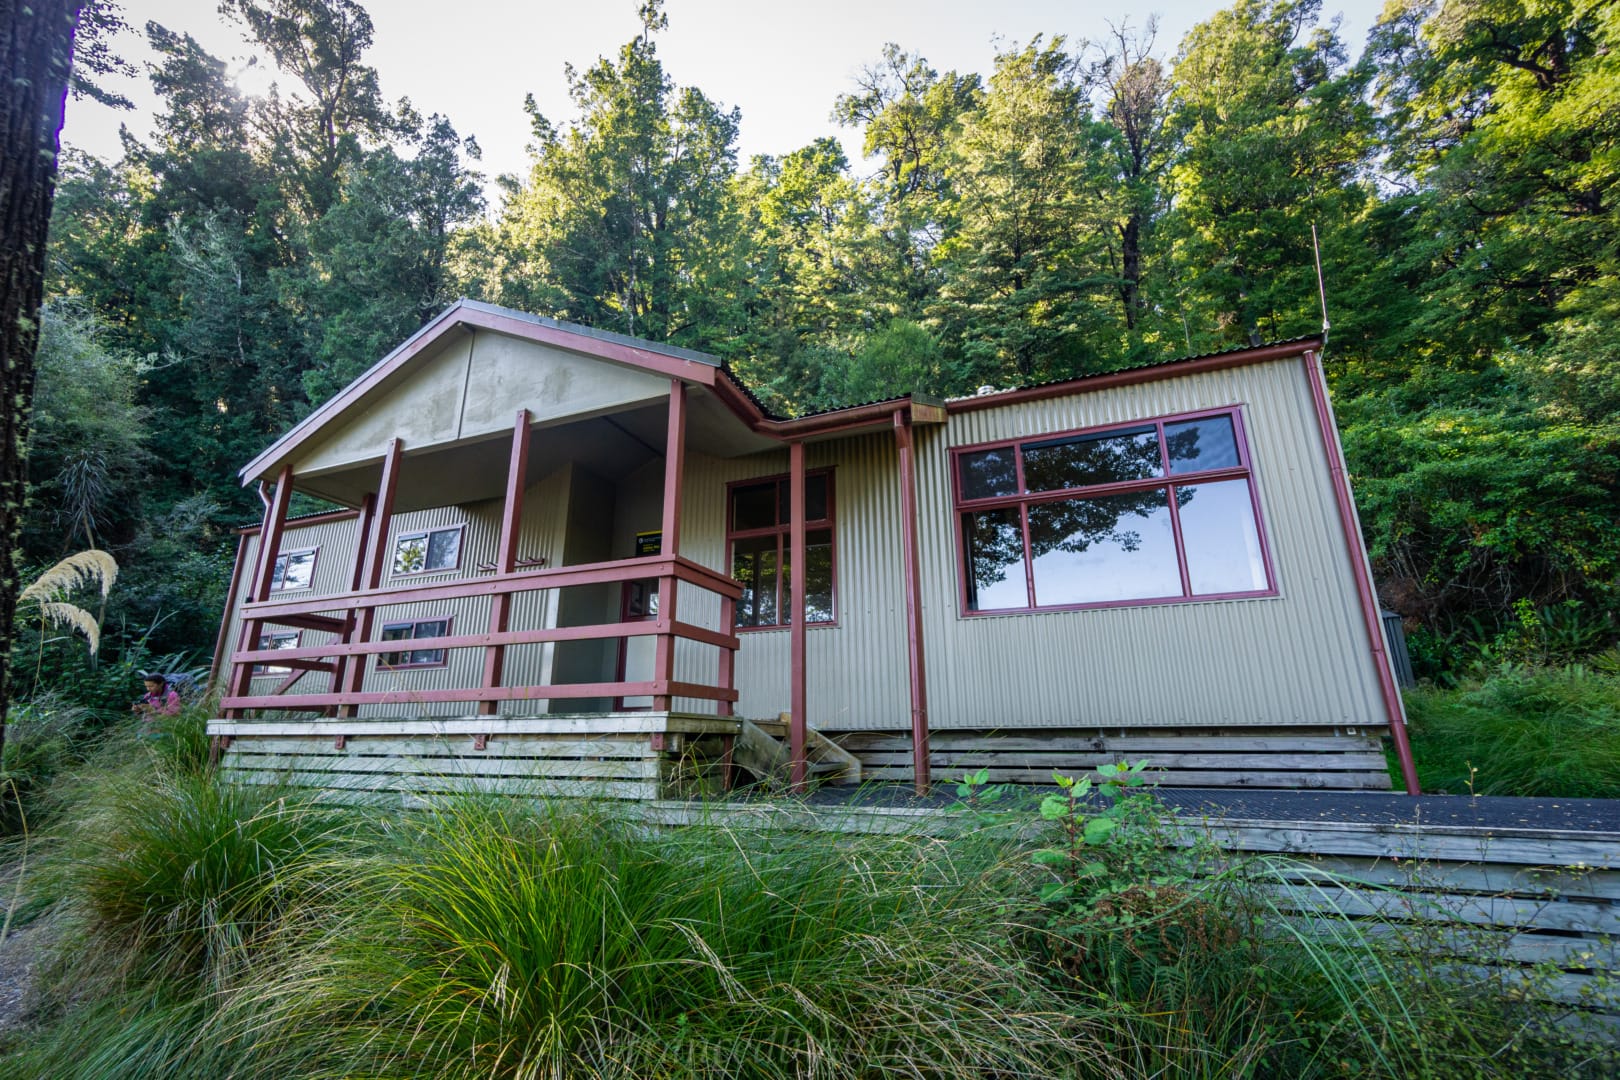
Speargrass Hut
Luckily, when we arrived soaked at the hut, we were the only ones there. I quickly got a fire going and we began to dry our wet clothes. I normally don’t like to hang wet clothes inside with other people around, but this was fine! We ended up having another lovely hut to ourselves and had a warm and pleasant final evening of our trip. Our food was light and we no longer had tasty treats for dessert, but we survived!
In order to support the travelling and hiking community, I spend many hours per week or month to adequately document all information and advice for prospective visitors, accompanied by a (hopefully) entertaining insight into my personal experiences. This service is, and will remain, free. However, running a non-profit website and spending time creating content comes with financial and personal costs.
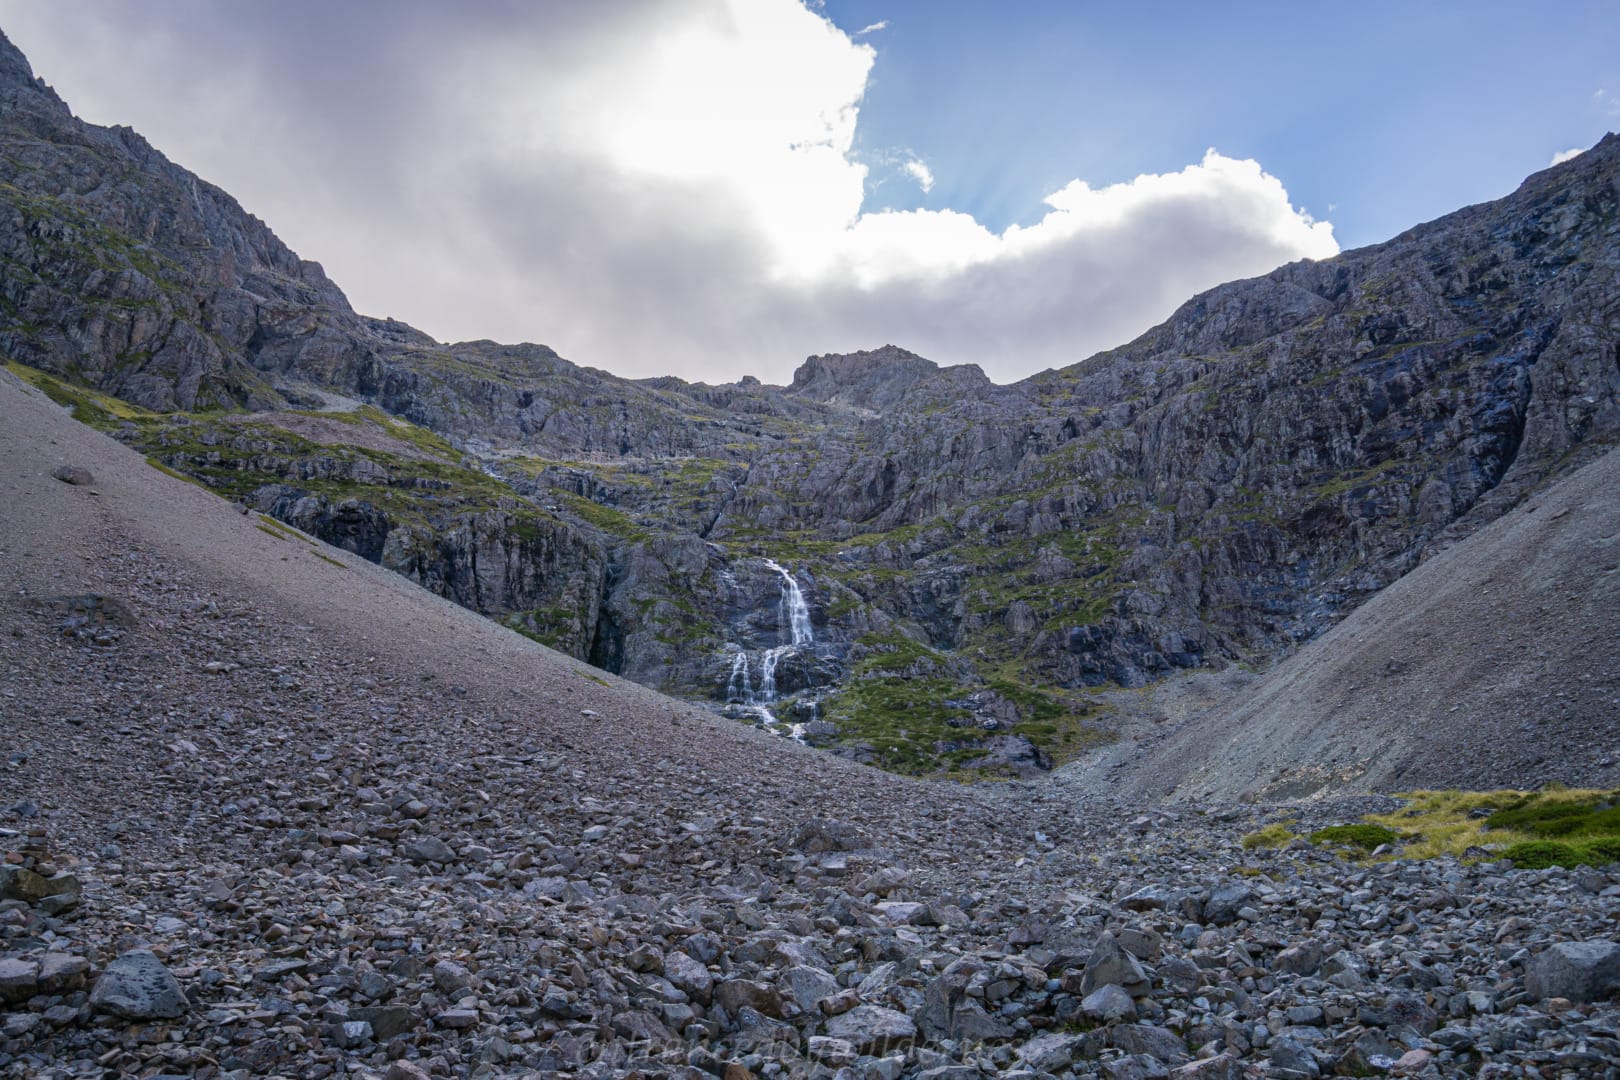
Cheers Mate 😀 Plenty of spectacular water in this area!
Natasha
1 year ago
Beautiful photos. I am planning a trip for this coming March, fingers crossed we get weather as good as you did! Can I please get a GPX of your trip if you are willing to share?
Sure thing Natasha! Sometimes you need to plan for a time period and pick the best weather in that time period. That’s what we did on this one when we saw the high pressure system coming. Planning exact dates usually means part of the trip will have rain etc. https://drive.google.com/file/d/1pq2Cjke72q5elLiDf19QC1qqdn0w7eIl/view?usp=drivesdk


Hi Matt good to see you are still getting among fine scenery. I love all those tarn and creek shots. Beautiful route!
Cheers Mate 😀 Plenty of spectacular water in this area!
Beautiful photos. I am planning a trip for this coming March, fingers crossed we get weather as good as you did! Can I please get a GPX of your trip if you are willing to share?
Sure thing Natasha!
Sometimes you need to plan for a time period and pick the best weather in that time period. That’s what we did on this one when we saw the high pressure system coming. Planning exact dates usually means part of the trip will have rain etc.
https://drive.google.com/file/d/1pq2Cjke72q5elLiDf19QC1qqdn0w7eIl/view?usp=drivesdk