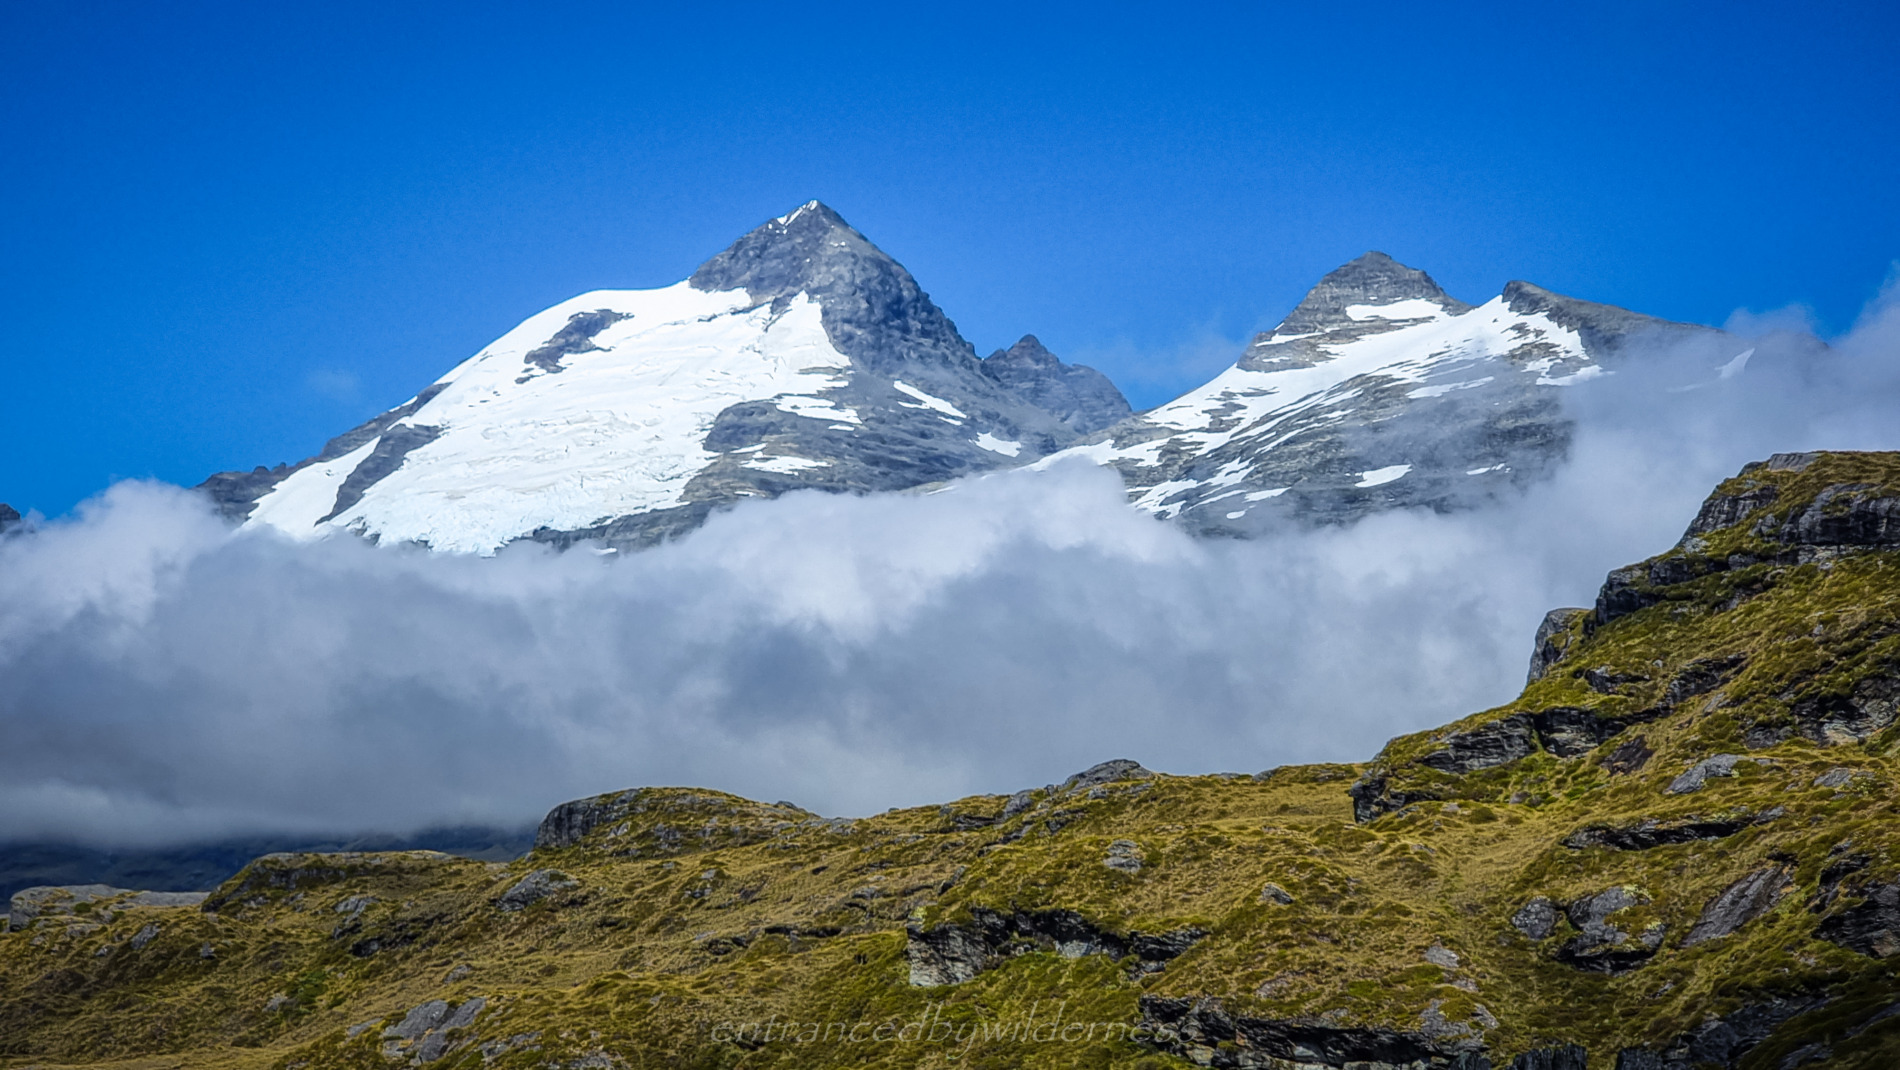
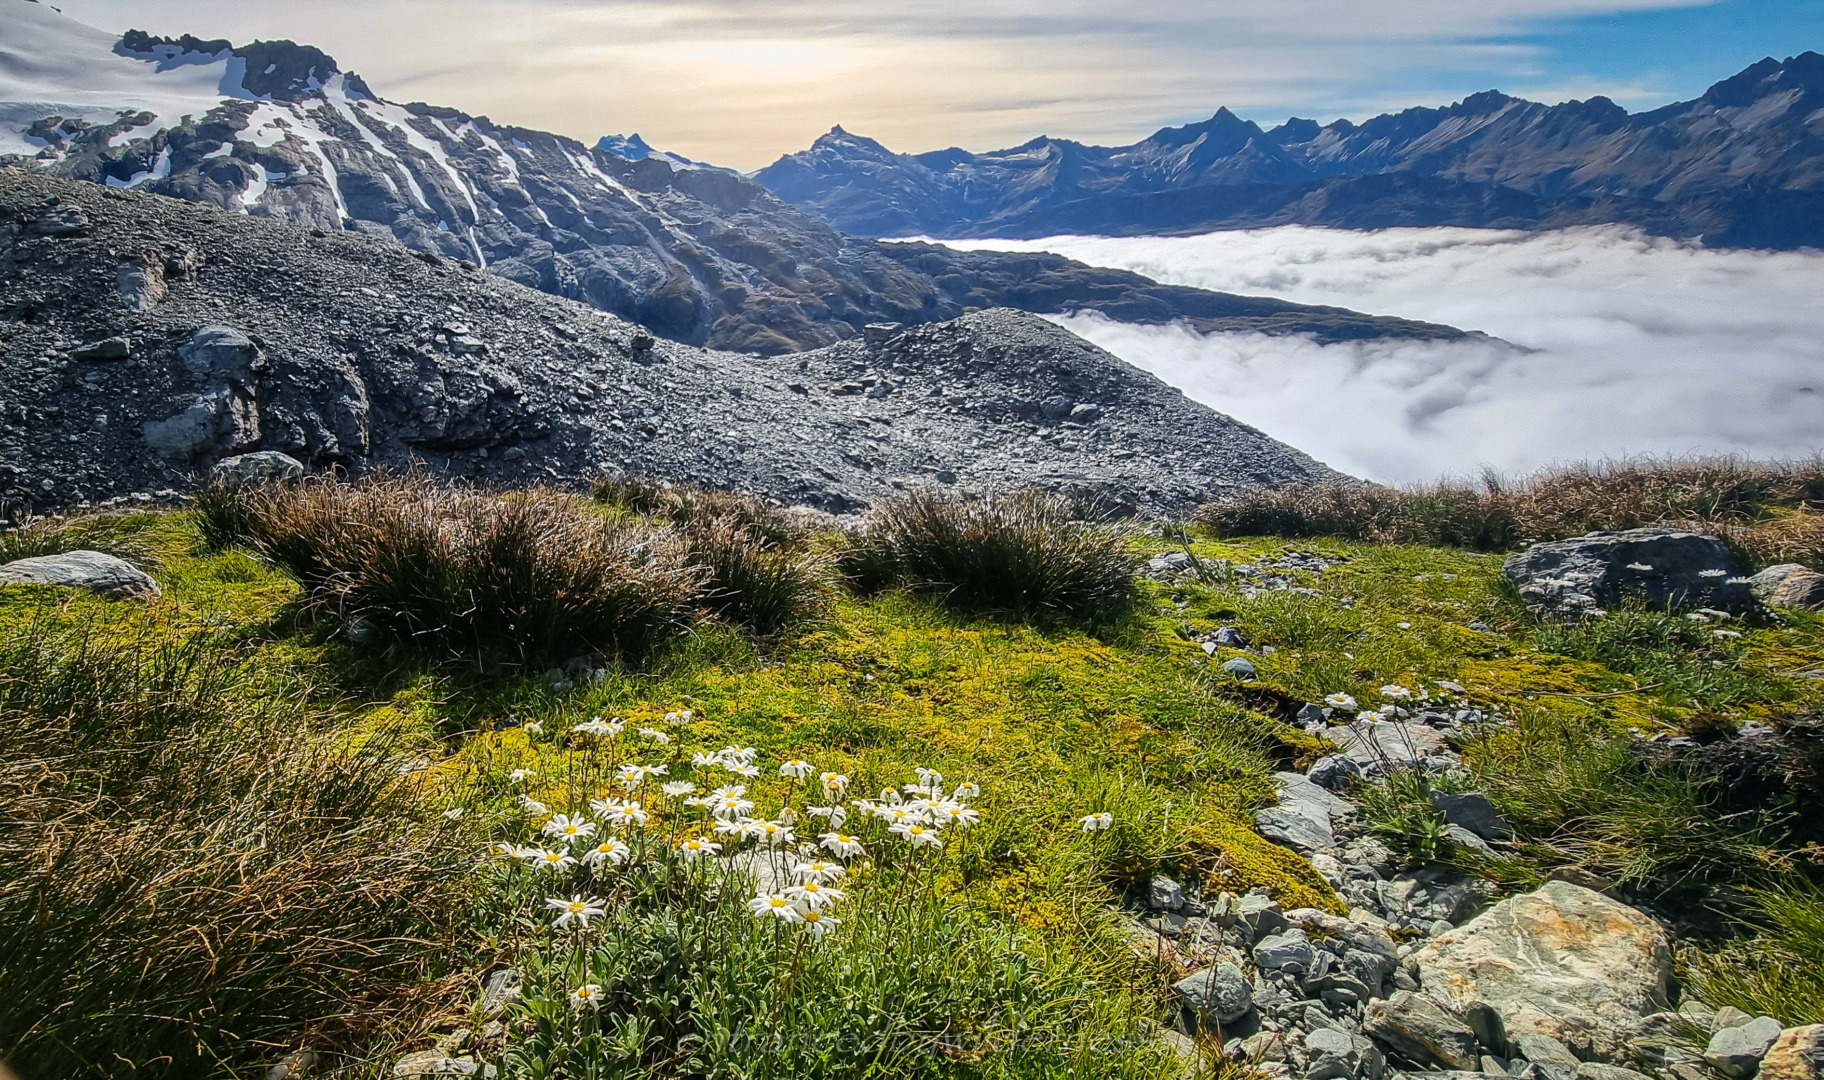
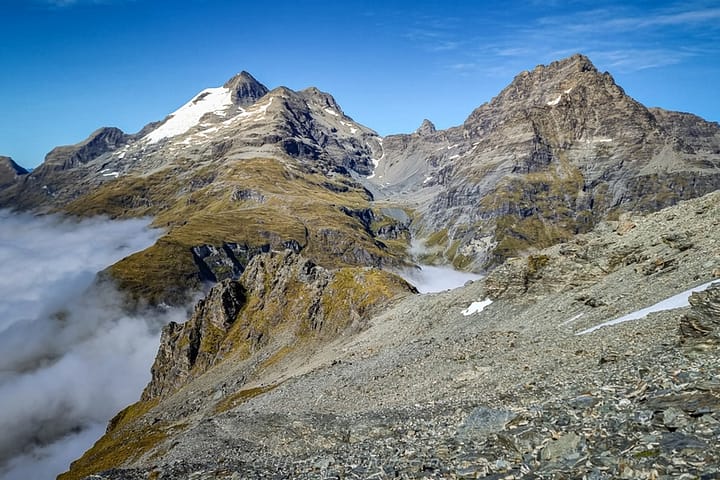
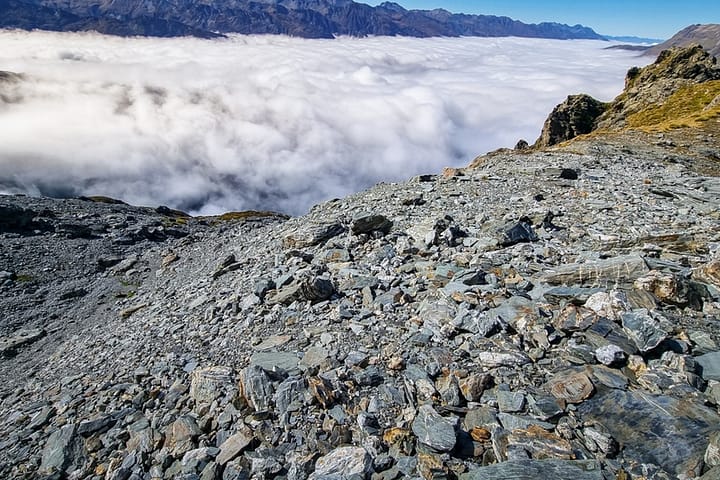
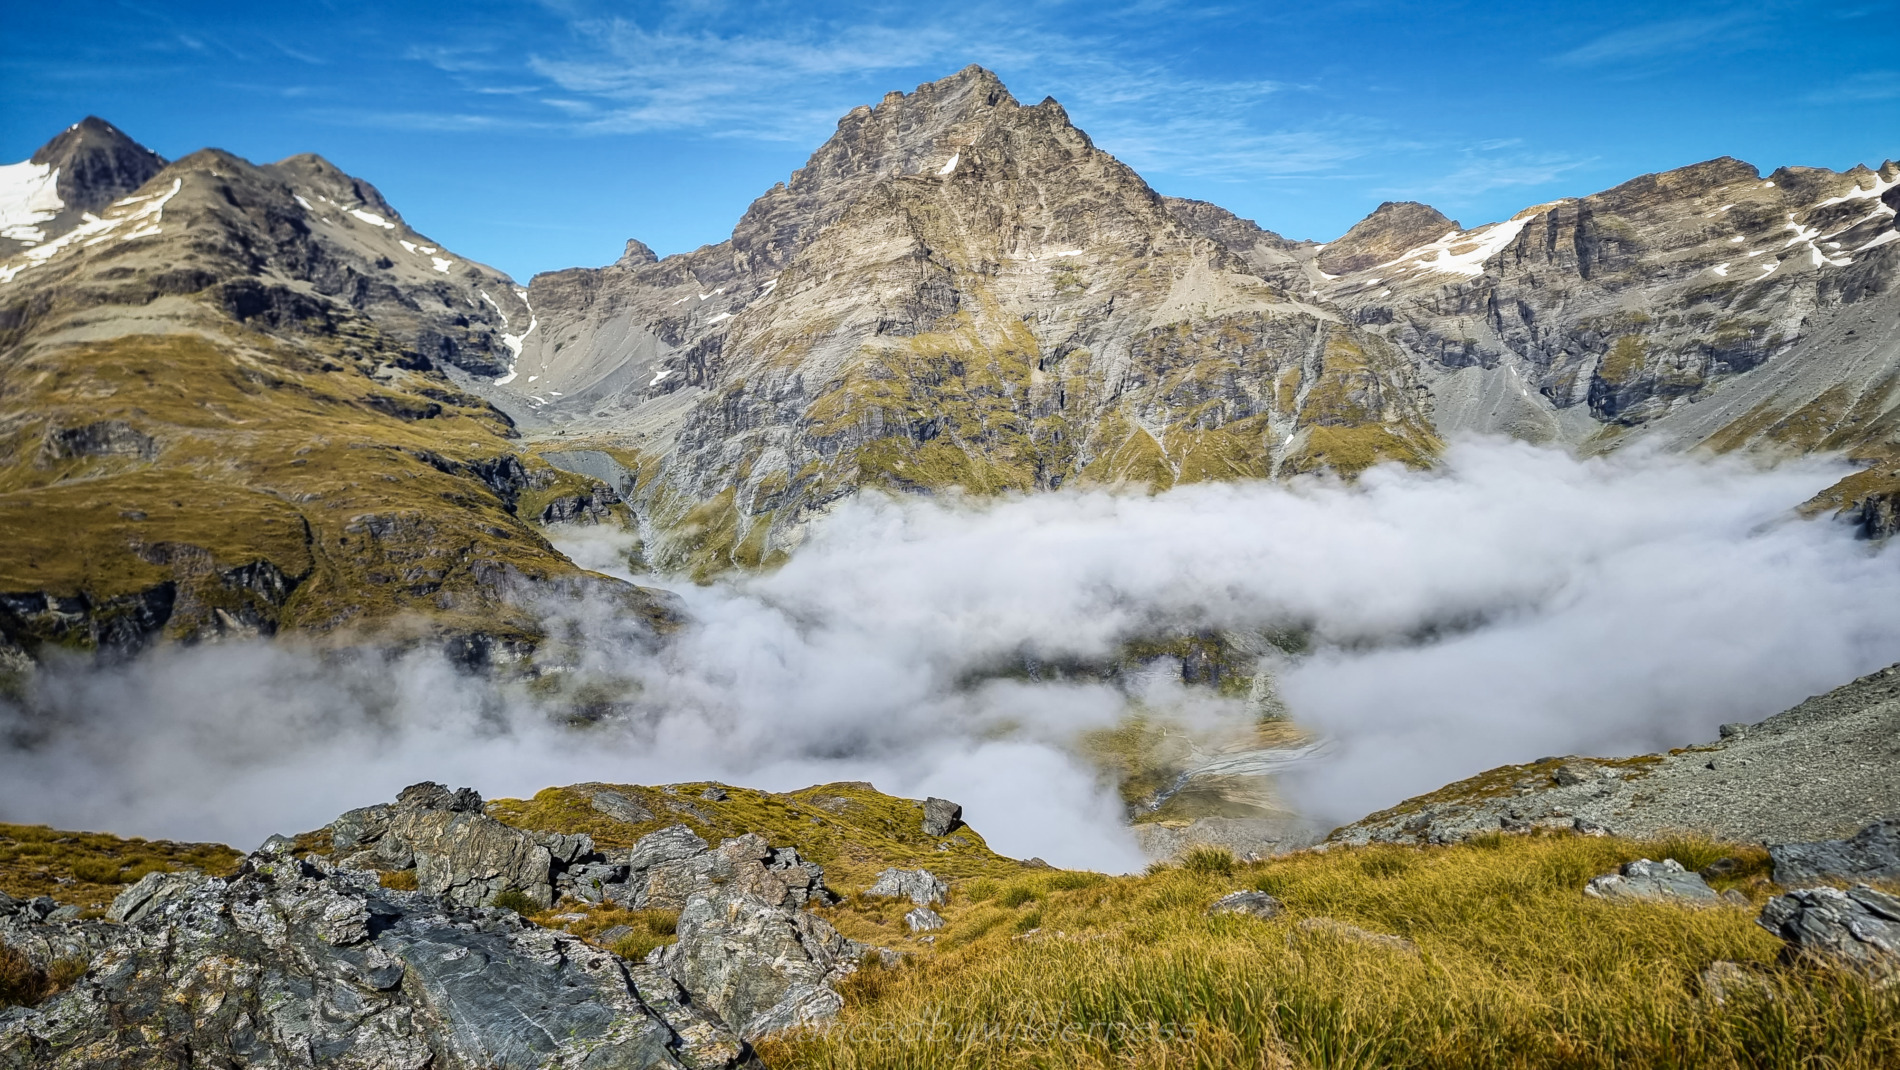
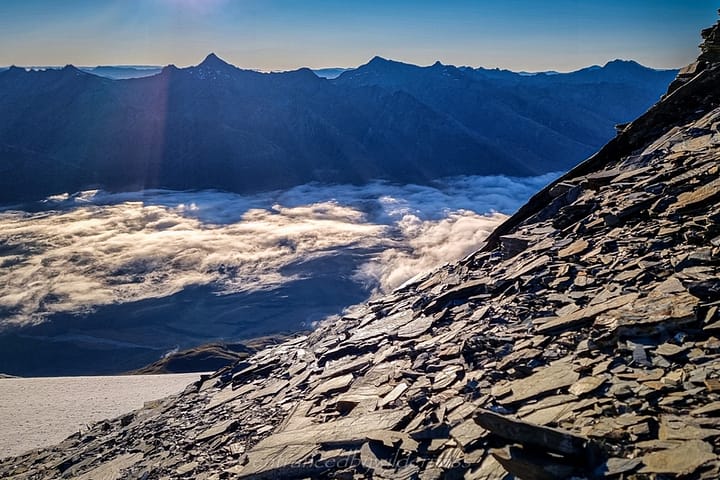
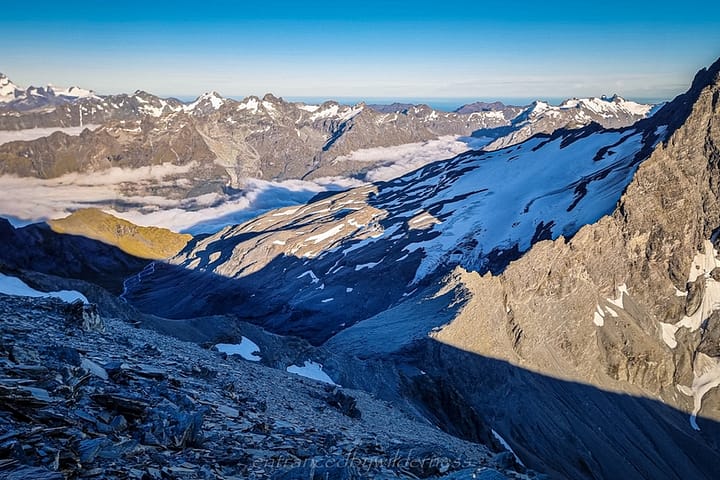
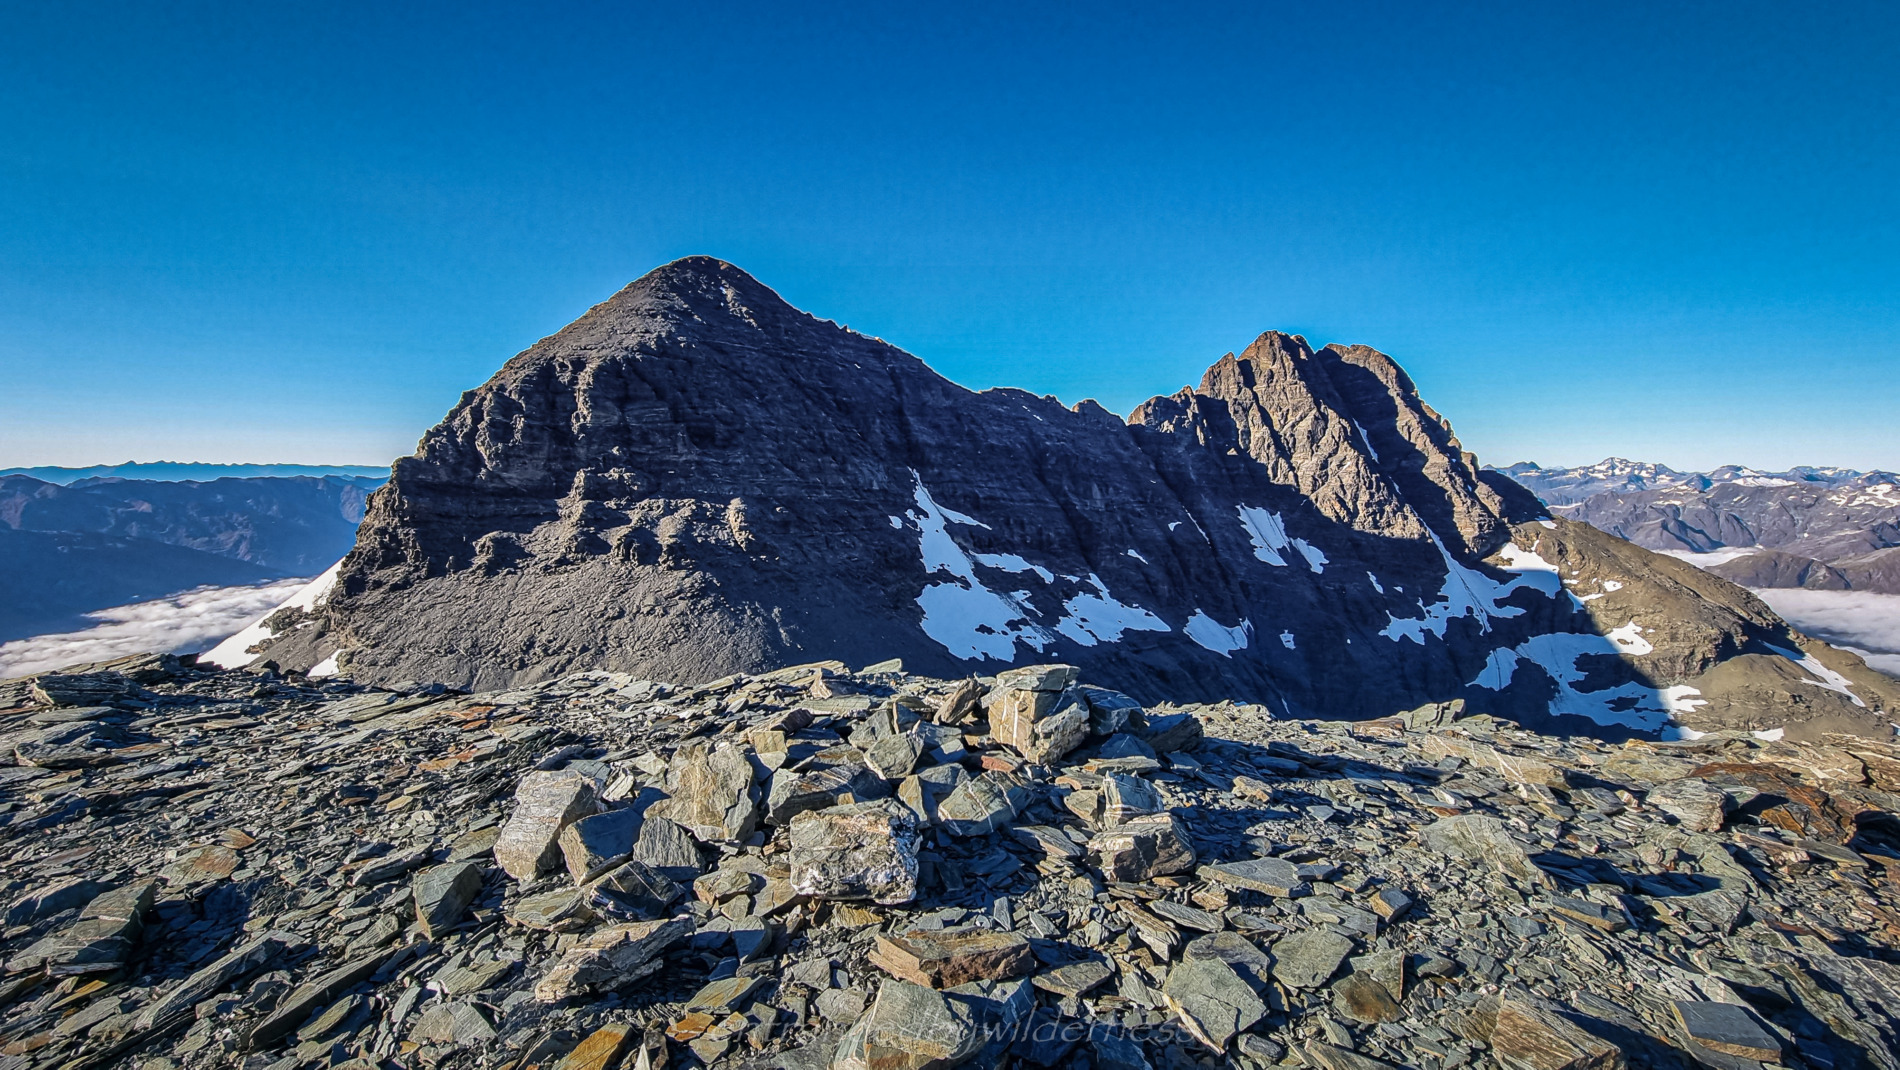
An Adventurer's Dream Within the Forbes Mountains Range
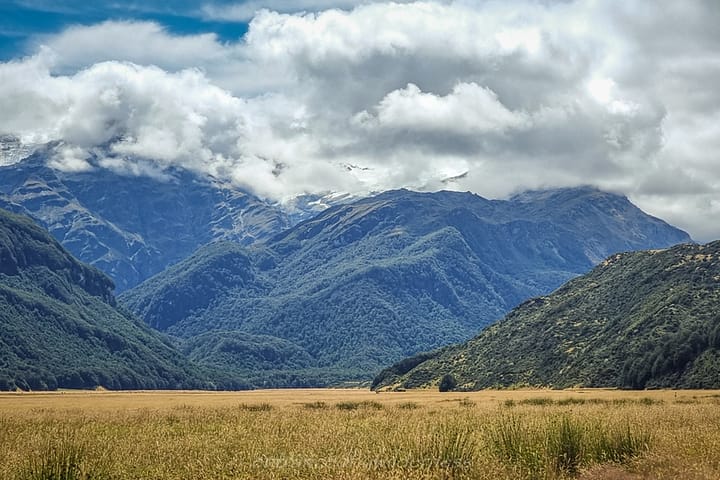
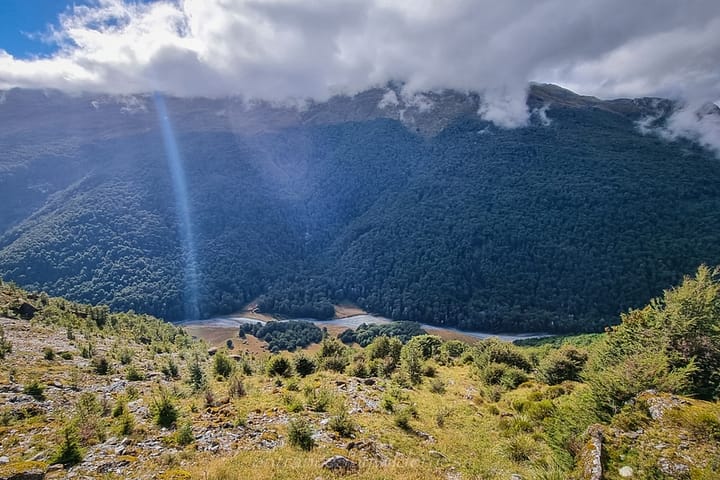
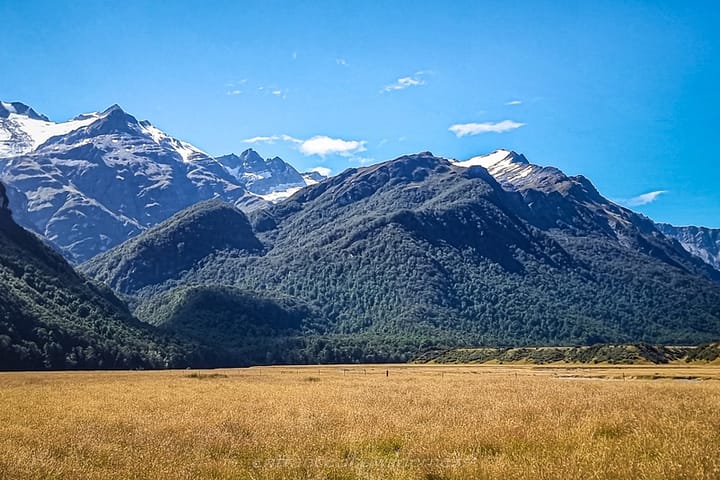
Isolated, and Seldom Visited - A Section of Gorgeous Backcountry Shadowed by Mt Earnslaw...
Map of Route
I experimented with markers on the map – the icons failed to show, but the labels show. It is a bit of a mess, but I decided to leave them anyway. The pin location should be bottom and centre-left of the image square.
Hike Information
Location:
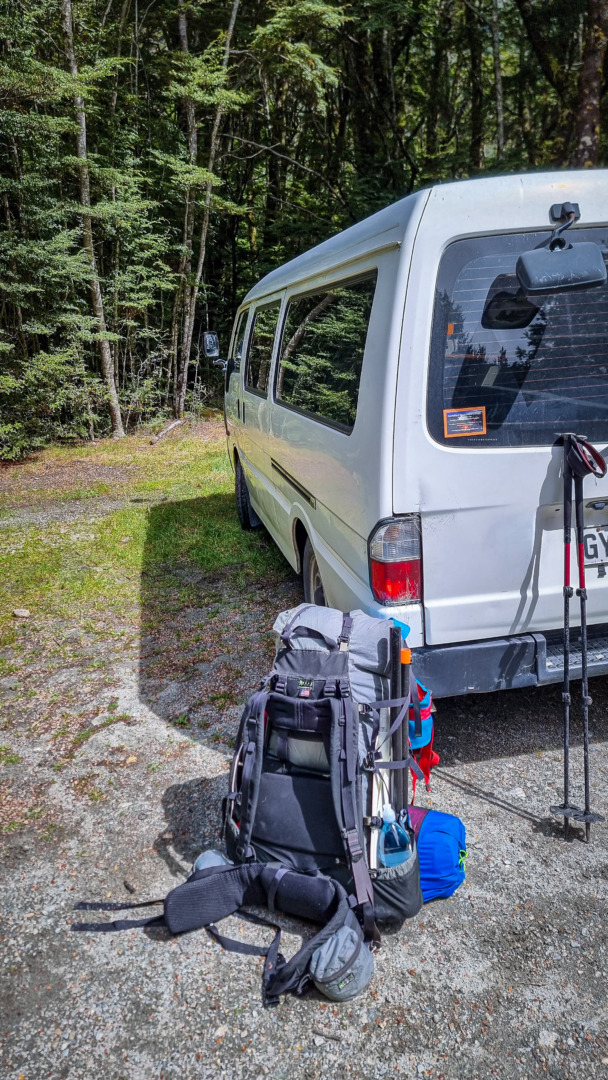
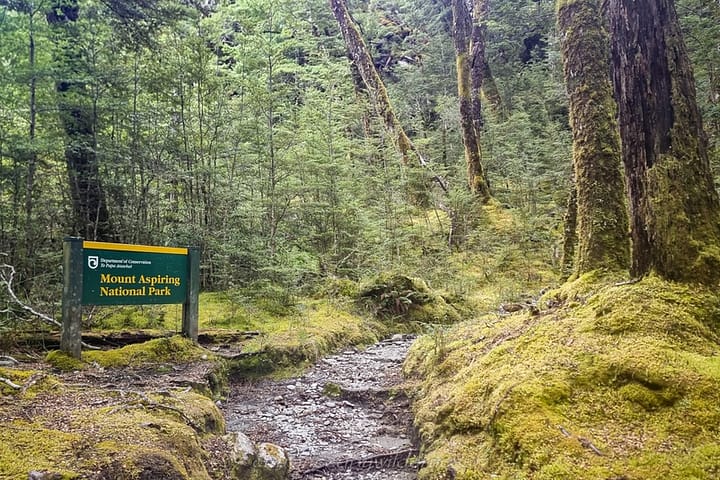
The Forbes Mountains are On the edge of Mt Aspiring National Park, between the Rees and Dart valleys. The route utilizes both the Rees and Kea Basin marked tracks, but is otherwise off-trail. Vehicle access is via Rees Valley Road. The road is in good condition as of 2022 for any vehicle type all the way to Muddy Creek. Access beyond requires a 4WD. It’s worthy noting the first section of the Rees Track until the forest line at the swing bridge is private property.
Difficulty:
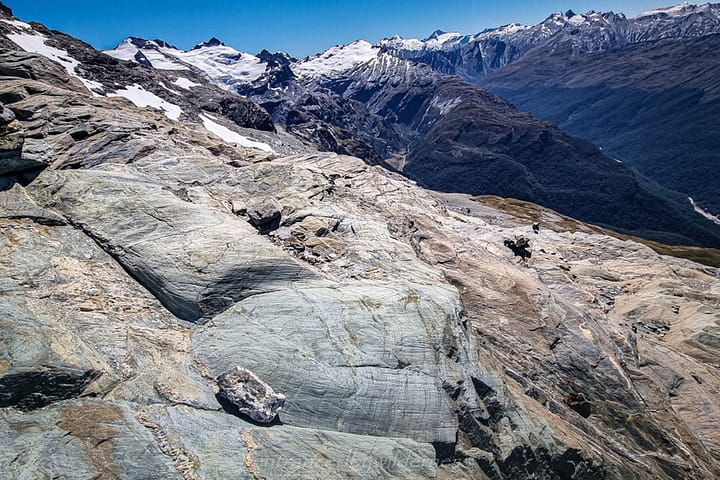
Advanced – Expert: The route requires at least one party member to have strong backcountry and navigational skills. Members must be confident on steep rocky terrain. Regardless of experience, all members should ensure boot/shoe tread is suitable, as there is a lot of smooth surfaces.
Camping:
Camping is not permitted on the Rees Track until you get all the way to Clarke Slip. Otherwise, there are plenty of camping options along the route.
Time:
The time required for this route will vary depending on party and amount of days in your bag (there are potential other side trips on the route). Ideally, camping out a couple of nights is essential. I liked my trip timing with a late start, as it enabled me to camp at Pyramid Lake without it being a super short day. A minimum of 3 full days is essential, however.
My Trip
05/02/22 – 08/02/22
Introduction
The Trip Idea in the Forbes Mountains
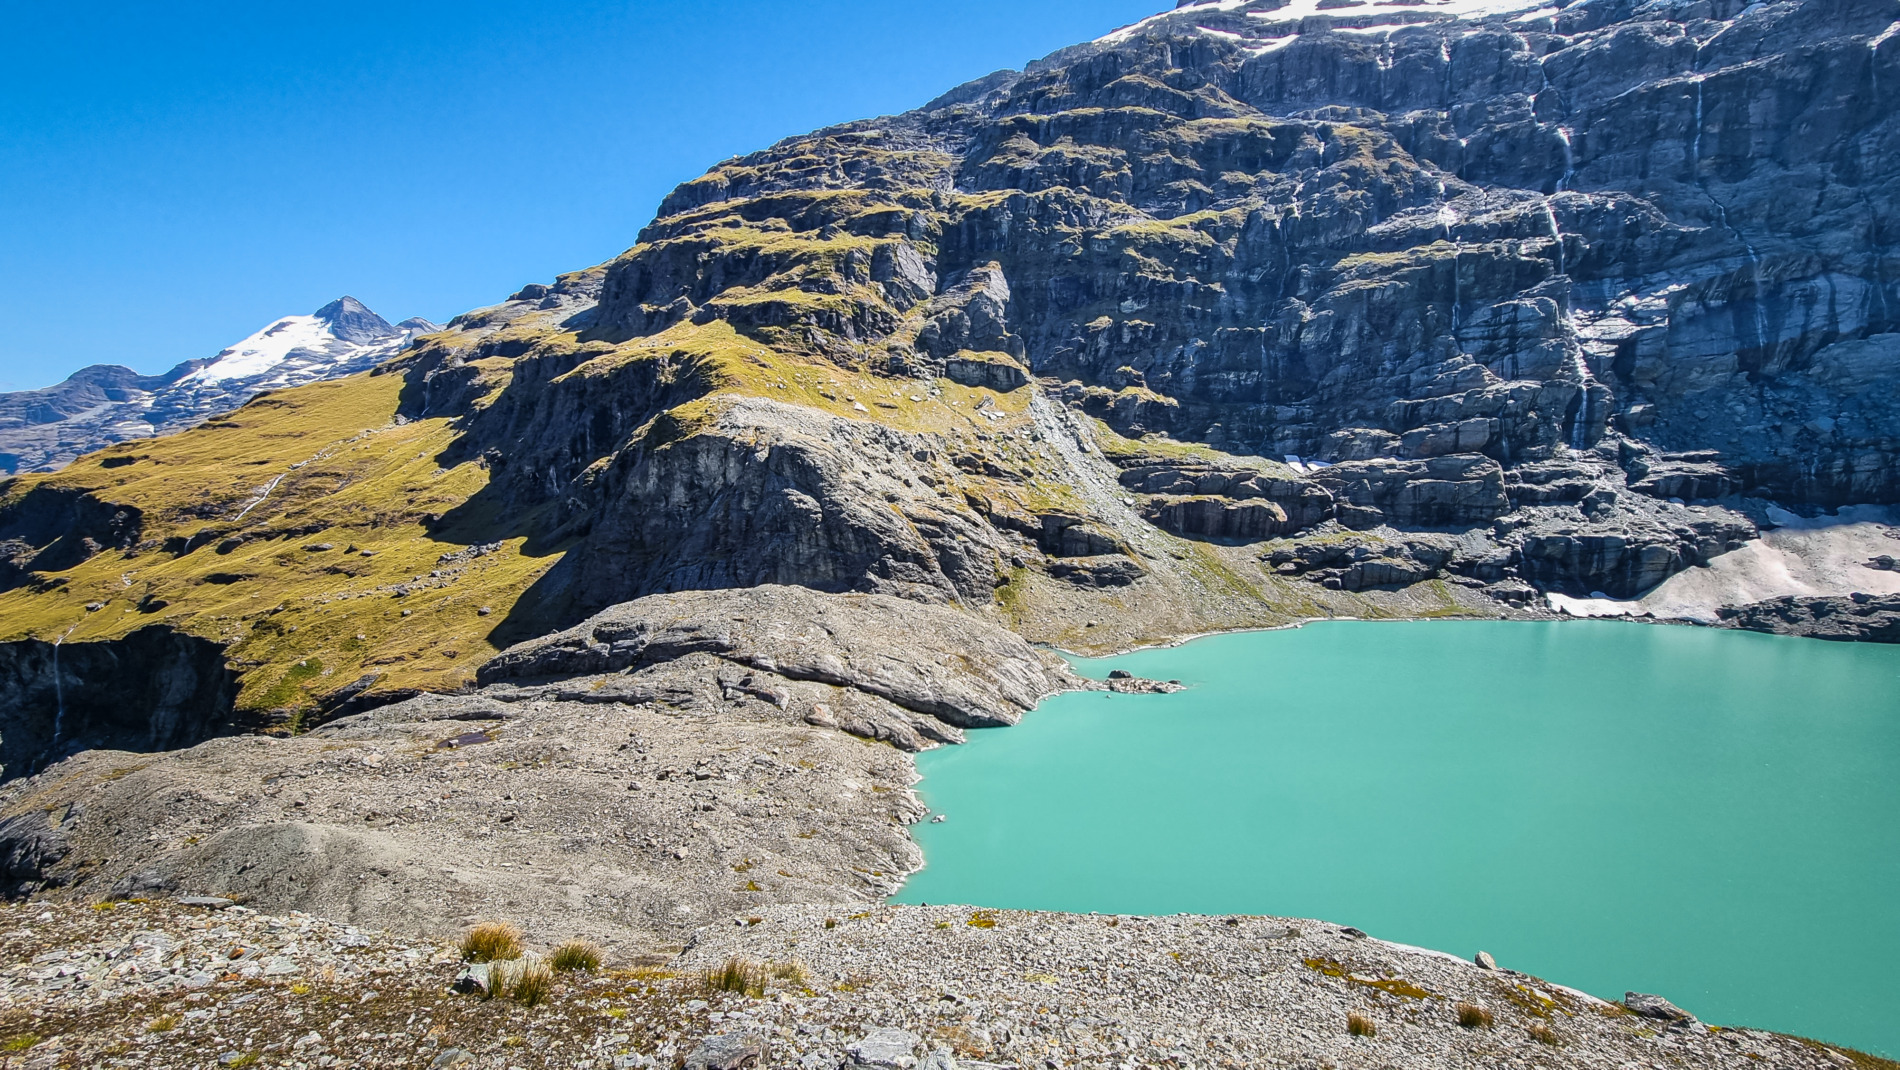
It was a bluebird weekend of weather, and I was frothing for a backcountry mission, as well as some packrafting. I really wanted to explore the region deeper behind Mt Earnslaw and Kea Basin in the Forbes Mountains. Notably, the lake between Moira Peak and Mt Clarke, and connecting this area to Mt Earnslaw. I was intending to climb Mt Earnslaw as part of my trip, but ending up not having the spare extra night required.
My research involved looking into Moir’s Guide (which didn’t offer much help aside from Clarke Slip notes), and Google Earth imagery. I didn’t find any articles on the area, so information was limited aside from a topo map and Google Earth. In hindsight, the Google Earth imagery helped immensely, especially with working out rough possible routes and seeing bluffs a topo doesn’t show (e.g. the rockfall section described later).
Note: I later decided to call the lake mentioned in the first paragraph – Pyramid Lake, as it is nameless and hard to reference otherwise. At first, I thought of Hunter Lake, but Hunter Creek is made of many tributaries, and the name didn’t feel central to the lake. Then I came up with Pyramid Lake, due to the already named Pyramid Col and the nature of the lake being situated below the pyramid shaped peaks around.
Day 1 – Rees Valley Carpark to Clarke Slip
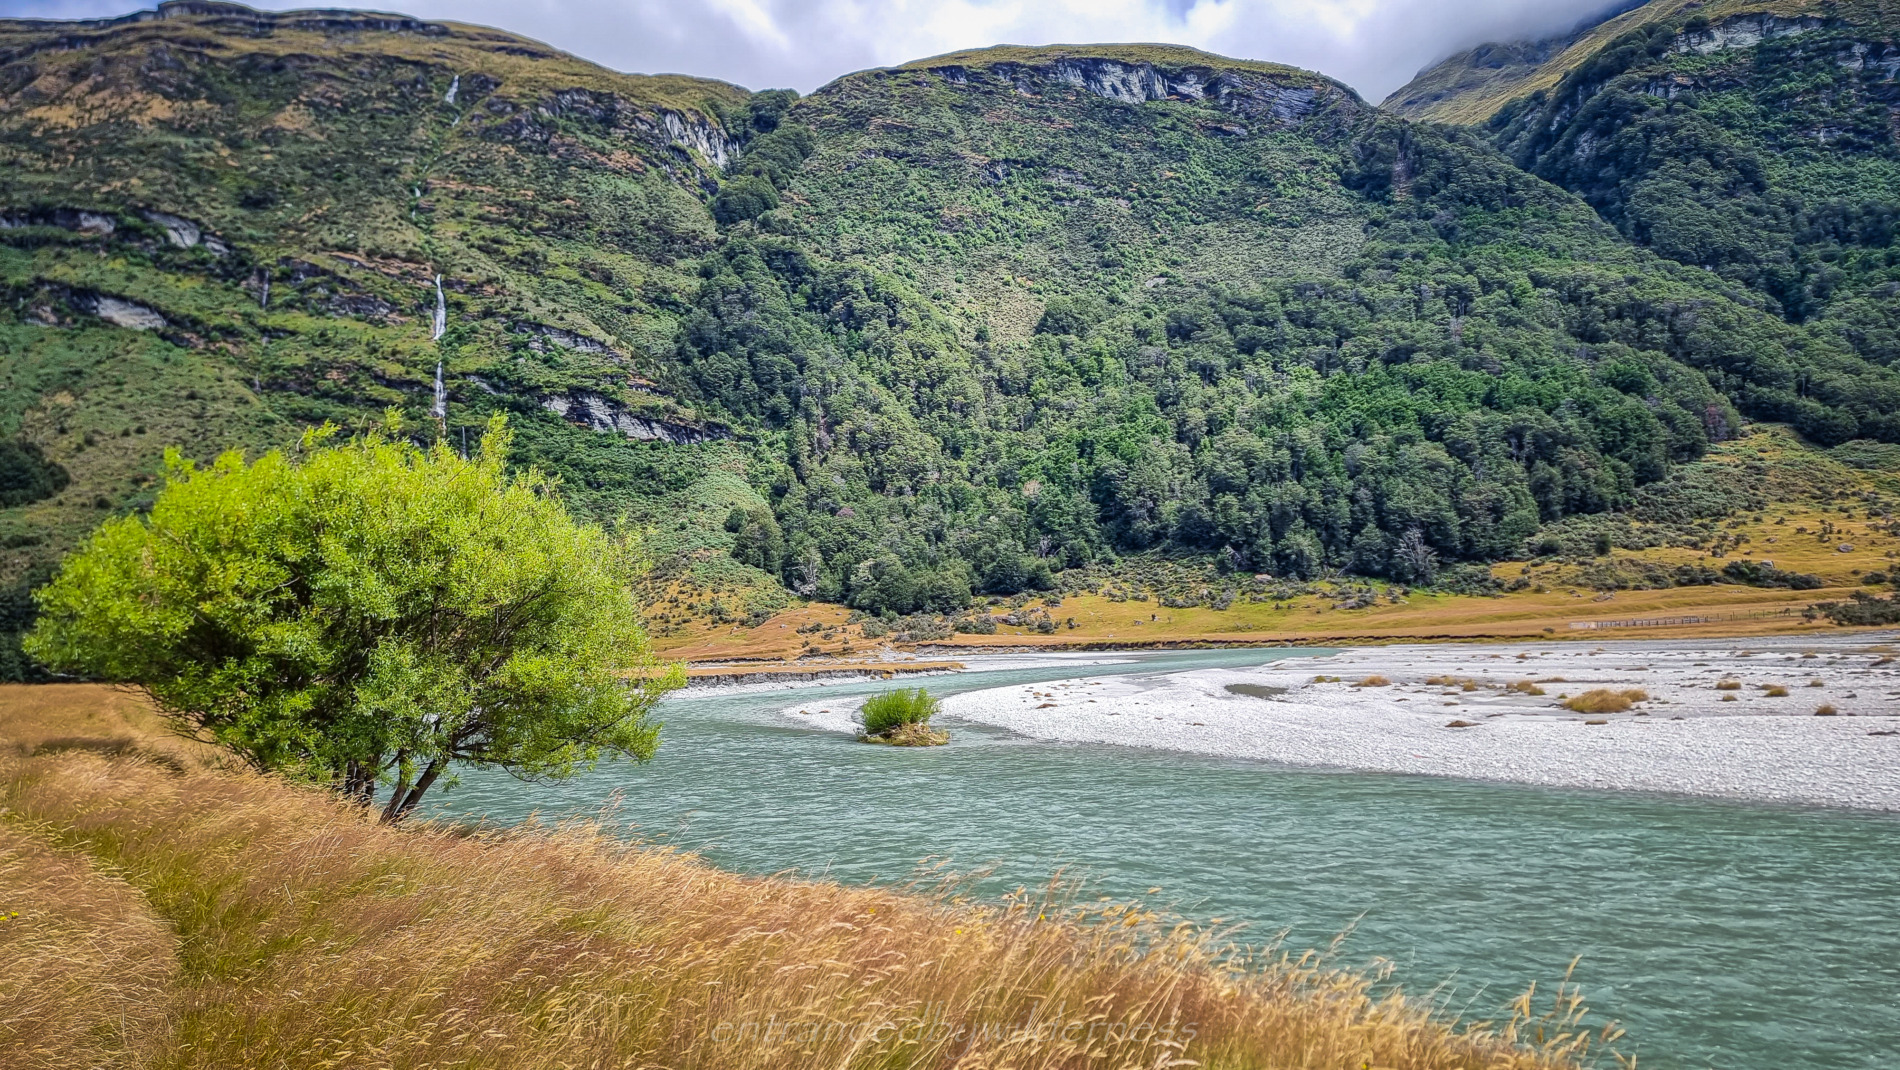
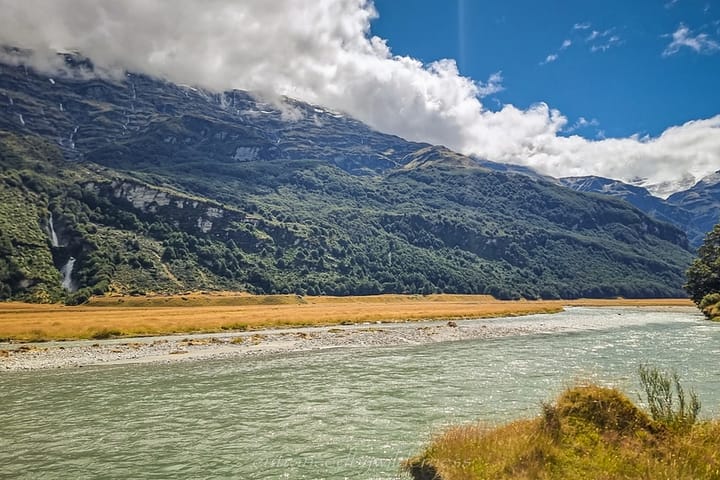
I was packed and ready to head off along the Rees Valley at 1:15pm. It was only roughly a 4-hour hike to where I intended to camp below Clarke Slip somewhere. Looking at the flow of the river, it was lower than expected, but not too bad from the recent rains. Hopefully, it remained high enough for packrafting out in a few days.
There is roughly 2km before the 25-mile hut turn-off that is swamp all year round. The track does go high here, but you can just walk through the tussock swamp. In sections, it can be knee-deep, but still easier than the higher route.
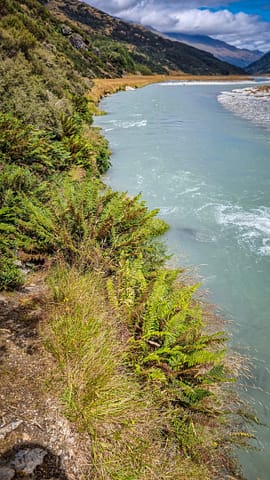
After the swamp and forest section opposite the Kea Basin track, I dropped off my packraft and gear amongst some ferns for the paddle out later. It was nice to lighten the load a little!
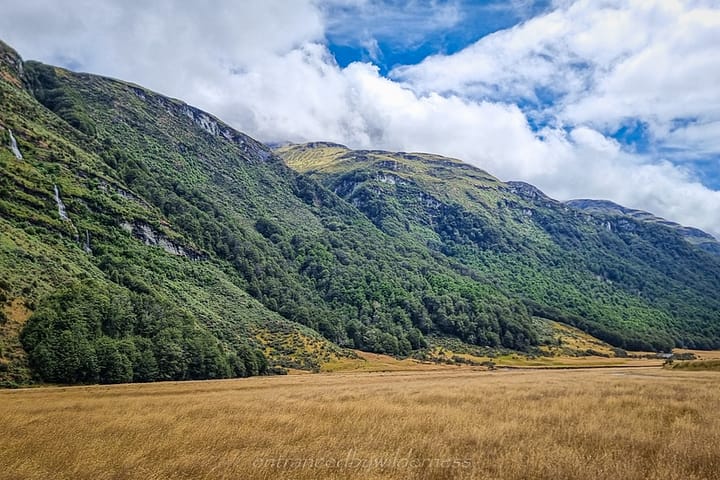
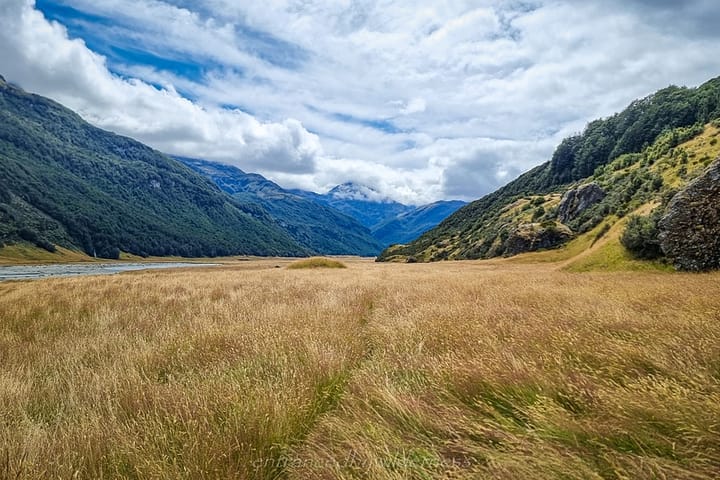
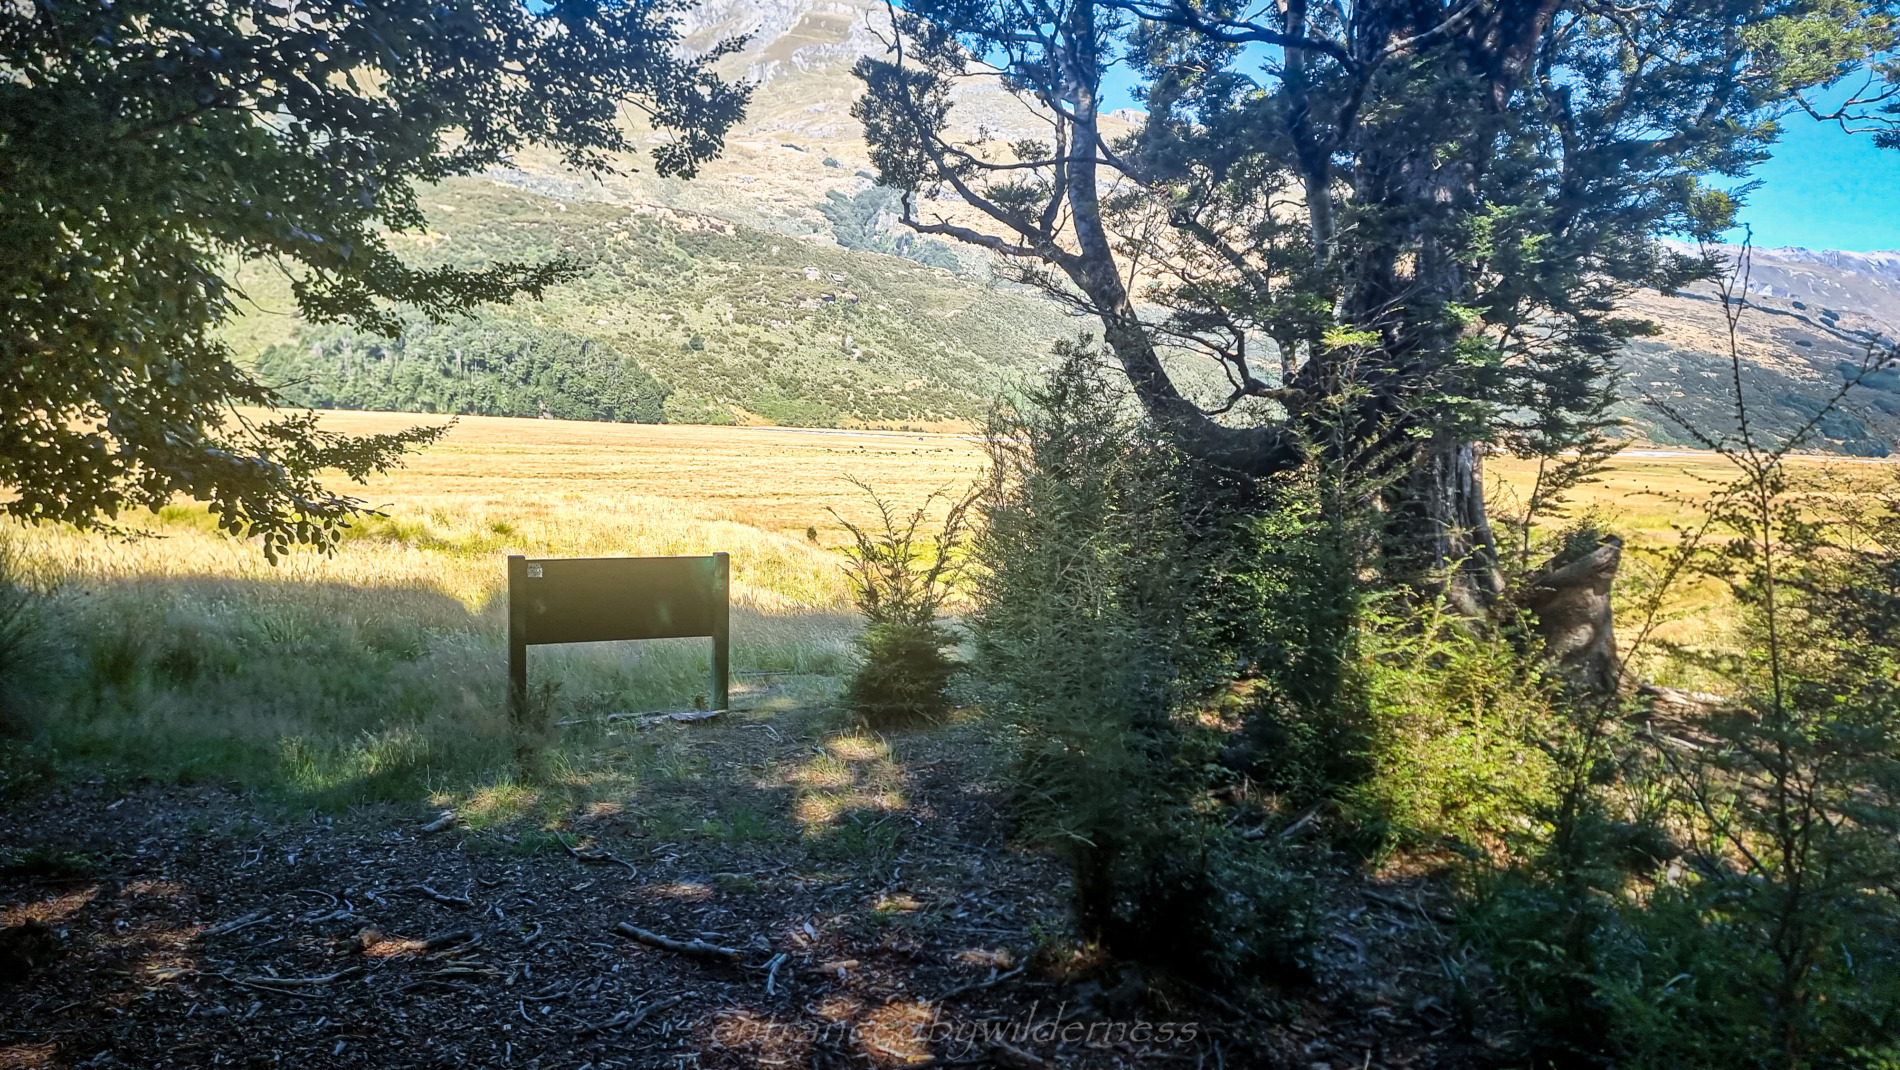
The track continues through open tussock plains on private property for several kilometres, before finally reaching the forest.
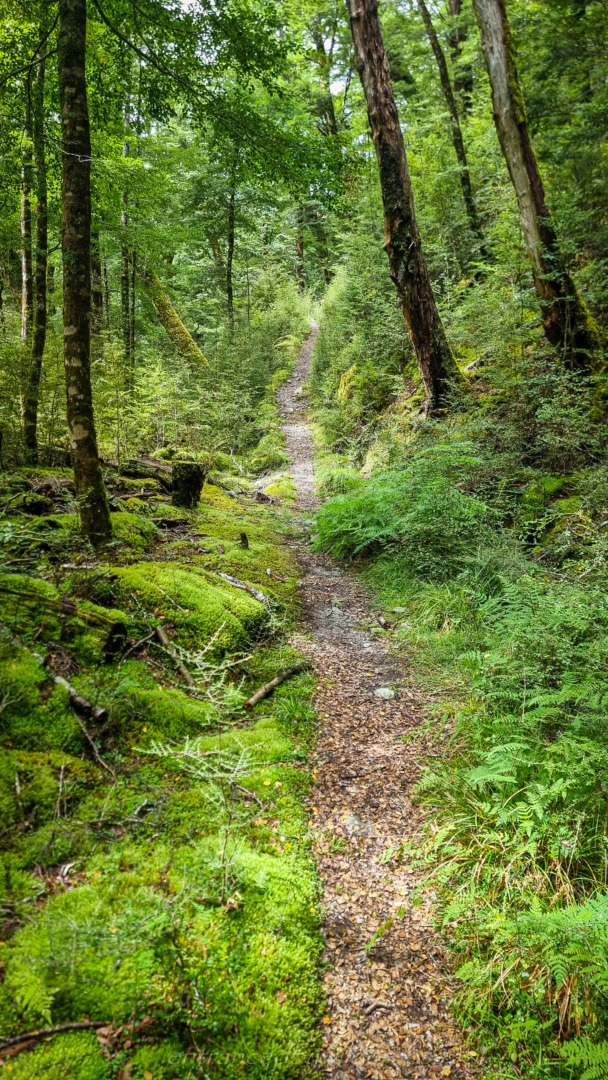
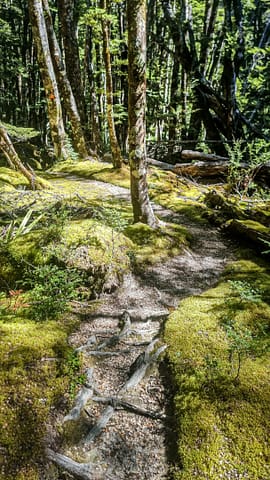
It is always nice when you finally leave the farm property, and get into the forest in many of New Zealand’s valleys. The Rees Valley is fairly devoid of animals and infrastructure, but still, nature is best without human intervention!
Clarke slip
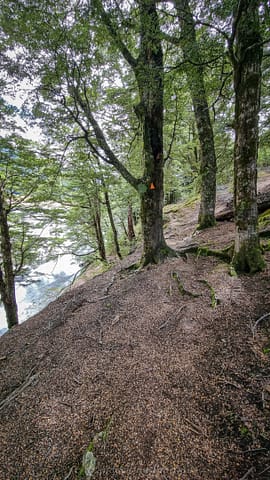
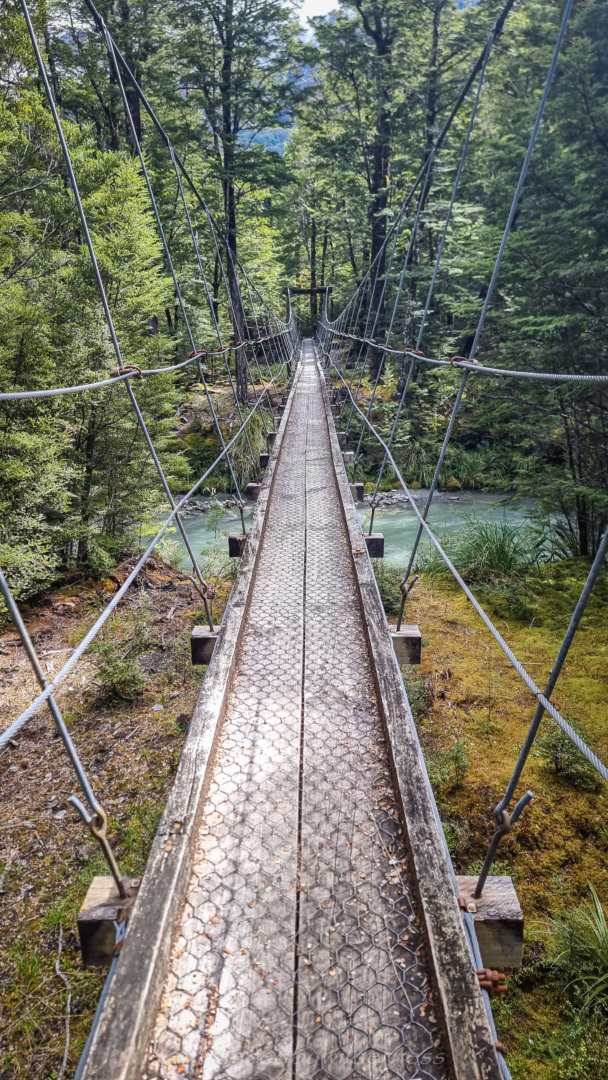
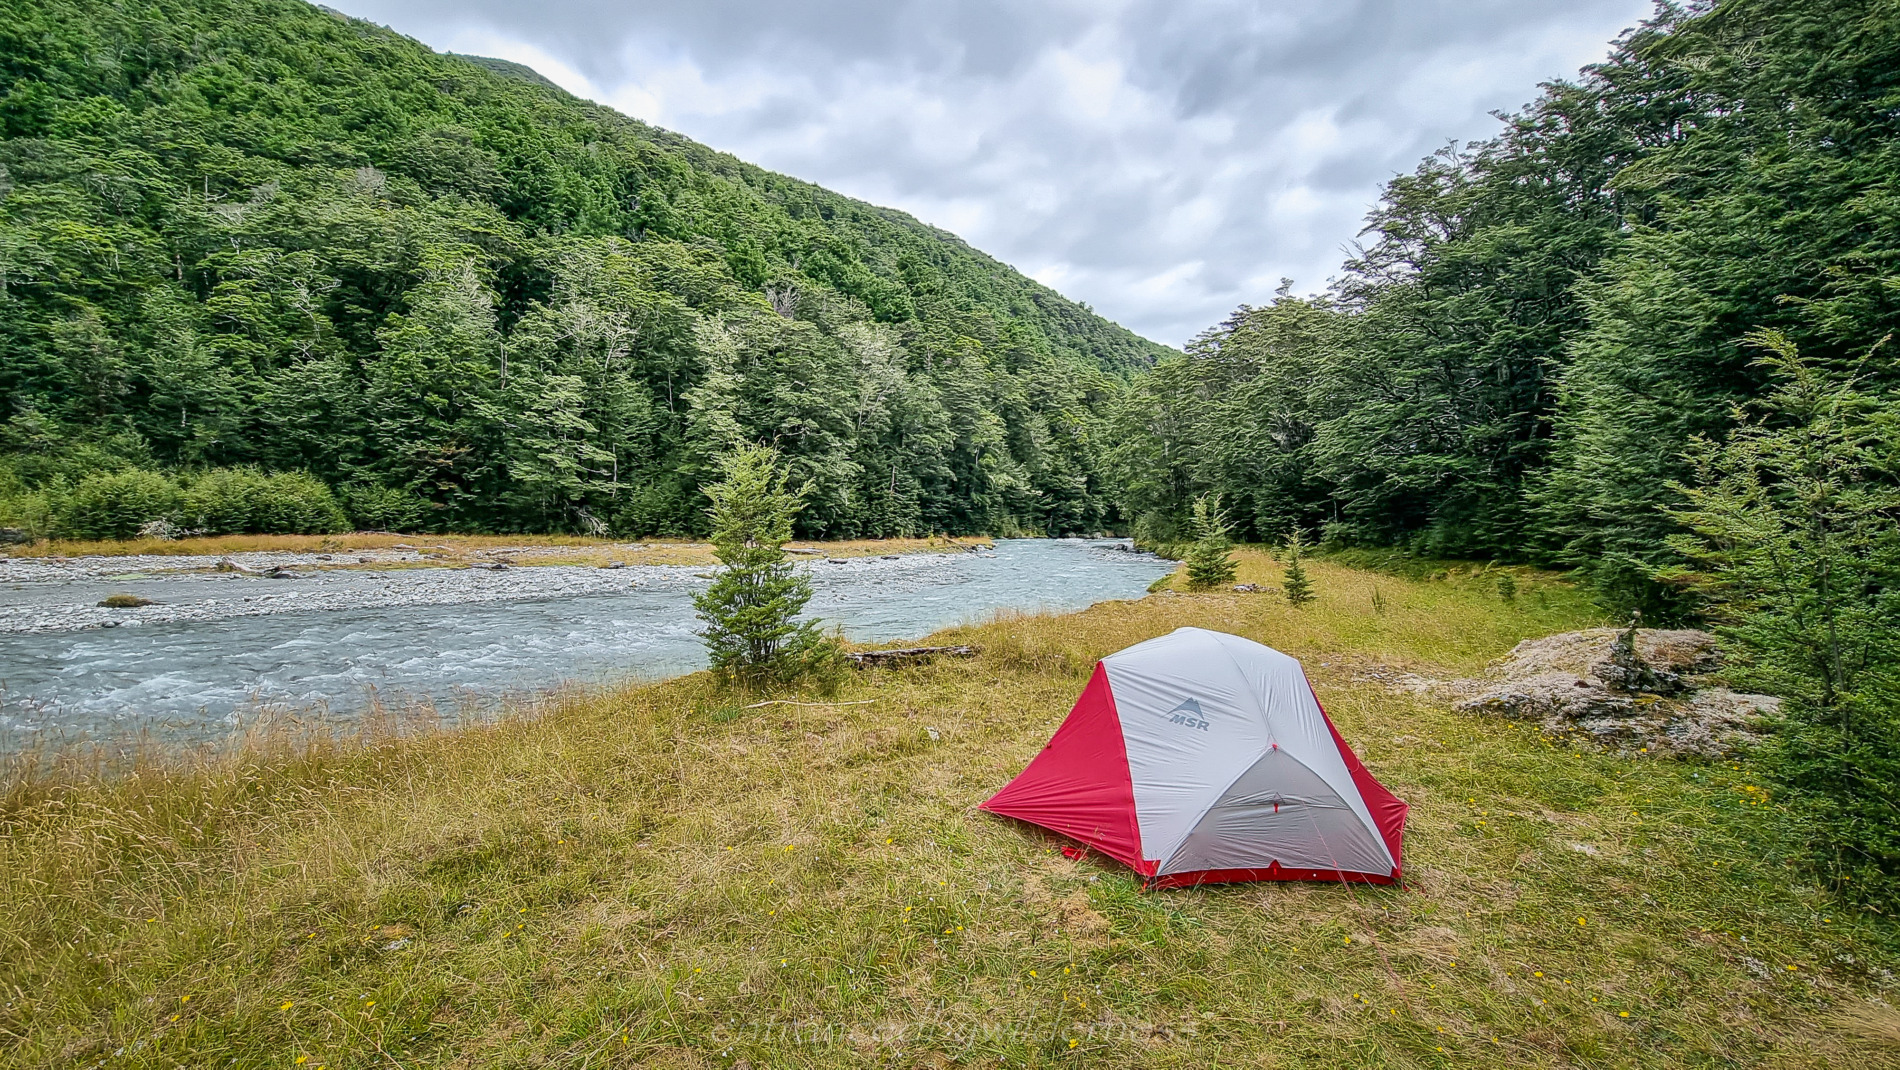
Not too far into the forest, after crossing a swing-bridge, I arrived at Clarke Slip. Here, I began to look for a suitable place to camp below it. The river seemed ideal, so I went further down and chose a pleasant spot there. Escaping the sandflies, I cooked dinner in the tent and watched (half) a movie on my phone to see out the evening.
Day 2 – Clarke Slip to Pyramid Lake
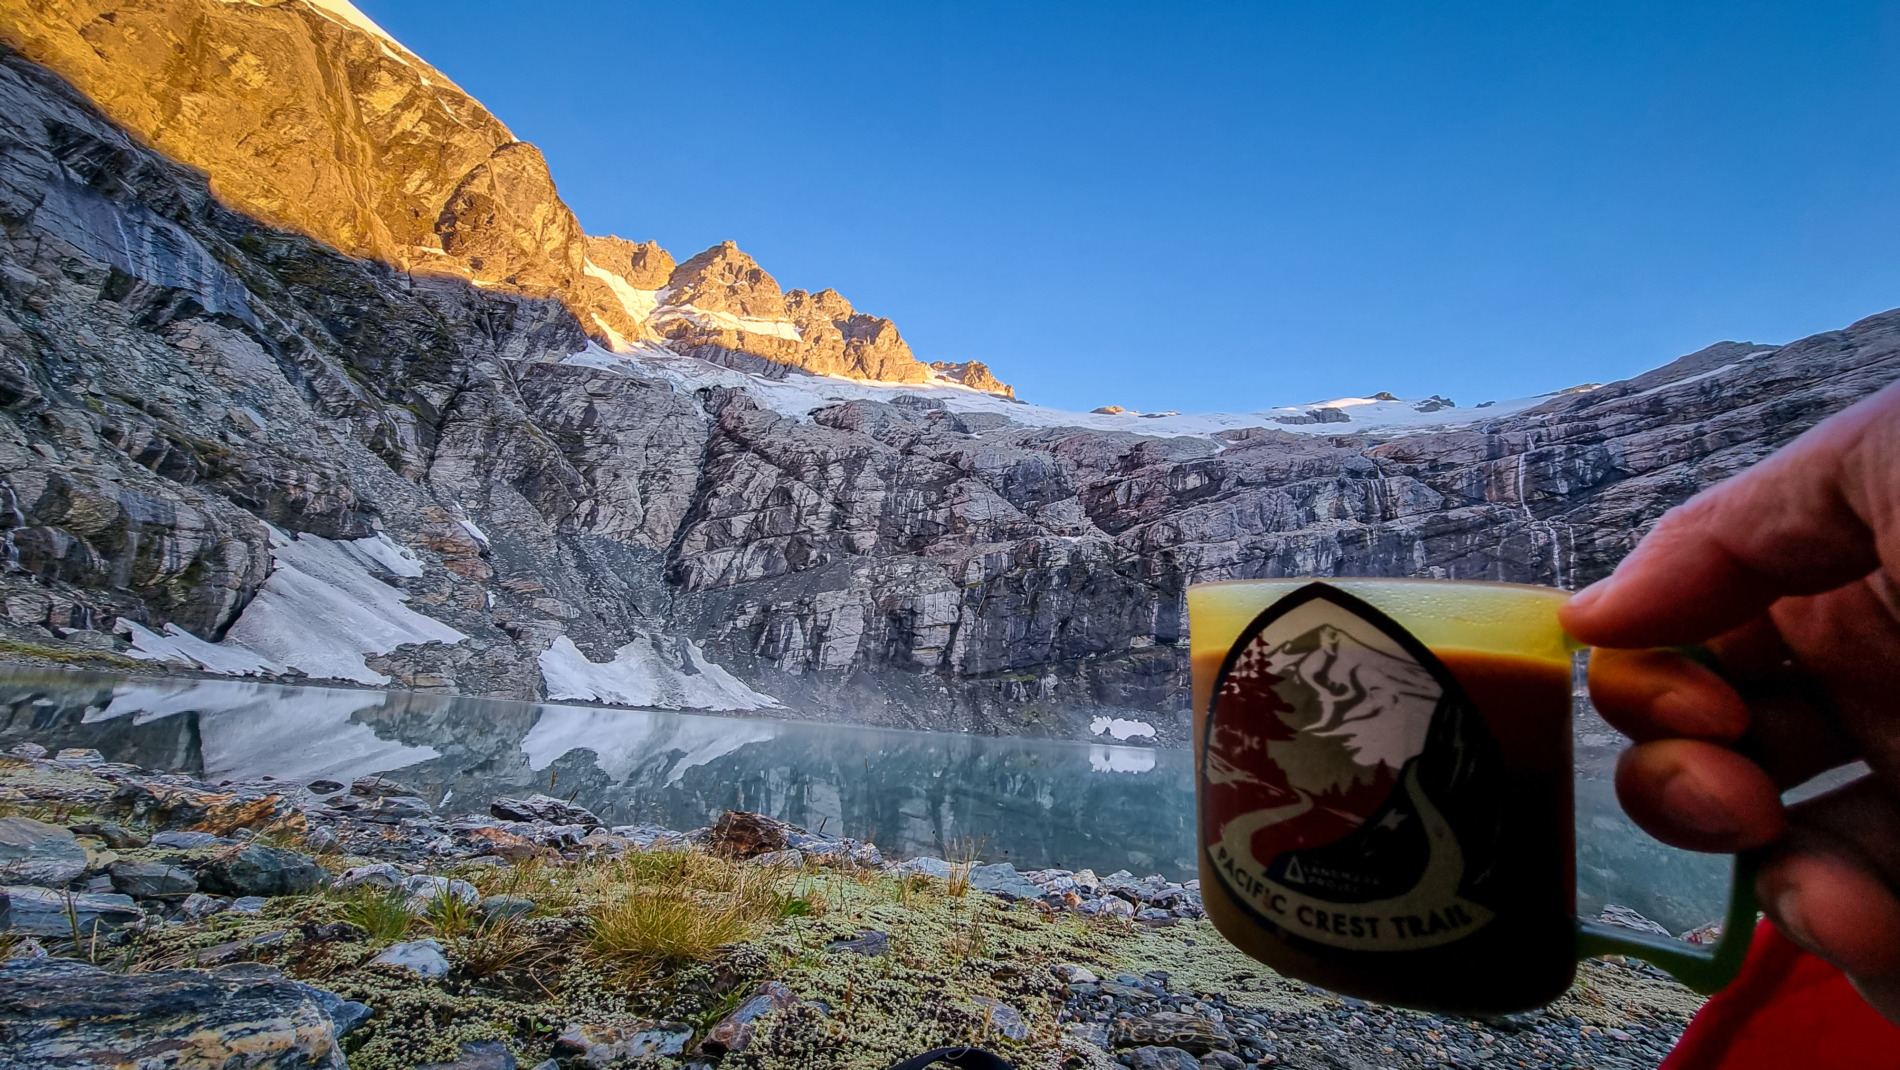
After breakfast and coffee, I left camp and proceeded to head towards the base of the slip.
This was the day the real trip starts. The beauty of it was, that I didn’t know what to expect in terms of the route, as there isn’t really a lot of information about the area I was headed.
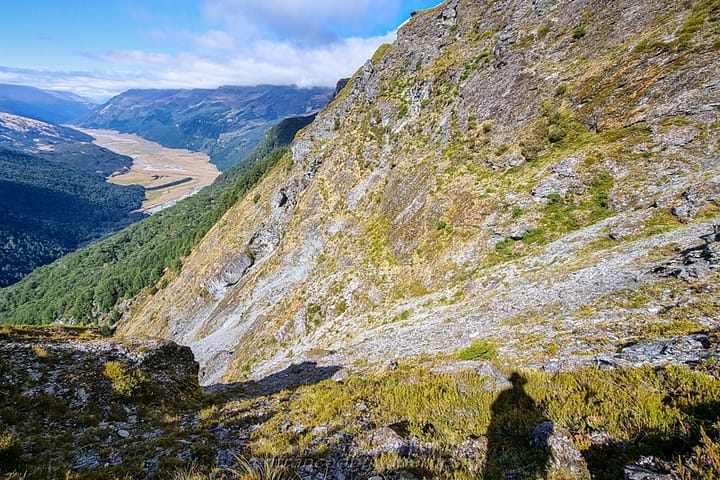
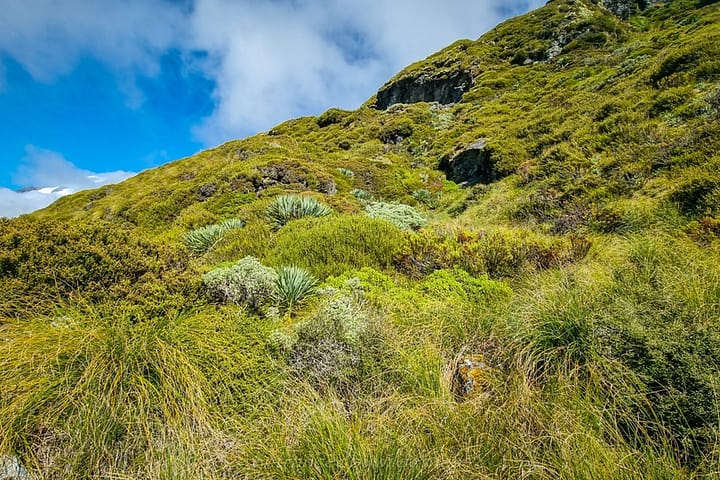
Heading above Clarke Slip was pretty straight-forward. There was a kind of trail for a section before the scrub took over. I decided to aim for going under an exposed bluff cliff face in the distance above me. Getting there was the hard bit, but from there and after, the shrubs gave way to tussock, and it was easy travelling again.
Once around the cliffs, it was easily enough to gain their tops and follow the ridgeline above 1400m where options opened up. I read a lot about people aiming for climbing Mt Clarke from here, but I was more interested in reaching Pyramid Lake. There was no information about the route to the lake that I personally came across (not even in Moir’s guide), so it was largely making it up as I went.
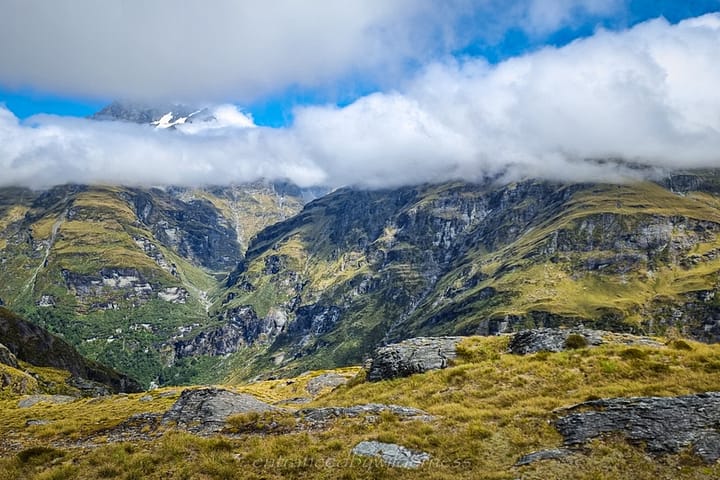
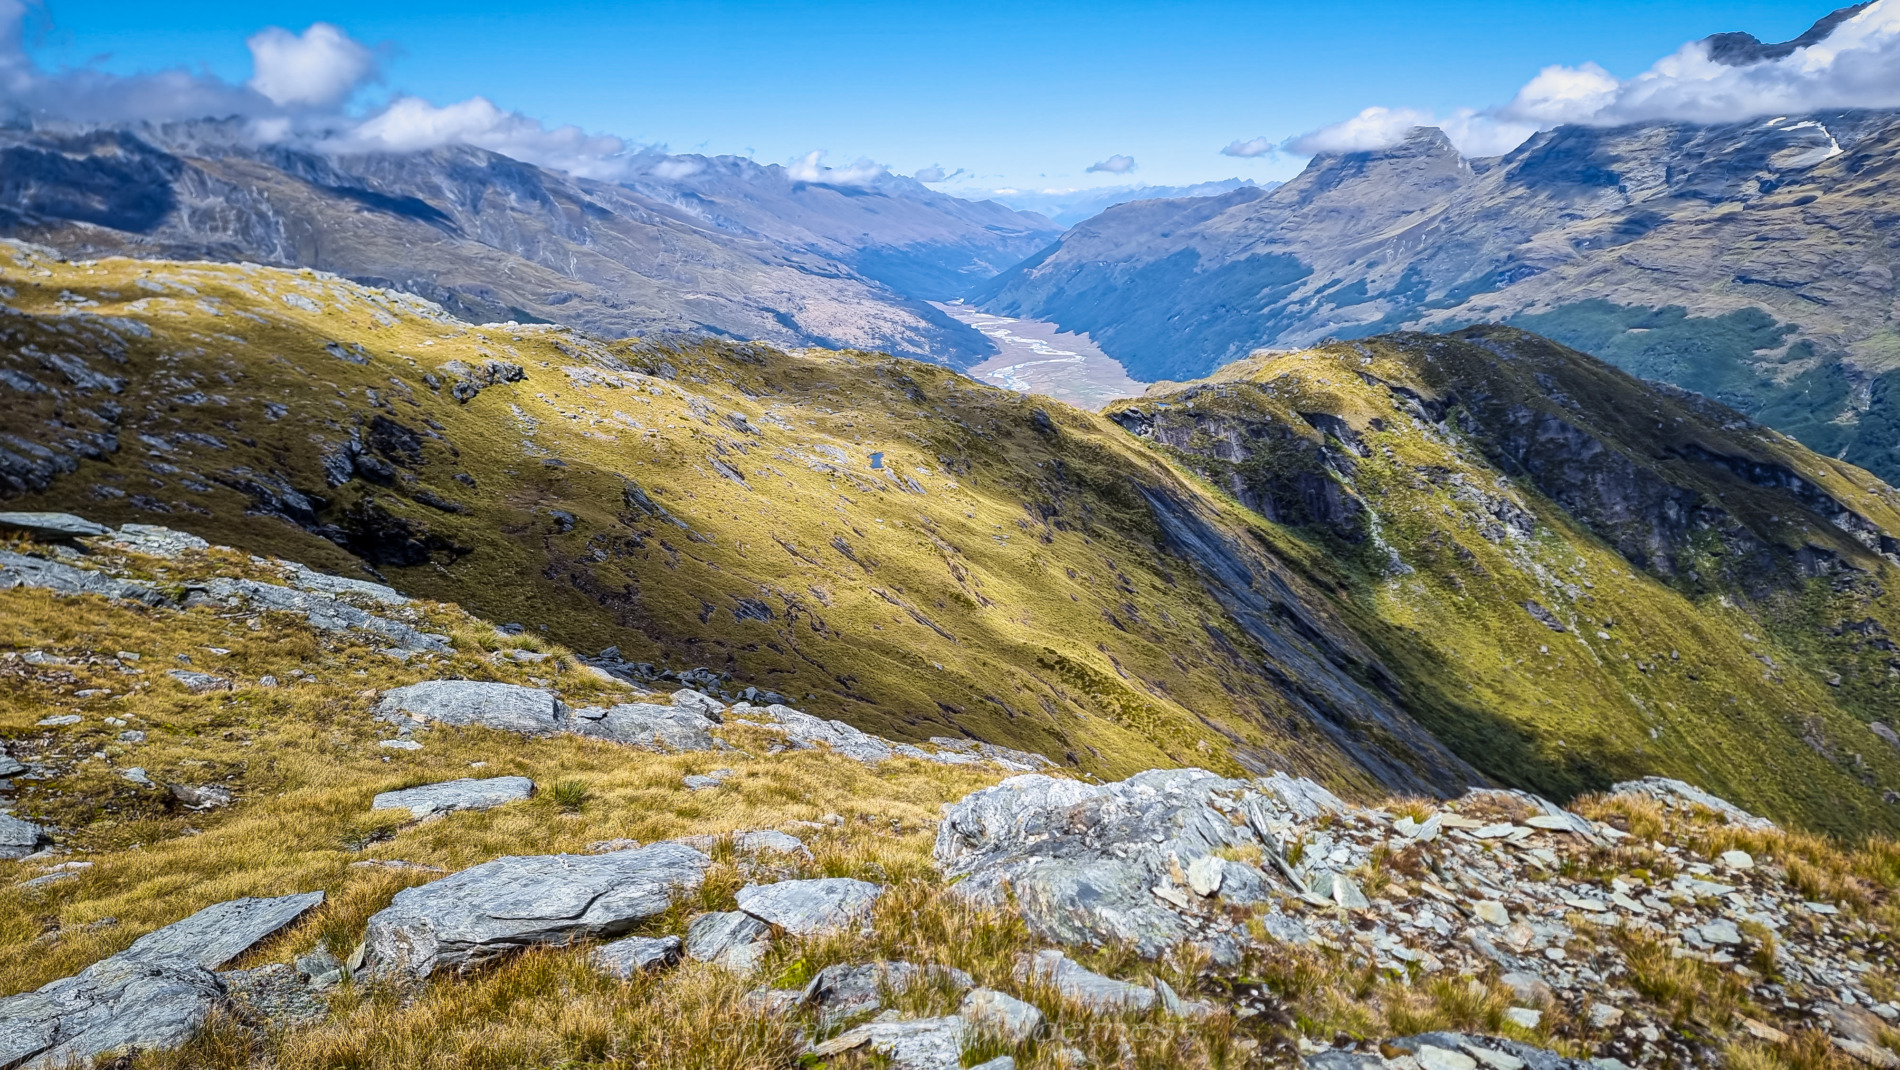
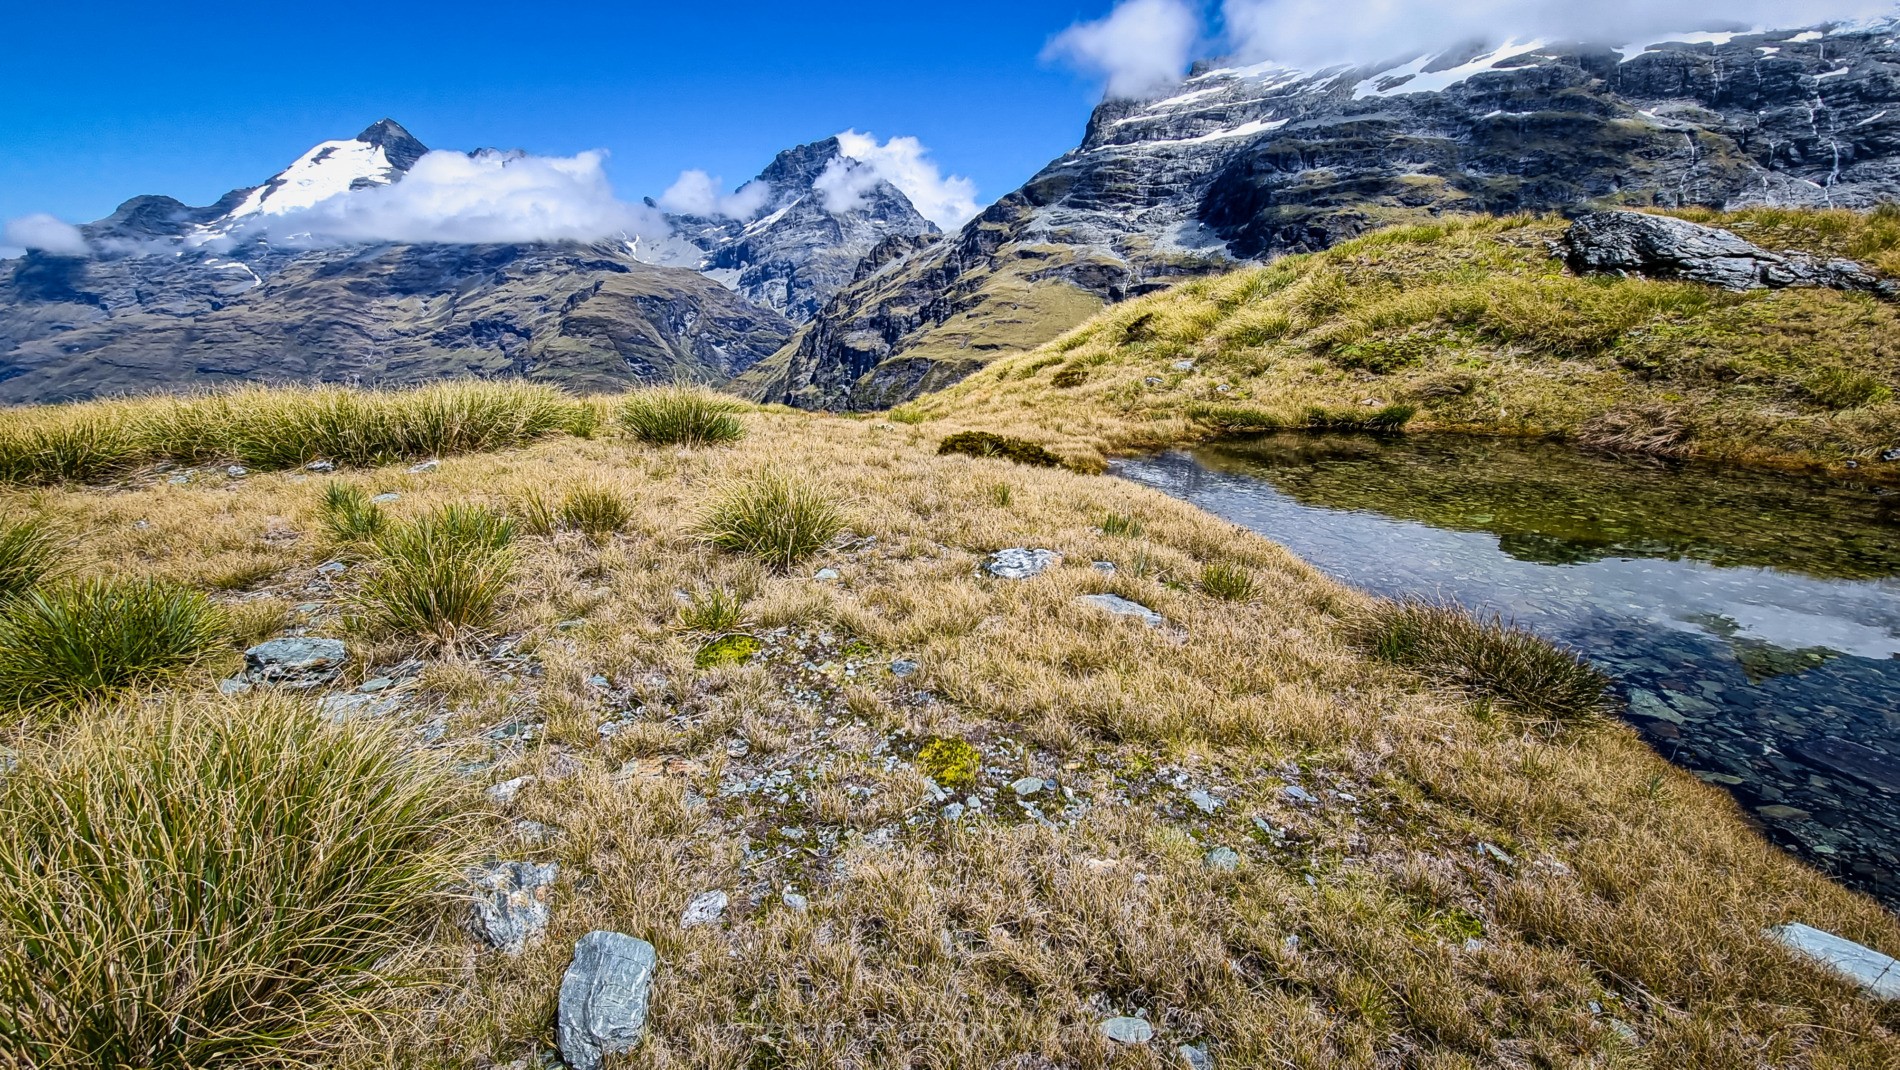
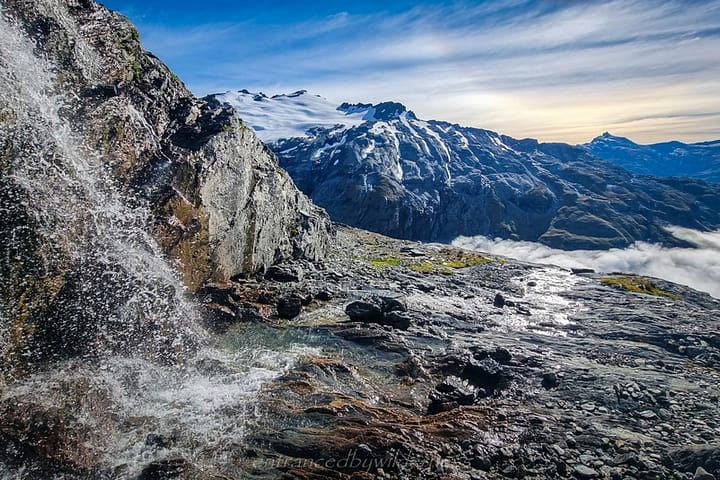
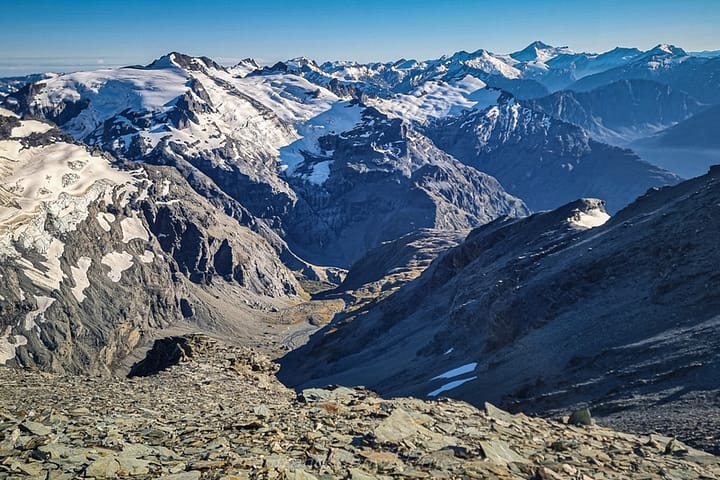
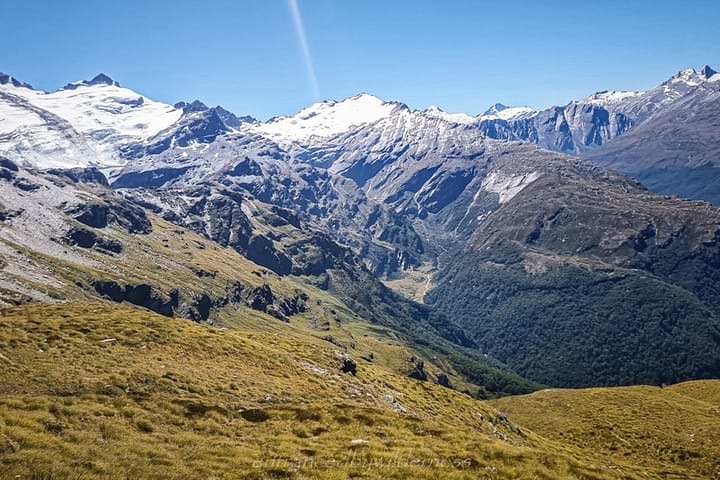
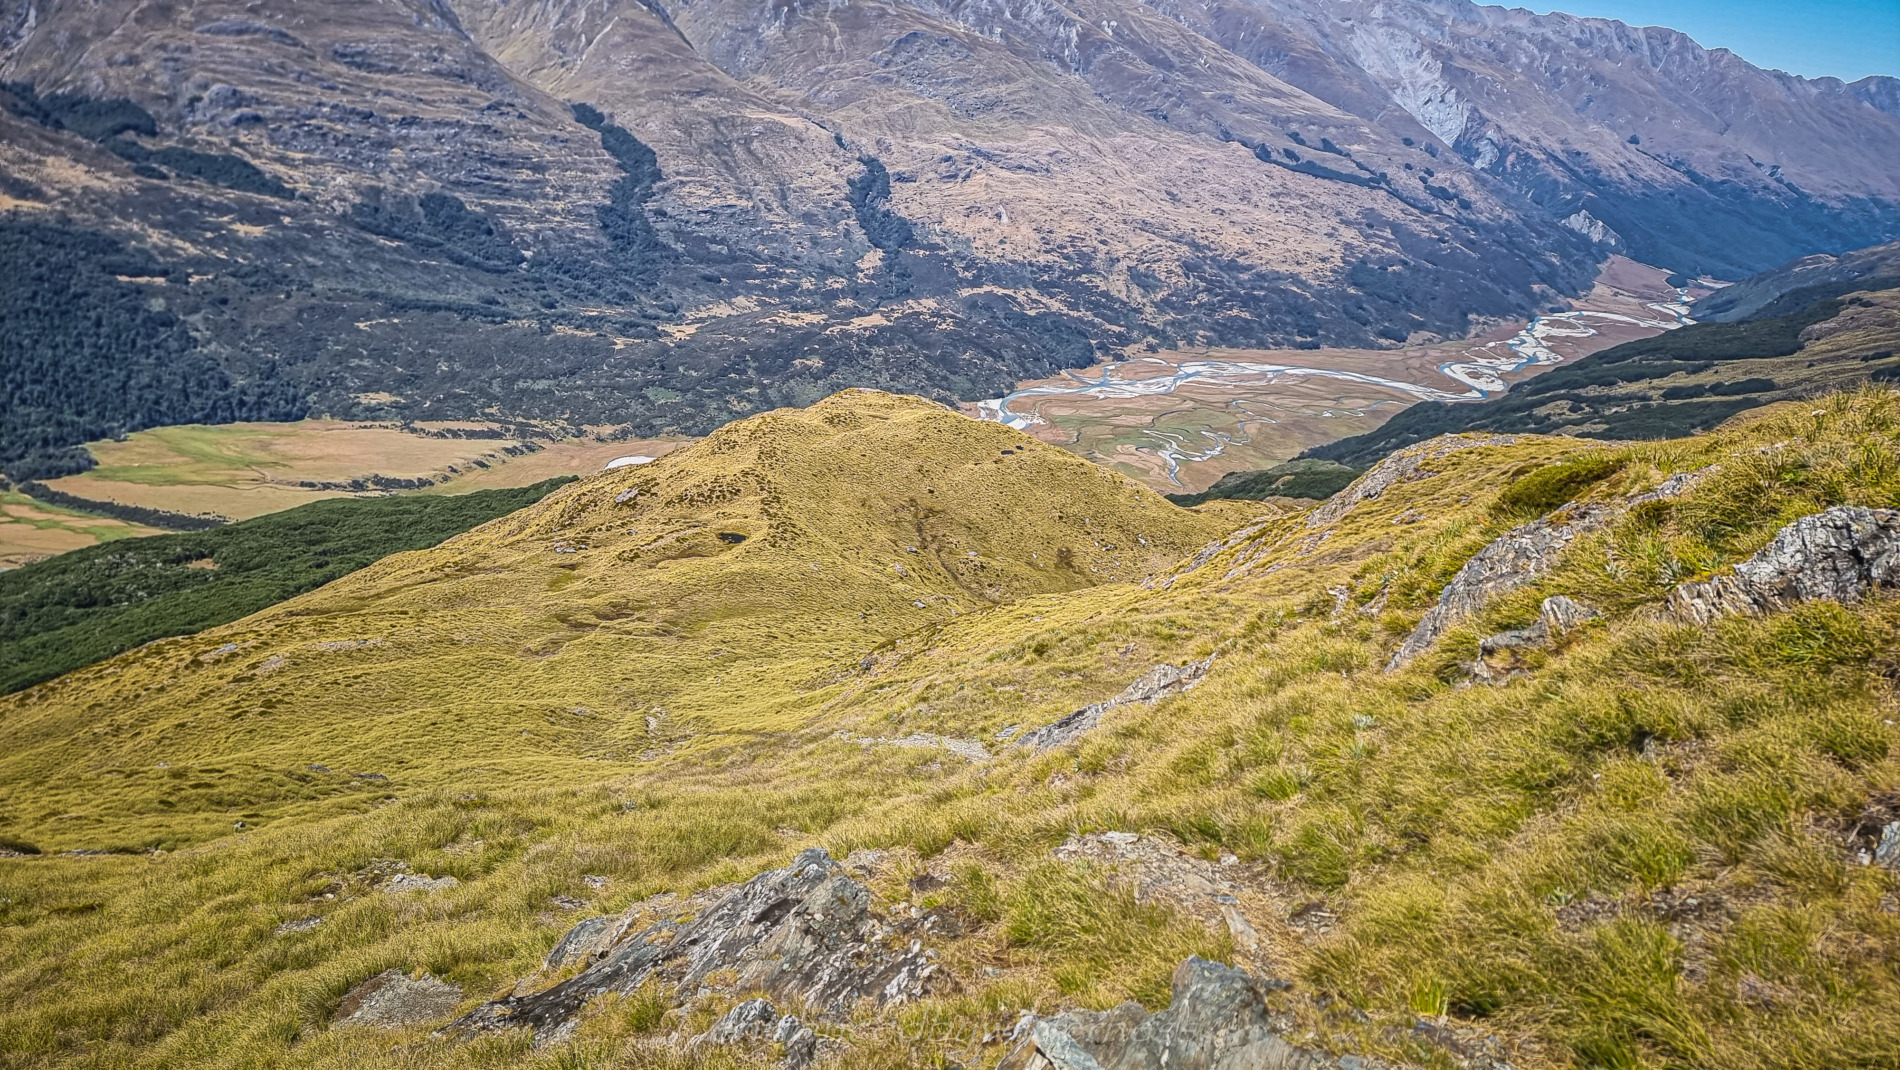
Following the ridge up was gorgeous views after gorgeous views of the Forbes Mountains Range. There was a cute stream trickling out of the rock for water along the way, along with several tarns. Some tarns allowed for great photography (if only I had brought my proper camera!).
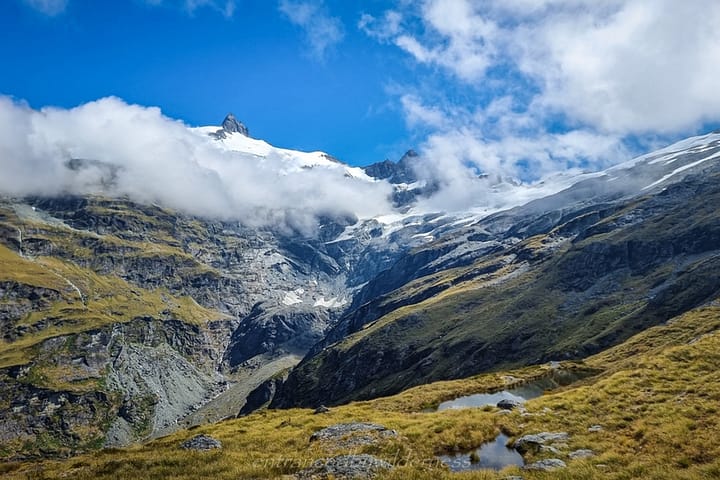
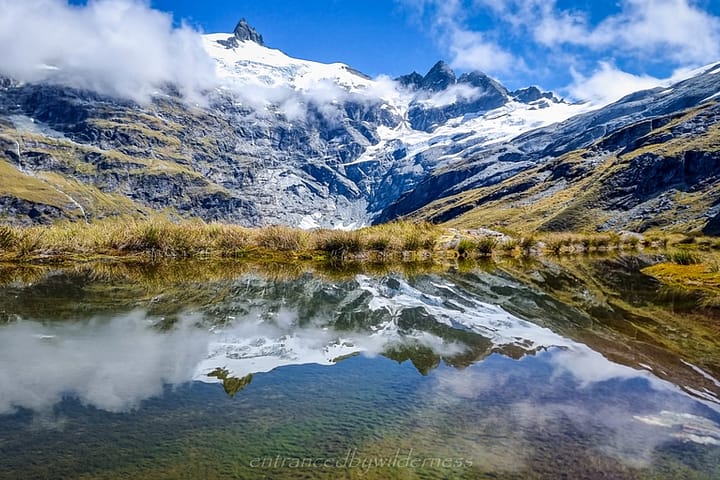
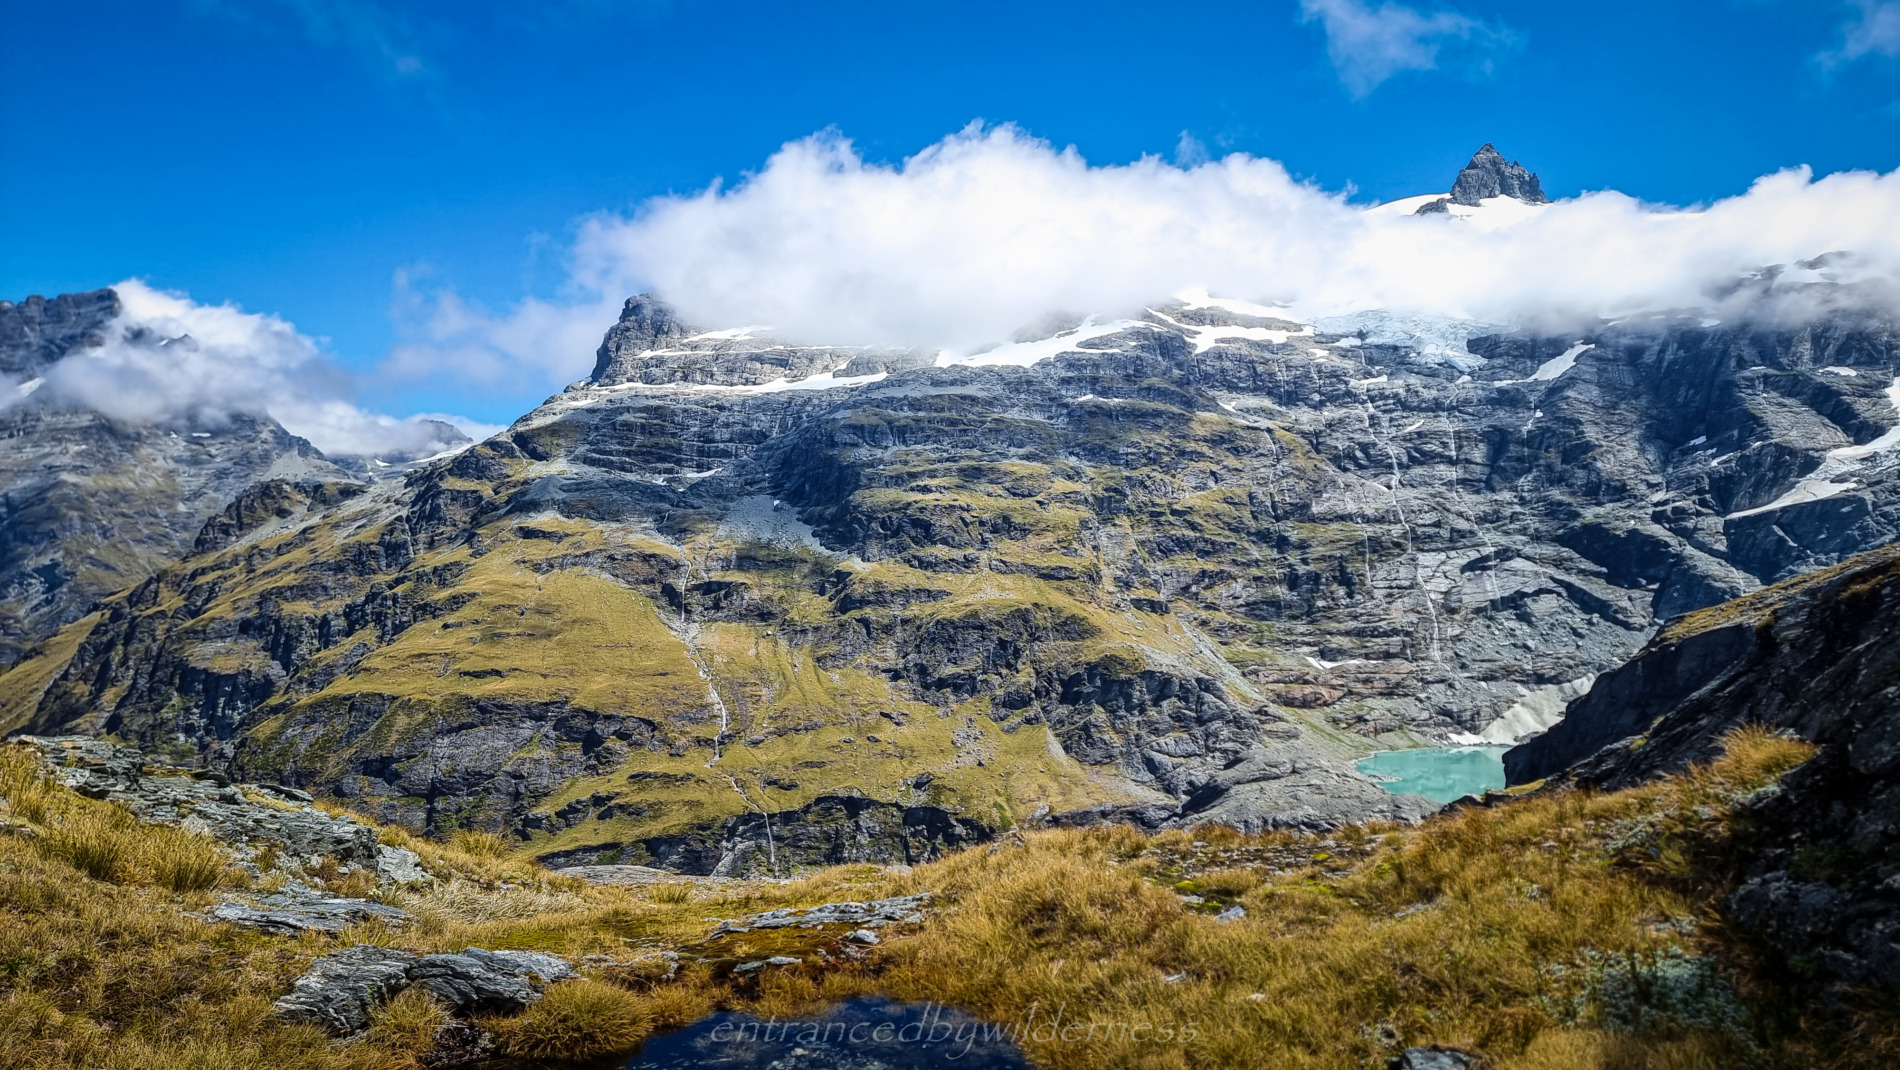
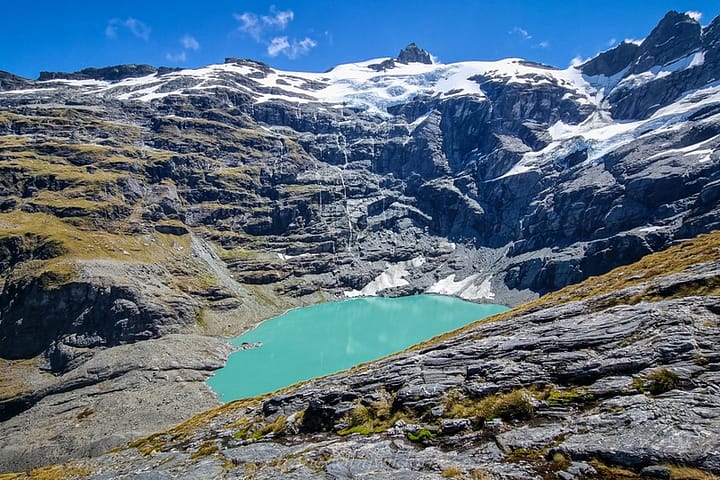
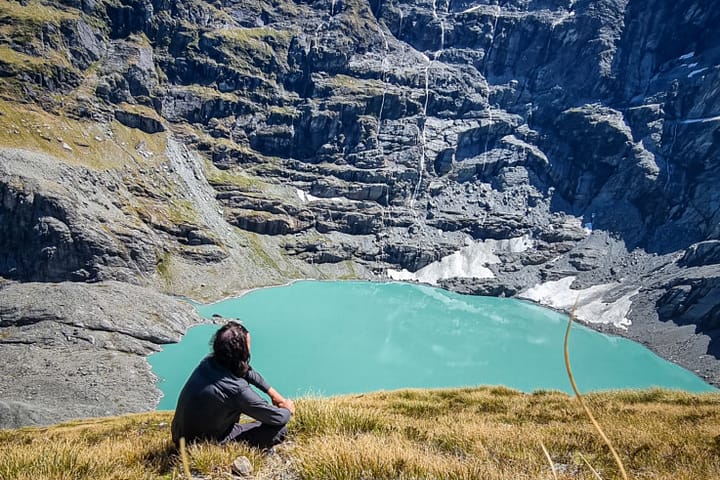
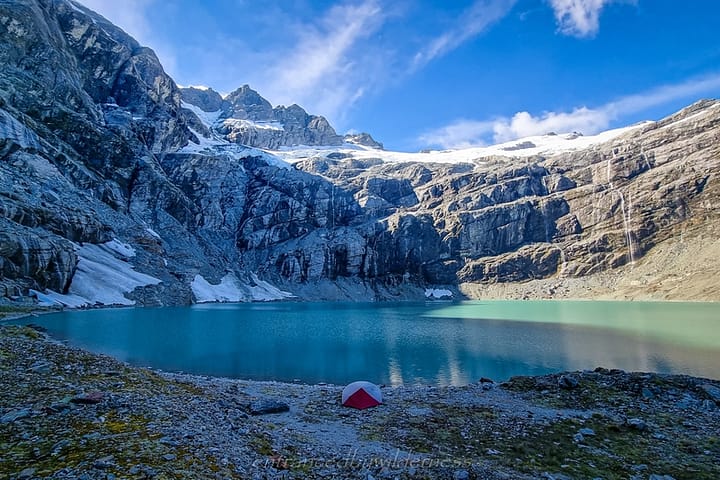
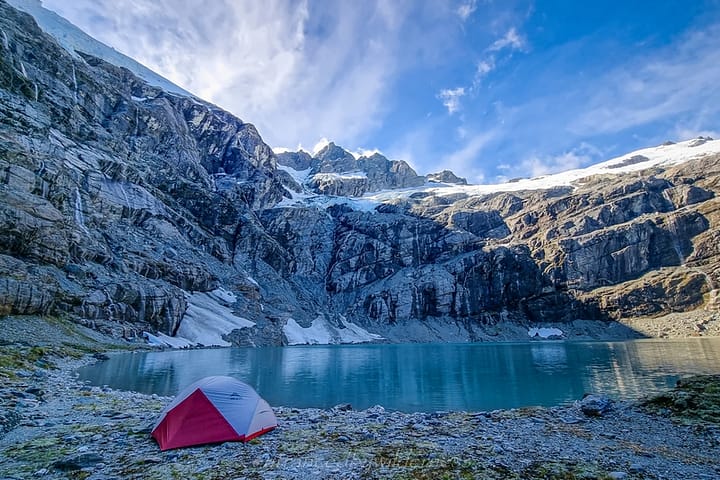
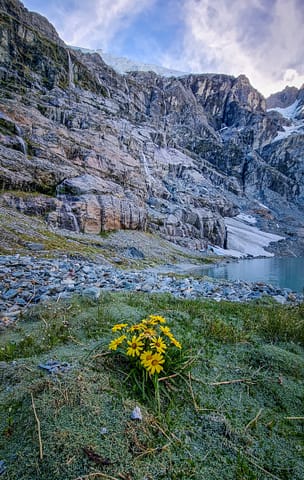
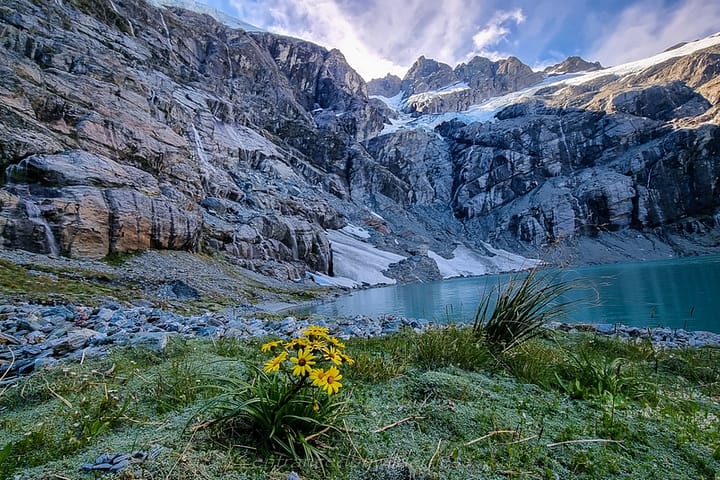
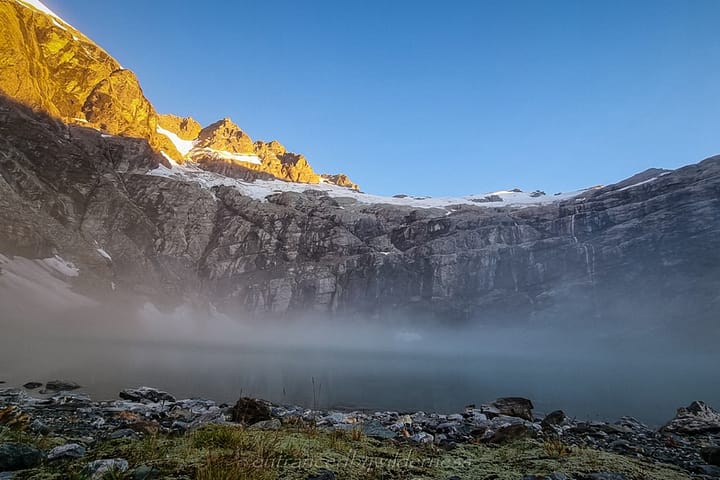
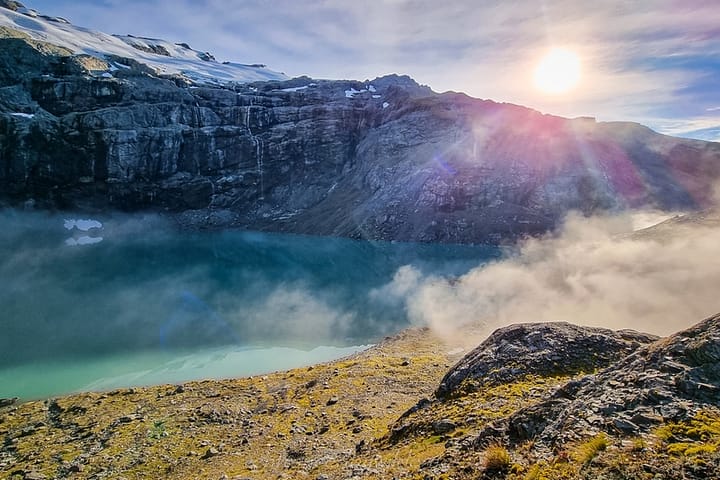
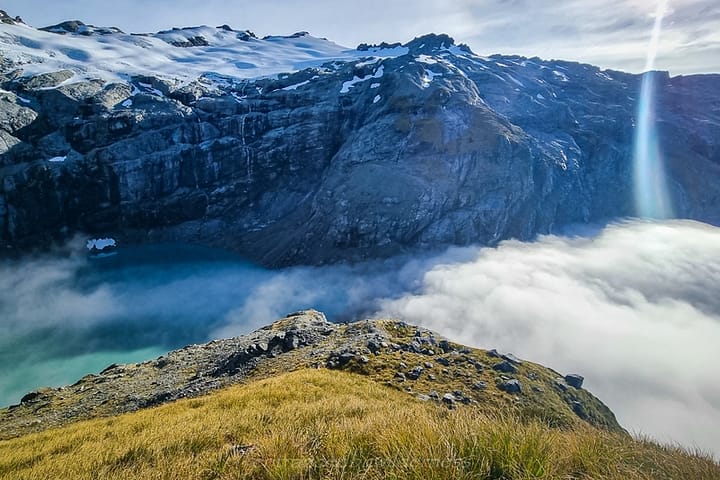
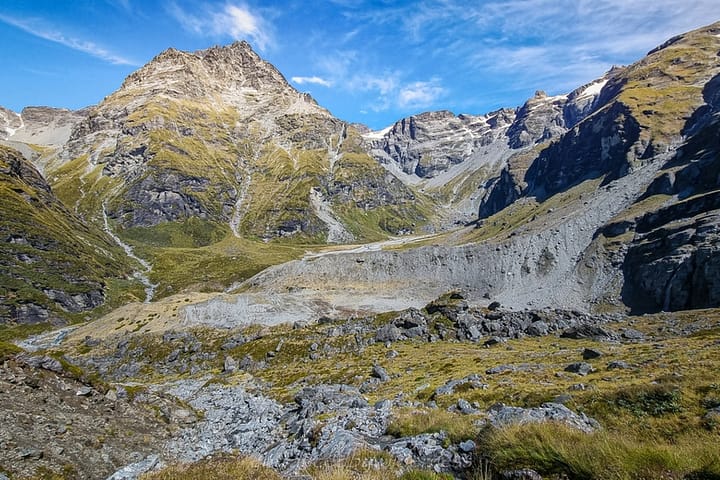
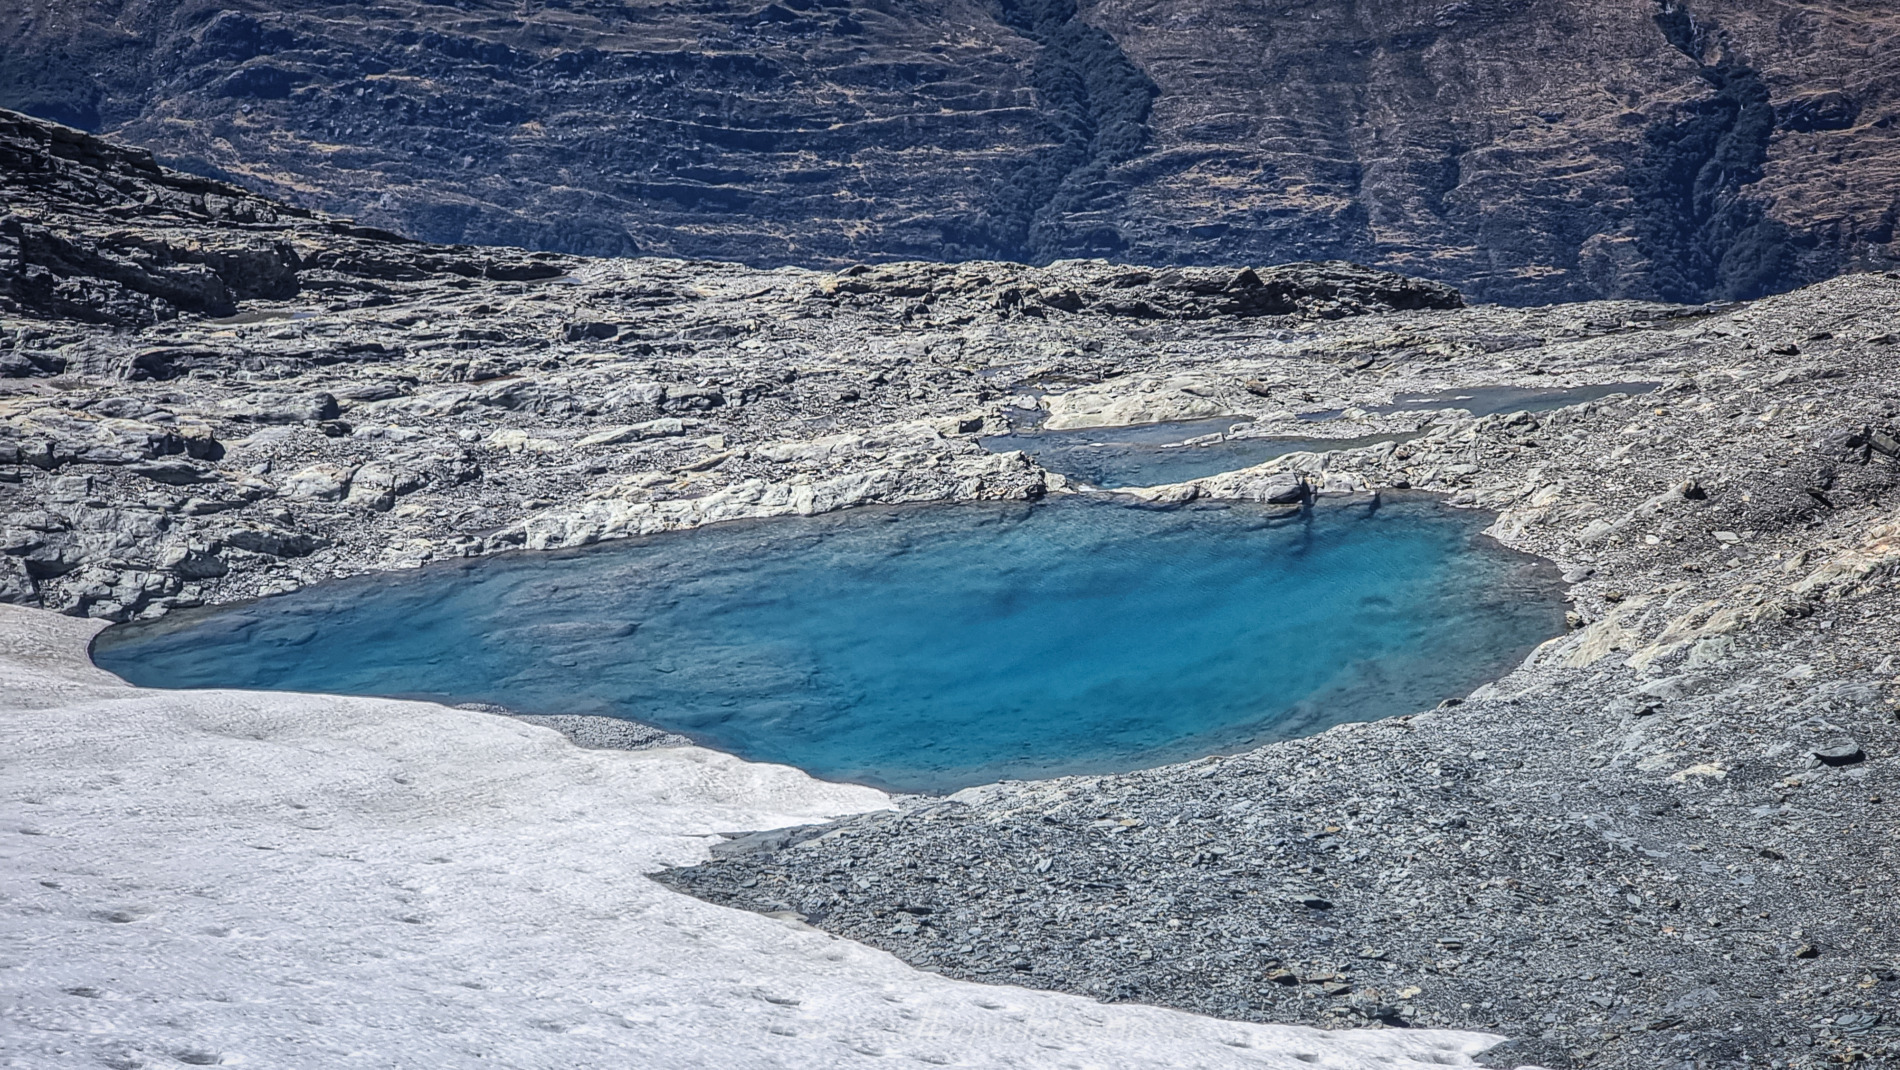
Making my way around the lower tussock bluffs (around the 1450m contour from the ridge), I neared the change in angle of the terrain. Here, the terrain forces you higher above the bluffed section. It was also this region where I began to see the stunning Pyramid Lake for the first time!
Navigating the rocky buttresses below Mt Clarke
After the tarns, elevation must be gained again to around the 1650m contour. It did look possible to pick a line lower, but I didn’t want to get cut off by bluffs, and chose to take the higher route.
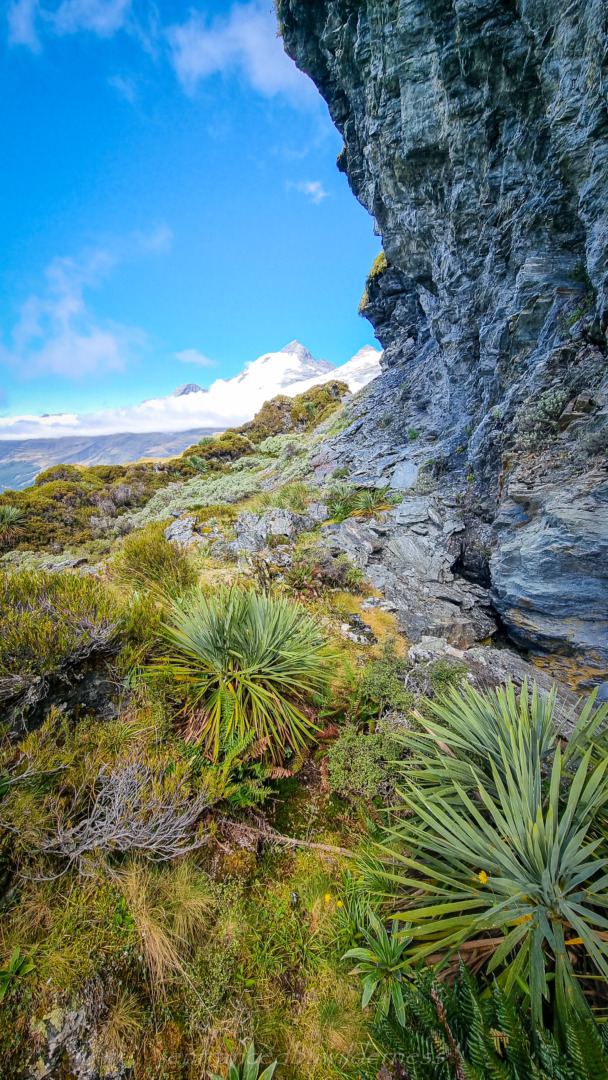
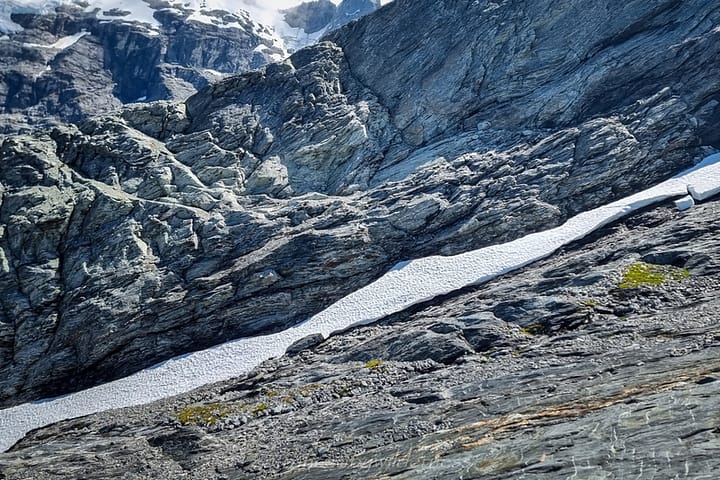
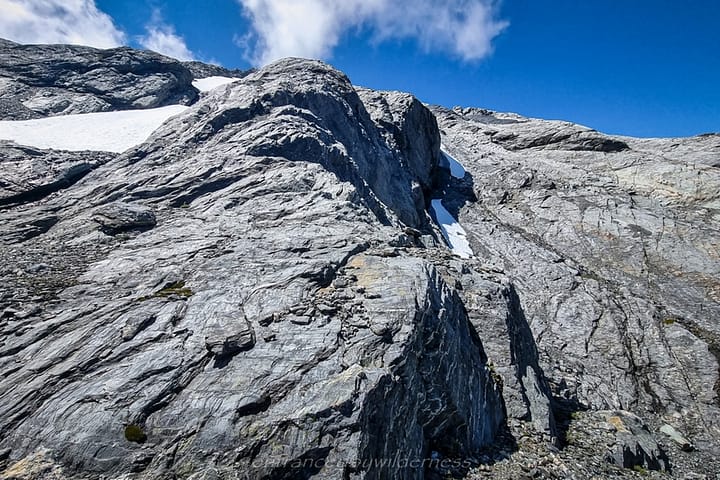
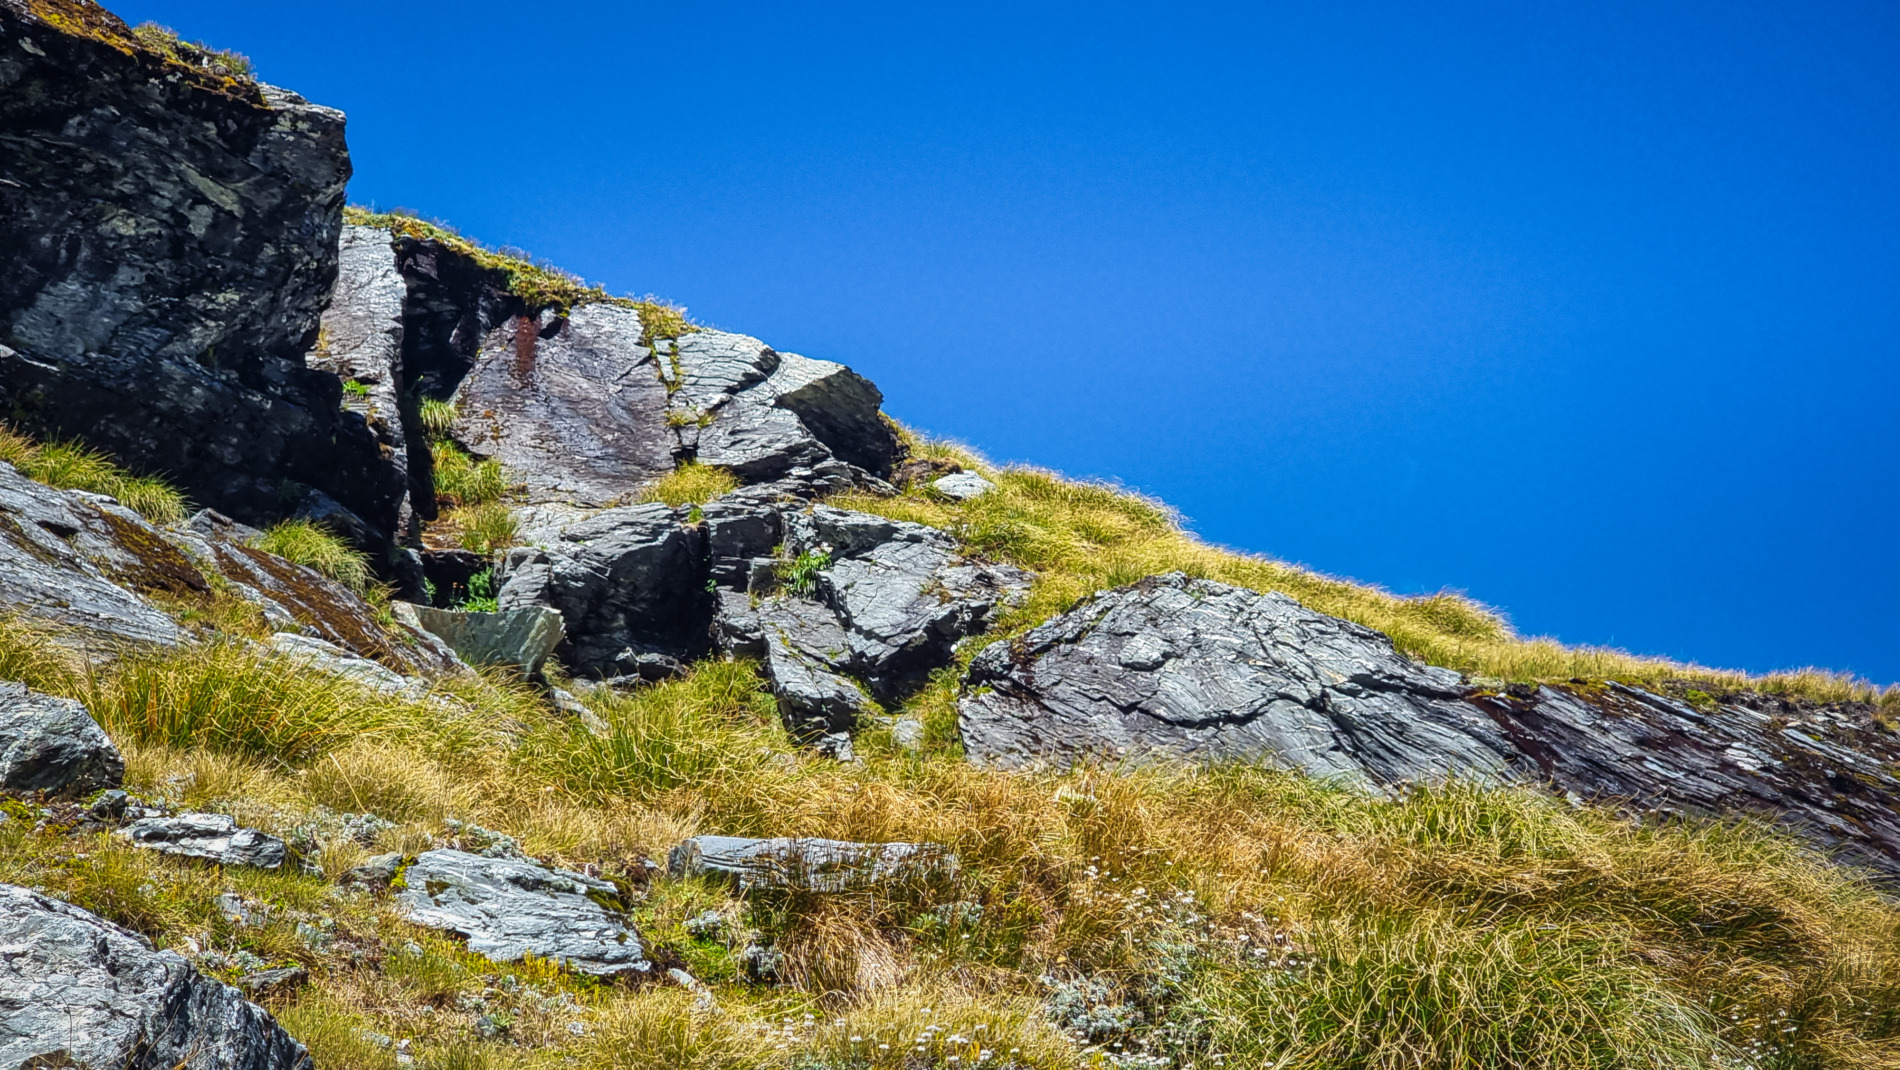
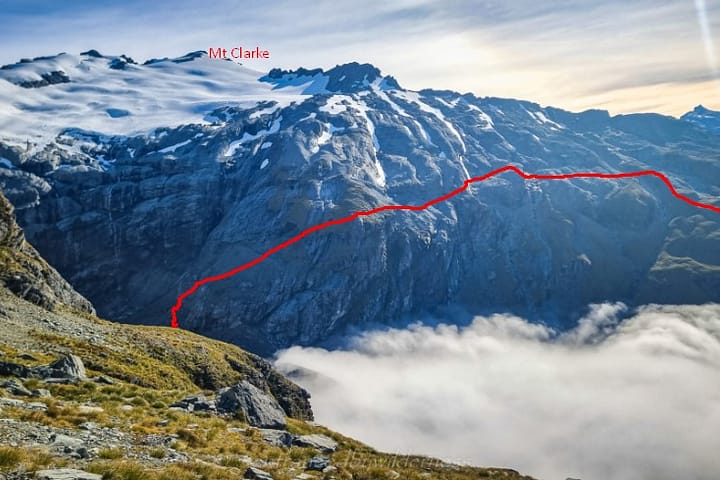
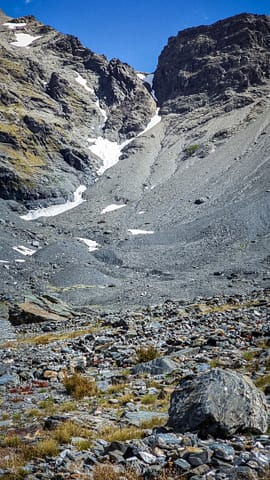
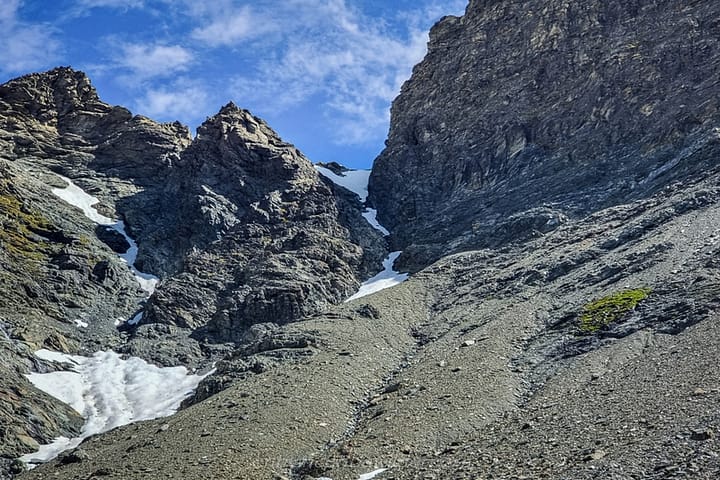
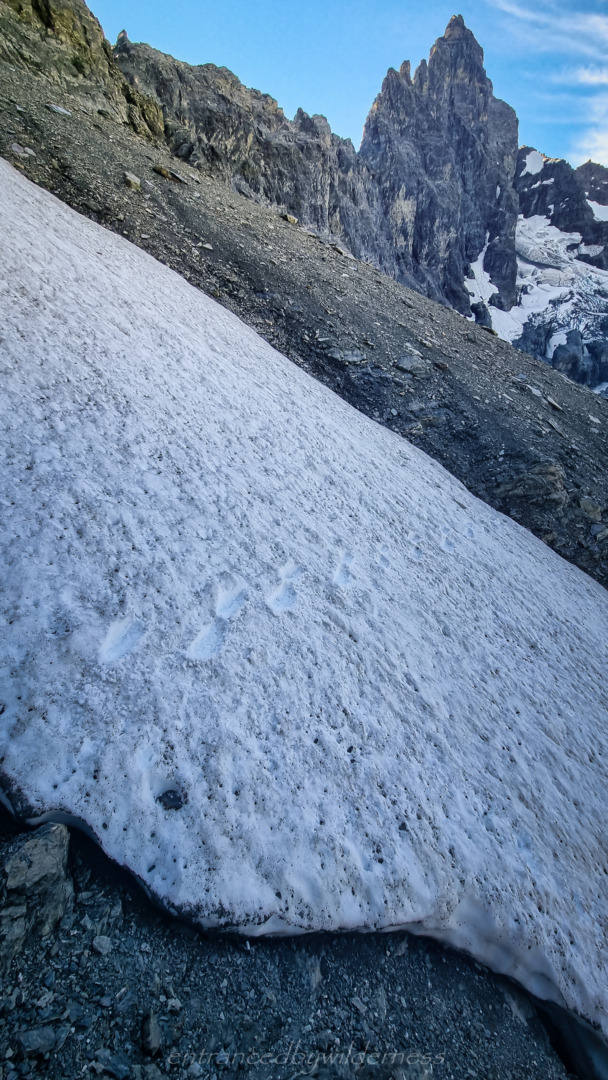
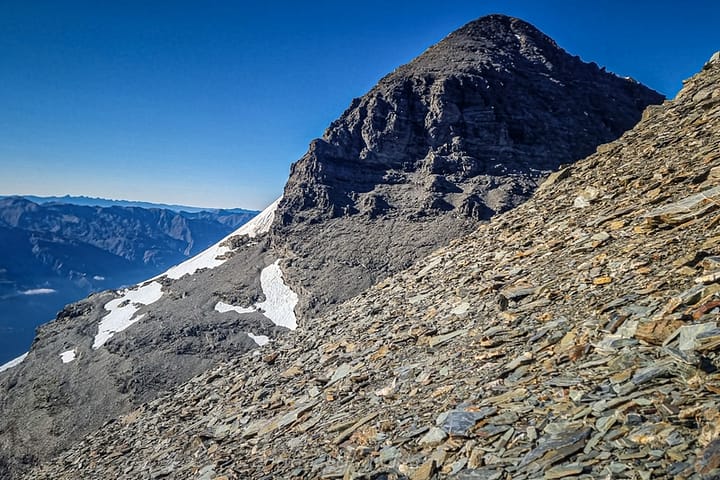
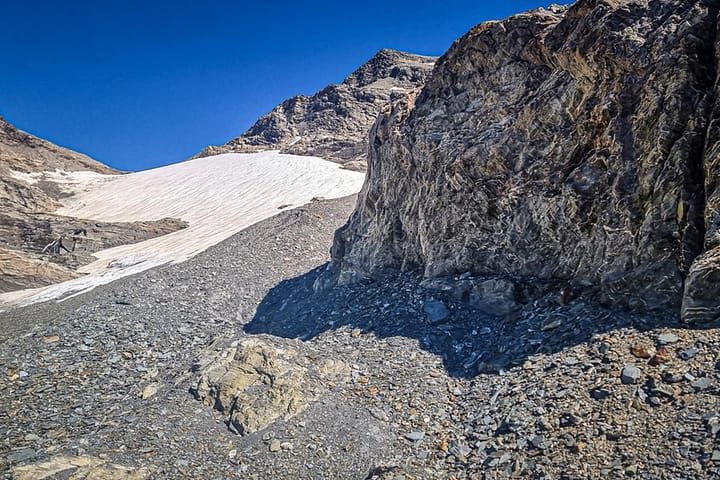
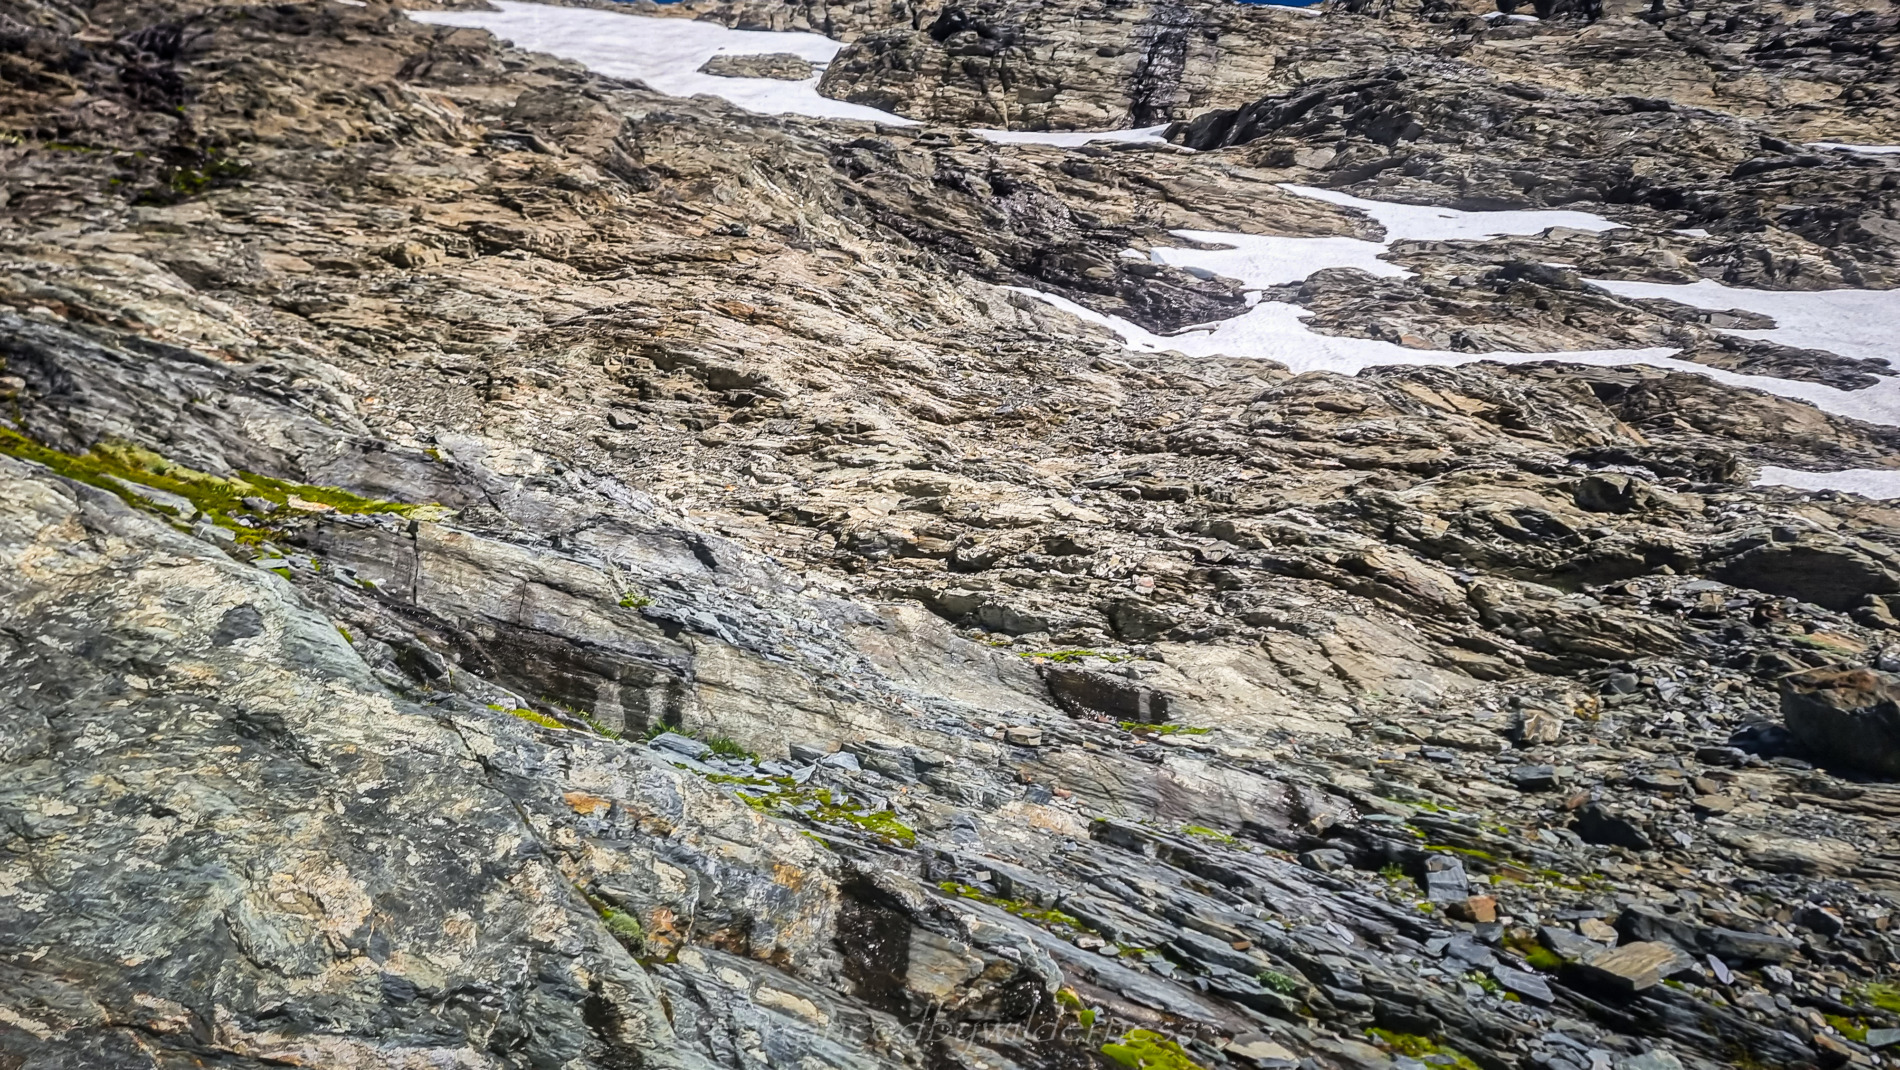
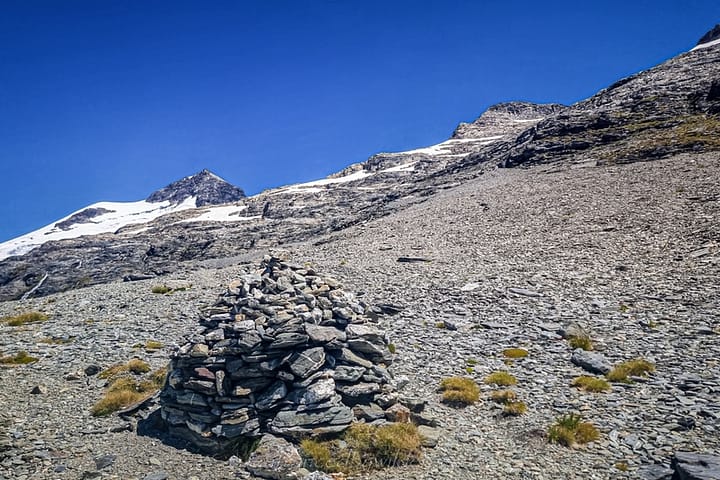
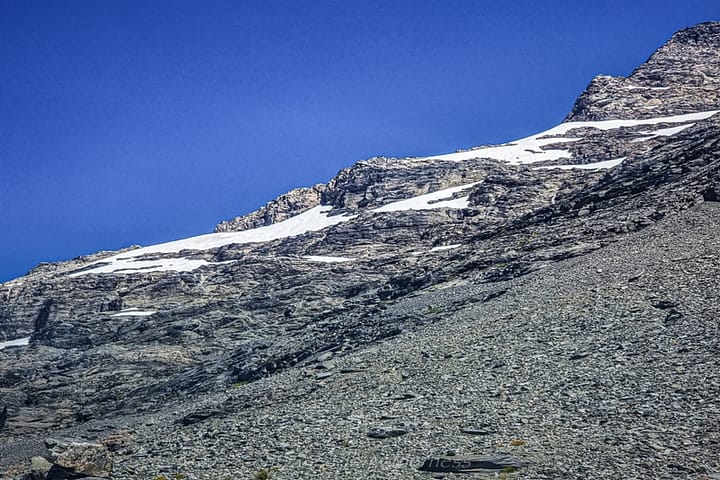
Here, the terrain changes to rocky buttresses with small chutes of snow. It reminded me of Toblerone chocolate – with three lower gullies with raised sections in between. The first part was minor, but the next two were a little more deceptive. The final snow chute was the easiest crossed below the rock at 1650m (I set up a cairn here).
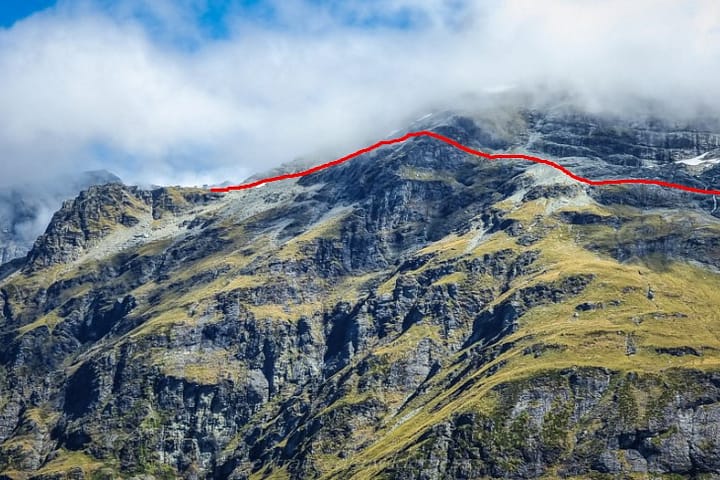
As I made my way across, I was using my vantage point to observe the opposite side of the valley. There was one clear higher route I had picked out (which ended up working perfectly). I couldn’t tell if the outlet to the lake could be crossed to access the lower route.
Once past the Toblerone section, I was able to start descending towards Pyramid Lake.
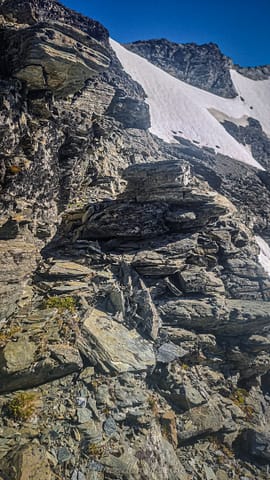
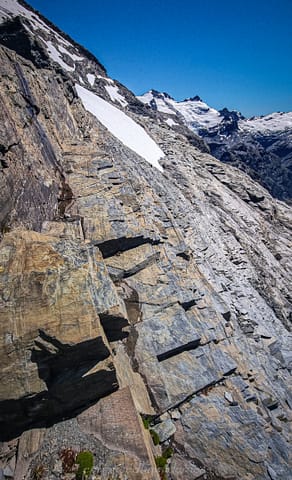
It was initially straightforward until 1550m where the first of two bluffed sections makes progress difficult. The first one isn’t large, but the angle of the rock with limited grip made choosing a path down not obvious. I ended up sliding on my butt down a slab with an awkward twist-jump off to the side to get off onto steep snow grass. Looking back at the section, I noticed a better path down via underneath small cliffs slightly further north (which I was above at one point – see map).
The rockfall
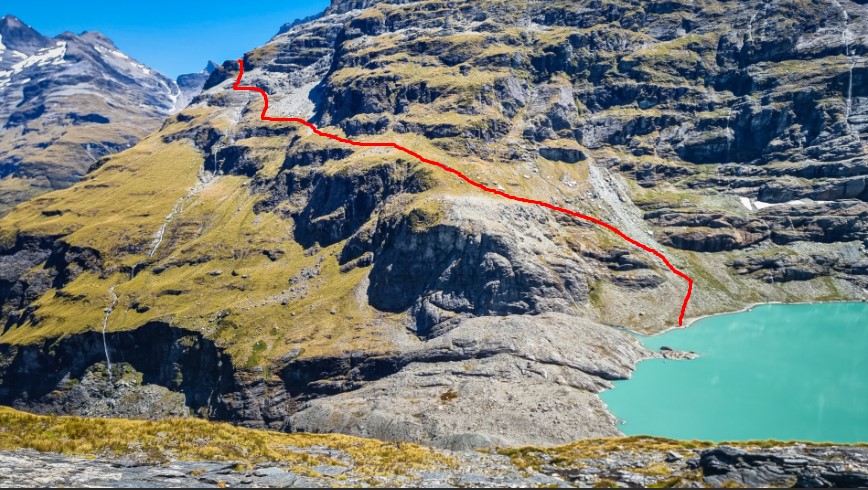
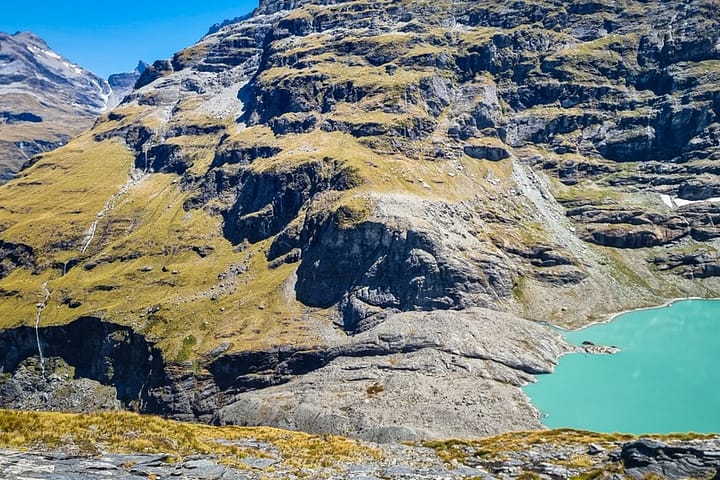
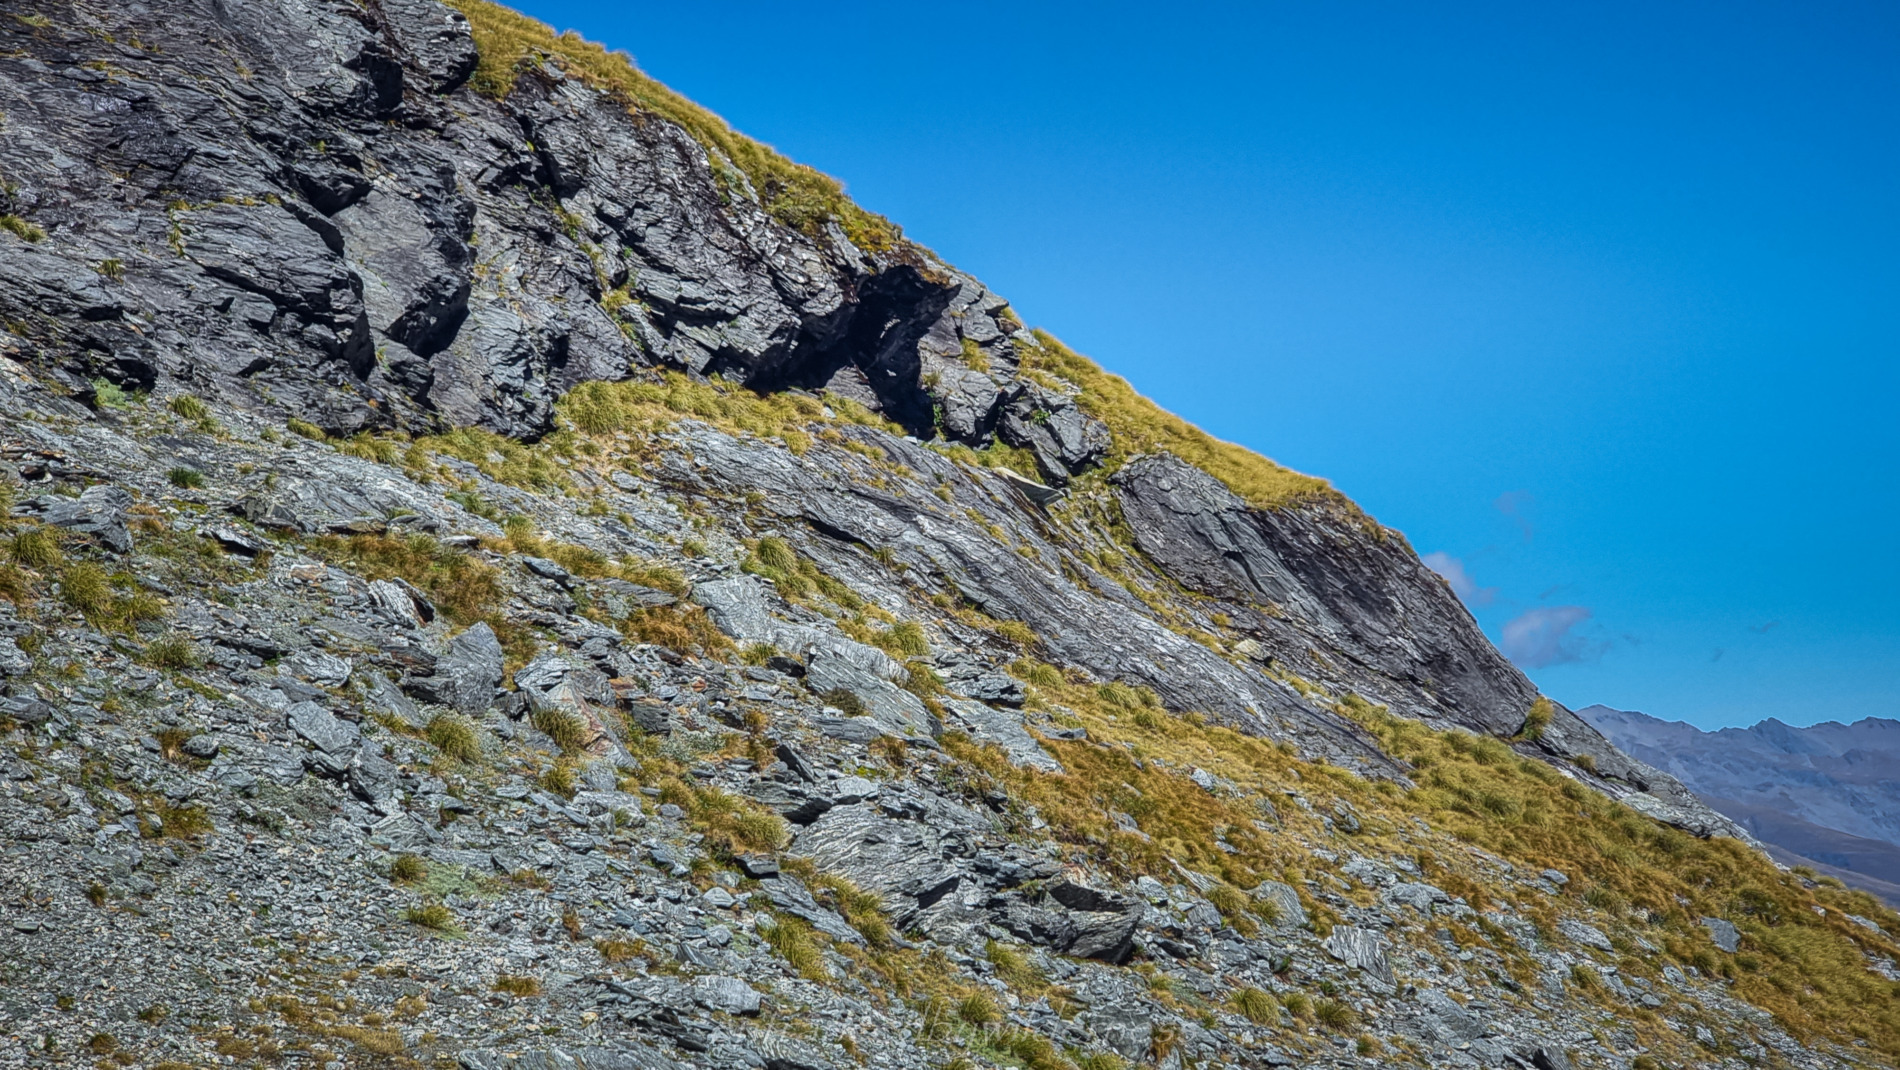
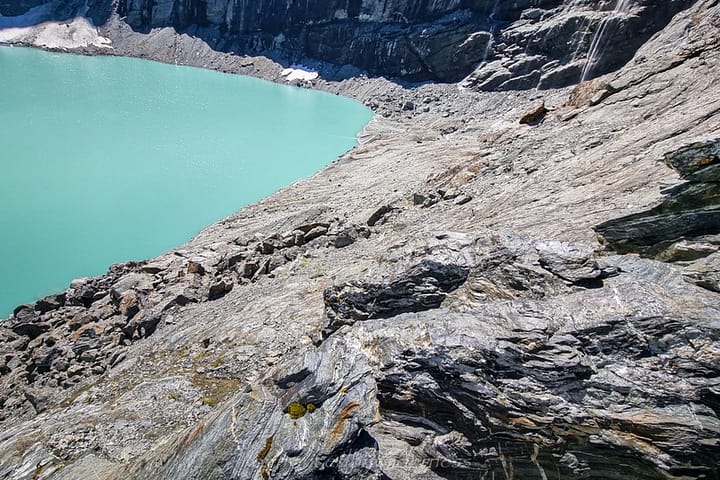
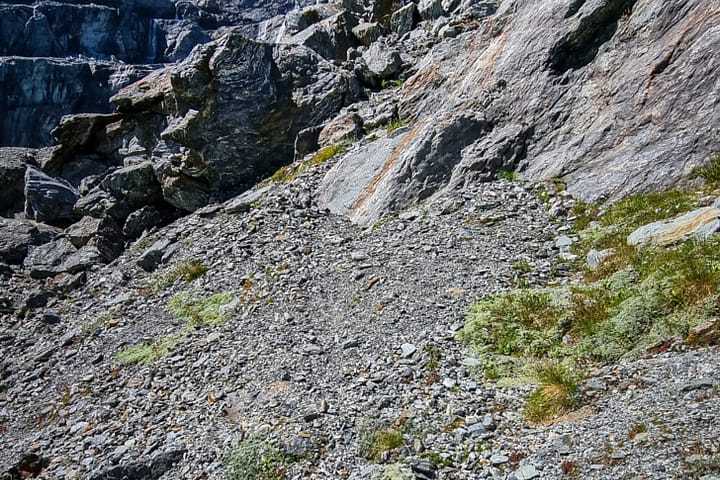
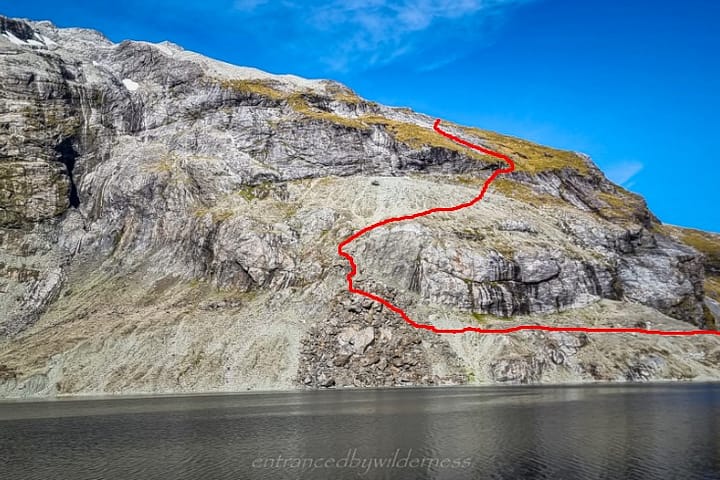
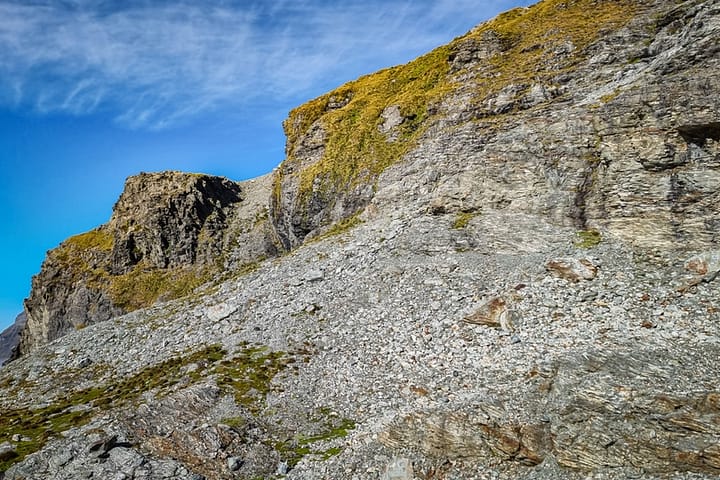
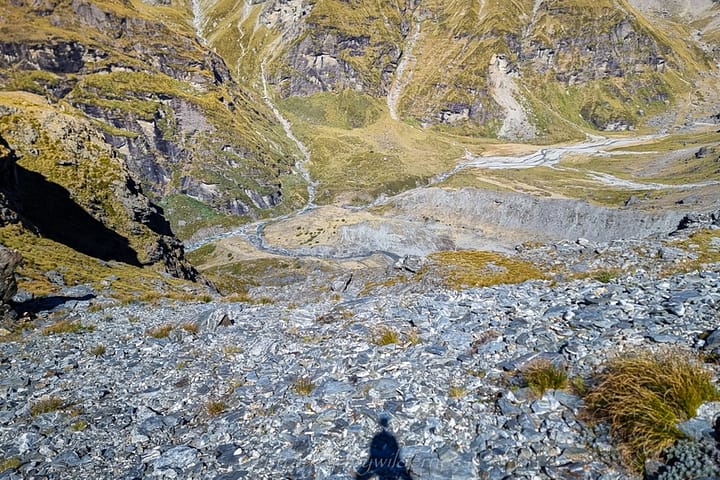
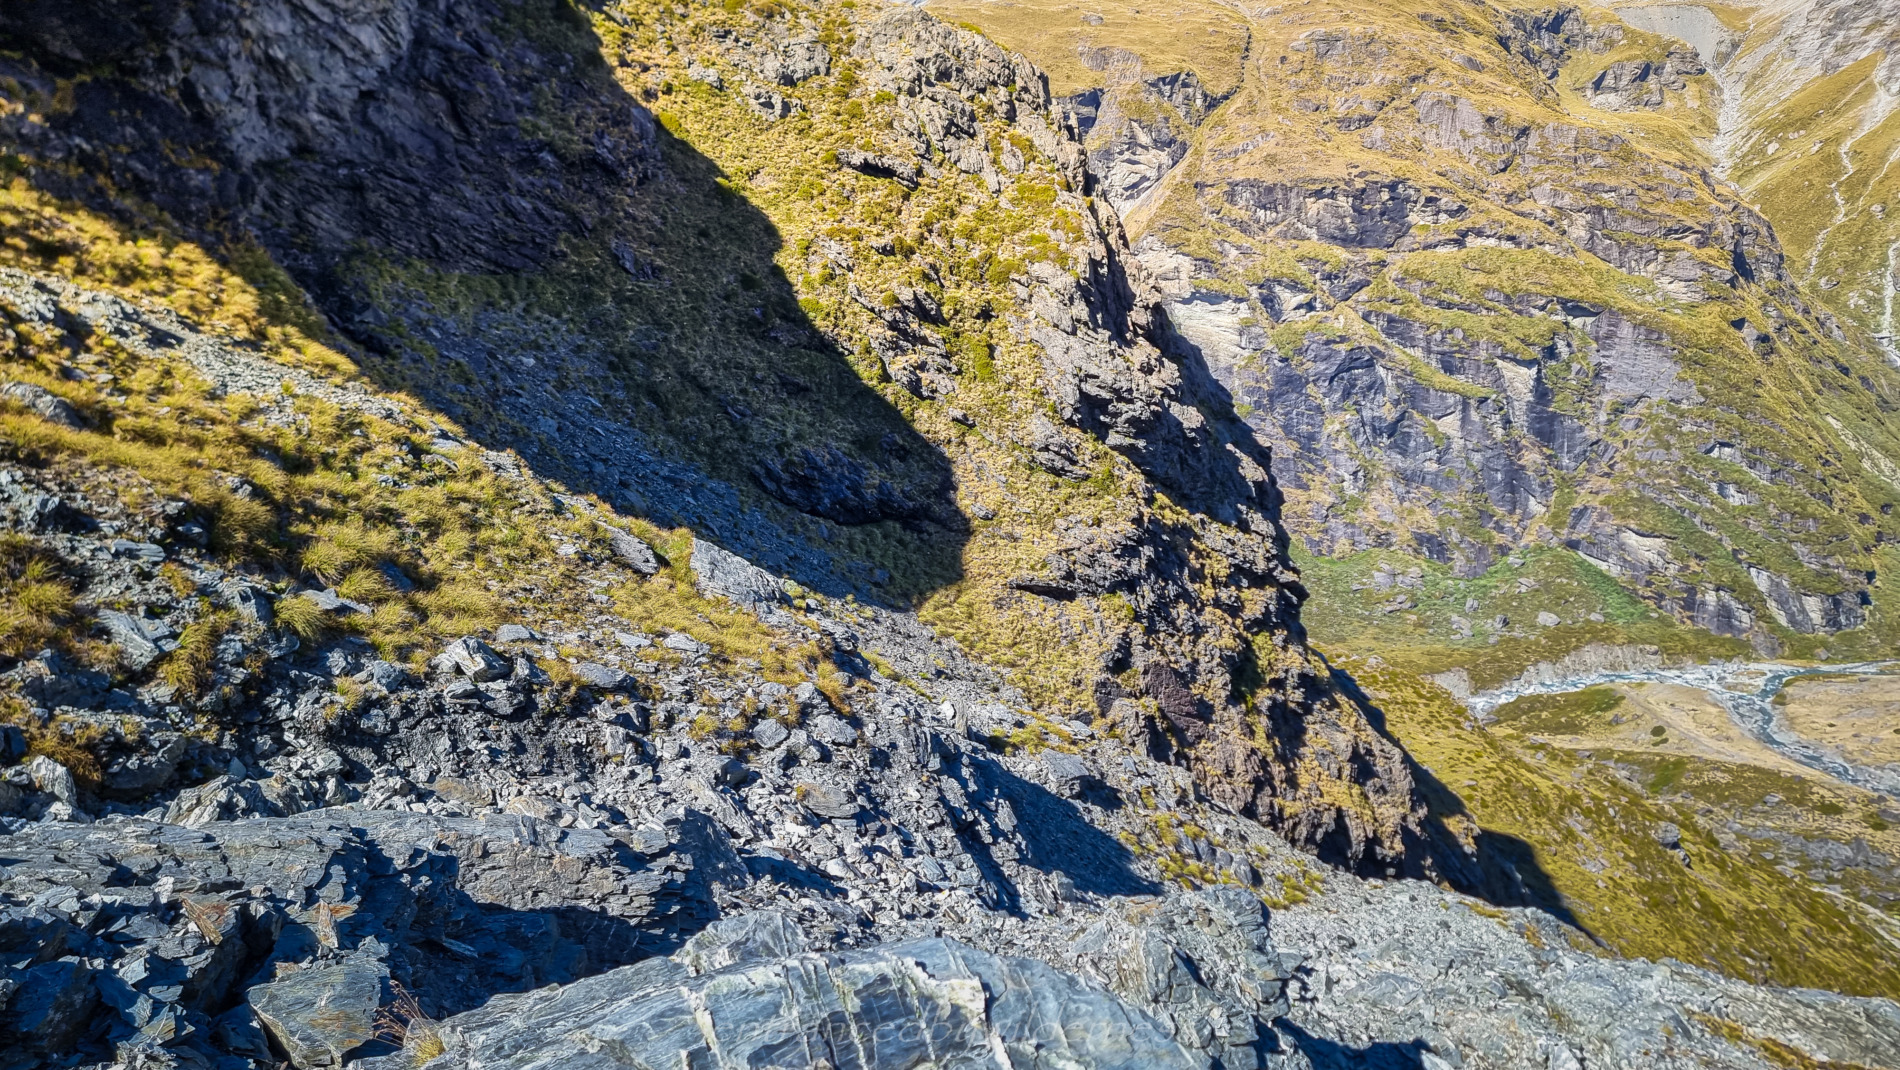
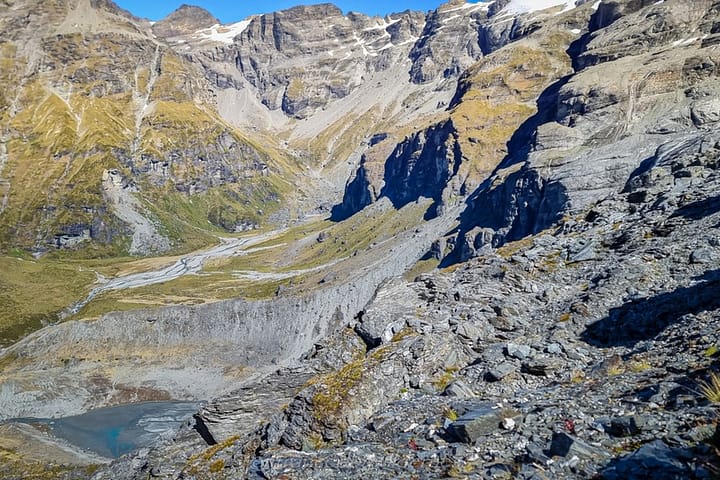
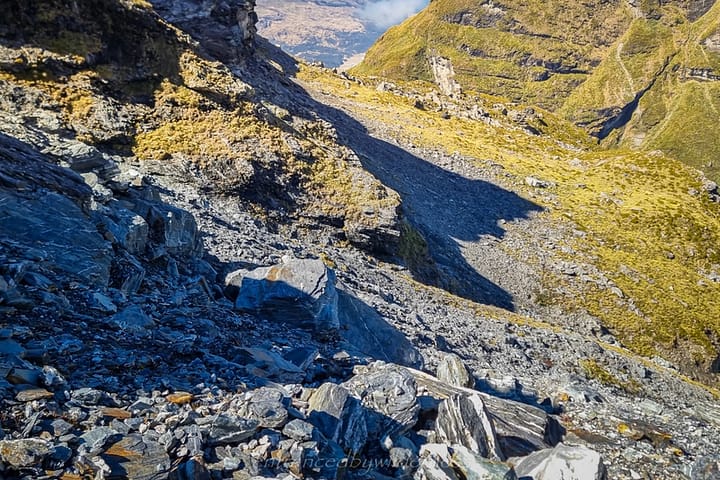
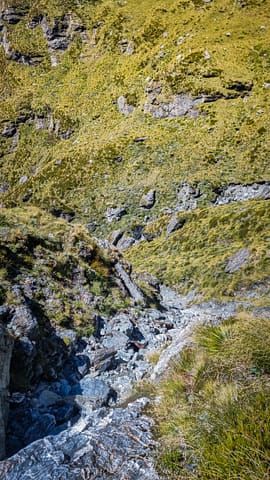
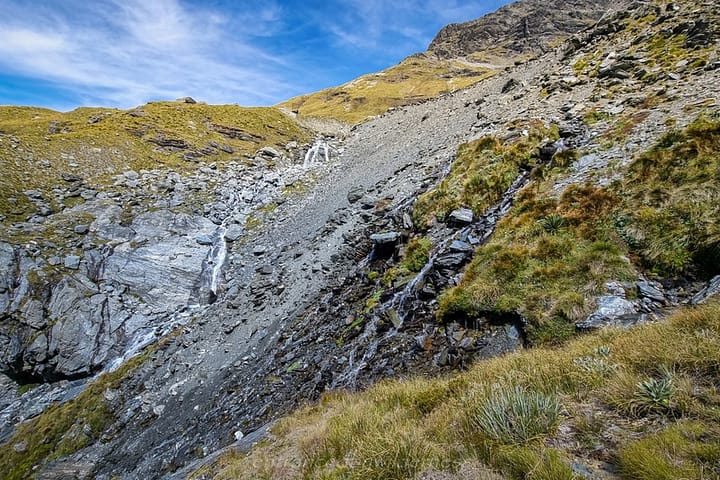
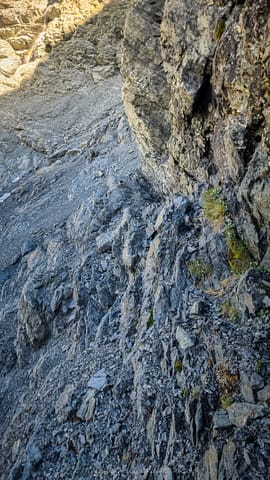
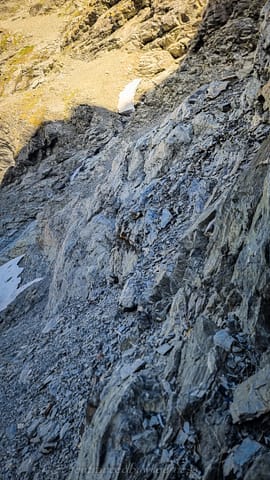
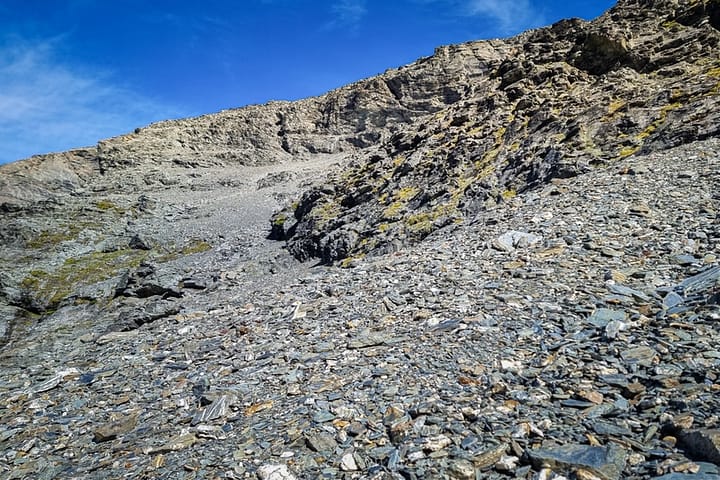
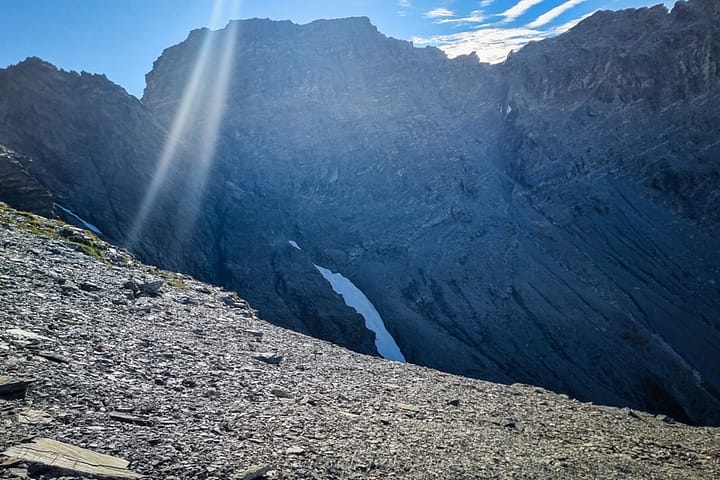
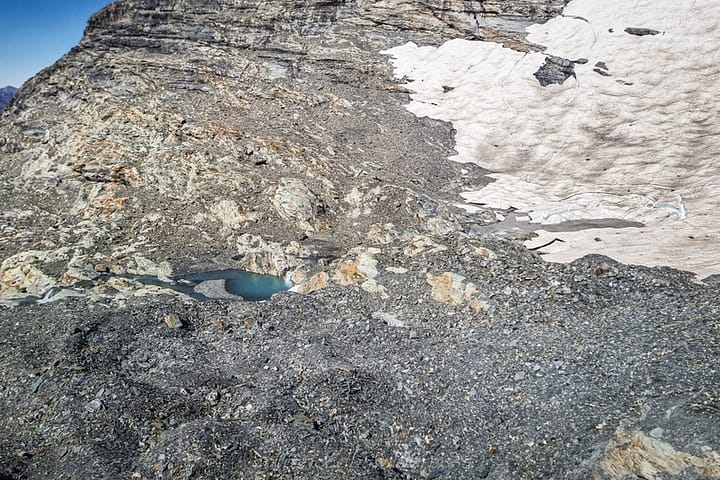
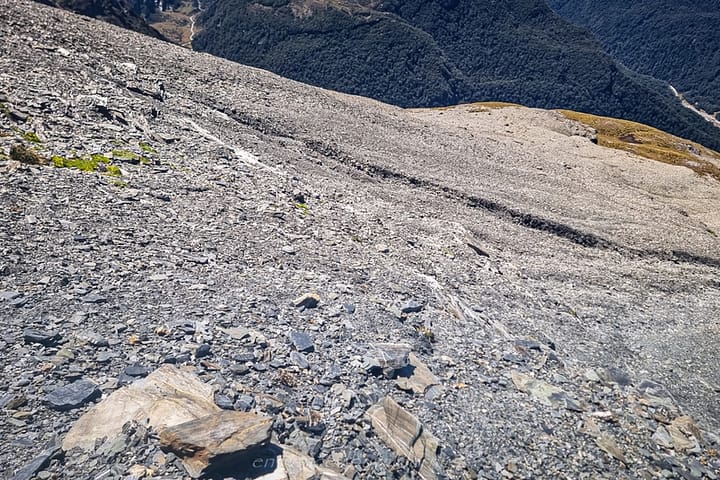
After the 1550m contour, there was only one remaining hurdle (which was incidentally the one I knew about from Google Earth imagery). It was a large rockfall breaking up a relatively tall bluff – panning the entire 1450m contour above the lake. The rockfall would allow passage through the bluff, down to the lake.
Navigating this rockfall required approaching from the far right side, and then diagonally cutting through towards the middle of the left side of the rockfall (don’t head down to the lake). It’s fairly easy once you get the right line.
Pyramid Lake and camp
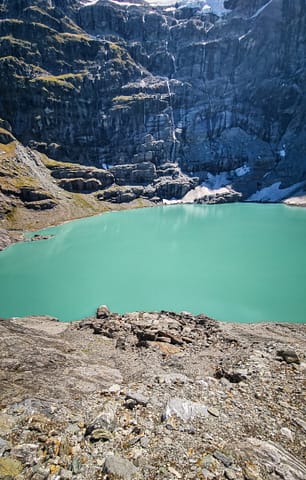
Once down the rockfall, I was able to follow the contour around the lake and up onto the ‘lump’ at the point marked 1428m on the topo map.
The lump was a little awkward to get off, with the best way visible from the peninsula photo (I went down further towards the outlet side).
After a quick wander on the small peninsula seeking a camp site, I decided it wasn’t really flat enough anywhere, and sought elsewhere.
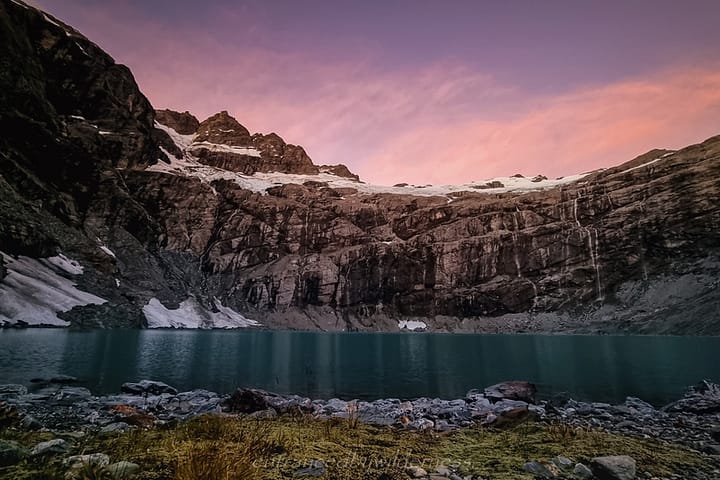
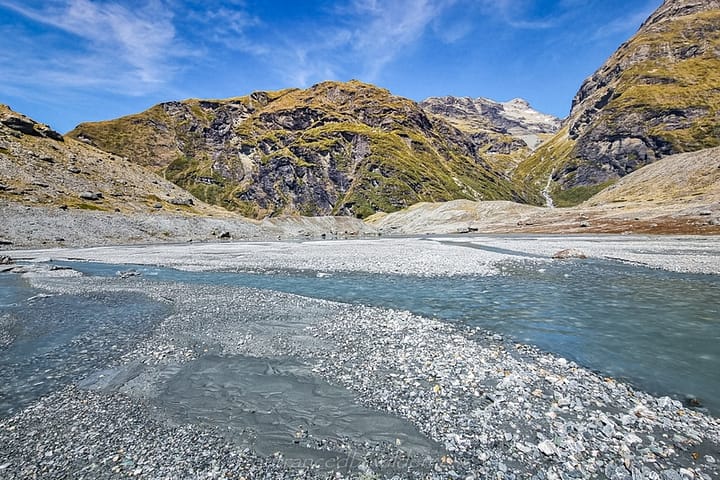
Once crossing the chilly lake outlet stream, I found many suitable options to camp. Sadly, the sun was almost disappearing behind the mountain, yet, I still managed to quickly get a refreshing nudey swim in with a few minutes of light! Hurrah!
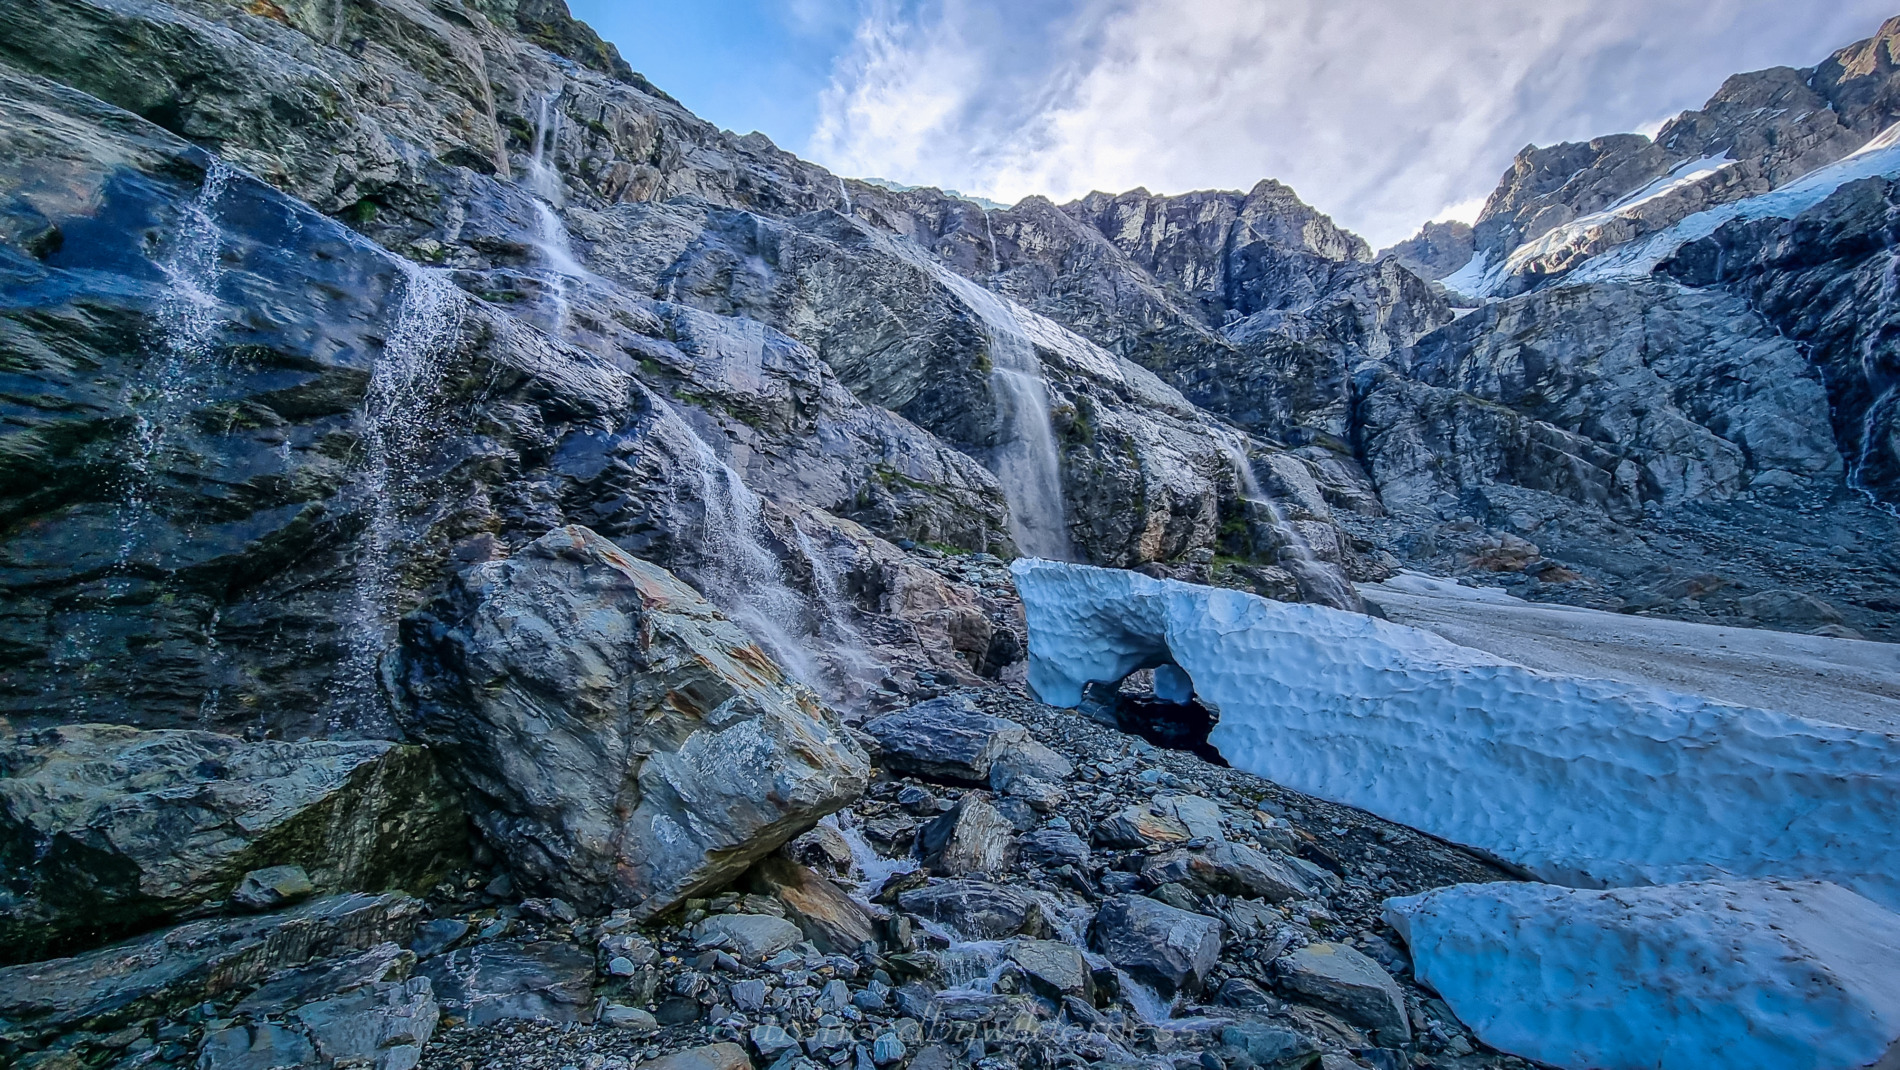
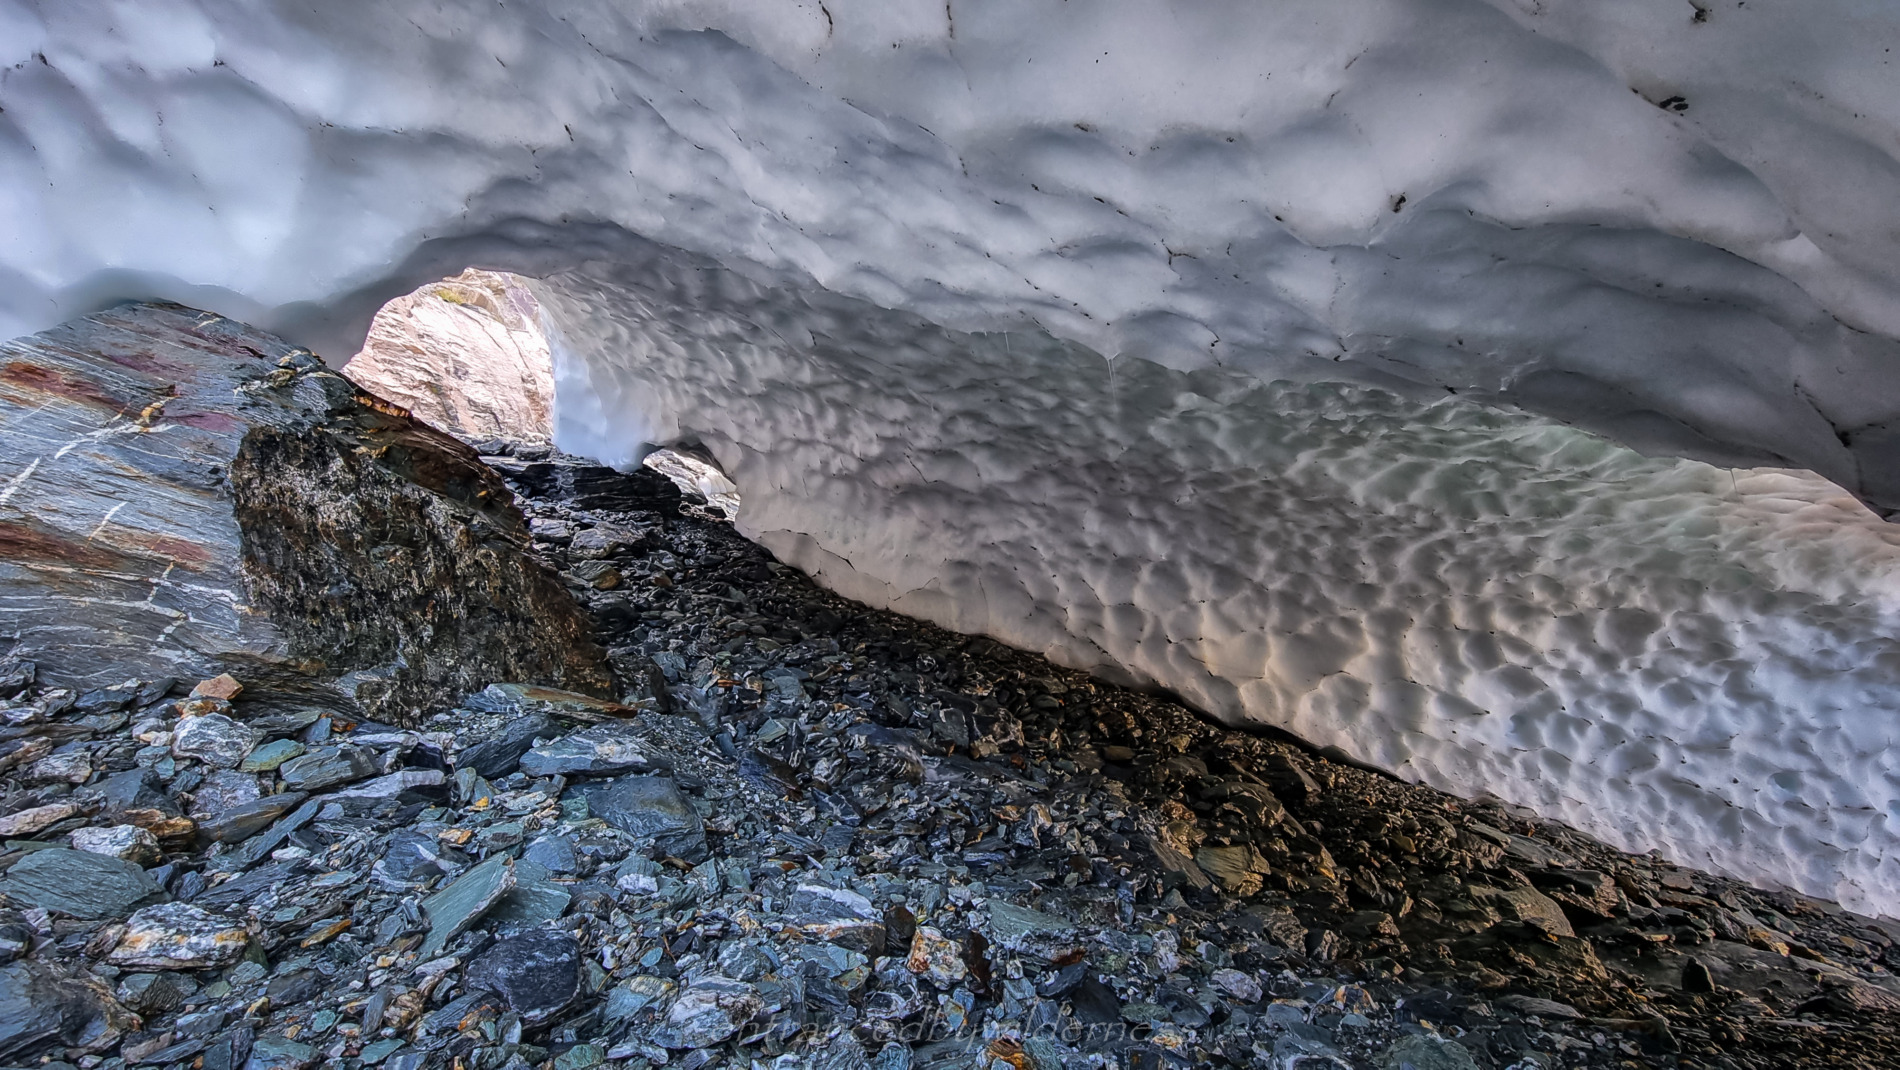
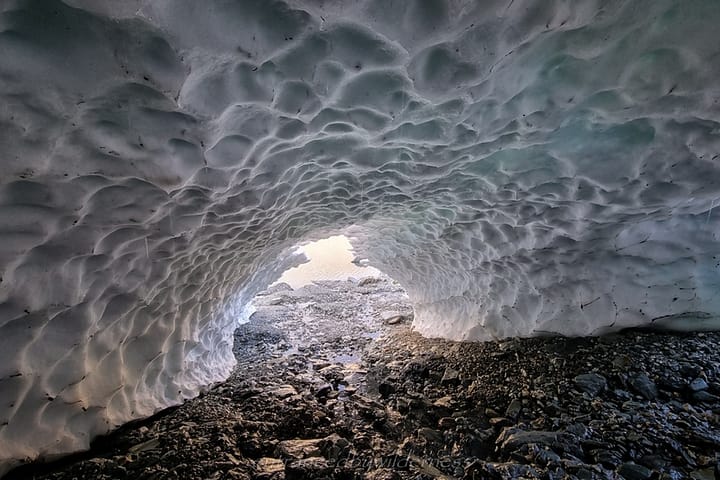
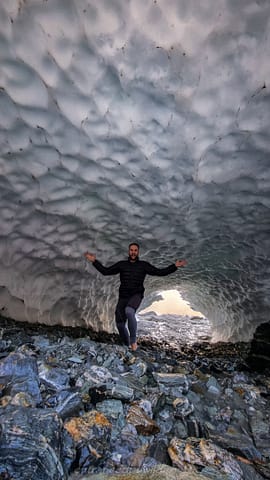
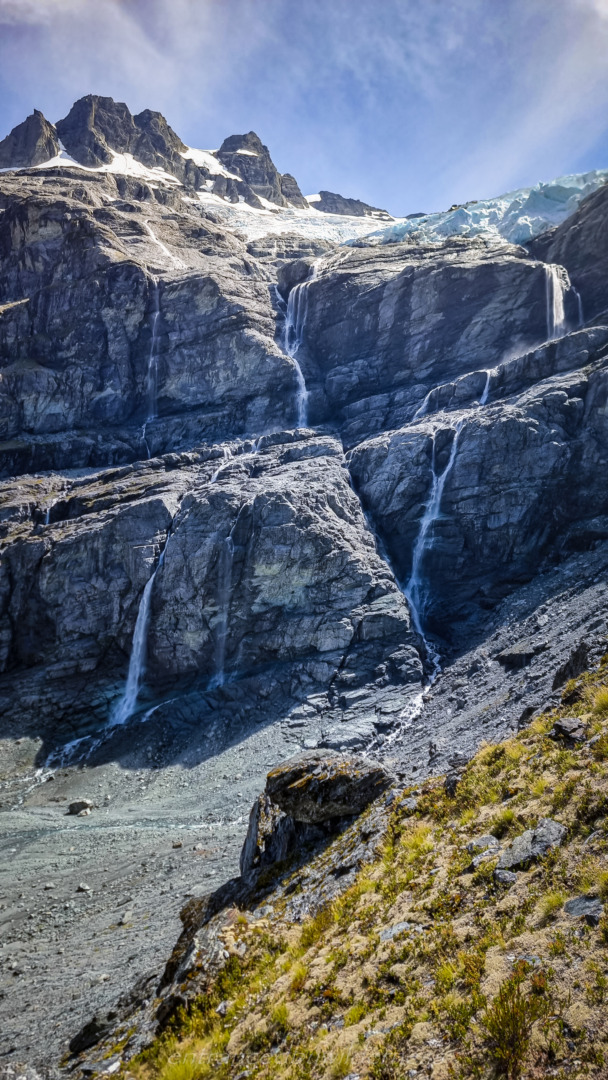
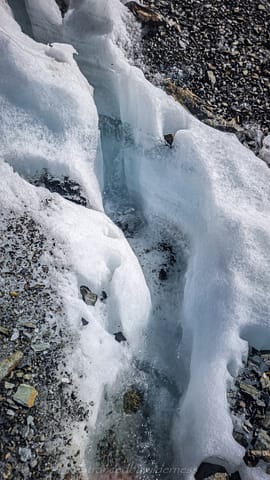
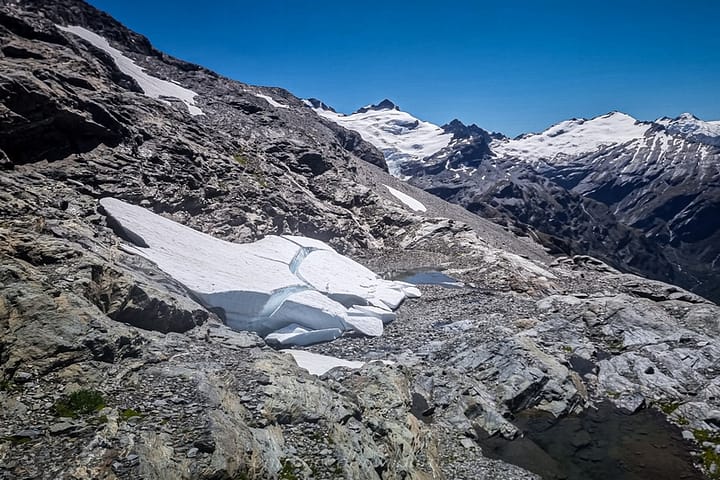
After my swim and setting up camp, I went exploring north along the lake. There were glacial ice fall remains that were fun to explore – but only the closest and least dangerous looking part was I game enough to venture. Wandering below a wall of ice is obviously not smart for long!
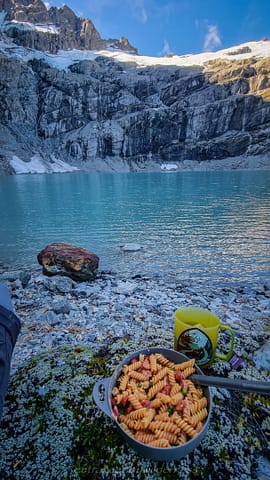
I then returned to camp and made a tasty pasta dinner with pudding for dessert, watched the sun set, before calling it in for the evening.
Day 3 – Pyramid Lake to O’Leary Ridge
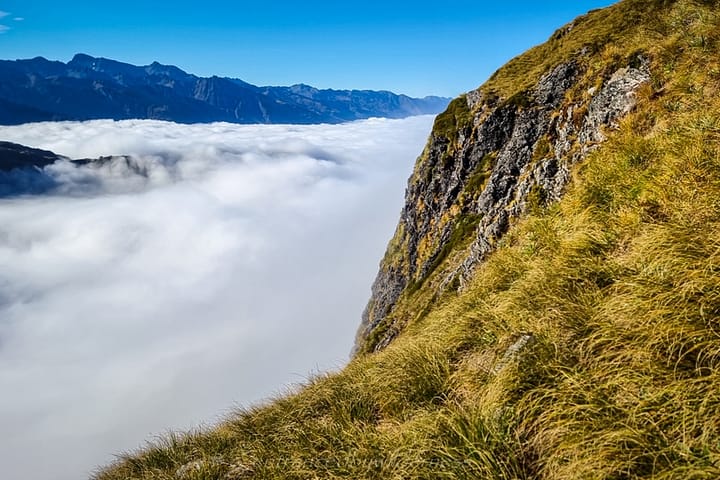
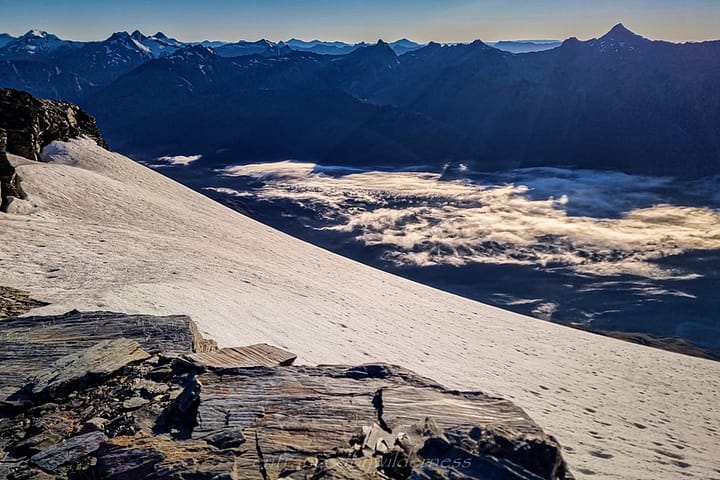
There was a light fog in the morning filling the cirque, but it was another beautiful start to the day.
After breakfast and breaking camp, I began the climb up the grassy slopes to reach the 1550m contour ledge that was both above and below some significant bluffs.
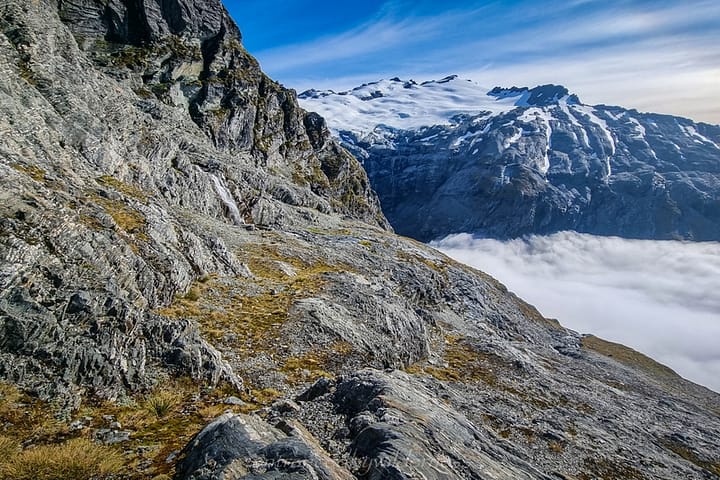
Navigating the lower ledges below Moira Peak
I have to admit – whenever I read Moira, I think of Moria from Lord of the Rings, and imagine a glowing door taking me deep into the mountains. I mean, it’s the right setting for it!
The route here was fairly easy to navigate, and I had done some prior reconnaissance when on the other side of the range, as to the route I’d take.
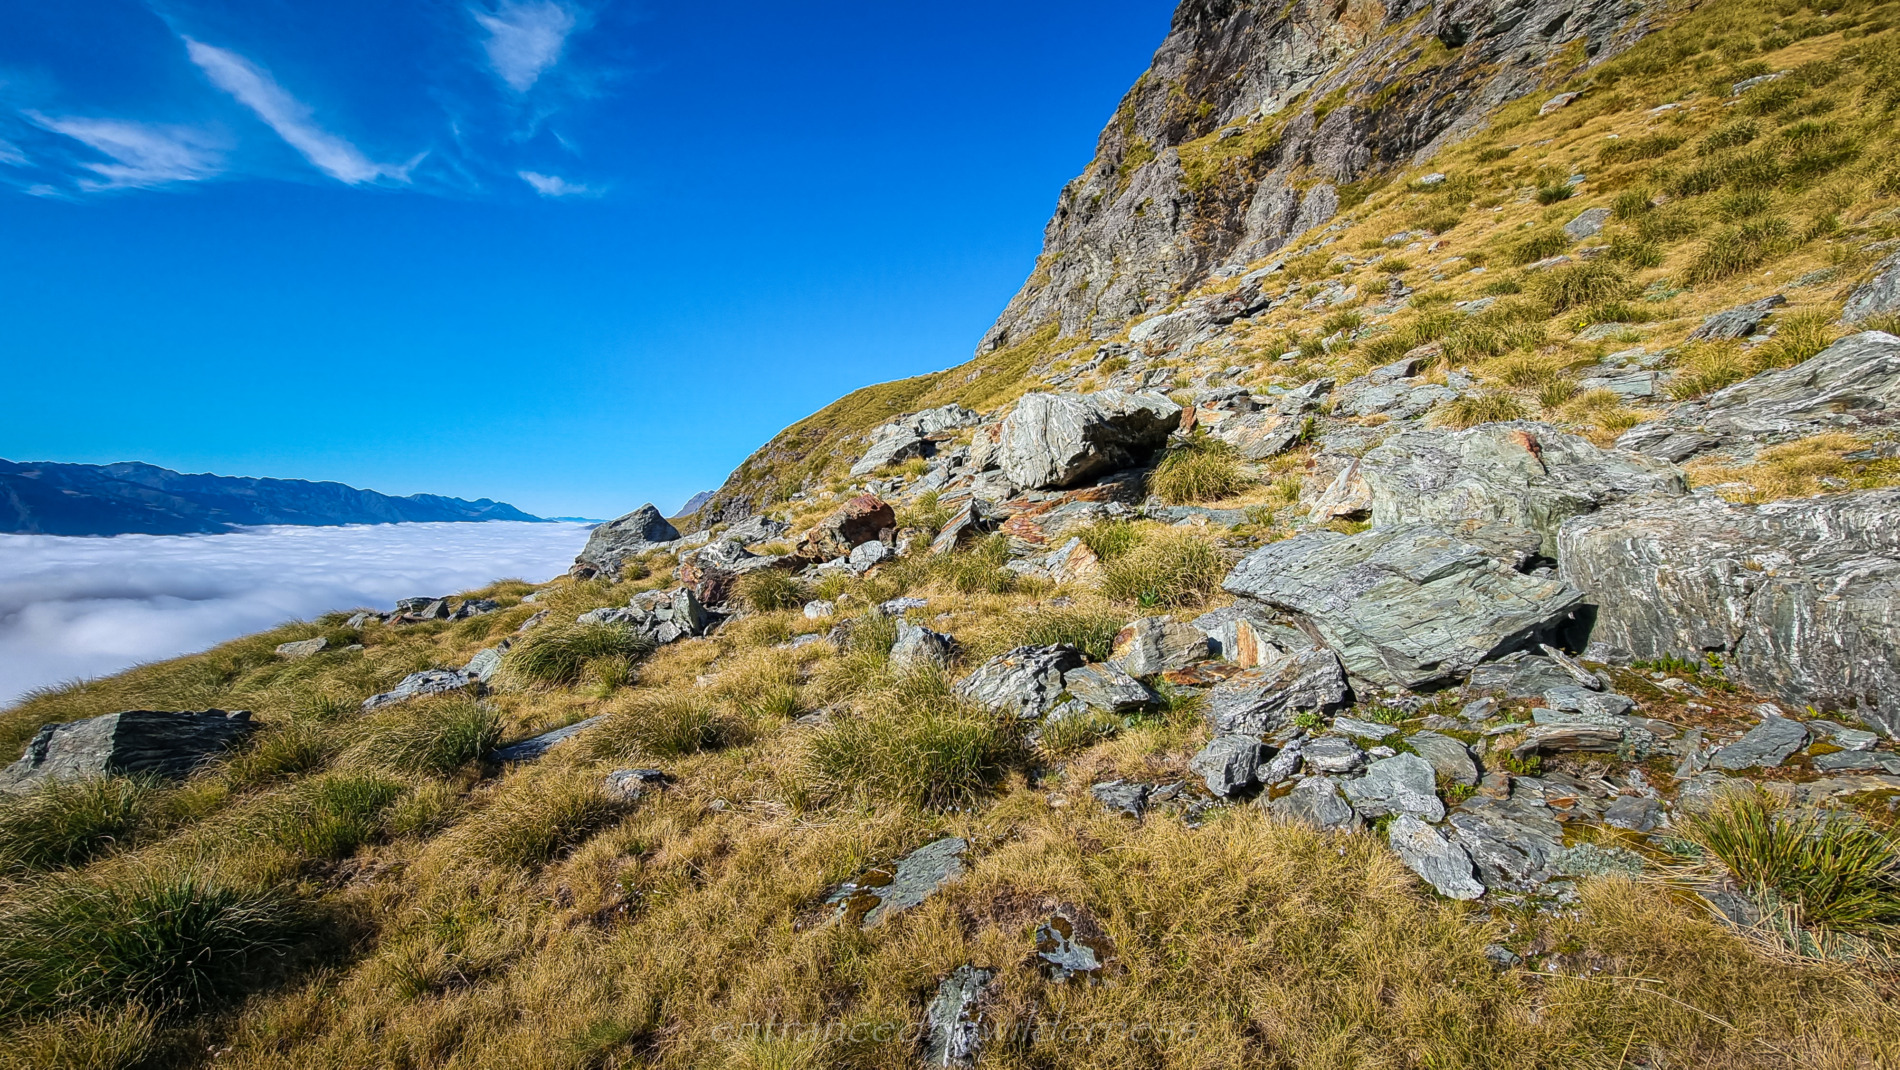
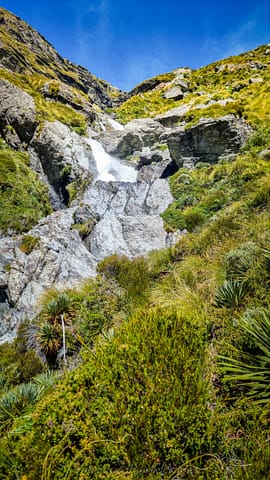
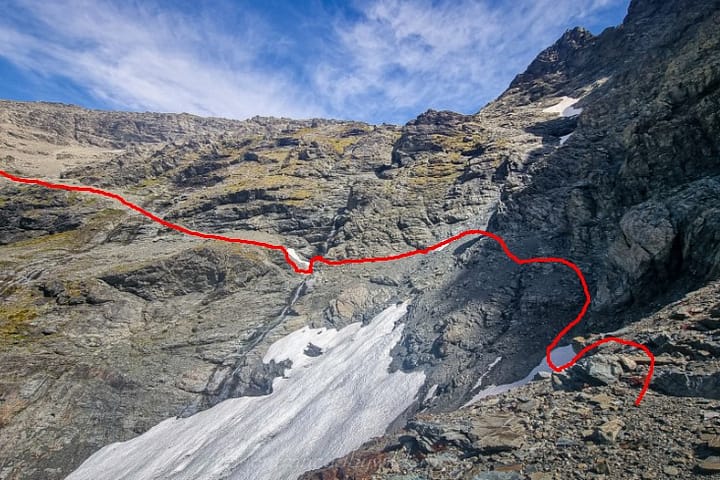
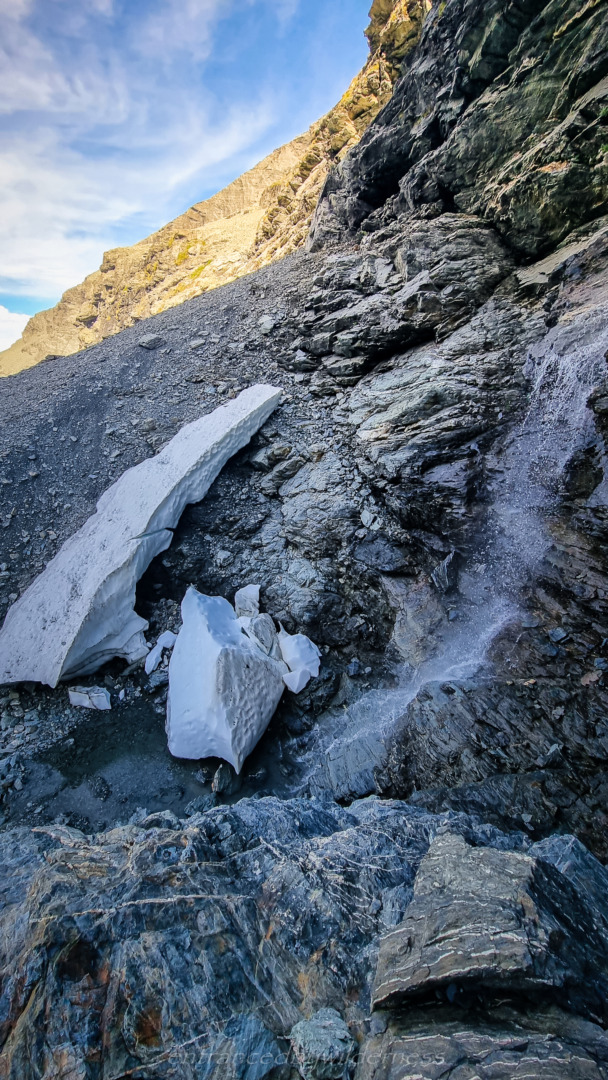
The flatter section at around the 1650m contour provides a nice snow grass ledge to follow, all the way to the small waterfall at 1700m.
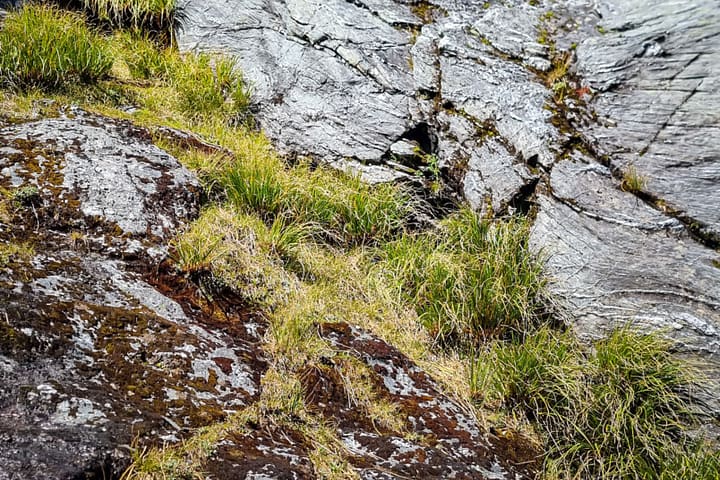
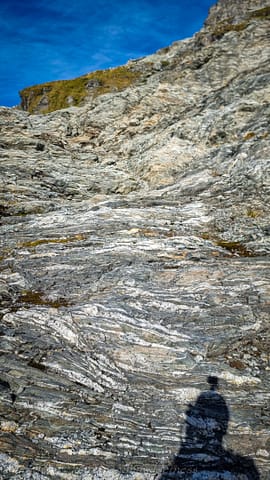
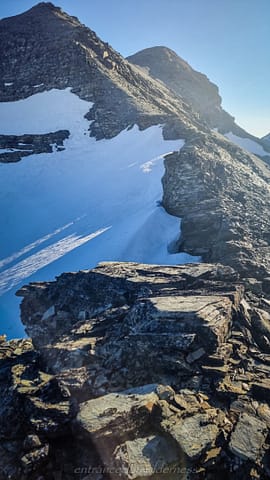
After the waterfall, there is a distinct slot (possibly a fault line?) in the rock angling up towards the base of the marked glacier on the map. It eventually leads to a ramp between a bluffed section that appeared to me the only real viable way up to the 1750m contour below peak 2035m.
Just after 12pm, after reaching the finger-like protrusion (on the topo) at 1700m, I had some lunch and scouted the route ahead. I noticed snow in the gully leading to Shepherds Pass – more than I had expected. “Well, I had better keep options open” I thought to myself – predicting a possible change in my route plan.
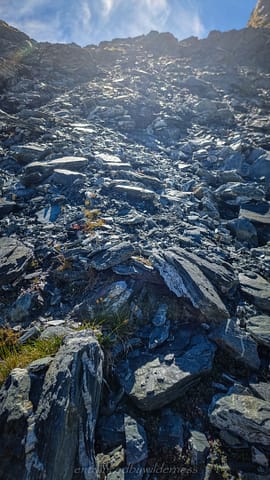
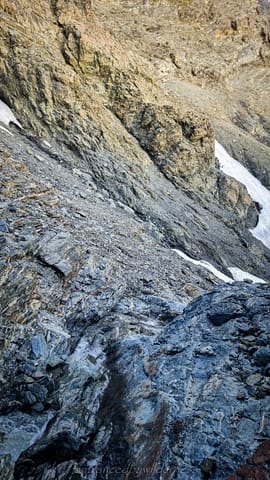
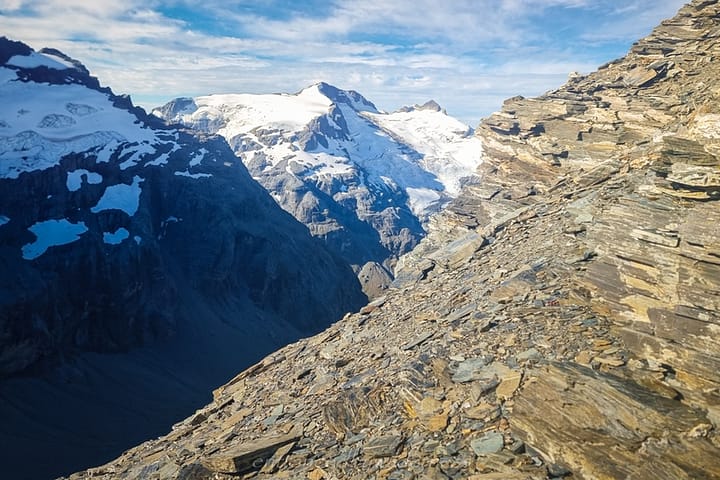
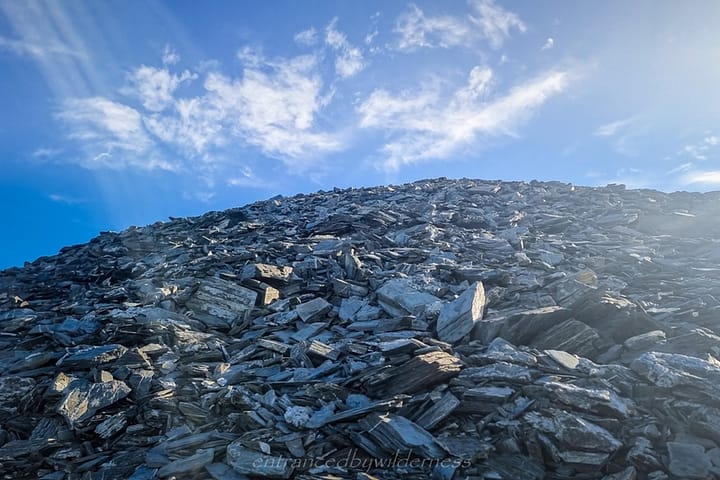
The descent from 1700m to the Hunter Creek West Branch valley below was not for the feint-hearted, but it didn’t have any major technical hurdles either. It was mostly loose rocks, with patches of larger boulders and some steep sections to zigzag around.
Grant Glacier
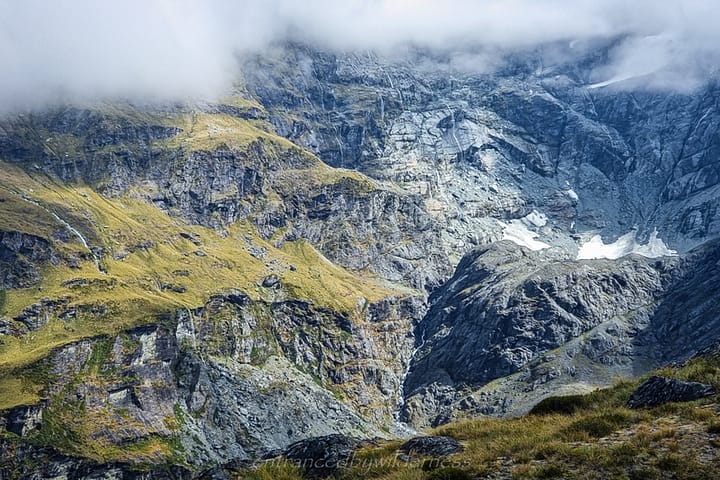
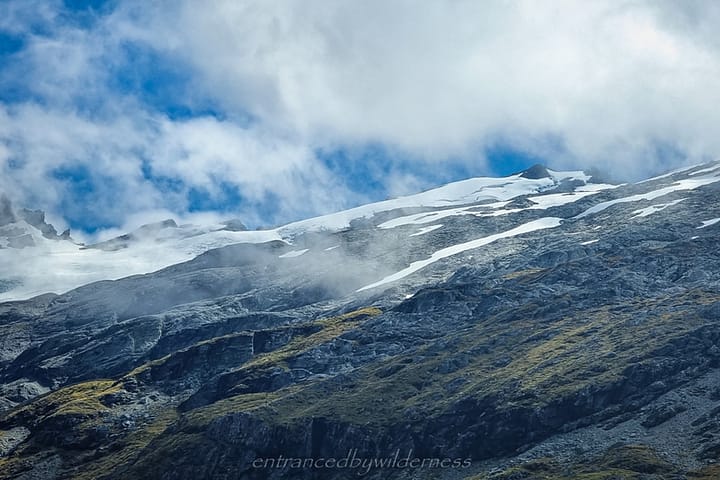
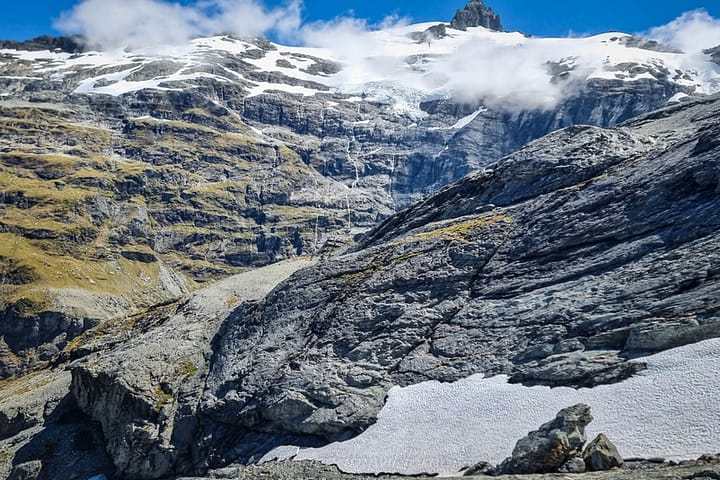
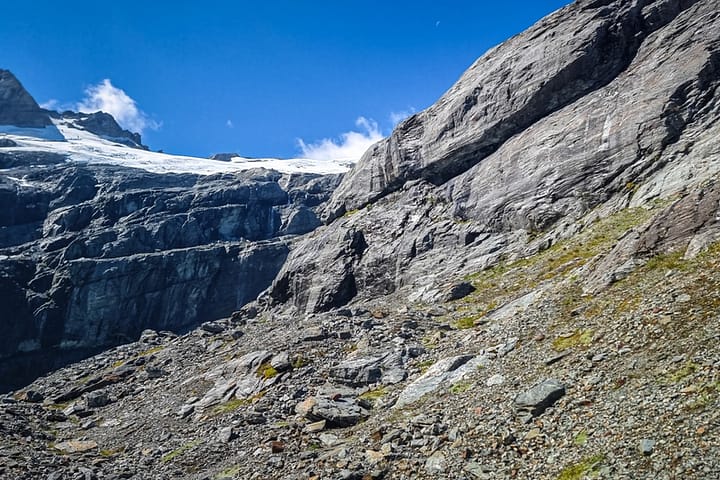
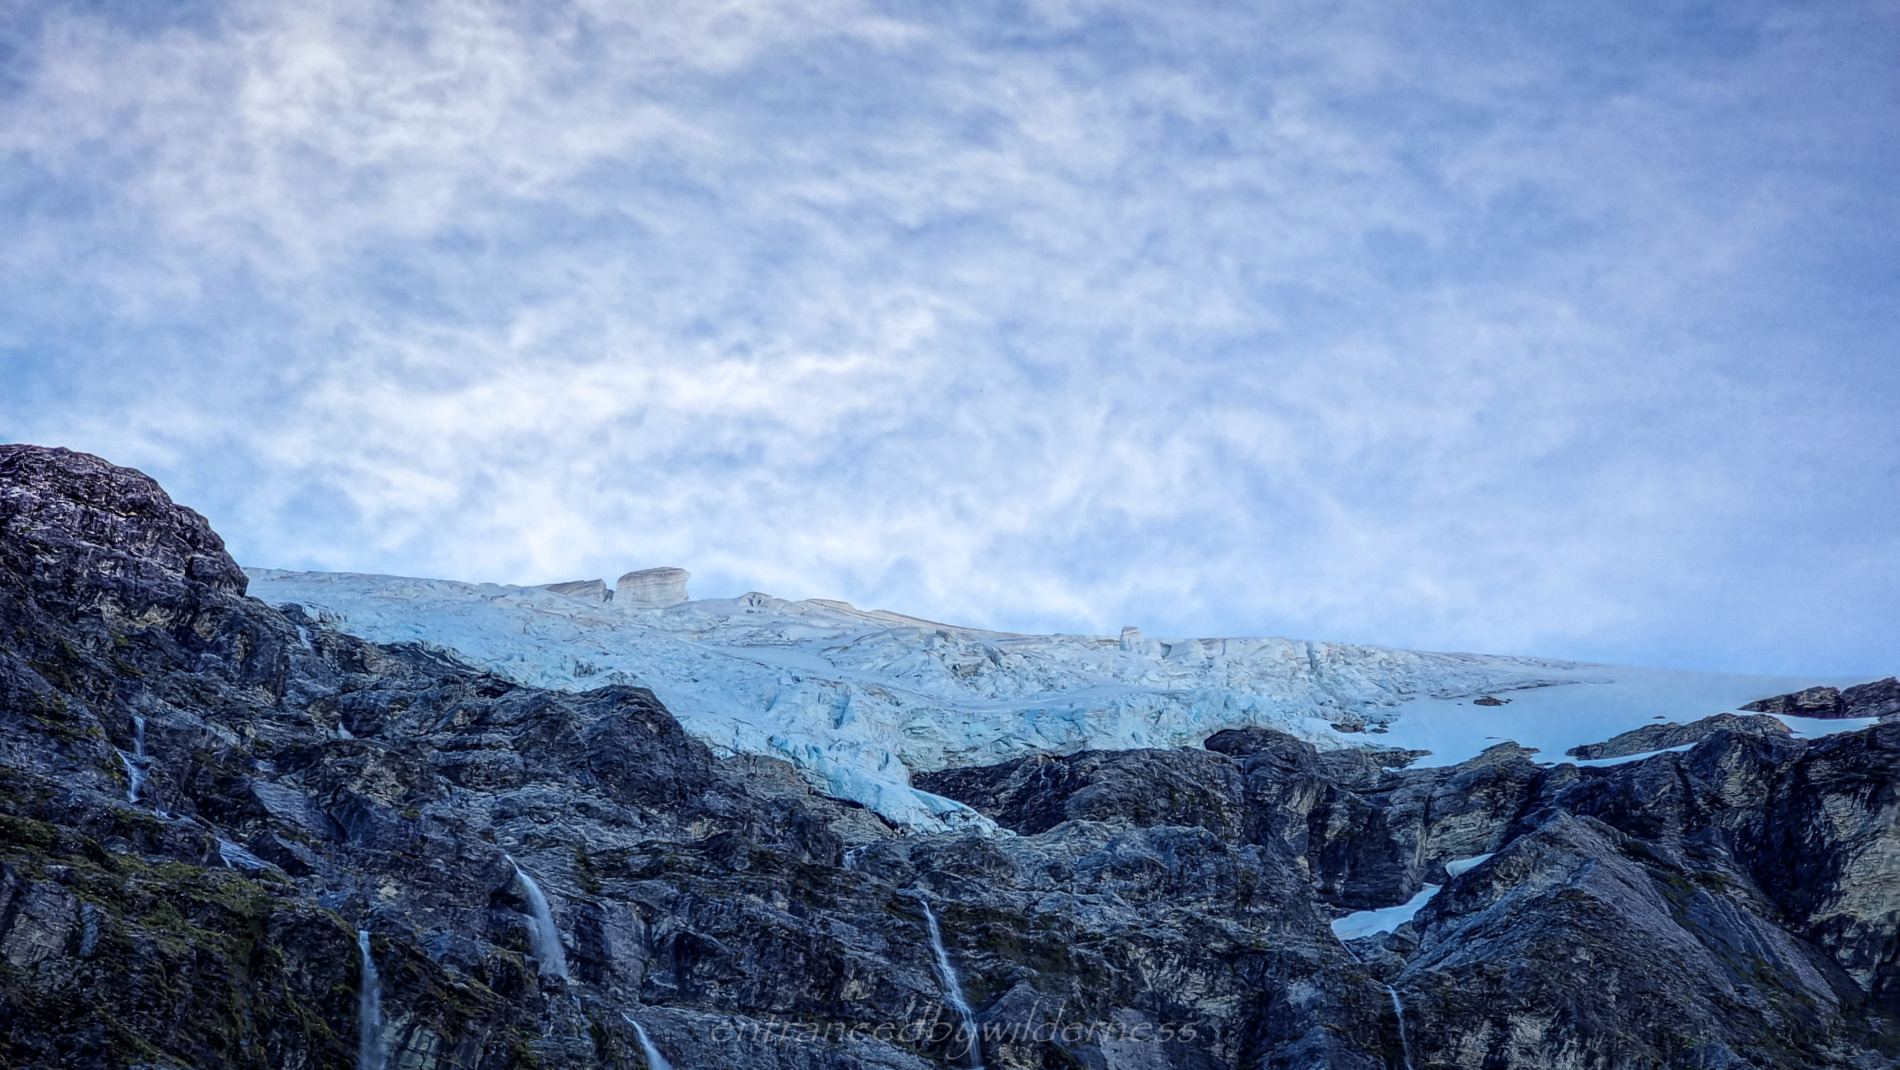
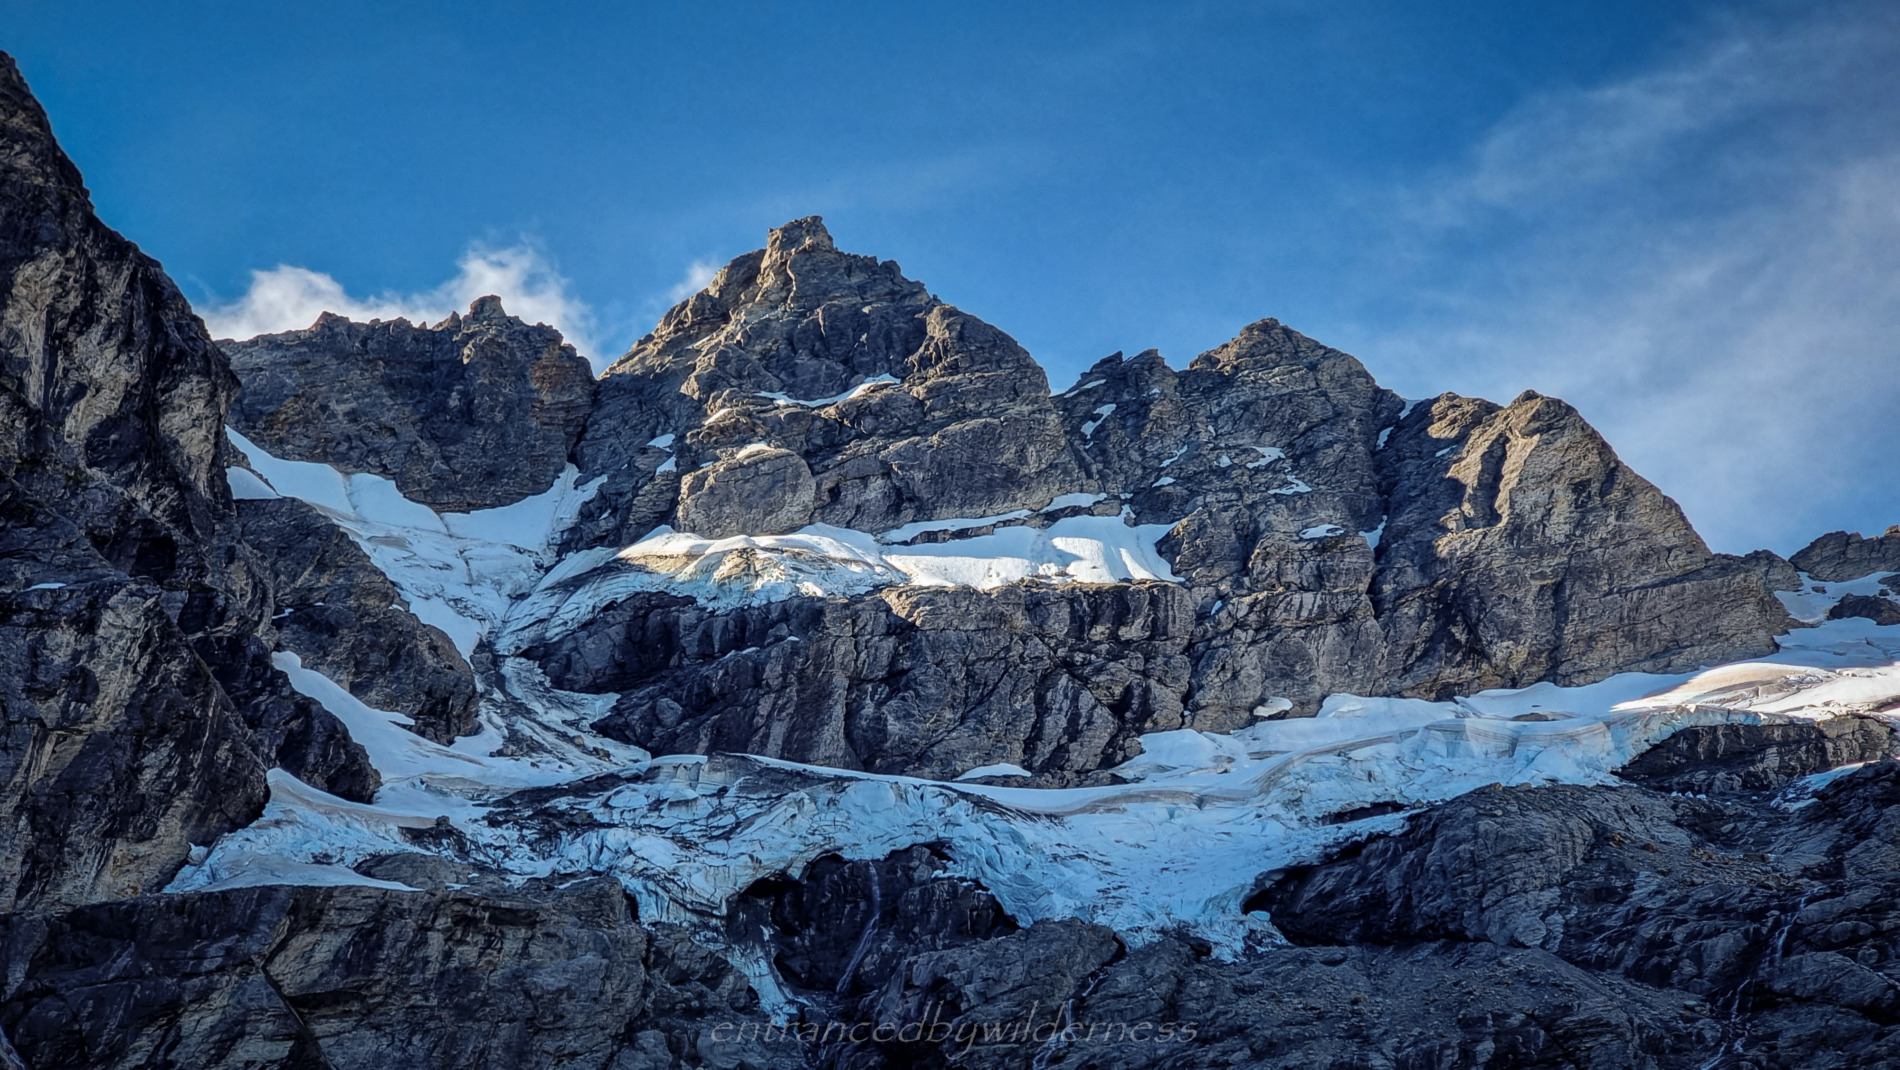
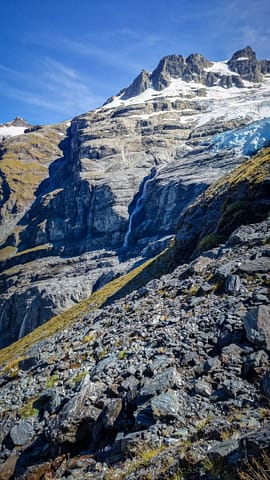
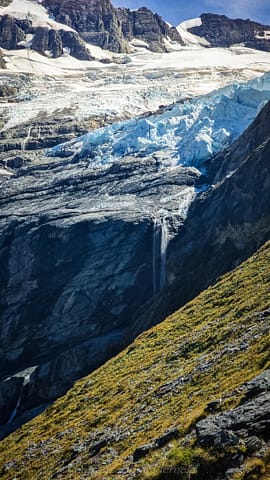
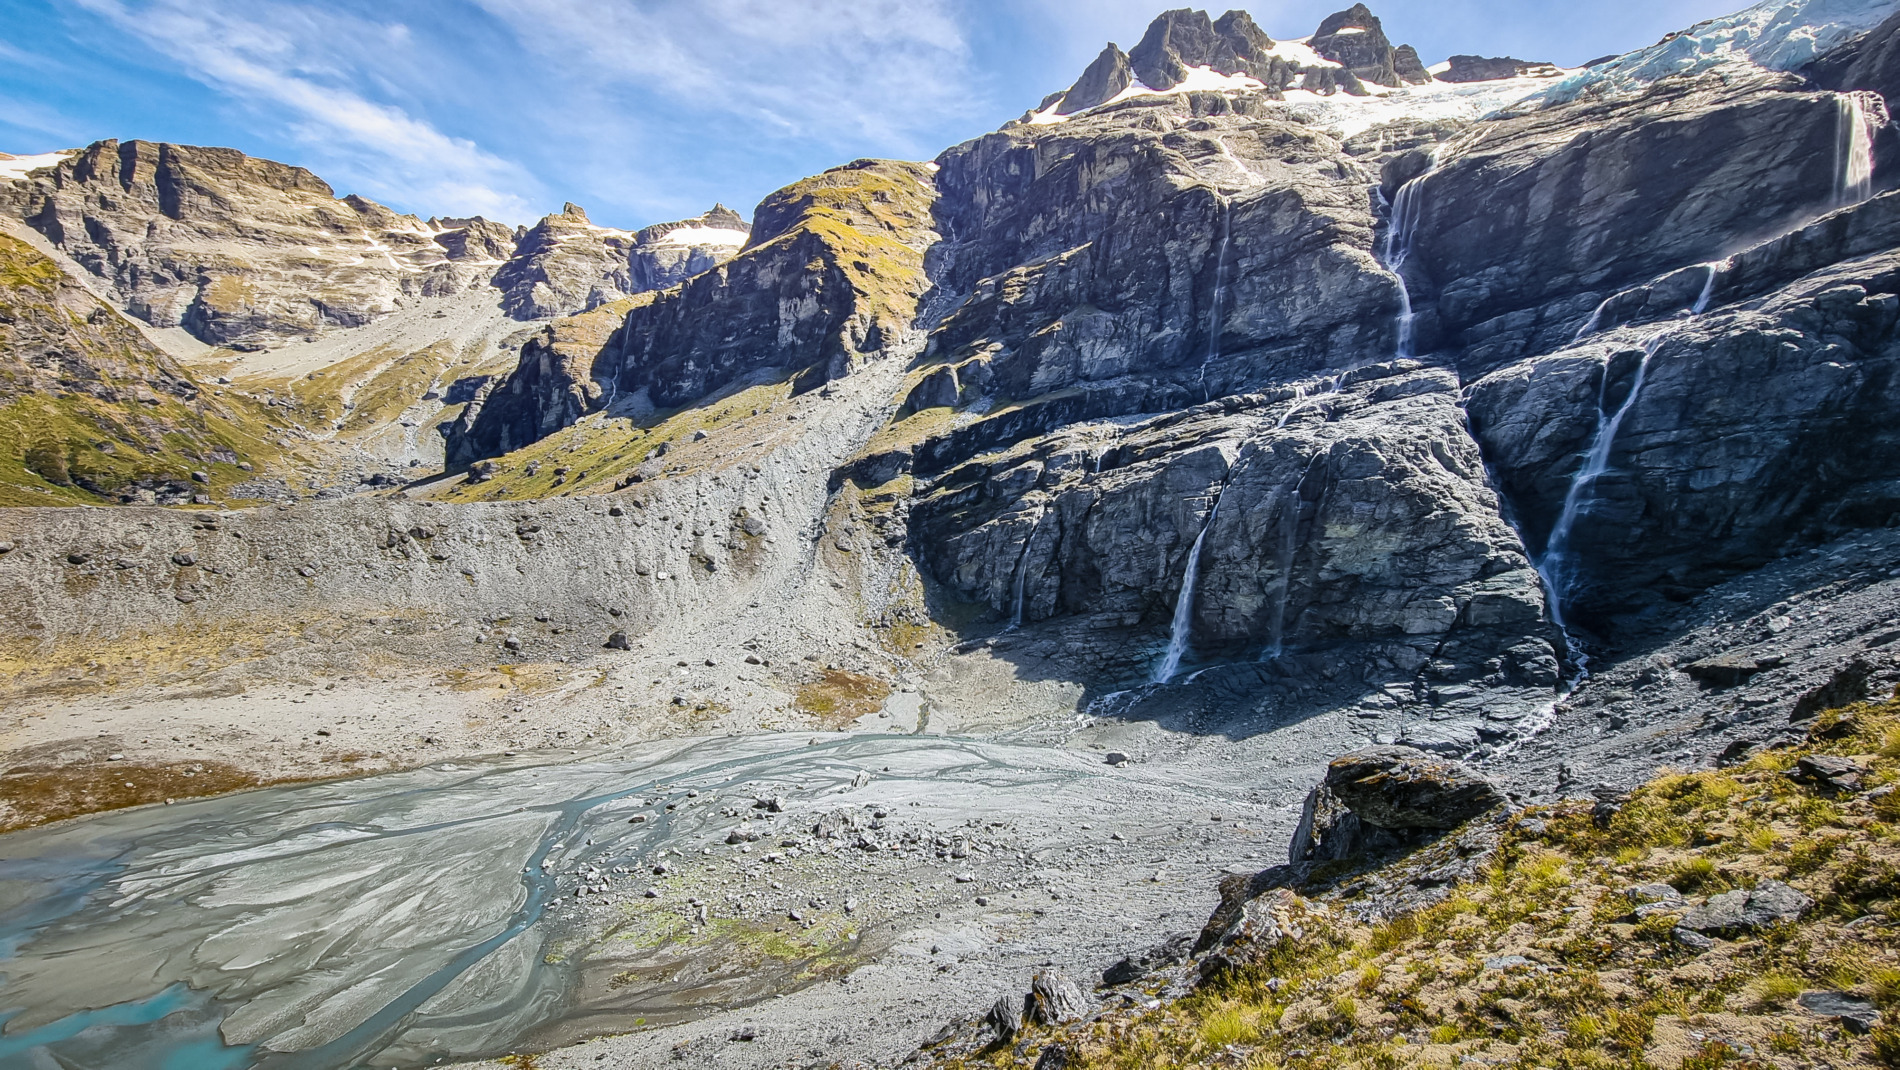
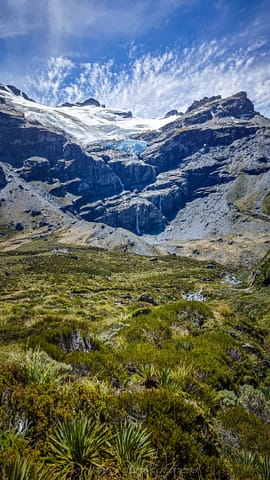
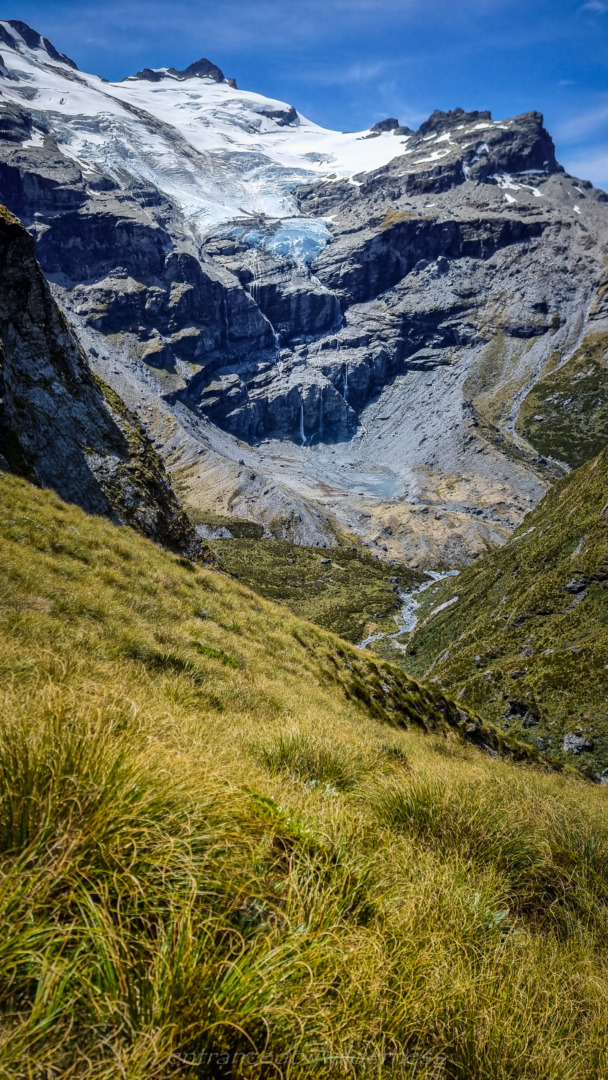
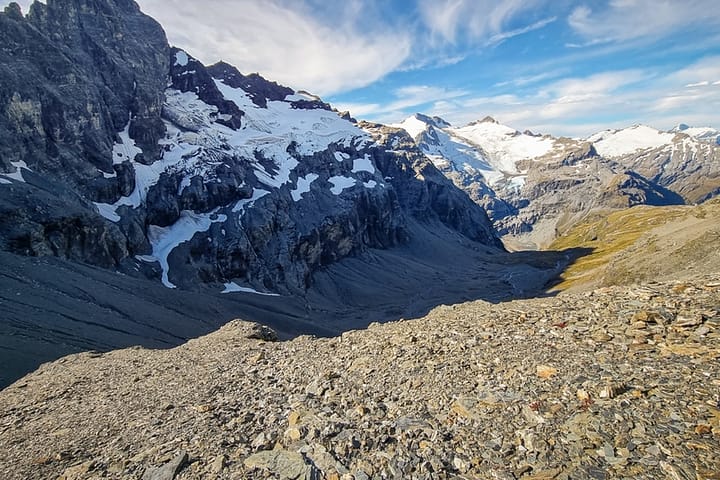
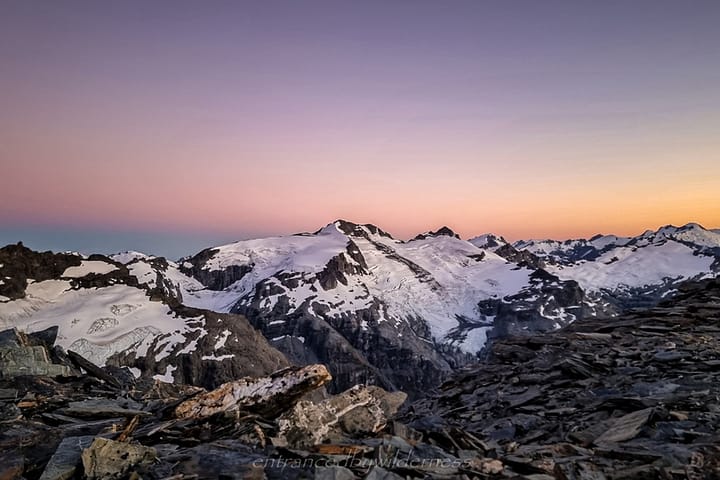
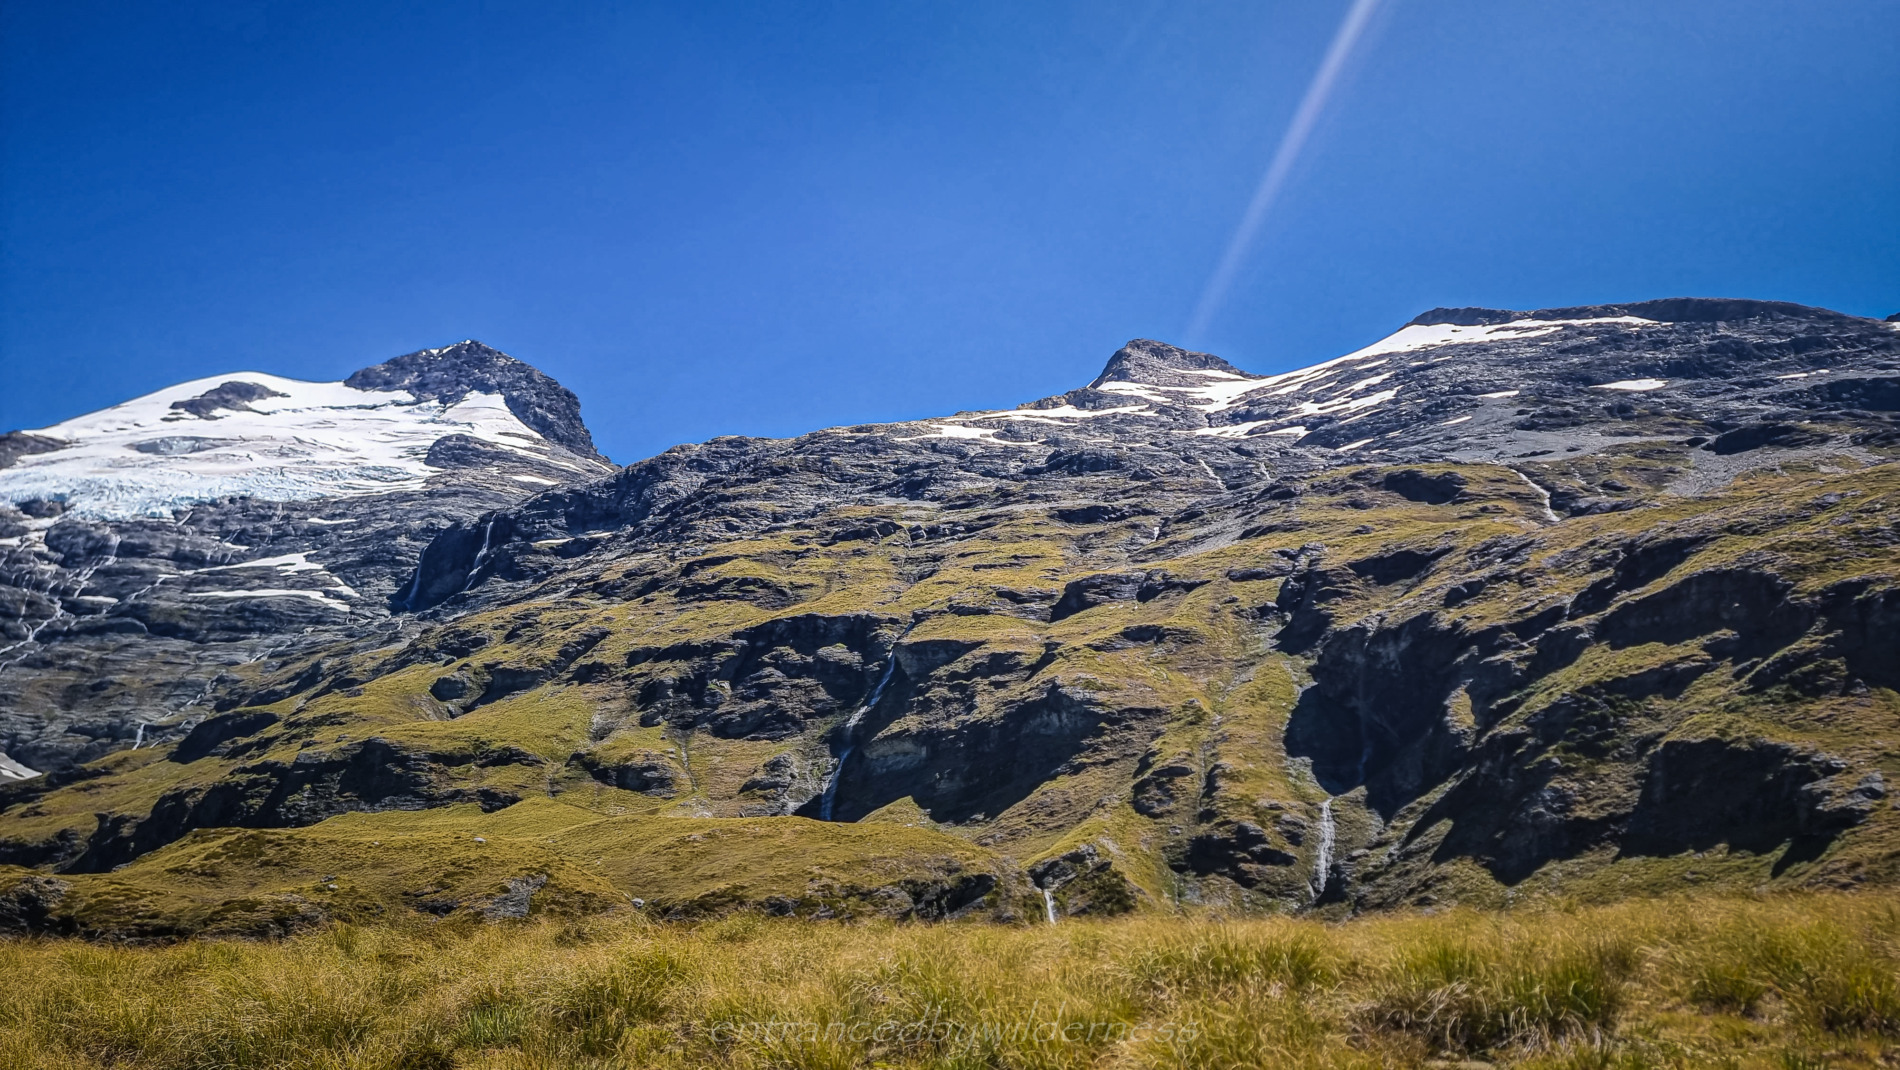
Along the way, the views of Grant Glacier began to open up on the right. This was some STUNNING glacial scenery!
Once I reached around the 1280m contour, I decided to take an adventurous route off the moraine ridge down to the non-existent lake section marked on the topo at the base of Grant Glacier. Let’s just say it was steep with loose surface… and heading lower first, would have been smarter!
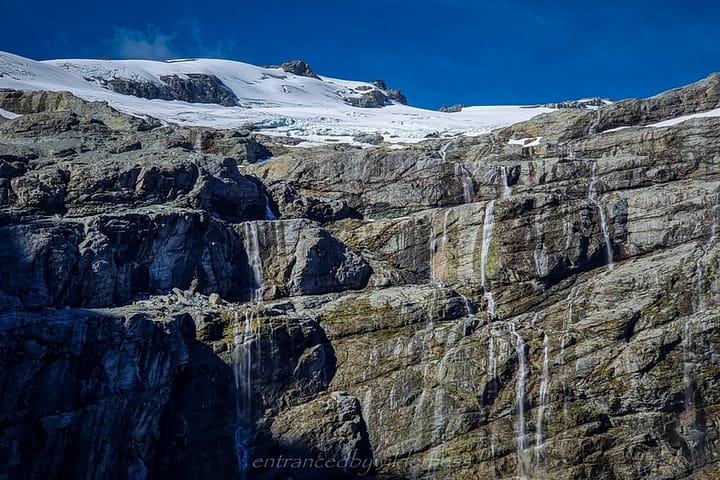
Where the lake is marked on the map was just a series of shallow streams at this time of the year. I decided to cross these, seeing if I could pick a path without getting wet feet (not that I cared!). Having the stunning glacial wall and its waterfalls on my right was just amazing. Then, I made my way to the Hunter Creek West Branch stream and crossed it.
Hunter Creek South Branch
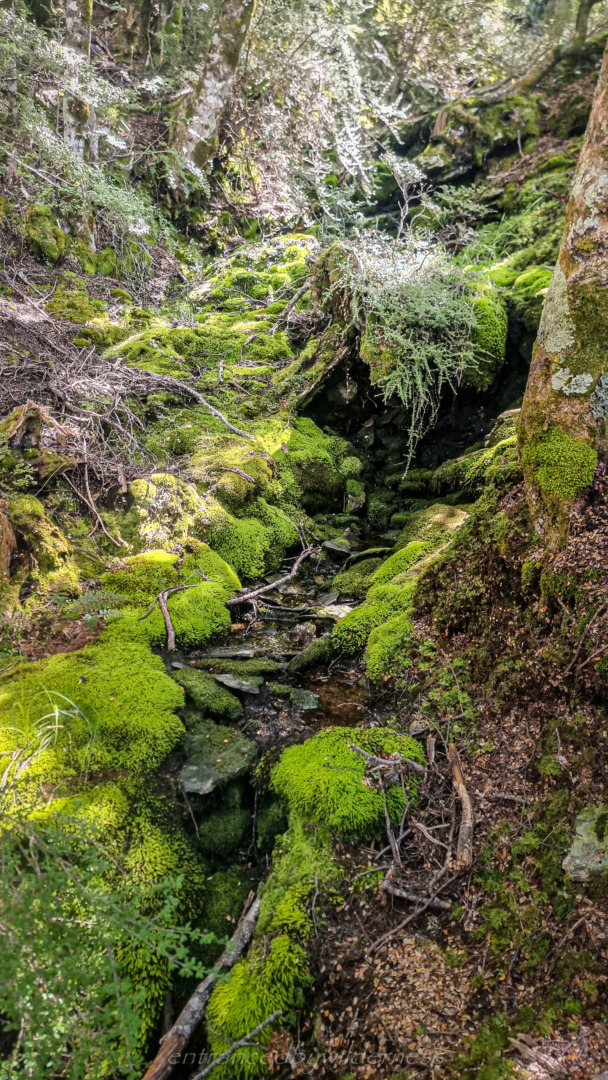
After an awkward climb out of the stream (I picked a fairly average crossing), I began the dreaded bush-bash section to get up the Hunter Creek South Branch. As with any bush-bashing involving speargrass, along with other various annoying bushes – vocal rage is essential!
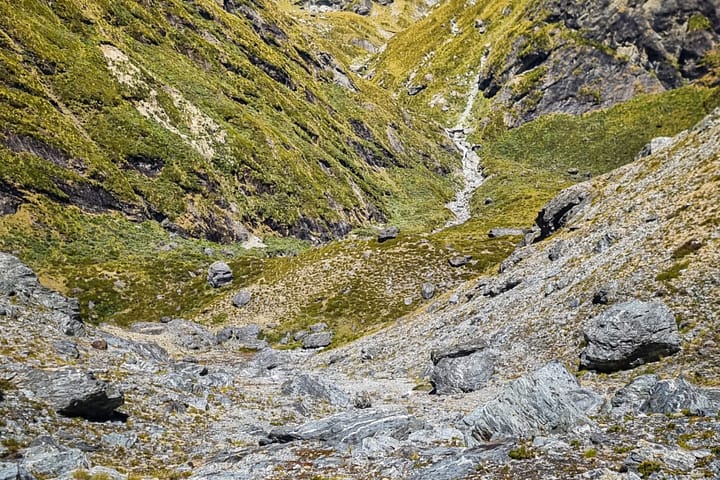
Once I climbed further, and the scrub cleared – the rage inside settled, and route-finding was easier once again. I found sticking to dry creek beds, along with sidling along the snow grass, the easiest way to ascend. The entire time, I stuck to the true left of the Hunter Creek South Branch.
Shepherds Pass & alternate route
Once in the upper valley flat, Shepherds Pass became clearer, and my concerns grew about needing to find an alternate route. There was a significant break in the snow below the steepest section, and I didn’t have my ice axe (just microspikes). Even with the right tools though, the steep snow would be soft all day long at this time of the year, and hard to find traction.
Heading along the valley, I scouted a route that seemed viable, leading up to 2300m on the north-east ridge of O’Leary Peak, and decided to tackle that instead.
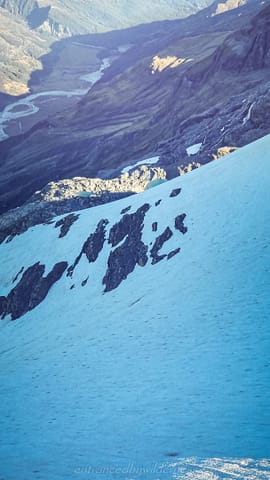
At around 1950m, I had realised the route I picked was harder than it looked from front on. First, crossing a snow chute, and then sidling on loose choss, sometimes with nothing stable to hold on to, and with a nasty drop-off below. I began thinking if a more direct climb up rather than sidle would have been a better option.
Once arriving at the small waterfall, a scramble up onto the base of a continuous steady ramp heading most of the way to the ridge was now my target. By now, it had been a long day (around 6pm already). I didn’t really have much of a choice but to get to the ridge, so I could source snow/ice for water, as there were no flat areas around here.
Every step was effort by this point, but thankfully there were no obstacles! The scree ramp changes into some easy rocky stepped sections, but finally, at around 7pm, I reached the ridge!
O’Leary ridge / upper Birley Glacier
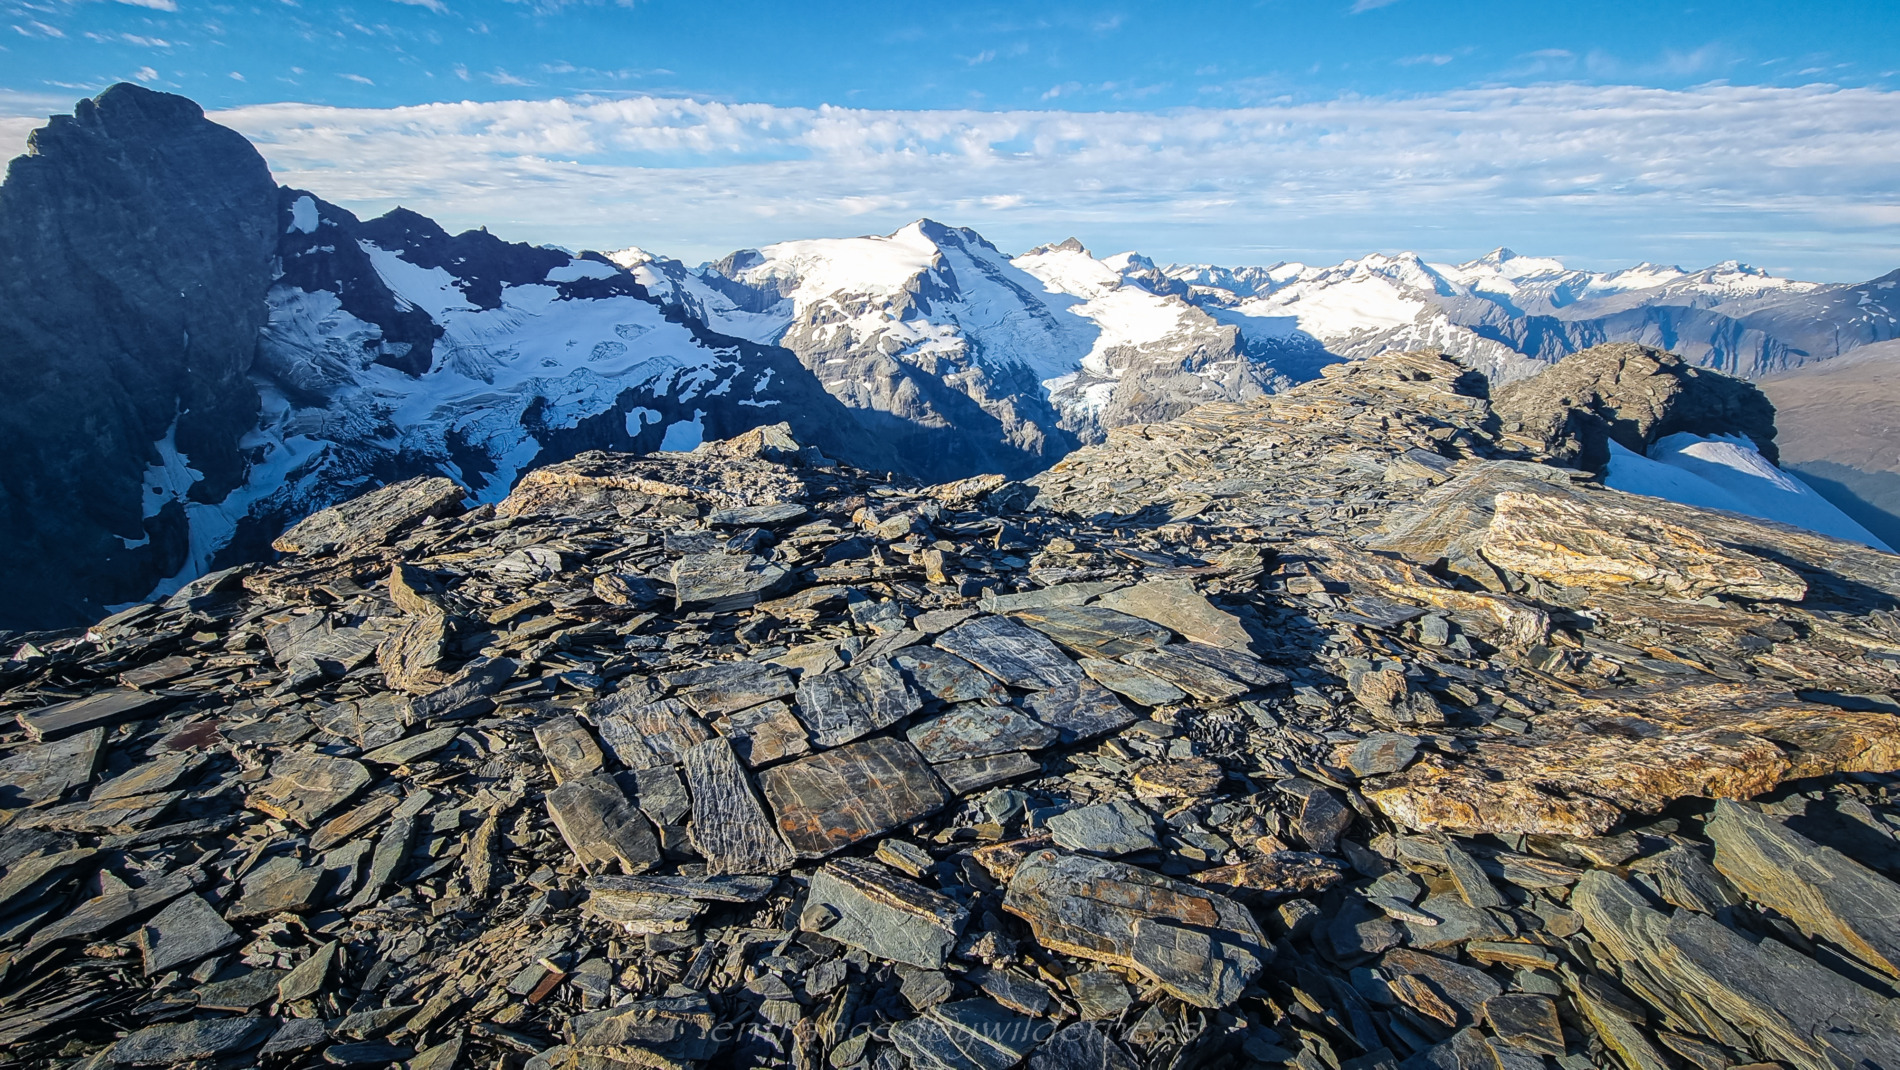
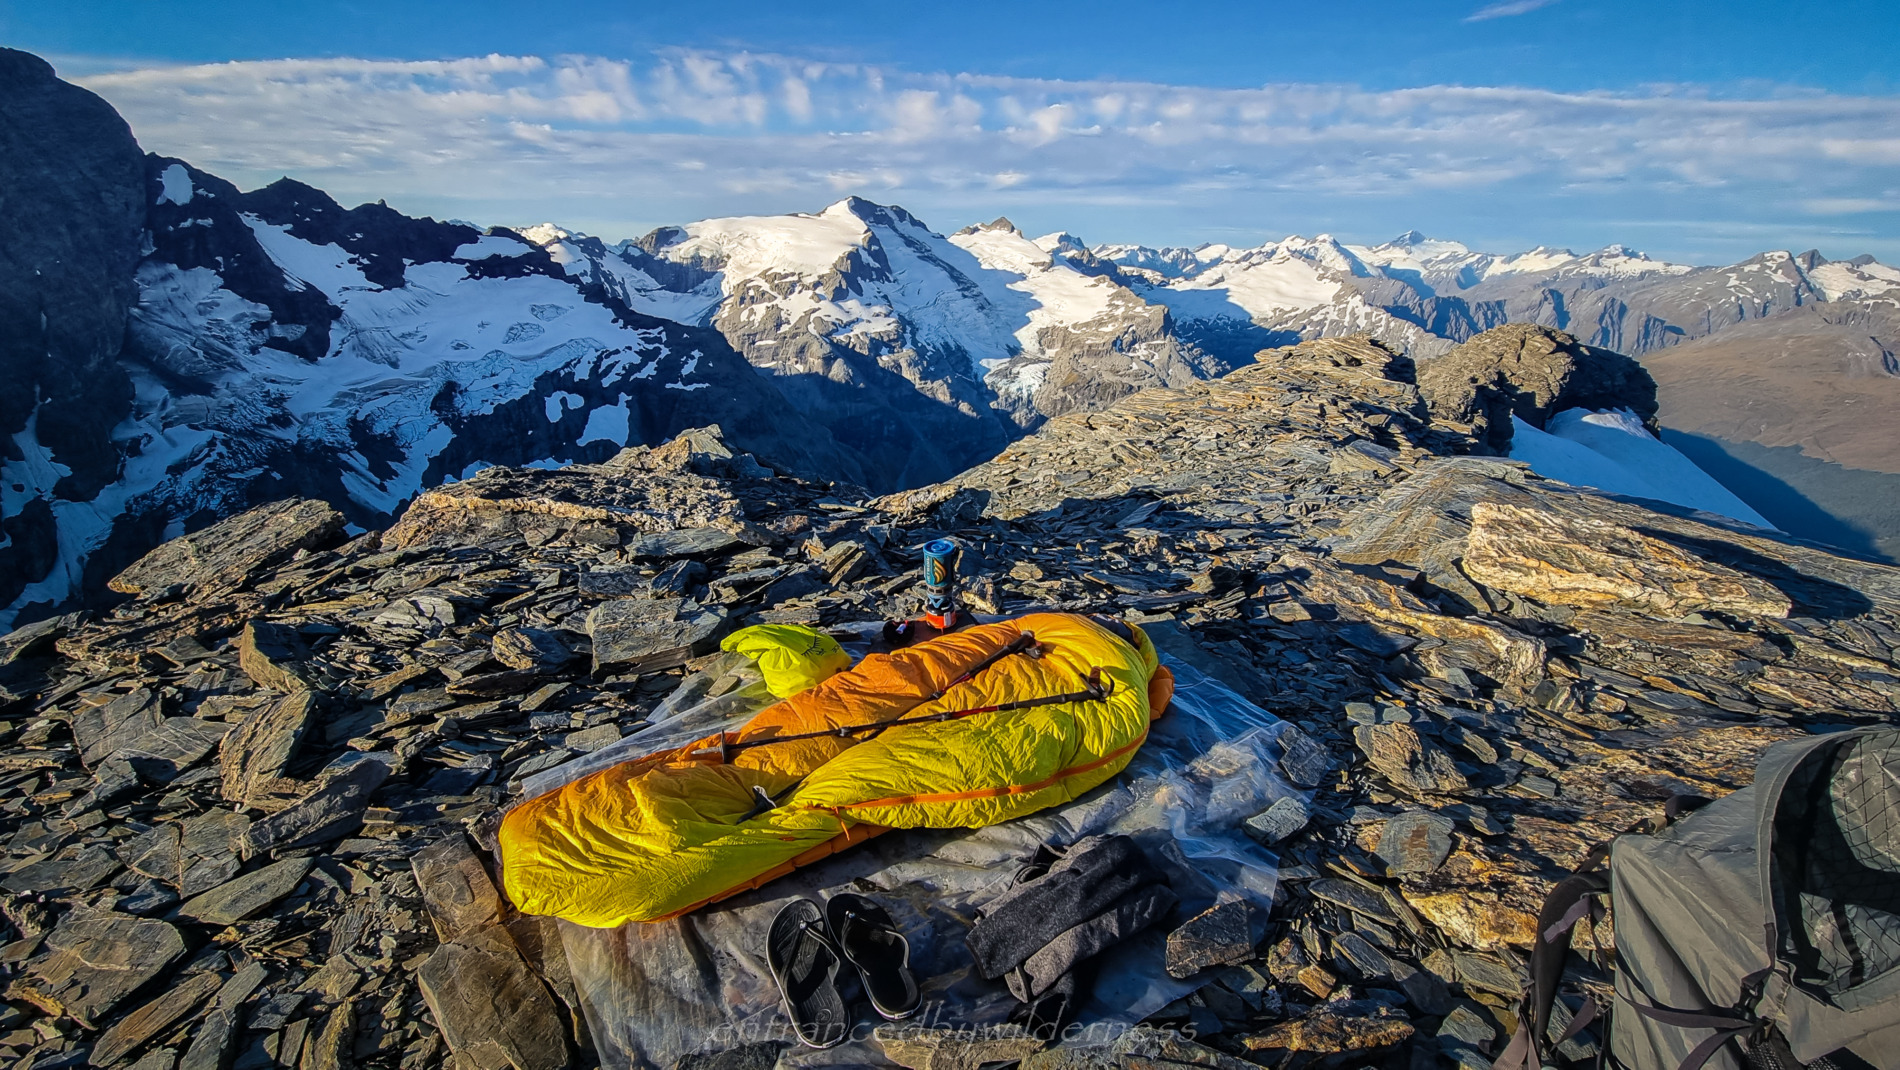
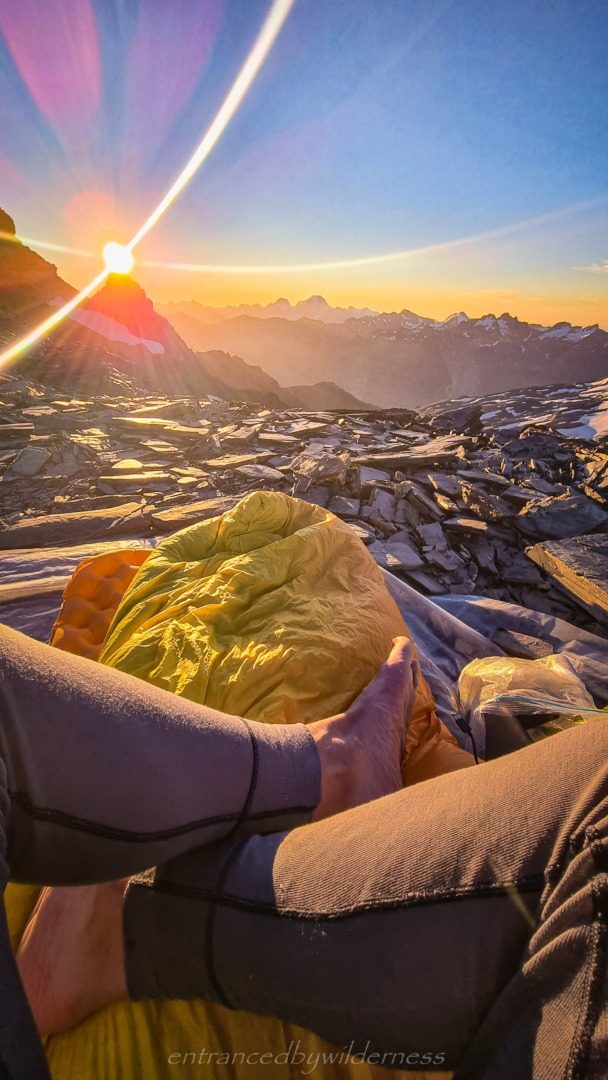
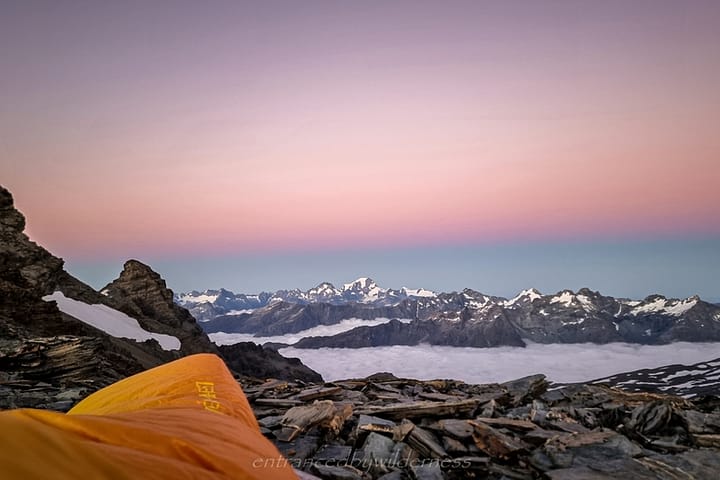
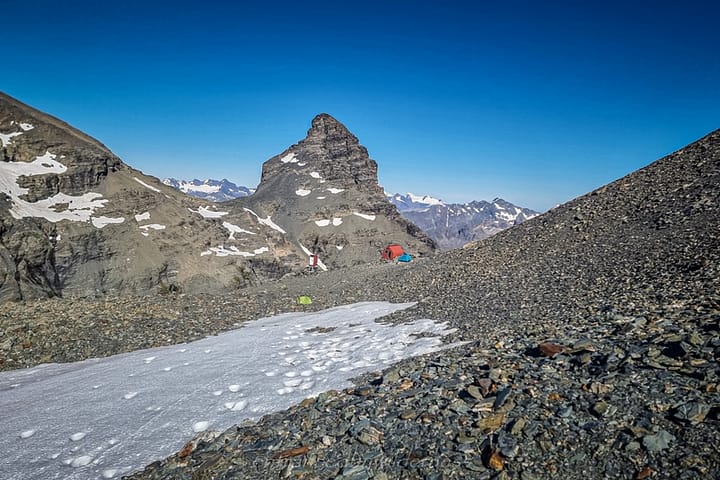
There were a few viable flat areas to bivvy for the night, but the best spot was at 2340m elevation. It was flat, there were views all around, and had easy access to the glacier for water.
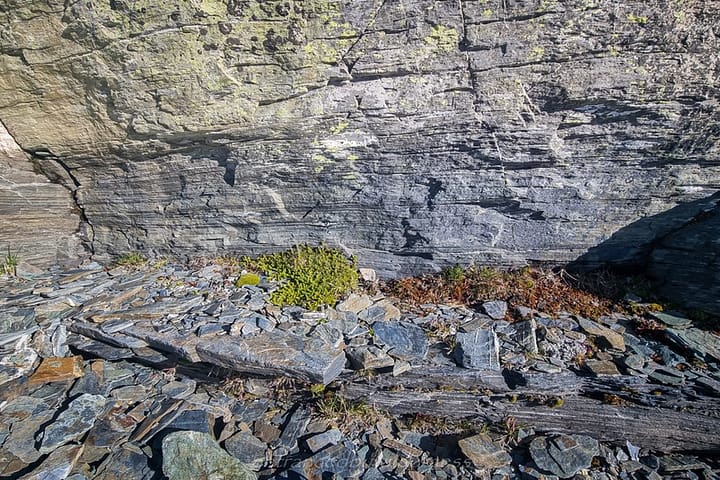
Using the ice-cracked sheets of schist, I was able to terraform a bed platform and table and set up my plastic sheet (to avoid a mat puncture) and bed.
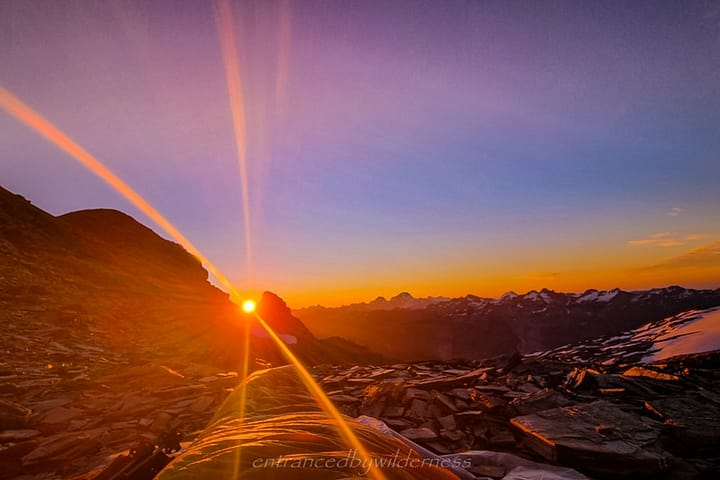
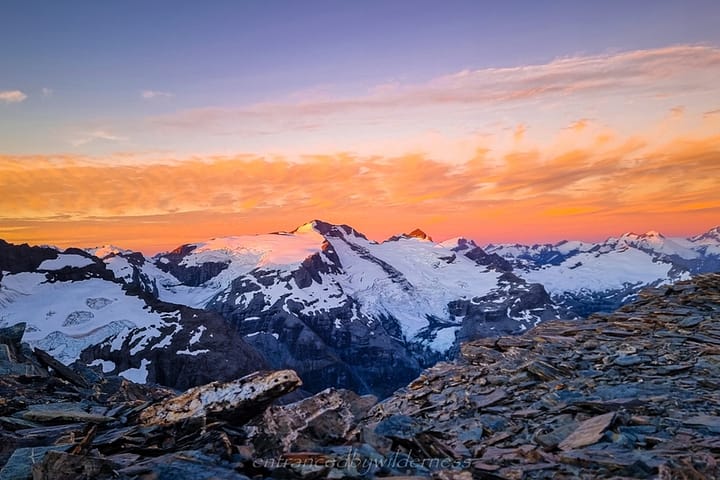
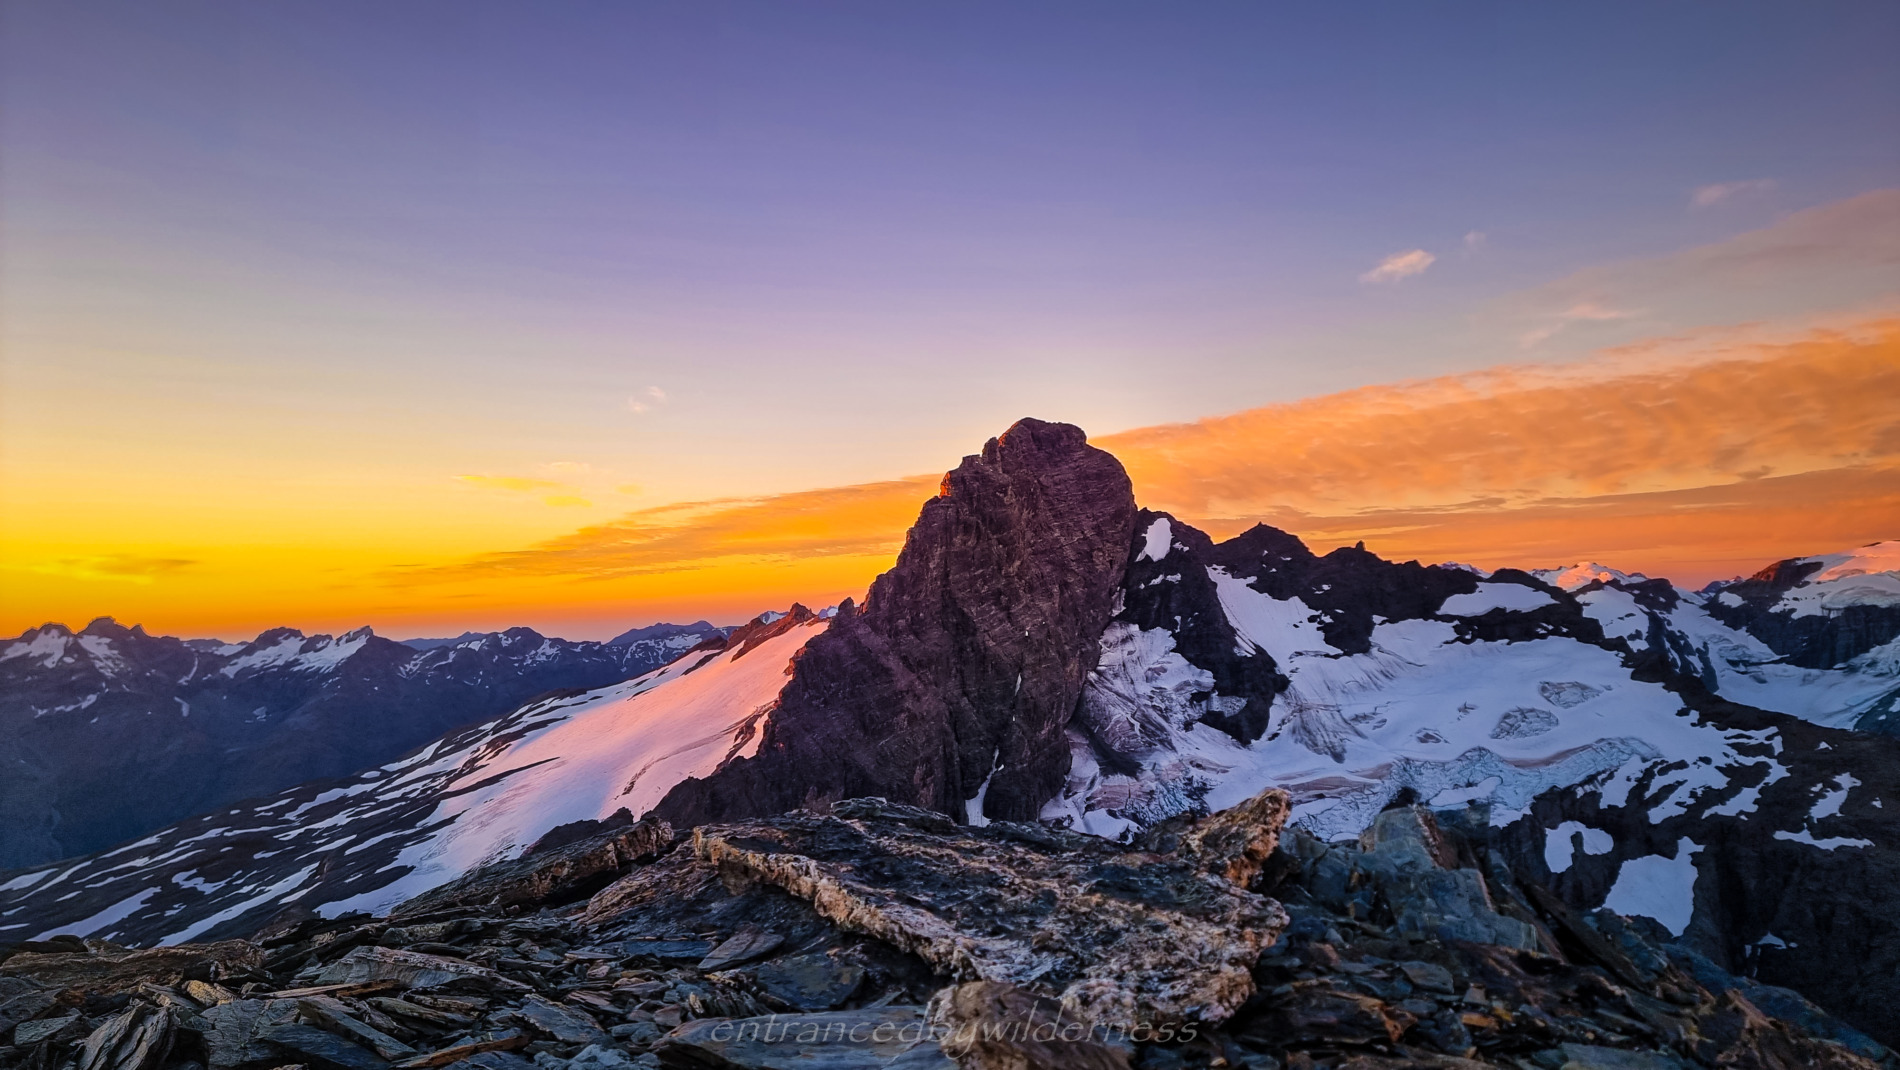
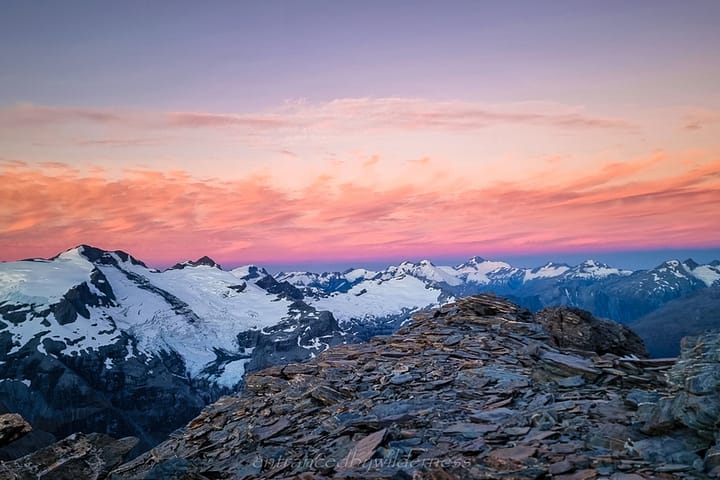
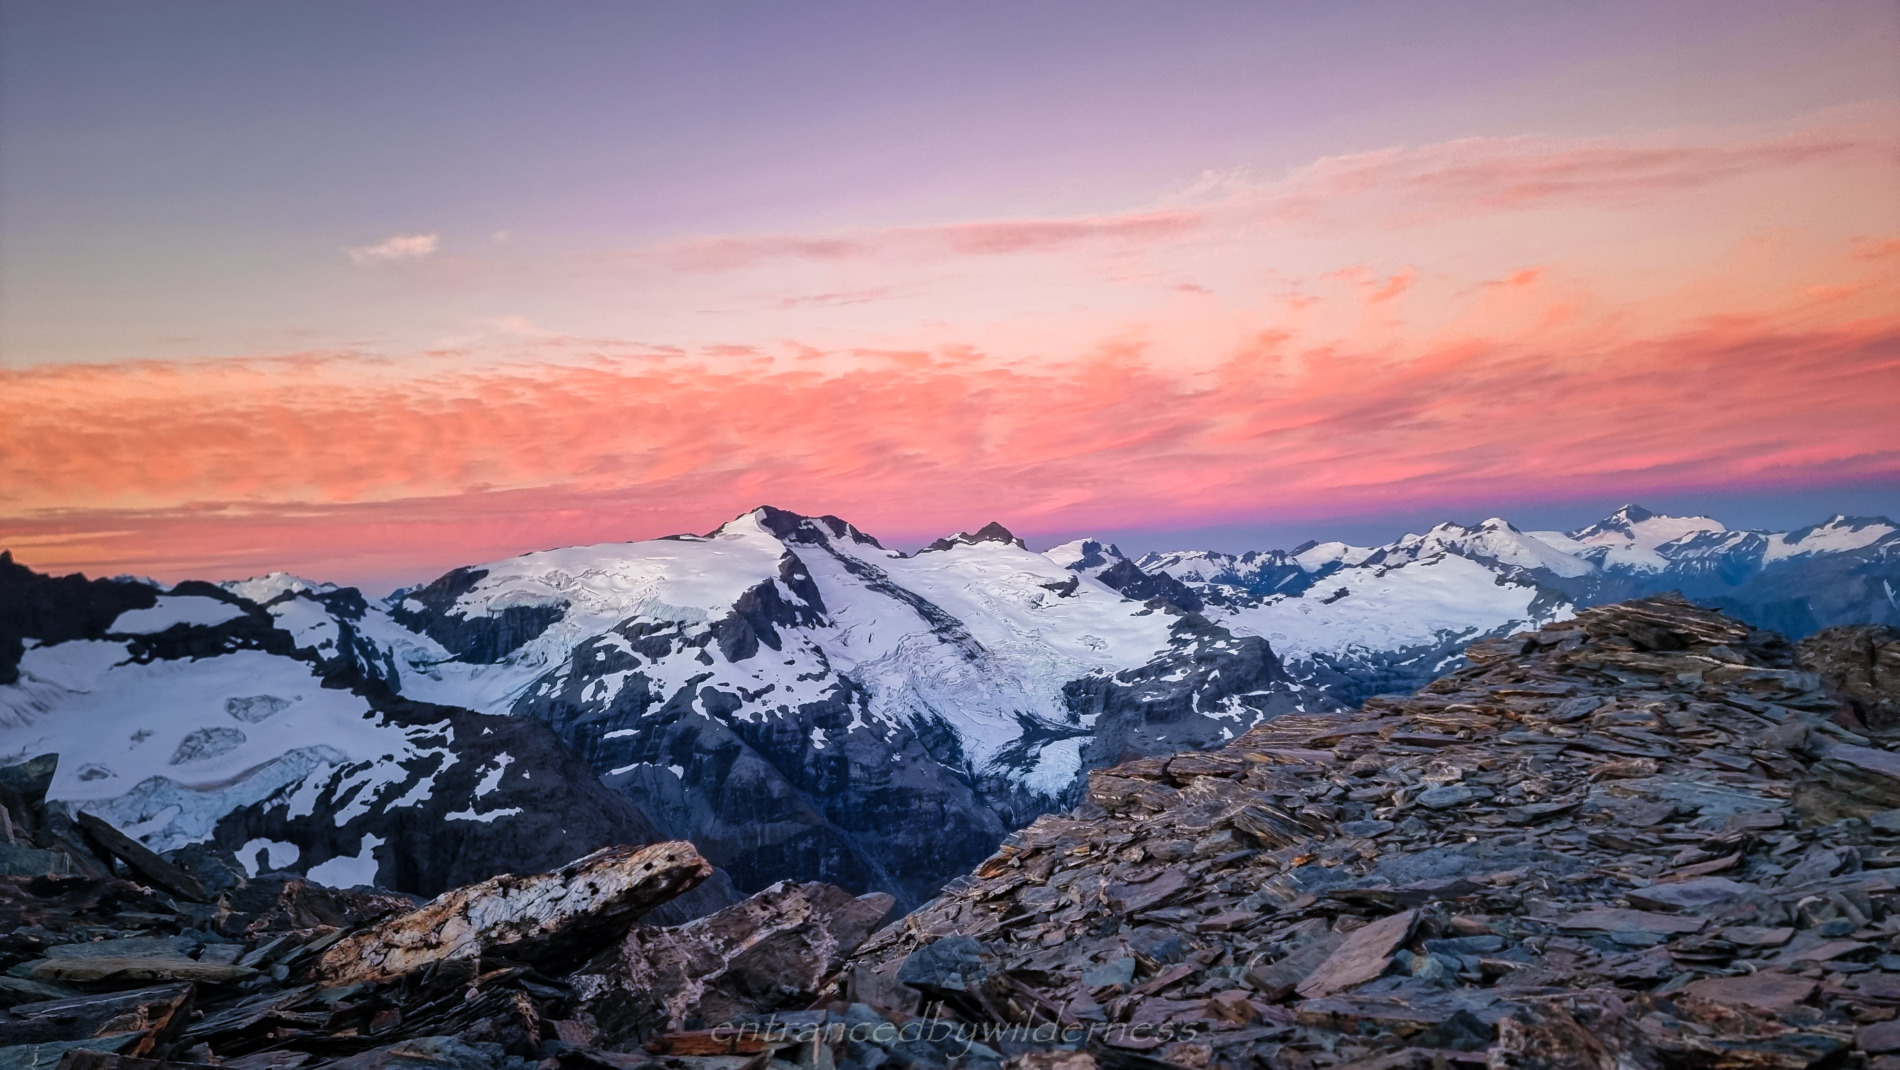
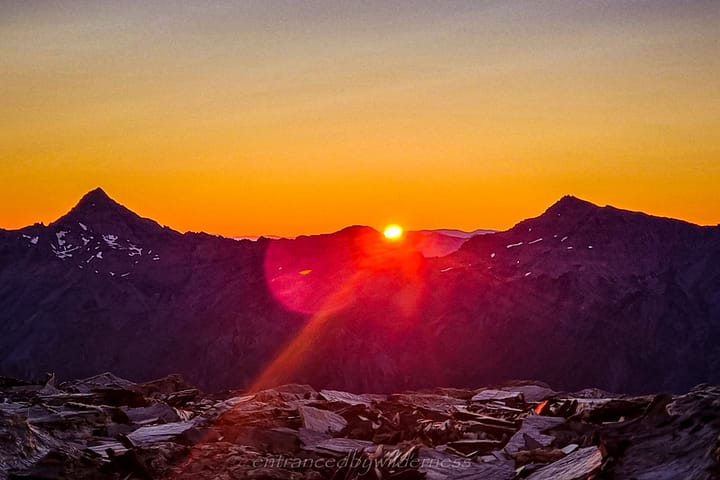
The sunset that evening was gorgeous – made more special being in such a remote location with a complete vista to view.
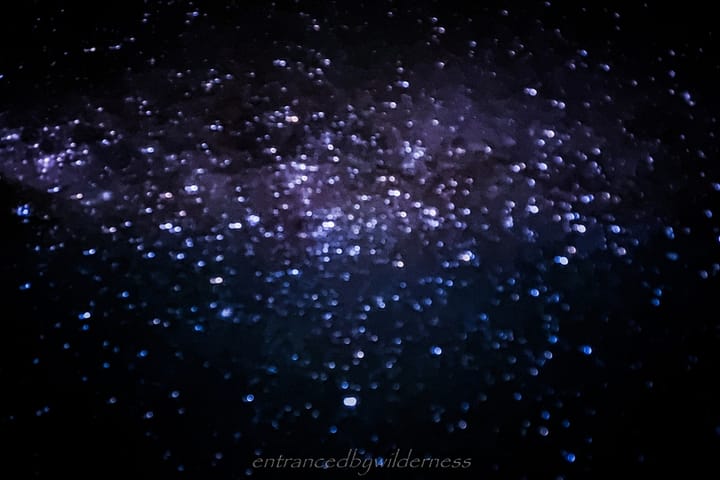
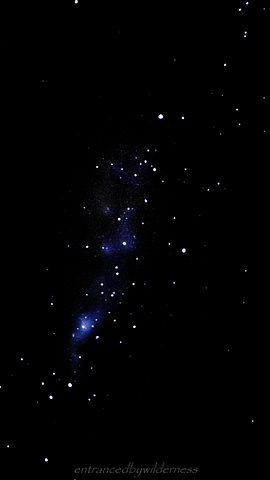
I woke up in the night to witness the star scape surrounding me – “how majestic” I said to myself, as I attempted to capture the moment with my shitty phone camera!
Day 4 – O’Leary Ridge to Rees Valley Carpark
Like sunset, sunrise was gorgeous the next morning. “There’s nothing better than coffee and breakfast in bed with a view like this” I said to myself (I talk to myself a lot when solo hiking!).
After packing up, I began the final trip along the ridge to O’Leary Peak. This required climbing the schist slabs up to Peak 2481m and then dropping into Luncheon Col. Then, a small climb up to the summit of O’Leary Peak after.
O’Leary Peak
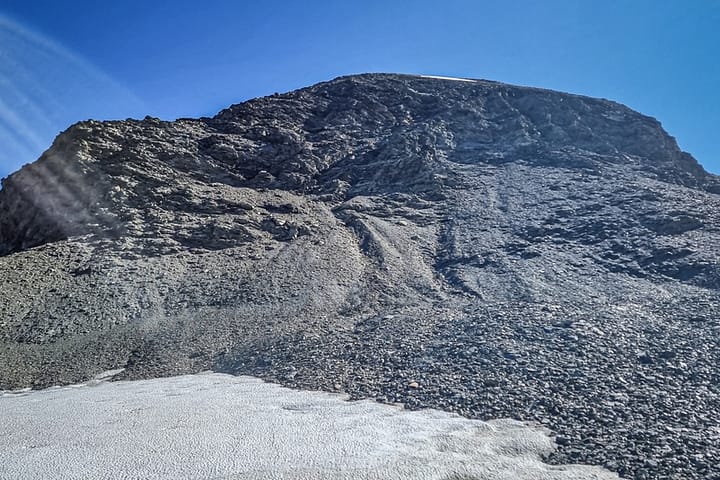
Here, at the summit of O’Leary Peak, I had good views of Mt Earnslaw and the climbing route up it, along with other peaks in the area. After a short time there, the wind started to chill off the air, and I then made my way down from the summit. First, I headed down west, before switching to south-east. This section was difficult to navigate heading down, and the topo map makes it look easier than what it is. There is a rocky drop off that seems to encompass the entire peak around the 2400m contour. I found myself caught out doing some awkward manoeuvres to get off the rocky section.
Esquilant Bivvy Hut
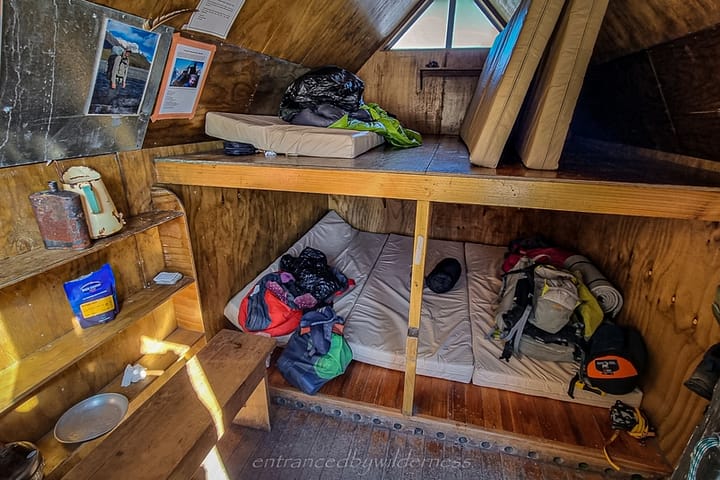
Once below 2400m, it was a long scree sidle along to Esquilant Bivvy Hut. I was only going here out of curiosity, and, for lunch. Inside the hut, there was some beta on the climbing routes and some interesting reading on the walls.
There must have been a few people climbing Mt Earnslaw. I’m kind of glad I had my peaceful sleep the night before.
After leaving Esquilant Bivvy Hut, I made my way toward Wright Col for the descent to Kea Basin, and into the Rees Valley.
Birley Glacier crossing
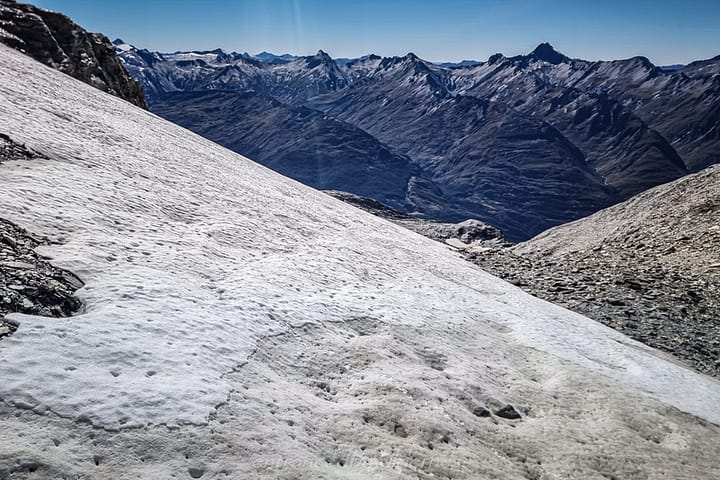
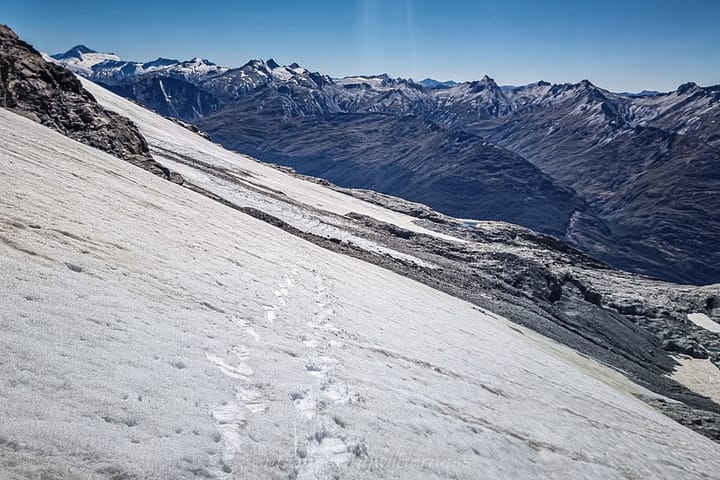
The crossing of Birley Glacier was straightforward, but as it was midday, the snow on top was slushy and my microspikes weren’t purchasing super well. I kind of wish I had my crampons! My pace was sure-footed and slow, but ever-moving.
Once reaching the 2180m contour (where the ‘B’ is for Birley on the topo map), there is an exposed rocky section you can head down. I made my way below a large rock outcrop, and from there, then proceeded north-west to head down the steeper section leading to the point 1445m on the topo map.
Here, around 2050m when the terrain steepened, there were many rocky shelves and small drops to navigate a path through. Sometimes cairns helped, but other times they only made it confusing.
Eventually, at around 1800m, I was on a well-used loose scree path that took my down to a large rock cairn dividing the rocky section to the grassy section.
The trail becomes more apparent on the grassy section as I made my way down into Kea Basin. The tarn at 1410m was where I had joined the Kea Basin track from a different trip in 2018, coming over from the Earnslaw Burn Track via Lennox Pass.
Kea Basin
The track leading into Kea Basin itself is fairly straightforward, although it’s important to note the trail makes a hard turn at the 1240m contour, and continues in this direction through thick tussock before turning again in the marked clearing at 1100m towards the rock bivvy and hut.
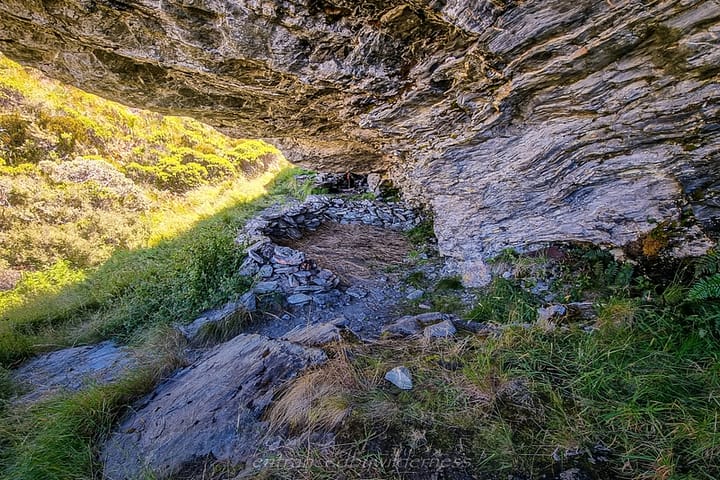
The rock bivvy here is awesome. There is water nearby, but it was only a trickle at this time of the year. Earnslaw Hut itself is only worth a visit, not to stay in.
I remember the Kea Basin Track being a bit of a windy slog, and… it was just that again! I managed to gun it in about 1 hour though (felt like longer!), before the final crossing of the valley floor and river to reach the Rees Track.
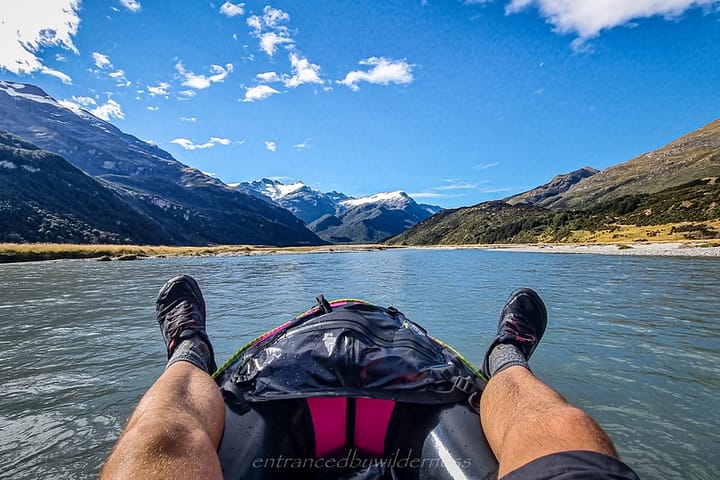
Packrafting out the Rees River
I located the ferns where I had stuffed my packraft and gear and began the inflation process.
At first, I was thinking how awesome it would be to give my legs a break from all the ups and downs, but then I realised the upper Rees River was quite shallow, and I still had to walk some of it!
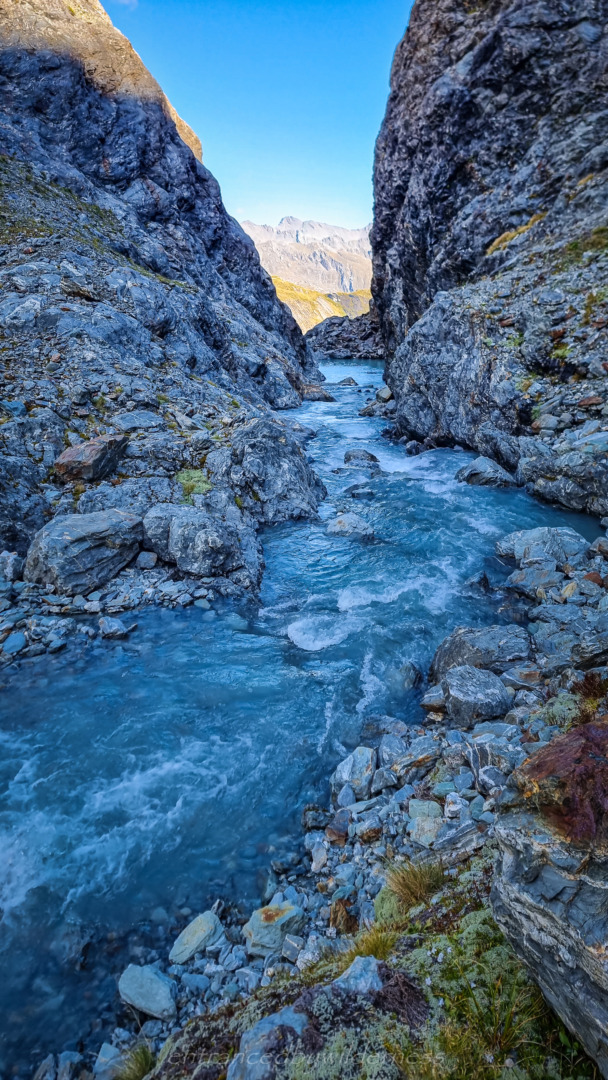
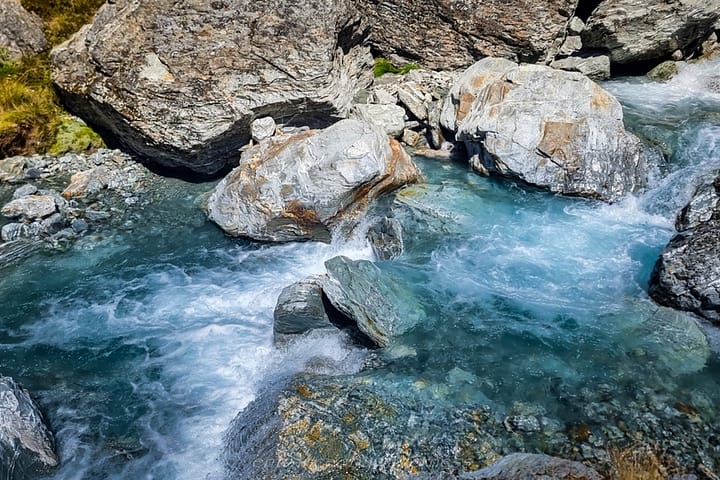
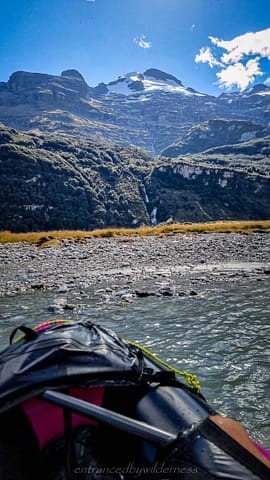
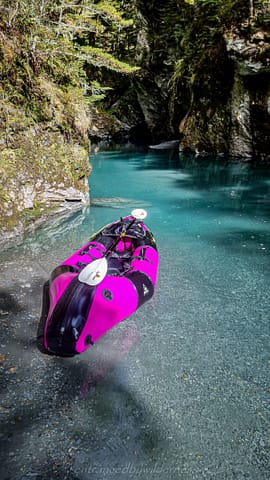
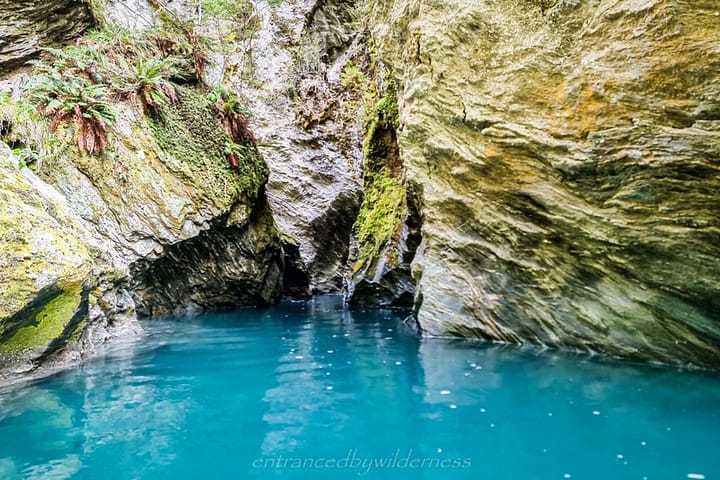
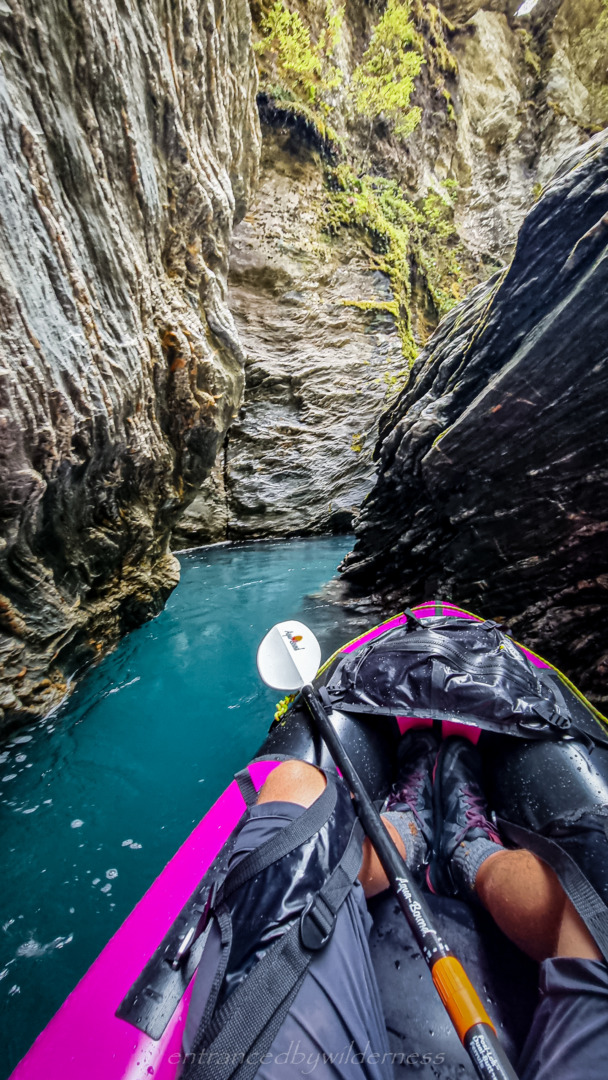
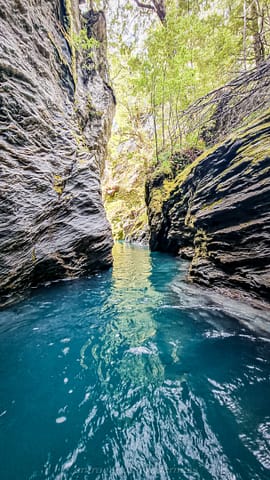
An essential part of the packraft out, is visiting Twenty Five Mile Gorge. I was previously here during the PRANZ Queenstown Packraft Meet in 2020. The gorge this time was super easy to get into with minimal flow resistance, and STUNNING!
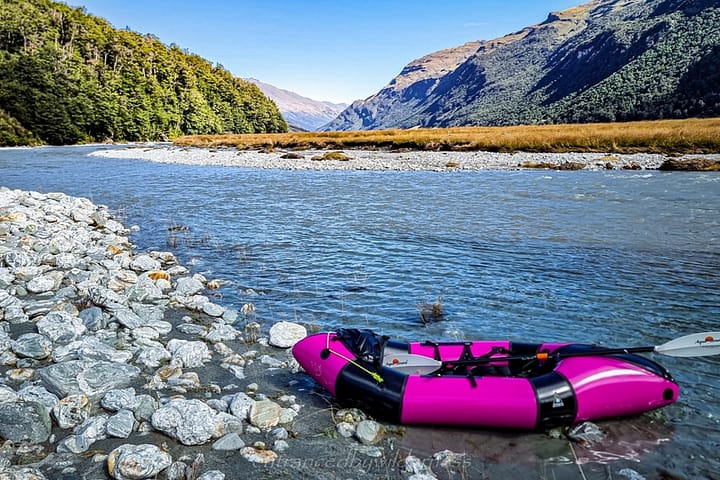
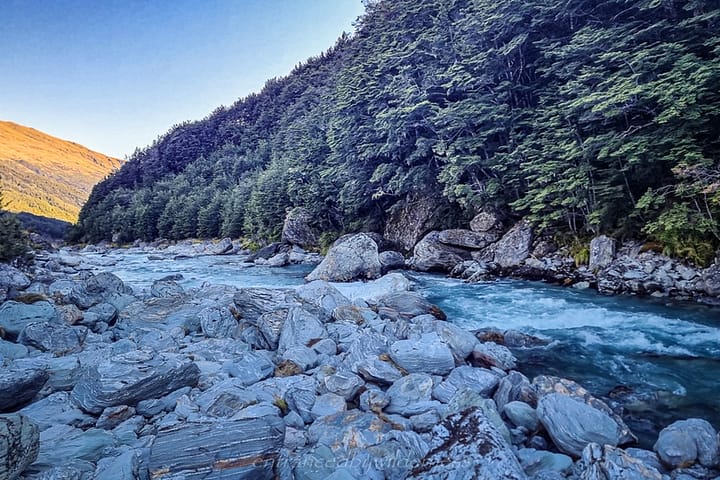
I then rejoined the Rees river again and set off towards the carpark. Eventually, the river began to retain flow and I didn’t have to walk sections as often. The sun disappeared behind the mountains once again, chilling off the air a little. Once the rocks appeared in the river, signalling the Class III Muddy Creek rapid section, it was time for me to get out and start walking to the van. I chose to just carry my raft in a deflated pile with all my gear, saving repacking the backpack.
Summary
Pros:
- A genuine remote backcountry experience with no people (when off-trail)
- Stunning glacial terrain in view almost the whole way
- Pyramid Lake – well worth the effort to get to
- Stunning camping opportunities
- Plenty of customisations to route available
- Fun planning a route along the way with all the vantage points
- Bivvying on the ridge for something different
- Twenty Five Mile Gorge in low flow
Cons:
- Not having enough time to summit Mt Earnslaw, or traverse further around to Cerberus/Bedford Valley
- River conditions were low for packrafting
- Kea Basin Track is a bit tedious
- Some speargrass bush bashing required
Your Donation Really Helps!
In order to support the travelling and hiking community, I spend many hours per week or month to adequately document all information and advice for prospective visitors, accompanied by a (hopefully) entertaining insight into my personal experiences. This service is, and will remain, free. However, running a non-profit website and spending time creating content comes with financial and personal costs.
Did you like this article? Share it now:
- Click to share on Twitter (Opens in new window)
- Click to share on Facebook (Opens in new window)
- Click to share on Reddit (Opens in new window)
- Click to share on Tumblr (Opens in new window)
- Click to share on Pinterest (Opens in new window)
- Click to email a link to a friend (Opens in new window)
- Click to print (Opens in new window)


